
Intro: What Gear Do I Actually Need for Electronics?
Jumping into electronics? Awesome! But the list of potential parts and tools can seem endless. If you're wondering, "What's the minimum hardware I need to buy to start building stuff?", you're in the right place.
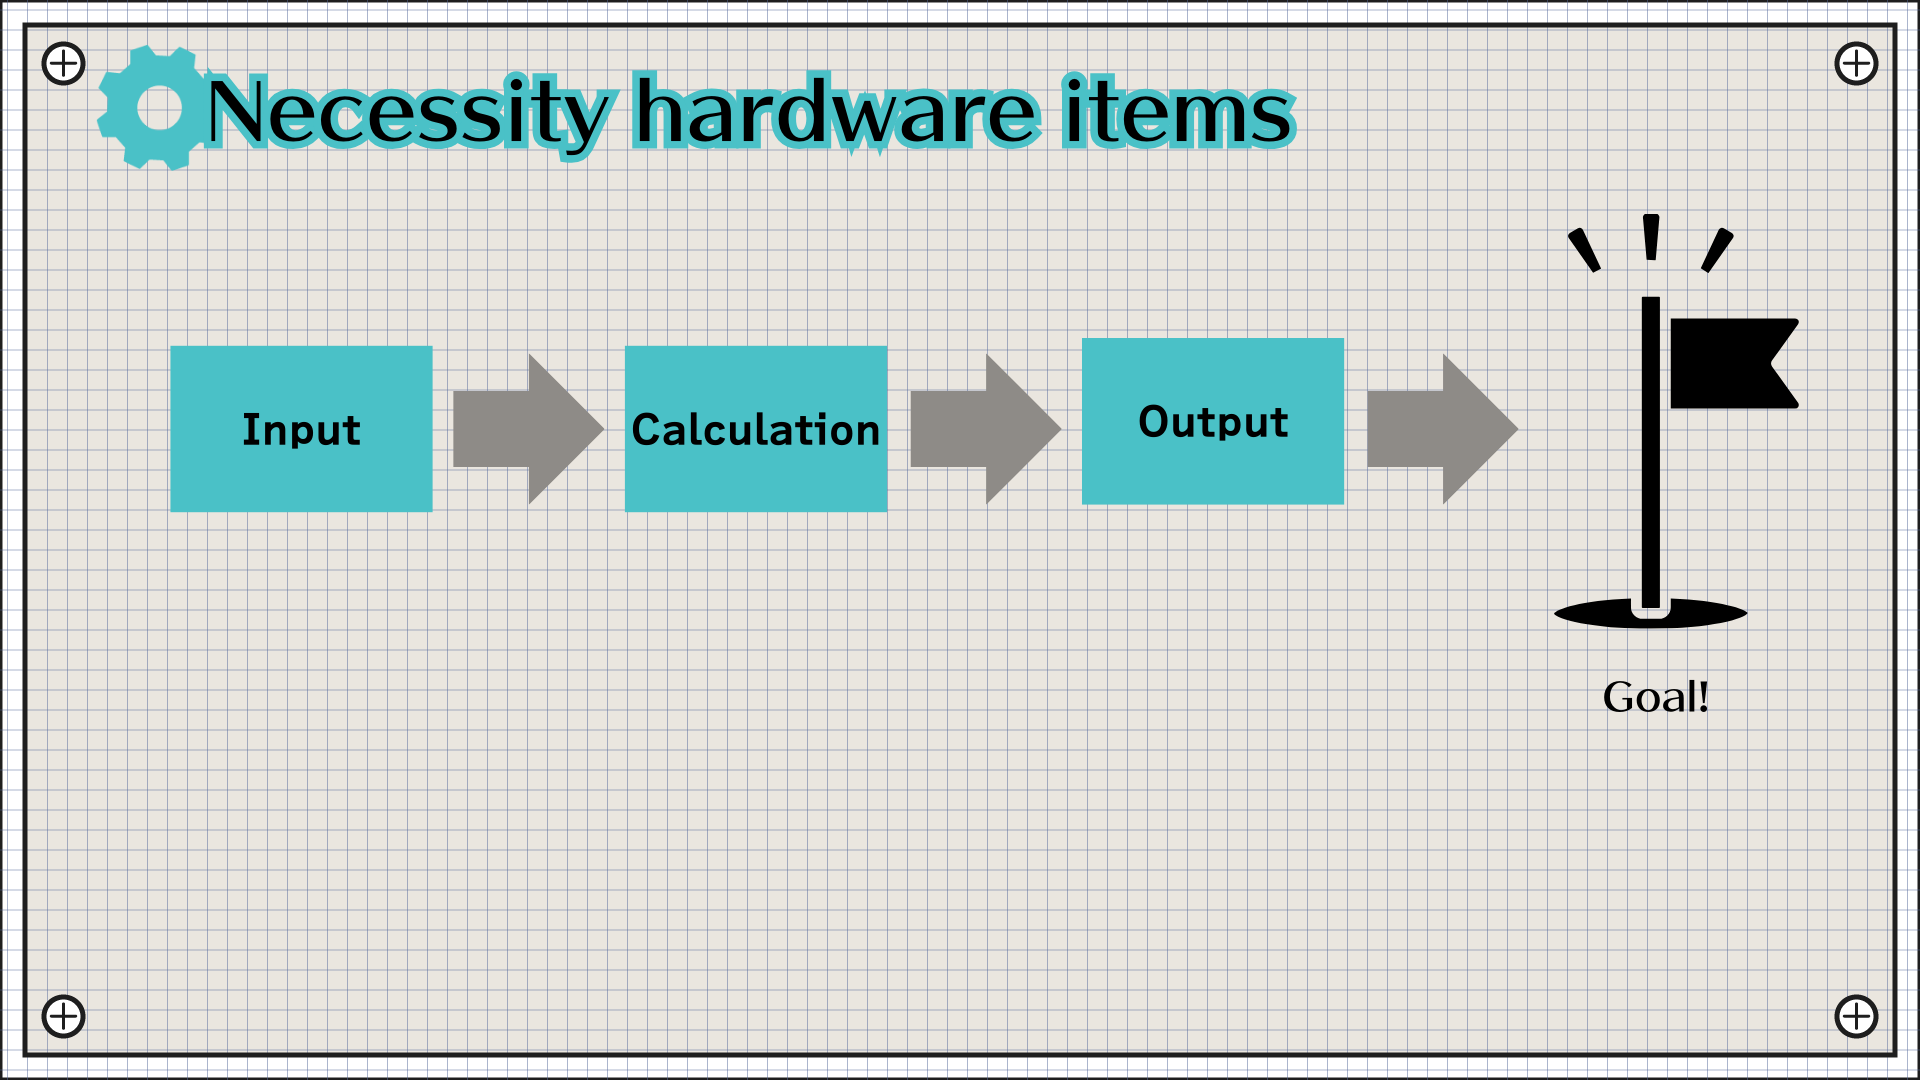
We can simplify this by thinking about the typical flow: Input -> Calculation -> Output. Let's break down the necessary hardware based on this flow and the essential support items.
Chapter 1: The Core Project Trio
Most beginner projects involve these three functional blocks:
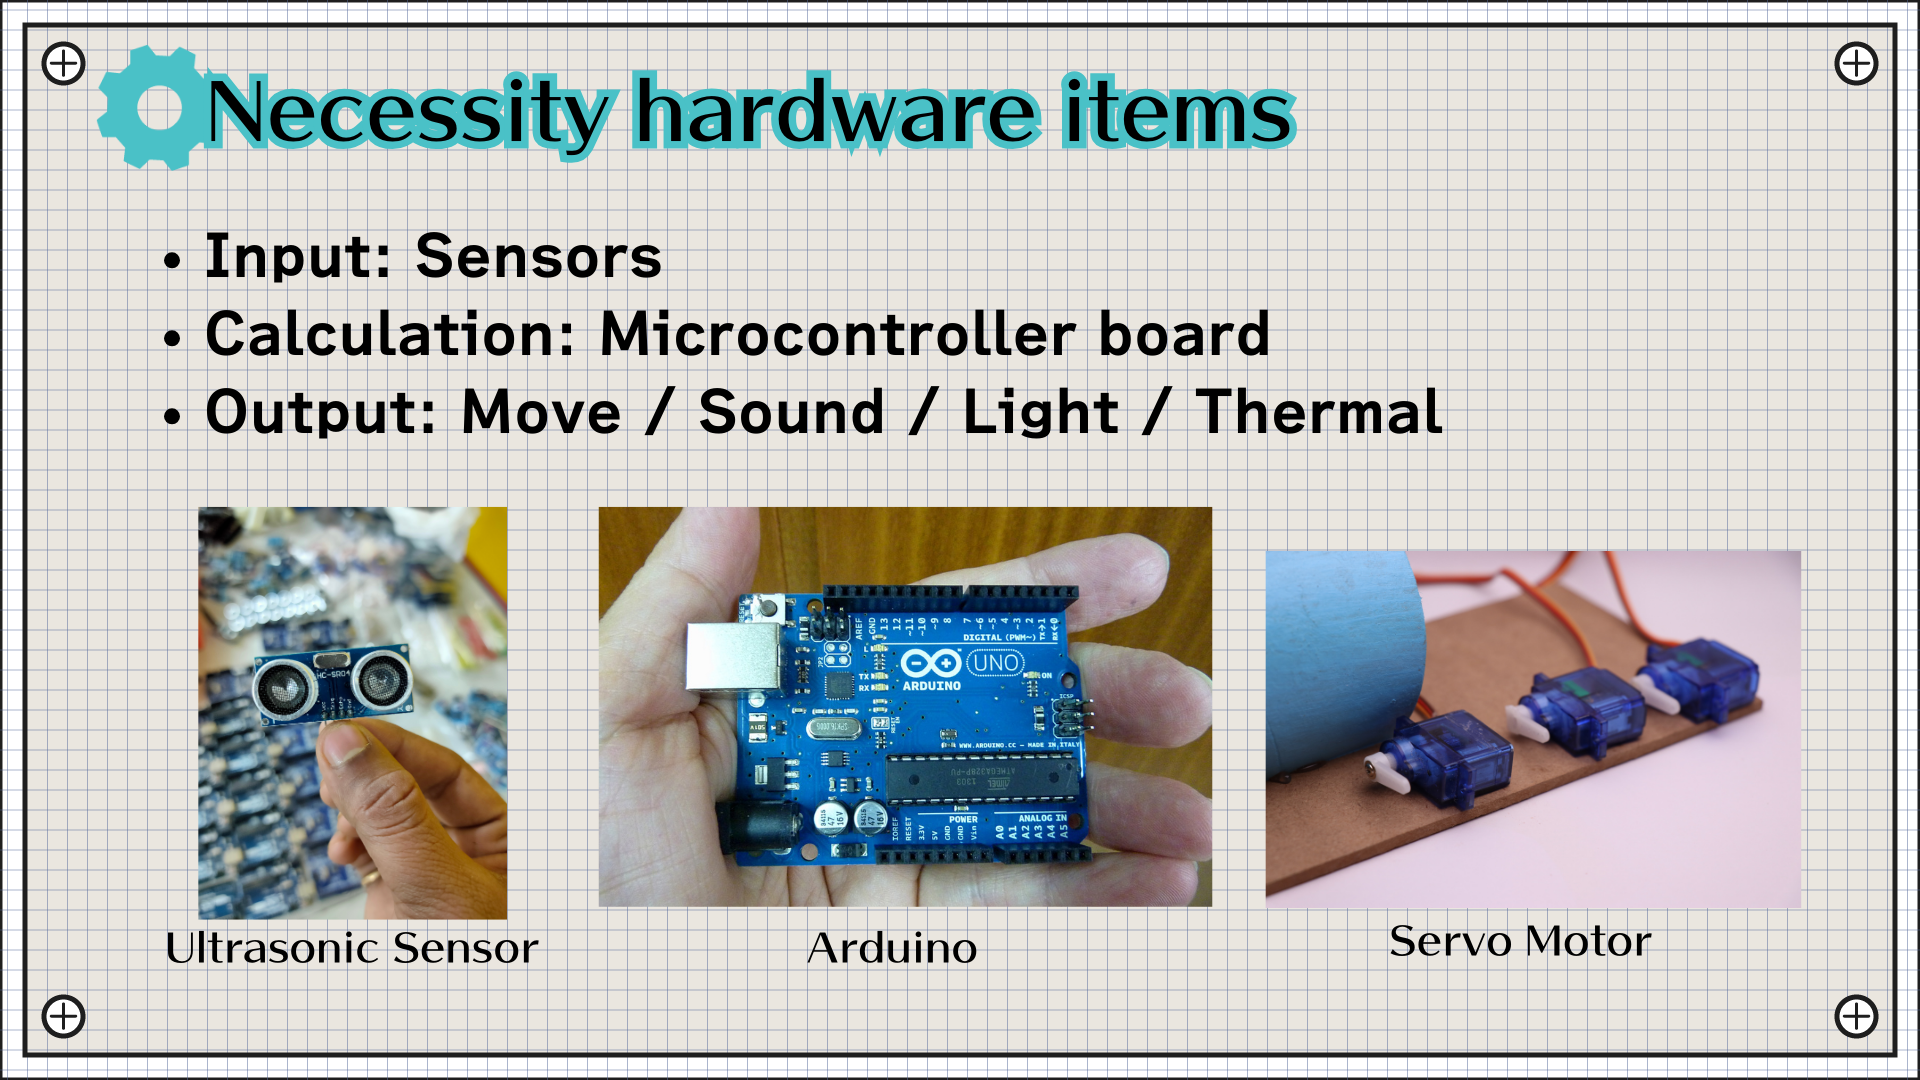
1. Input Devices (Sensors)
These components sense the real world.
- Purpose: Get data (light level, temperature, distance, button press).
- Examples: Photoresistors, DHT11/DHT22 temp/humidity sensors, HC-SR04 ultrasonic sensors, push buttons.
- Why: Lets your circuit react to its environment.
2. Calculation (Microcontroller Boards - The Brain)
This processes the input and decides what to do.
- Purpose: Run your code, make decisions.
- Examples:
Arduino Uno/Nano,Raspberry Pi Pico,ESP32/ESP8266. - Why: Provides the intelligence for your project.
3. Output Devices (Actuators & Indicators)
These act on the world based on the microcontroller's commands.
- Purpose: Provide feedback or perform an action (light, sound, motion).
- Examples: LEDs, small DC motors, servos, buzzers, LCD displays.
- Why: To show the result of your project's logic.
Chapter 2: The Foundation - Power & Basic Components
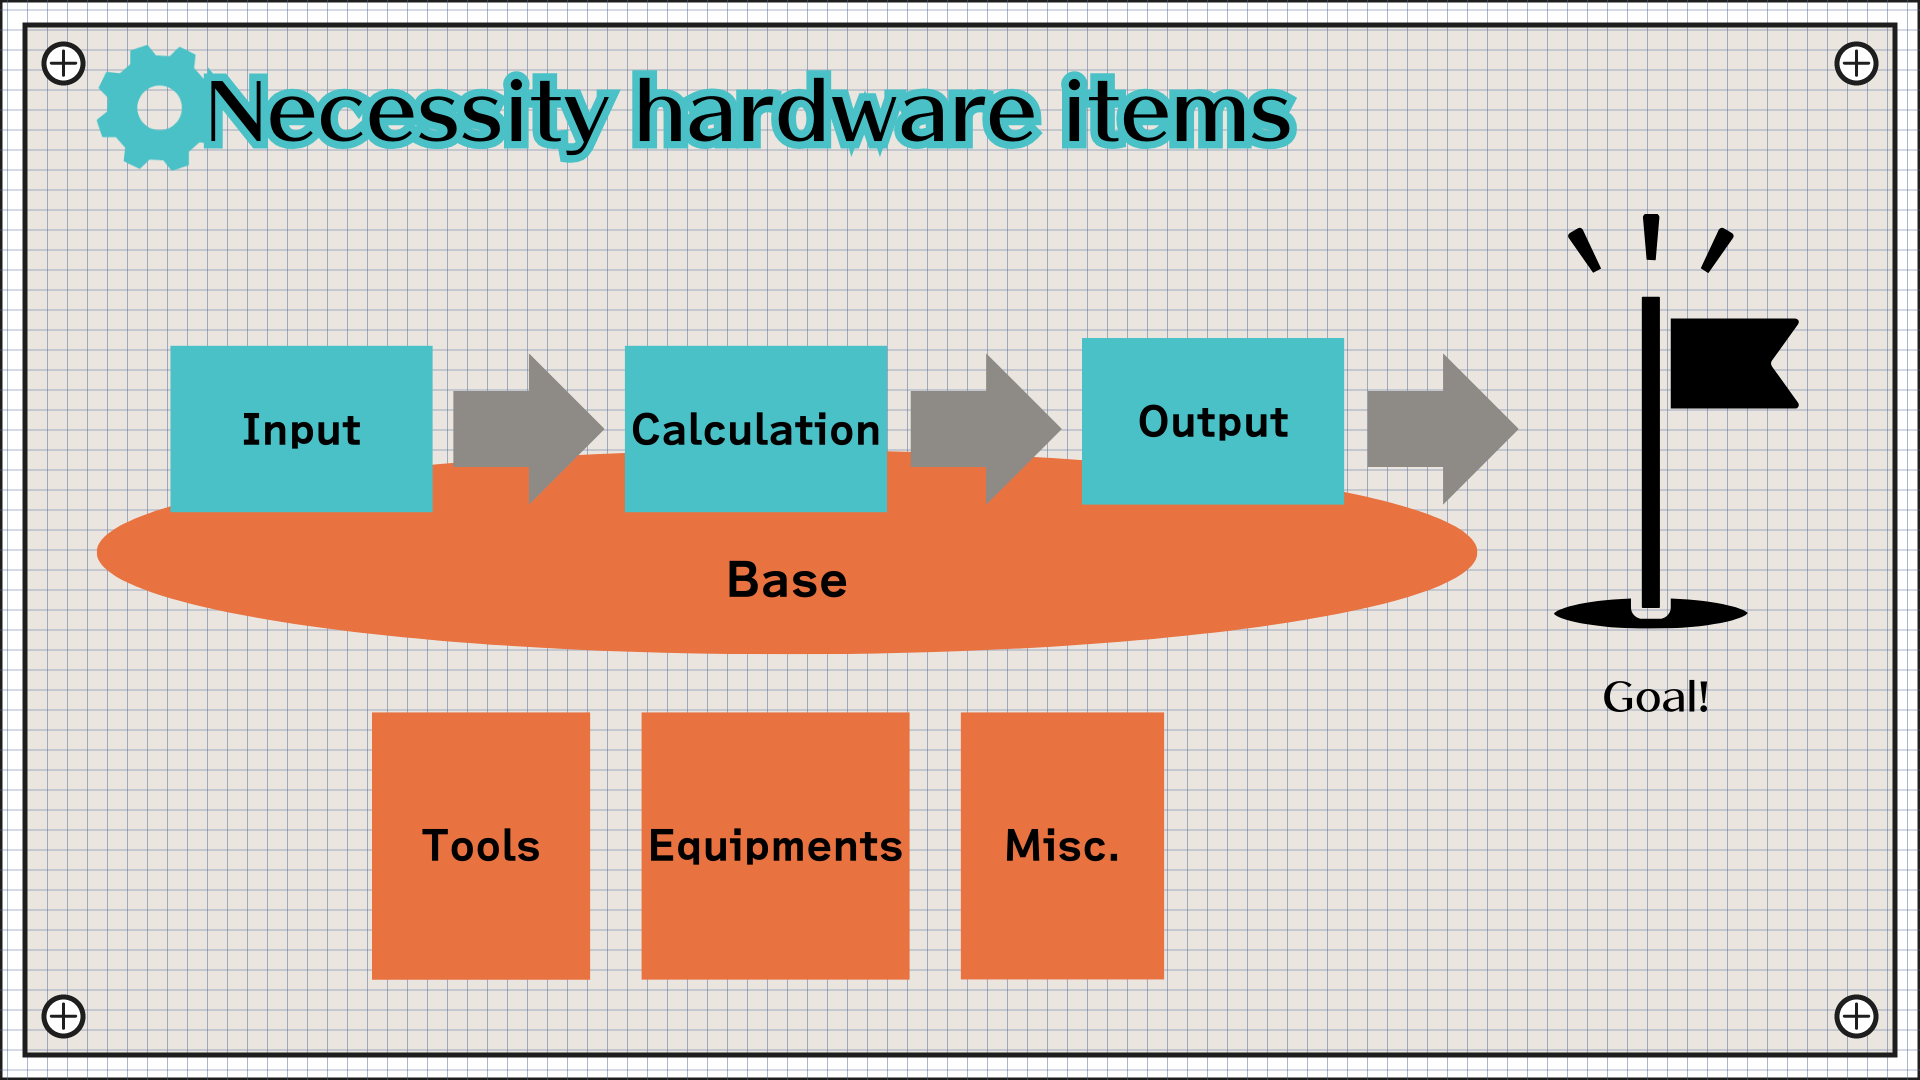
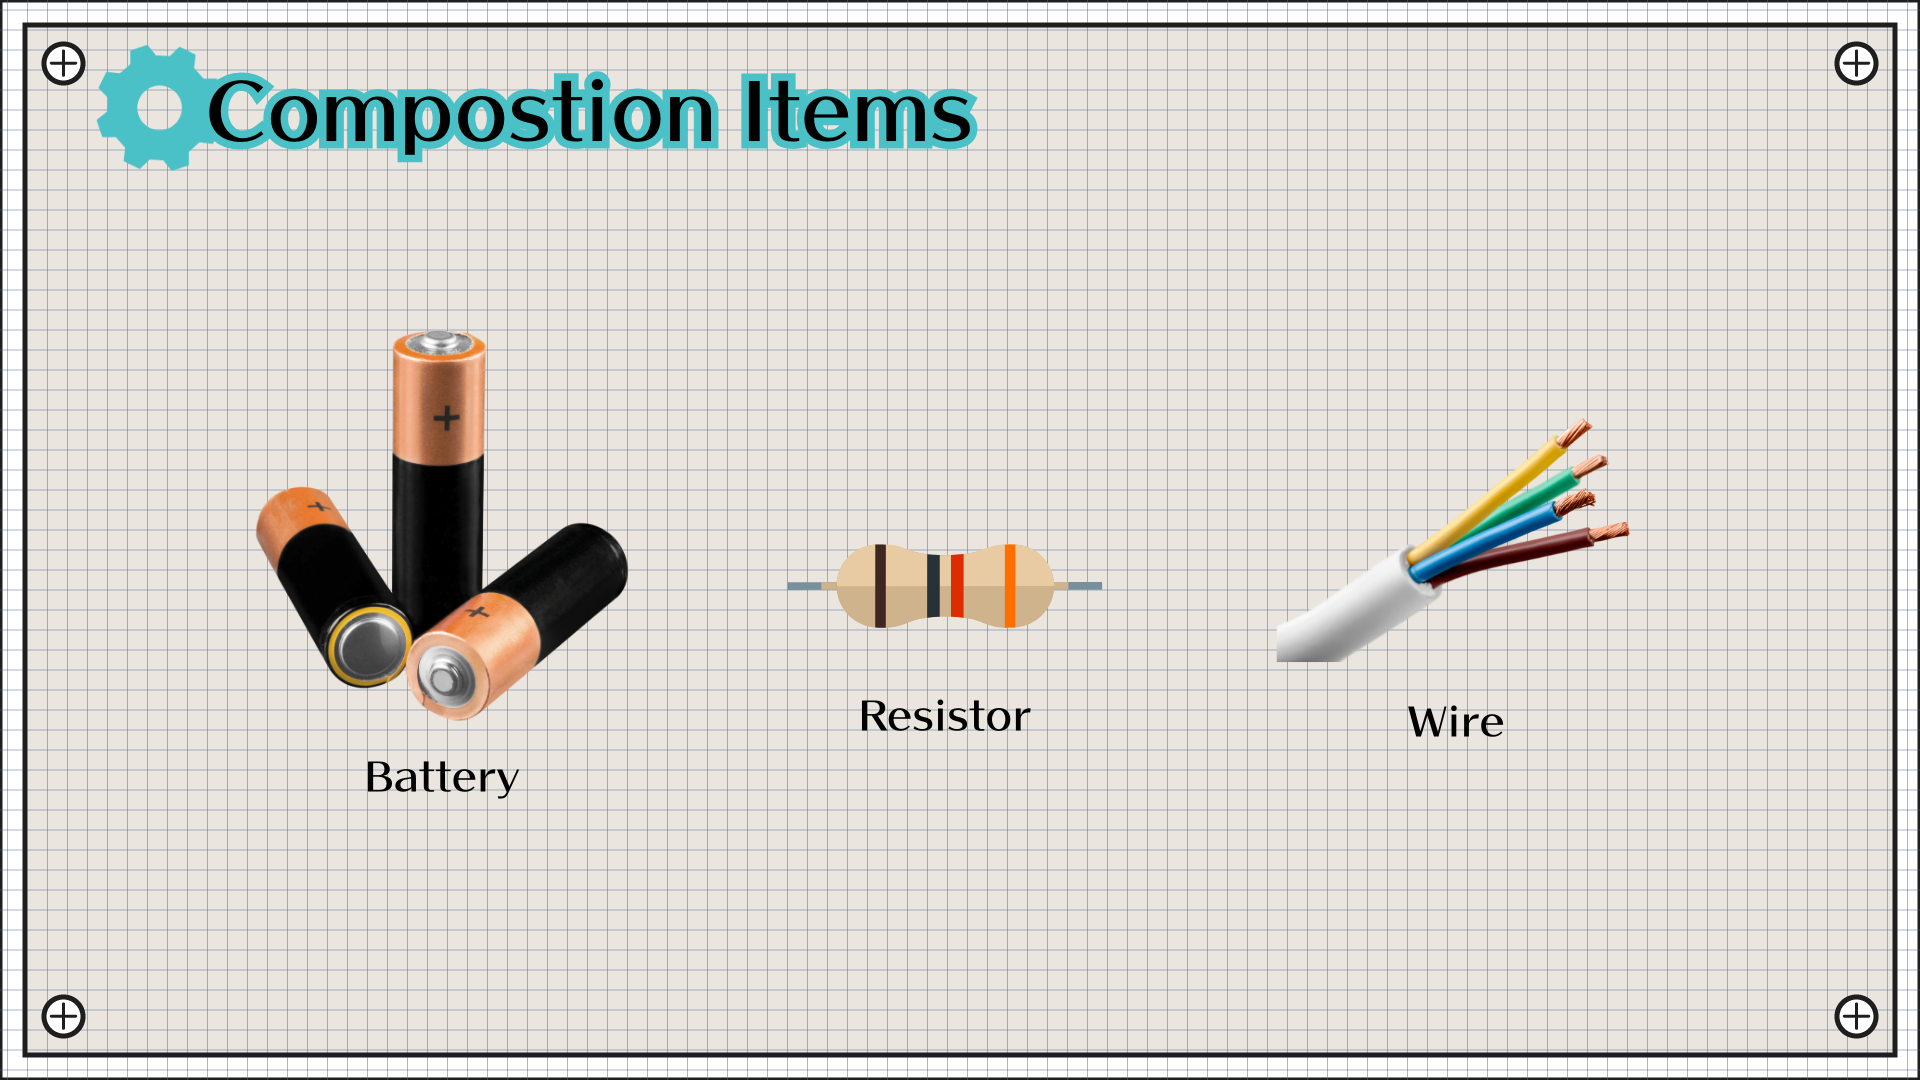
You can't build a circuit without these basics:
- Power Source: Need to make the electrons flow!
- Options: Battery pack (e.g., 4xAA), 9V battery clip, USB power bank, dedicated 5V/3.3V power supply module for breadboards.
- Jumper Wires: Essential for connecting components without soldering.
- Types: Male-to-Male, Male-to-Female, Female-to-Female. Get an assortment.
- Resistors: Critical for controlling current and voltage.
- Why: Protect LEDs, act as voltage dividers, pull-up/pull-down resistors. Start with a kit of common values (e.g., 220Ω, 1kΩ, 10kΩ).
Chapter 3: Essential Prototyping Tools
These tools make building and testing much easier:
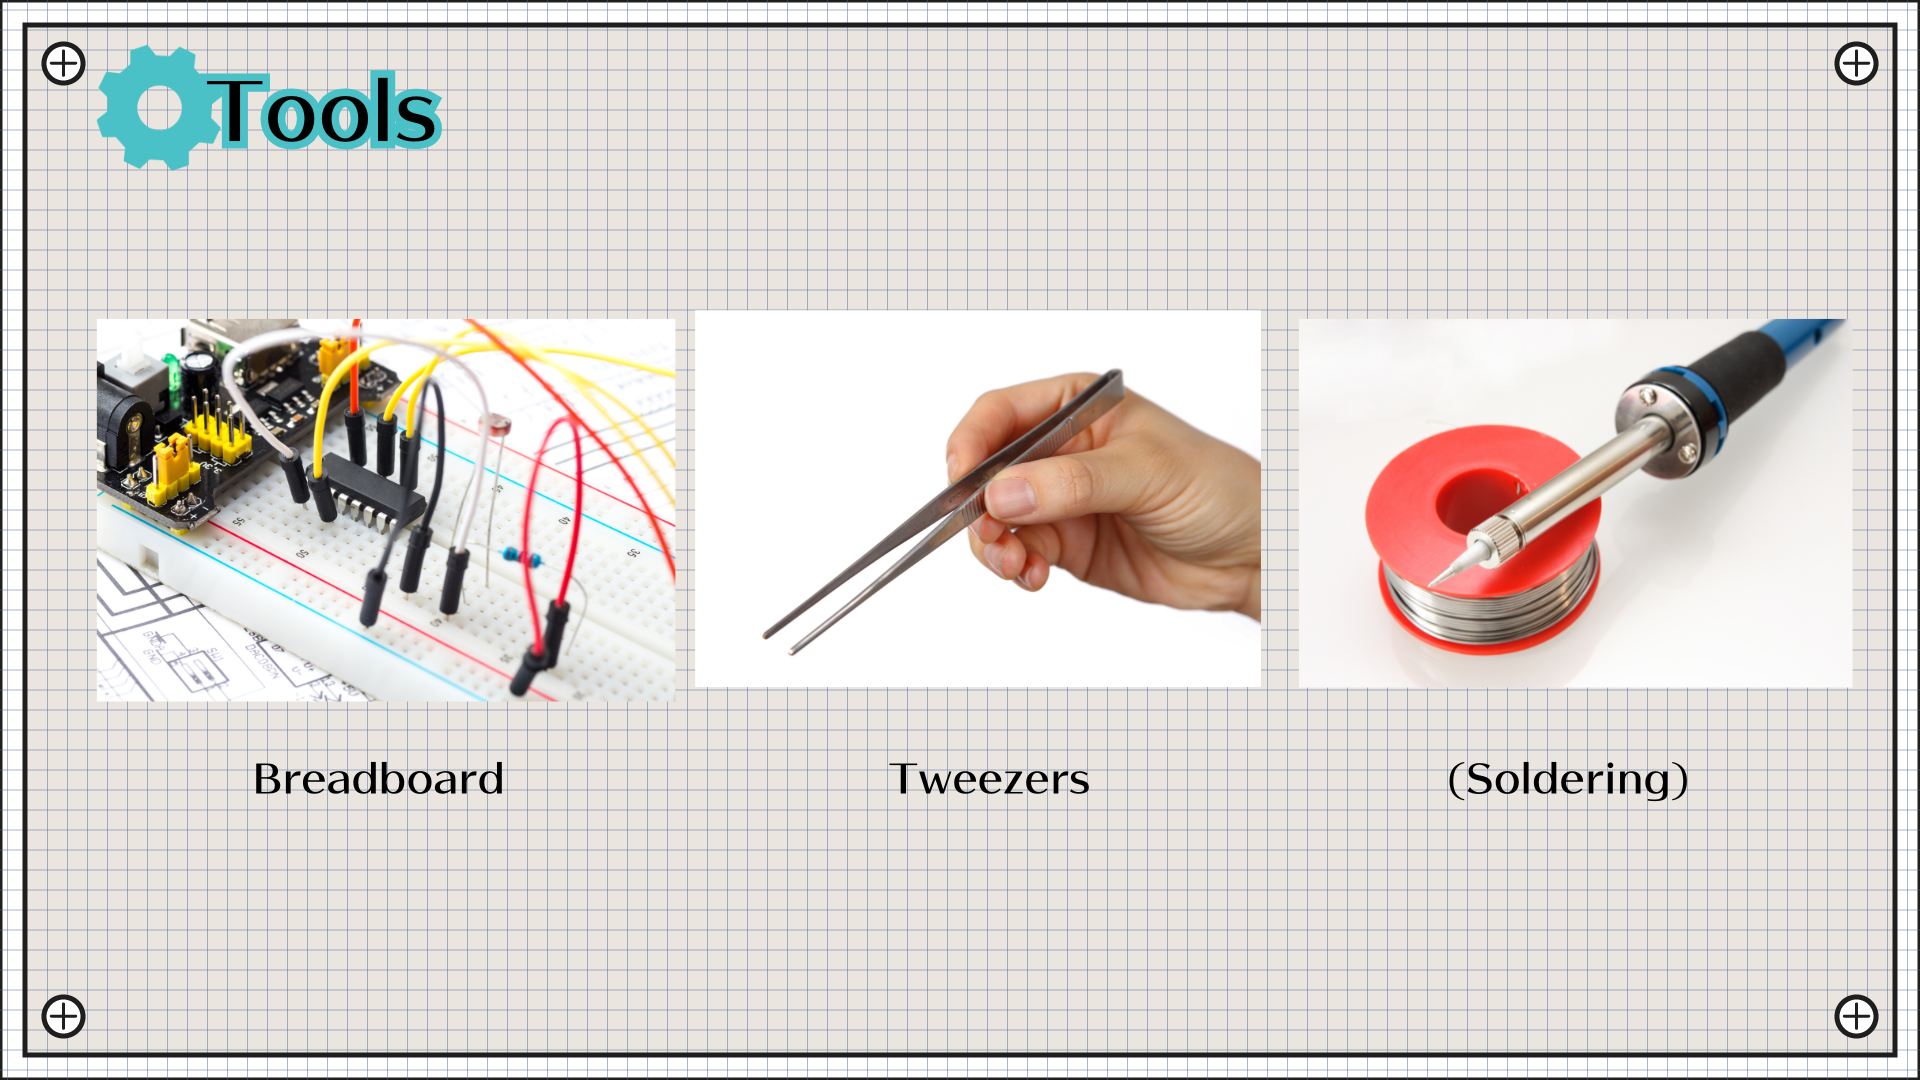
- Breadboard: Non-negotiable for beginners. A solderless way to quickly build and modify circuits. Components plug right in. Get at least one standard-size (e.g., 830 point) board.
Tweezers: Handling tiny resistors, capacitor legs, and wires is much easier with tweezers. You don't need expensive ones.
Soldering Iron (Not Yet!): While essential for permanent circuits, stick to the breadboard first. Master the basics without the heat and fumes. You'll know when you're ready to make things permanent.
Chapter 4: Debugging Gear - Finding Problems
Things won't always work the first time. This tool is key:
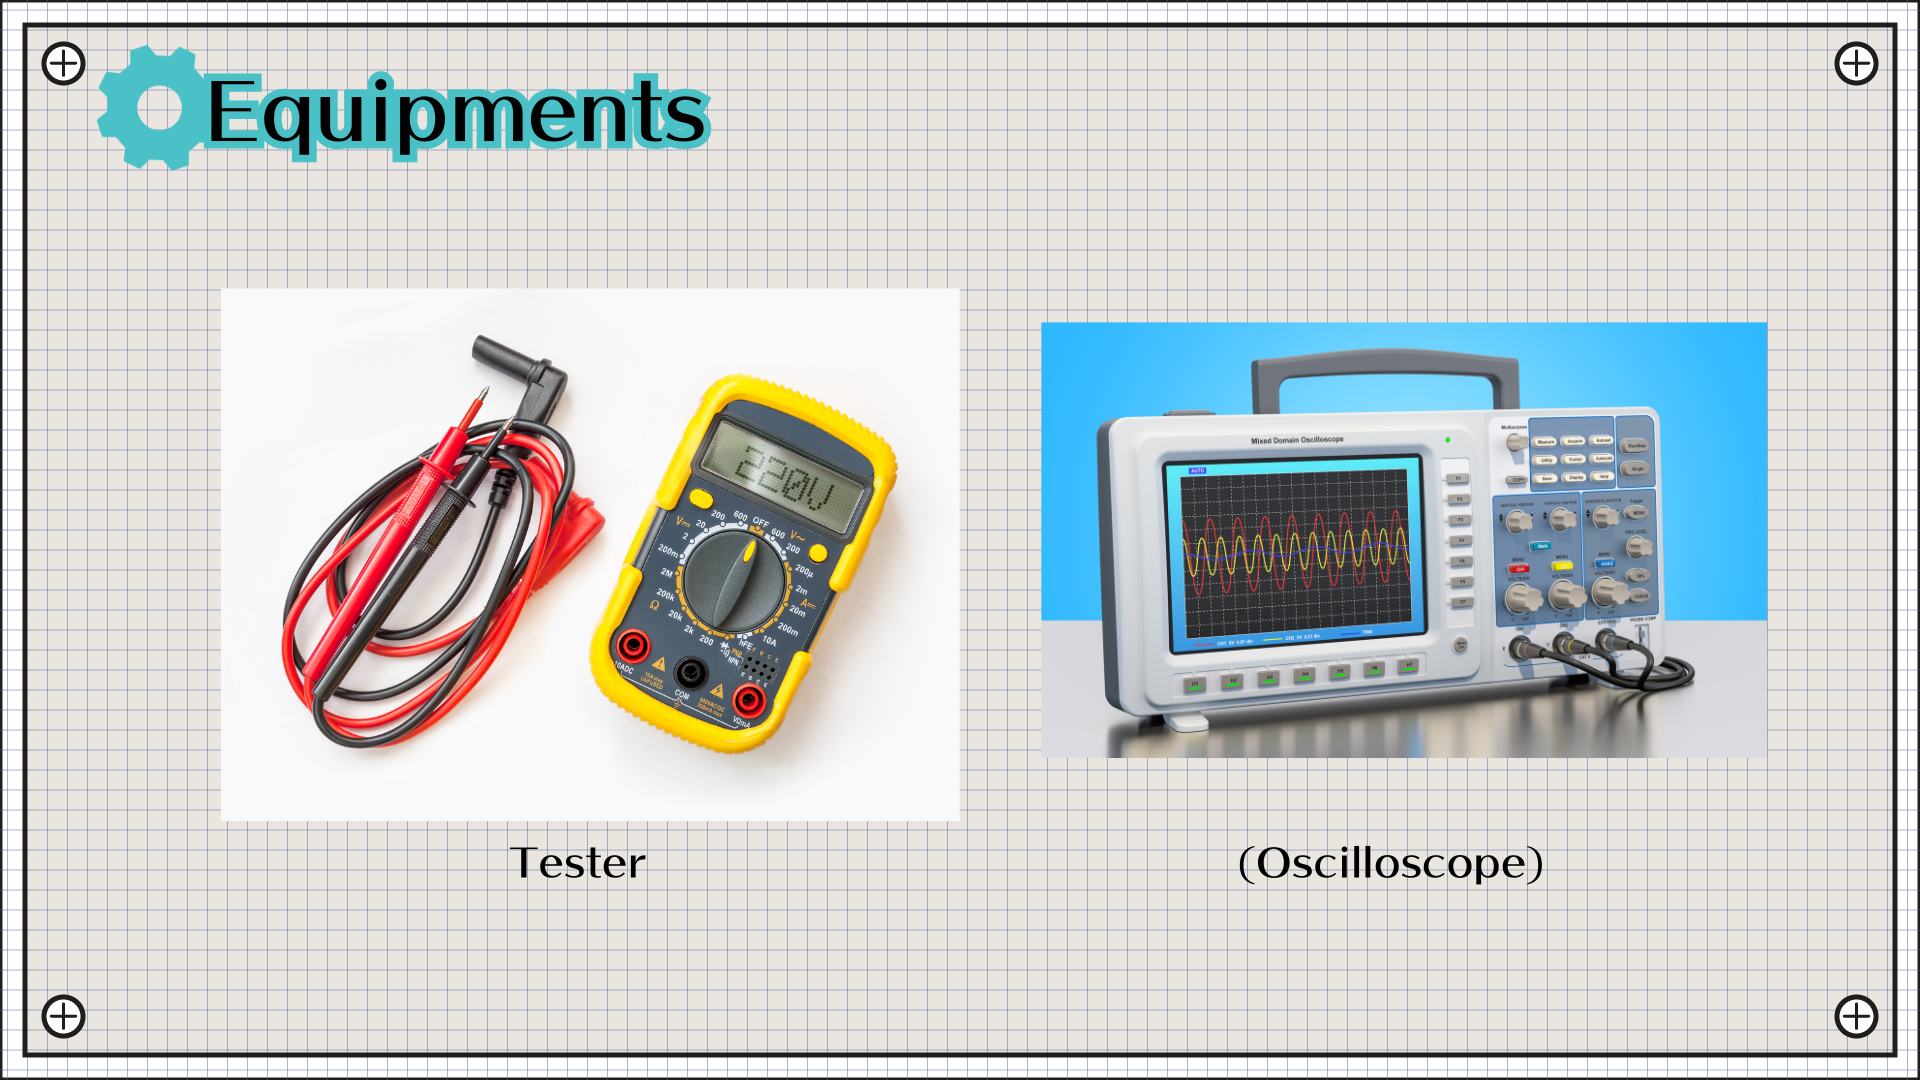
- Multimeter: Your primary troubleshooting tool.
- Measures: Voltage (DC/AC), Current (DC/AC), Resistance, Continuity (checking connections - often has a beep!).
- Why Essential: Helps answer questions like "Is this component getting power?", "Is this wire broken?", "Is this the right resistor value?". Get a basic digital multimeter (DMM).
- Oscilloscope (Advanced): Visualizes electrical signals over time. Powerful, but overkill for most beginners. More expensive and complex. Start with the multimeter.
Chapter 5: Programming Your Microcontroller
You need a way to write and upload your code:
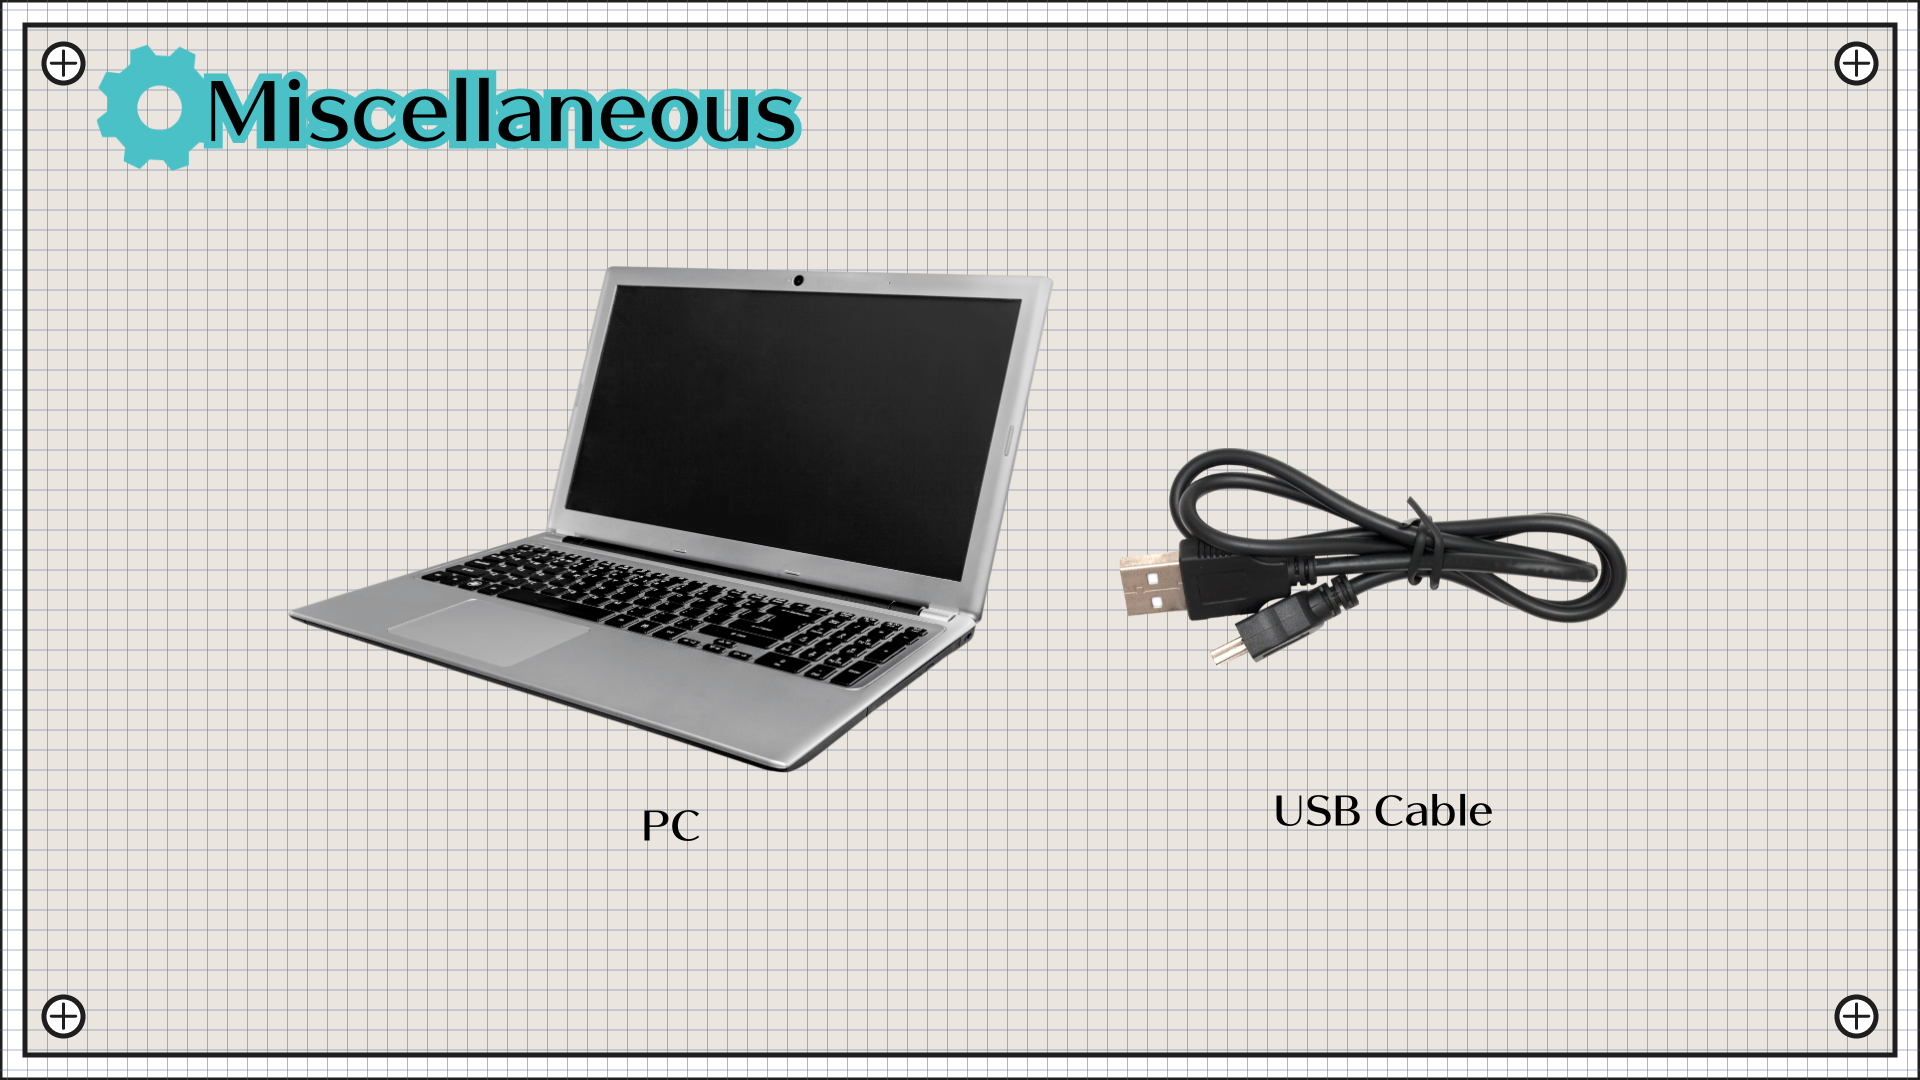
- PC/Laptop: Where you'll write your code using an IDE (like Arduino IDE, PlatformIO in VS Code, Thonny for MicroPython).
- USB Cable: Connects your microcontroller board to the PC for power (often) and code transfer. Make sure you get the right type for your board (e.g., USB-A to USB-B for Arduino Uno, USB-A to Micro-USB or USB-C for others).
Chapter 6: Summary - Your Starter Hardware Checklist
Focus on getting these items first:
- Microcontroller: An Arduino Uno/Nano or Raspberry Pi Pico is a great start.
- Input/Output: A starter kit often includes basic sensors (button, photoresistor), LEDs, and maybe a small motor or buzzer.
- Foundation: Breadboard, jumper wires, basic resistor kit, power source (battery pack or USB cable if board supports it).
- Tools: Tweezers, Multimeter.
- Programming: Your existing PC/Laptop, the correct USB cable for your chosen board.
With this setup, you're well-equipped to tackle your first electronics projects!
Happy Building!


