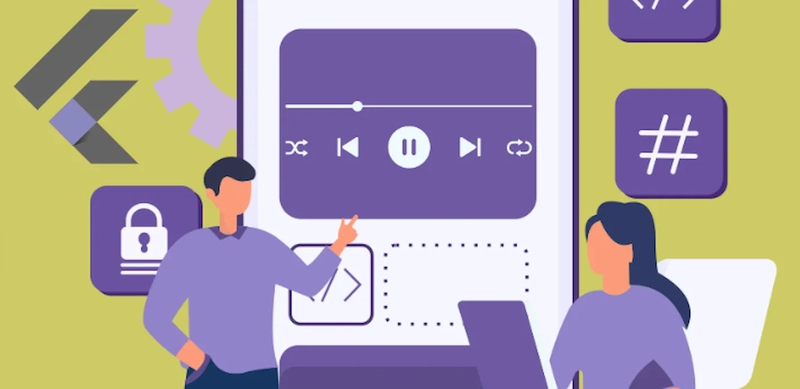
My new app has pretty long audio files, and I want users to be able to control the playing with a slider that will also show the progress.

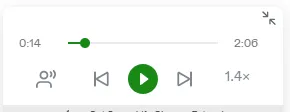
Something similar to the above Medium control.
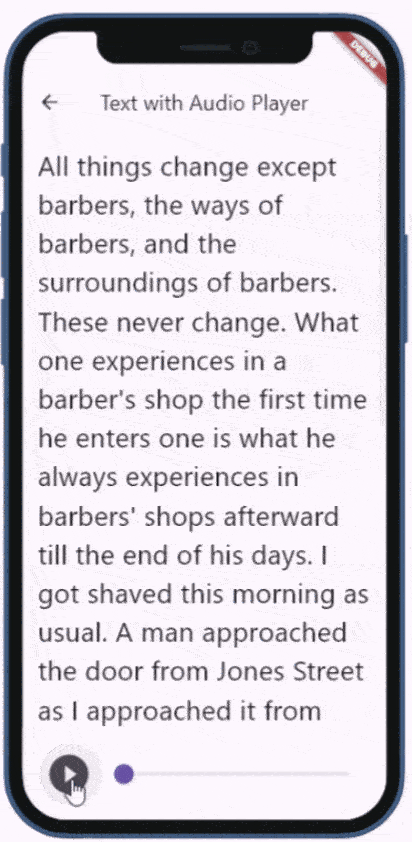
Also, I want the page to scroll automatically down to show the user the text that is playing now.
1. Playing audio in Flutter
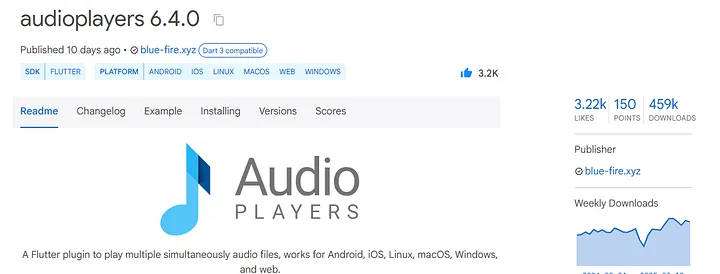
Flutter has two famous packages(plugins) for playing audio.
And just_audio:
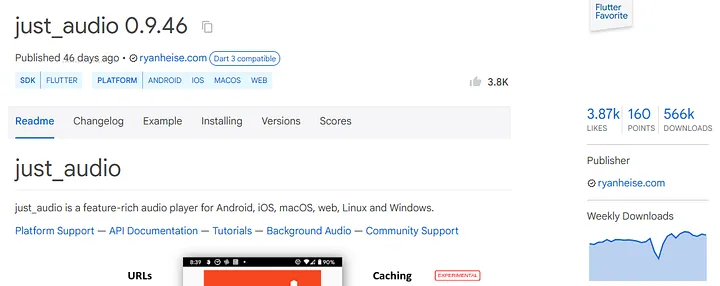
They have similar numbers of likes and downloads.
The just_audio has a Flutter favorite badge. I have mixed feelings about this Flutter favorite thing. On one side, probably, very likely, if the package is prised as a favorite by the Flutter team, it cannot be complete trash. On the other, it affects future likes and downloads since many people choose it over a competitor based on just that.
I will try both packages.
flutter pub add audioplayers

flutter pub add just_audio
flutter pub add just_audio_windows //required on windows
Note, that for just_audio on Windows, we need to add the additional package.
First, I created the infrastructure folder in my project to include all audio-related classes.
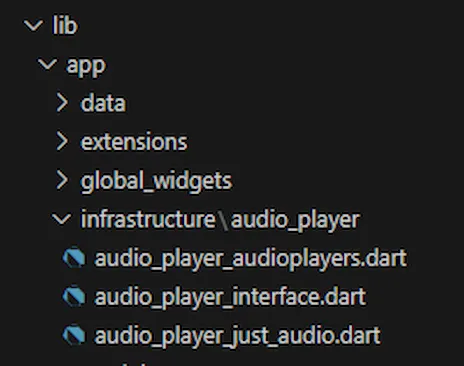
Then, wrote the interface:
abstract interface class AudioPlayerInterface {
  Future<void> play(String assetPath);
  Future<void> pause();
  Future<void> stop();
  Future<Duration> getPosition();
  Future<void> setPosition(Duration position);
  Future<void> dispose();
  Stream<Duration> getPositionStream();
  Stream<bool> getPlayingStream();
  Future<Duration> getDuration();
  Stream<Duration> getDurationStream();
}
In general, audio can be played from:
URL
File in the file system
File in the application
assetsfolder
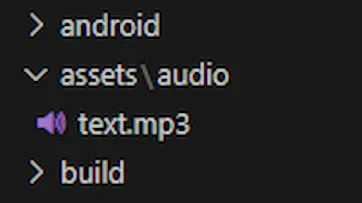
For my use case, I need to play it from the assets folder.
For that, we need to add the audio file to the folder and pubspec.yaml:
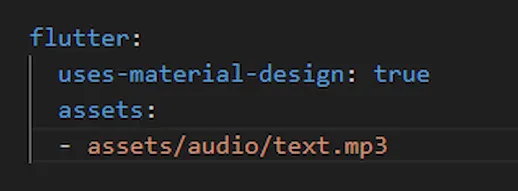
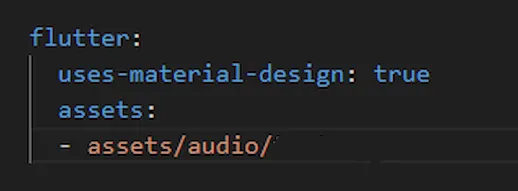
It is even better to specify just the folder, thus we don’t need to specify each audio file:
Here is the implementation of AudioPlayerInterface using the auidioplayers package:
import 'package:audioplayers/audioplayers.dart';
import 'audio_player_interface.dart';

class AudioPlayerAudioplayers implements AudioPlayerInterface {
  final AudioPlayer _audioPlayer = AudioPlayer();
  String? _currentAsset;

  @override
  Future<void> play(String assetPath) async {
    if (_currentAsset != assetPath) {
      _currentAsset = assetPath;
      await _audioPlayer.setSource(AssetSource(assetPath));
    }
    await _audioPlayer.resume();
  }

  @override
  Future<void> pause() async {
    await _audioPlayer.pause();
  }

  @override
  Future<void> stop() async {
    await _audioPlayer.stop();
  }

  @override
  Future<Duration> getPosition() async {
    return await _audioPlayer.getCurrentPosition() ?? Duration.zero;
  }

  @override
  Future<void> setPosition(Duration position) async {
    await _audioPlayer.seek(position);
  }

  @override
  Future<void> dispose() async {
    await _audioPlayer.dispose();
  }

  @override
  Stream<Duration> getPositionStream() {
    return _audioPlayer.onPositionChanged;
  }

  @override
  Stream<bool> getPlayingStream() {
    return _audioPlayer.onPlayerStateChanged
        .map((state) => state == PlayerState.playing);
  }

  @override
  Future<Duration> getDuration() async {
    return await _audioPlayer.getDuration() ?? Duration.zero;
  }

  @override
  Stream<Duration> getDurationStream() {
    return _audioPlayer.onDurationChanged;
  }
}
And here is the one using just_audio:
import 'package:just_audio/just_audio.dart';
import 'audio_player_interface.dart';

class AudioPlayerJustAudio implements AudioPlayerInterface {
  final AudioPlayer _audioPlayer = AudioPlayer();
  String? _currentAsset;

  @override
  Future<void> play(String assetPath) async {
    assetPath = 'assets/$assetPath';
    if (_currentAsset != assetPath) {
      _currentAsset = assetPath;
      await _audioPlayer.setAsset(assetPath);
    }
    await _audioPlayer.play();
  }

  @override
  Future<void> pause() async {
    await _audioPlayer.pause();
  }

  @override
  Future<void> stop() async {
    await _audioPlayer.stop();
  }

  @override
  Future<Duration> getPosition() async {
    return _audioPlayer.position;
  }

  @override
  Future<void> setPosition(Duration position) async {
    await _audioPlayer.seek(position);
  }

  @override
  Future<void> dispose() async {
    await _audioPlayer.dispose();
  }

  @override
  Stream<Duration> getPositionStream() {
    return _audioPlayer.positionStream;
  }

  @override
  Stream<bool> getPlayingStream() {
    return _audioPlayer.playingStream;
  }

  @override
  Future<Duration> getDuration() async {
    return _audioPlayer.duration ?? Duration.zero;
  }

  @override
  Stream<Duration> getDurationStream() {
    return _audioPlayer.durationStream
        .where((duration) => duration != null)
        .map((duration) => duration!);
  }
}
👉 Important difference:
The audioplayers package assumes by default that the audio file is under the assets folder. The just_audio doesn’t make any assumption and requires the full path to the file.
So, we need to add the line below to just_audio implementation to make our API consistent:
assetPath = 'assets/$assetPath';Besides this, both implementations are similar, with minor differences, though the just_audio looks more straightforward and concise.
Full code of our ViewModel (controller).
We will review the important parts of it later.
And this is the result:
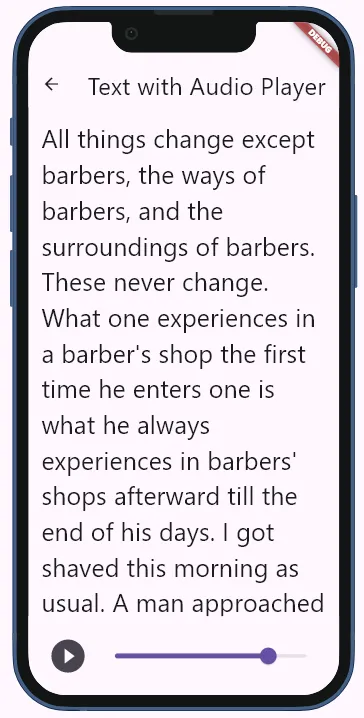
Here is how we play the audio.
Controller:
Future<void> togglePlayPause() async {
    if (_isPlaying) {
      await audioPlayer.pause();
    } else {
      await audioPlayer.play('audio/text.mp3');
      _updateScroll();
    }
  }
View:
IconButton(
                          icon: Icon(
                            controller.isPlaying
                                ? Icons.pause_circle_filled
                                : Icons.play_circle_filled,
                            size: 48,
                          ),
                          onPressed: controller.togglePlayPause,
                        ),
Simple.
2. Control audio with a slider
Controller:
Future<void> seekTo(Duration position) async {
    try {
      // First pause to make seeking more reliable
      final wasPlaying = _isPlaying;
      if (wasPlaying) {
        await audioPlayer.pause();
      }

      // Add timeout to prevent hanging
      await audioPlayer.setPosition(position)
          .timeout(const Duration(seconds: 3), onTimeout: () {
        throw TimeoutException('Seek operation timed out');
      });

      // Resume if it was playing before
      if (wasPlaying) {
        await audioPlayer.play('audio/text.mp3');
        _updateScroll();
      }
    } catch (e) {
      print('Error seeking: $e');
      // Optionally show error to user
      Get.snackbar(
        'Error',
        'Failed to seek to position',
        snackPosition: SnackPosition.BOTTOM,
      );
      audioPlayer.stop();
      _isPlaying = false;
    }
  }
View:
Slider(
                            value: controller.position.inSeconds.toDouble(),
                            max: controller.duration.inSeconds.toDouble(),
                            onChanged: (value) {
                              controller.seekTo(
                                Duration(seconds: value.toInt()),
                              );
                            },
                          ),
When a user moves the slider the onchanged event occurs and the controller.seekTo method is called.
For the above to work we need to know the duration of an audio file. Our controller takes the duration from audio player:
...
Duration _duration = Duration.zero;

@override
  void onInit() {
...
    _setupStreams();
...
  }

void _setupStreams() {
...

    audioPlayer.getDurationStream().listen((duration) {
      _duration = duration;
      print('duration ' + _duration.inSeconds.toString());
      update();
    });
  }
We then use the duration in Slider:
Slider(
                            value: controller.position.inSeconds.toDouble(),
                            max: controller.duration.inSeconds.toDouble(),
3. Make a slider showing the progress
In the controller, we listen to the position stream and every time we get a new position event we call the update method
@override
  void onInit() {
...
    _setupStreams();
...
  }

void _setupStreams() {
...

    audioPlayer.getPositionStream().listen((pos) {
      _position = pos;
      _updateScroll();
      update();
    });
}GetBuilder<AudioController>(
...
child: Slider(
value: controller.position.inSeconds.toDouble(),
max: controller.duration.inSeconds.toDouble(),
onChanged: (value) {
controller.seekTo(
Duration(seconds: value.toInt()),
);
},
),4. Synchronizing playing and scrolling
In our controller, we call the method below every time the playing position changes:
double lastScrollPosition = 0;
  void _updateScroll() {
    if (!_isPlaying || _totalTextHeight == 0) return;

    final progress = _position.inMilliseconds / _duration.inMilliseconds;
    final scrollPosition = _totalTextHeight * progress;

    if (scrollPosition - lastScrollPosition < 150) {
      return;
    }

    scrollController.animateTo(
      scrollPosition,
      duration: const Duration(milliseconds: 1700),
      curve: Curves.linear,
    );
    lastScrollPosition = scrollPosition;
  }
Every time the new scrollPosition is 150 px bigger than the previous, we scroll down.
And this method calculates the height of the Text widget:
final GlobalKey textKey = GlobalKey();
...
void onInit() {
    ...
    WidgetsBinding.instance.addPostFrameCallback((_) {
      _measureTextHeight();
    });
  }
...
  void _measureTextHeight() {
    final RenderBox? renderBox =
        textKey.currentContext?.findRenderObject() as RenderBox?;
    if (renderBox != null) {
      _totalTextHeight = renderBox.size.height;
      print(_totalTextHeight);
    }
}Text(
'''All things change except barbers, the ways of barbers, and the surroundings of barbers. These never change. What one experiences in a barber's shop the first time he enters one is what he always experiences in barbers' shops afterward till the end of his days. I got shaved this morning as usual. A man approached the door from Jones Street as I approached it from Main—a thing that always happens. I hurried up, but it was of no use; he entered the door one little step ahead of me, and I followed in on his heels and saw him take the only vacant chair, the one presided over by the best barber. It always happens so. I sat down, hoping that I might fall heir to the chair belonging to the better of the remaining two barbers, for he had already begun combing his man's hair, while his comrade was not yet quite done rubbing up and oiling his customer's locks. ''',
key: controller.textKey, //<-
style: const TextStyle(fontSize: 28),
),First, we construct the Text widget with a key parameter that gets the textKey as an argument. And then we use the textKey to get RenderBox and height.
I think it may be too much to grasp just by skimming the article.
So, here is the full app in the repository. Clone it, play with it, and use it in your project. It is not thoroughly tested, but it is a starting point.
Thank you for reading!