Hey there! I'm Oluwaseyi - a System Administrator who’s passionate about all things cloud. Lately, I've been diving deep into the world of DevOps, and I thought, what better way to document this journey than to share what I’m learning?
This post is a practical walkthrough of how to host a static website on an AWS EC2 instance. Whether you're trying to understand the basics or just want to throw a simple portfolio online, this one’s for you.
So… ready to deploy your first site on the cloud? Let’s roll.
🧰 What You’ll Need
Here’s what you’ll need to follow along:
- An AWS account (Free Tier is fine)
- Terminal (Bash or Git Bash on Windows)
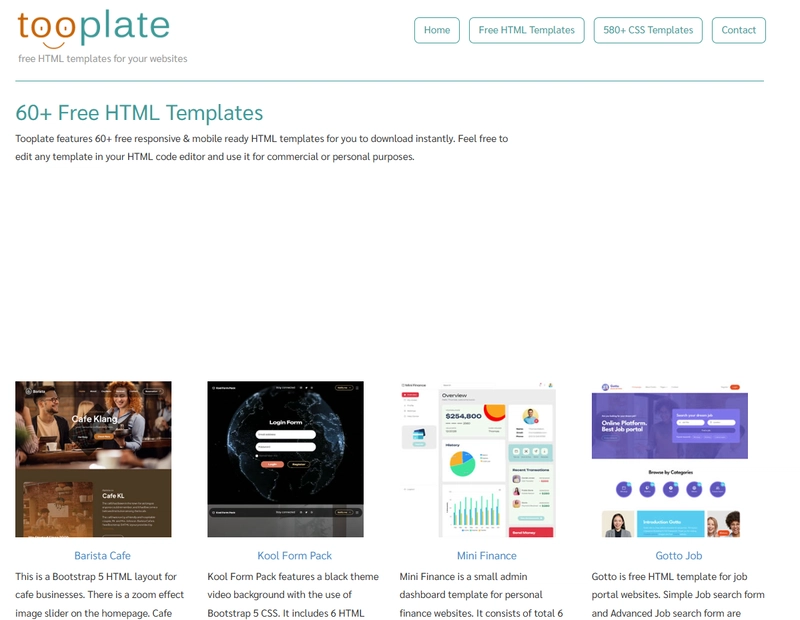
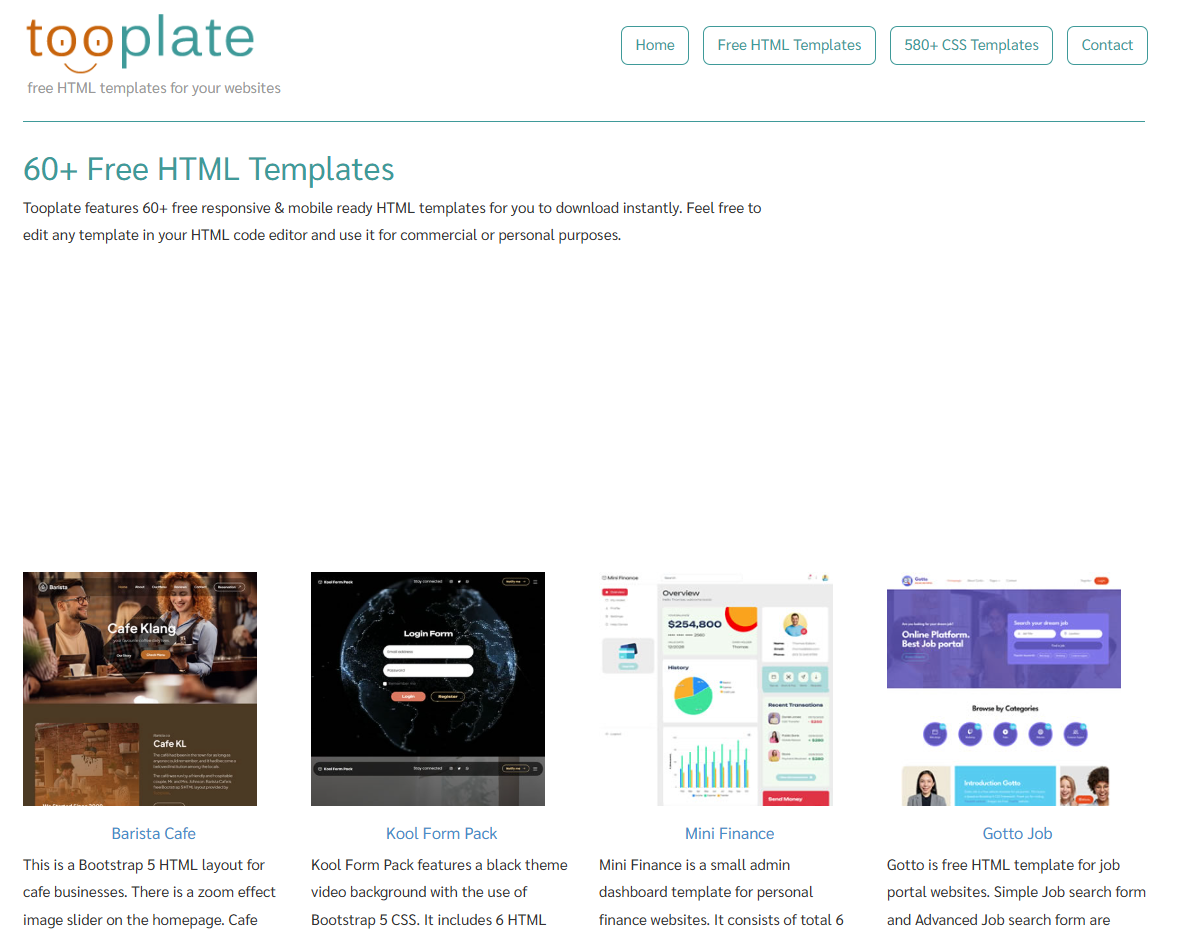
- A static website (you can grab one from Tooplate - they’ve got nice free templates, or just use your own creation)
⛏️ Prepping Before We Launch the Instance
Before firing up the EC2 instance, there are two things we need to set up:
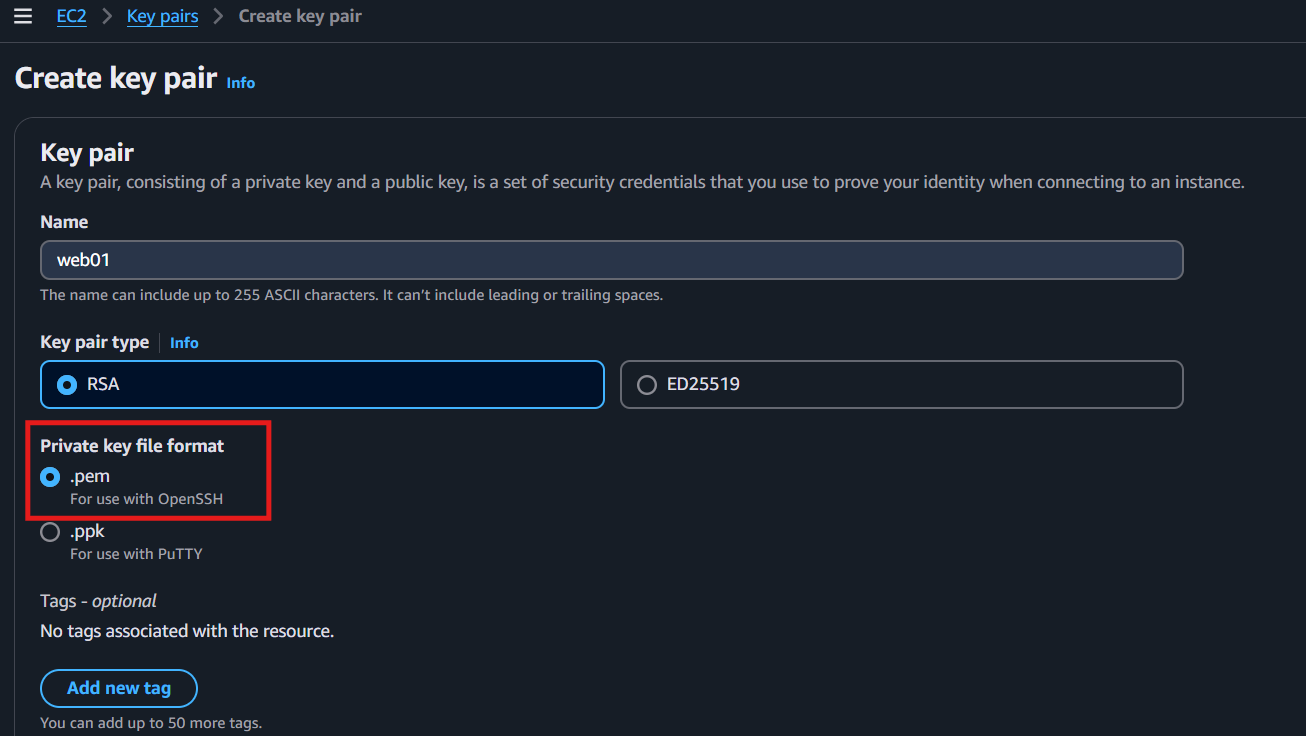
✅ 1. Create a Key Pair
You’ll use this to SSH into the instance. From your AWS EC2 dashboard:
- Go to Key Pairs
- Create new
- Download the .pem file and store it safely - you’ll need it soon
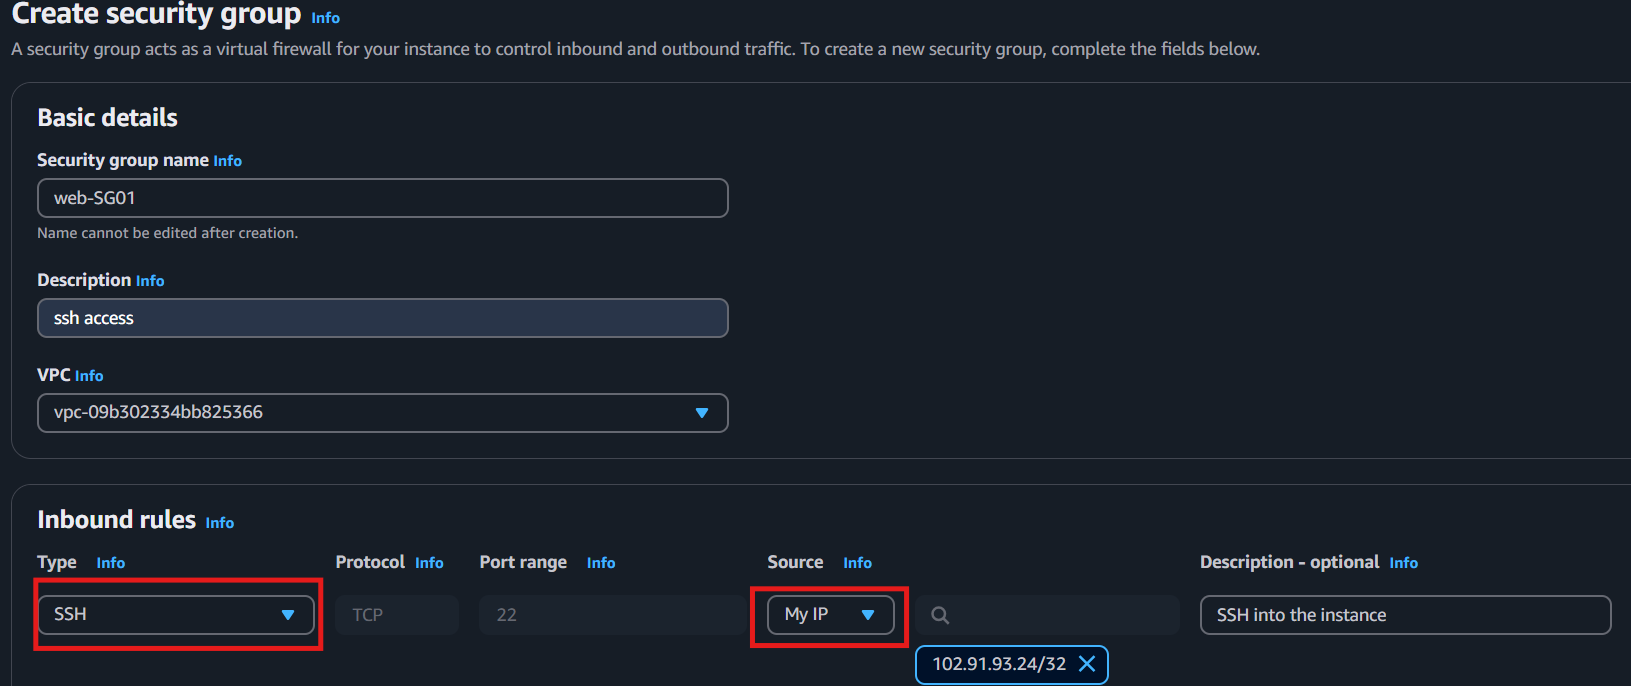
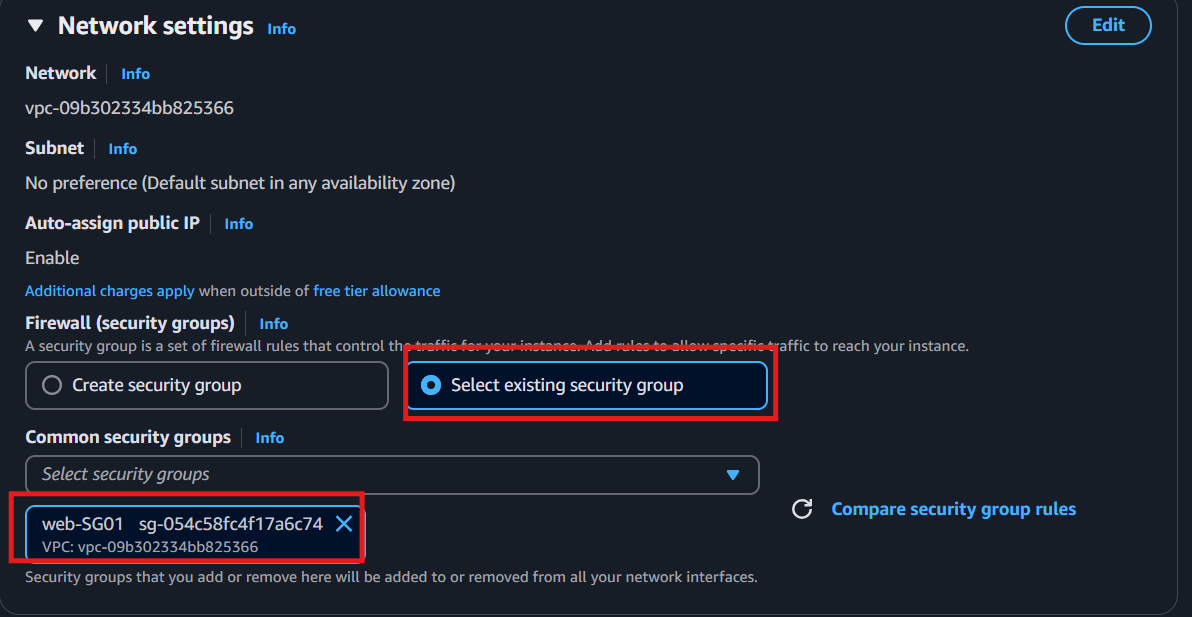
✅ 2. Set Up a Security Group
This controls what kind of traffic can reach your instance.
- Allow SSH (port 22) for connection
🚀 Launch Your EC2 Instance
Now let’s spin up the machine.
- Choose Amazon Linux 2 or Ubuntu (I'll be using Ubuntu for this guide - it doesn’t matter much for static sites)
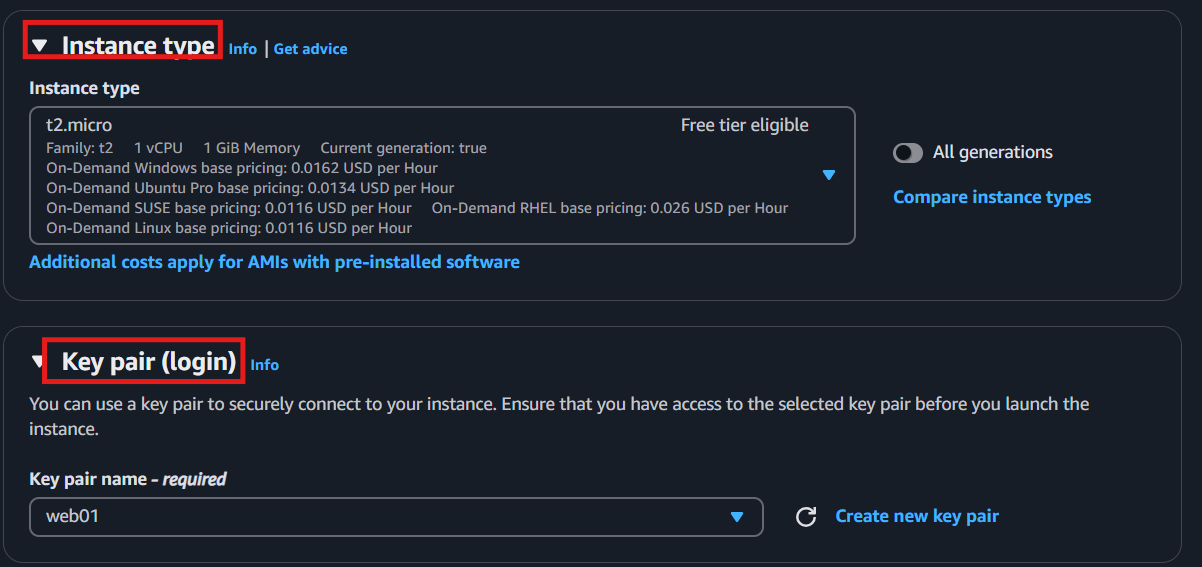
- Select t2.micro - Free Tier Eligible
- During setup, make sure to:
- Select the security group and key pair you just created
- Download the key pair if you haven’t already (you won’t get another chance)
🔌 Connecting to Your EC2 via SSH
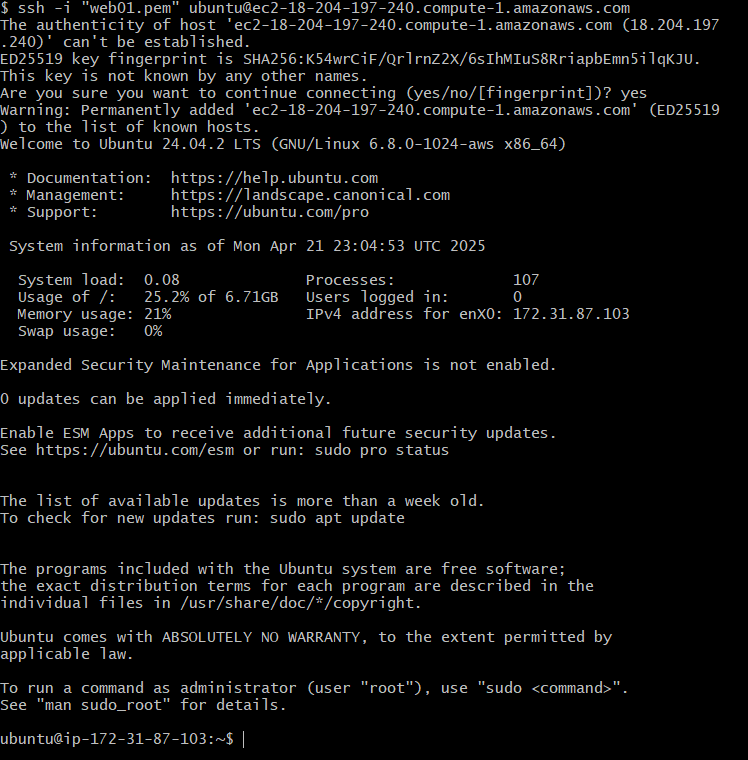
Now, open your terminal and navigate to the folder where your .pem key file is saved. Then connect using this format: ssh -i your-key.pem ubuntu@[your-ec2-public-ip]
ssh -i "web01.pem" [email protected]If this is your first SSH connection, it might ask you to confirm the fingerprint - just type yes.
📦 Install Required Packages
Once you're in the EC2 shell, let's install a few packages we need:
sudo apt update
sudo apt install apache2 wget unzip -y
That gives us a web server (Apache), and tools to download and extract our template.
📁 Set Up the Static Website
We’re going to grab a template from Tooplate and deploy it.
Create a temporary directory:
mkdir /tmp/webfiles
cd /tmp/webfiles
Now go to Tooplate, pick any template, and copy the direct download link.
Back in your EC2 terminal:
wget https://www.tooplate.com/zip-templates/2132_clean_work.zip
unzip 2132_clean_work.zip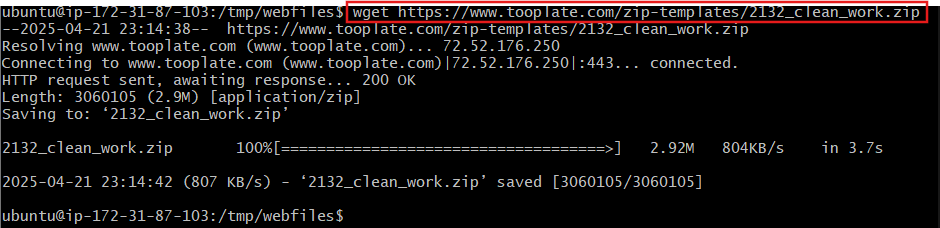
Once unzipped, copy the contents to Apache’s web root and restart the service:
sudo cp -r * /var/www/html/
sudo systemctl restart apache2
🌐 Time to Visit the Site!
Open your browser and type:
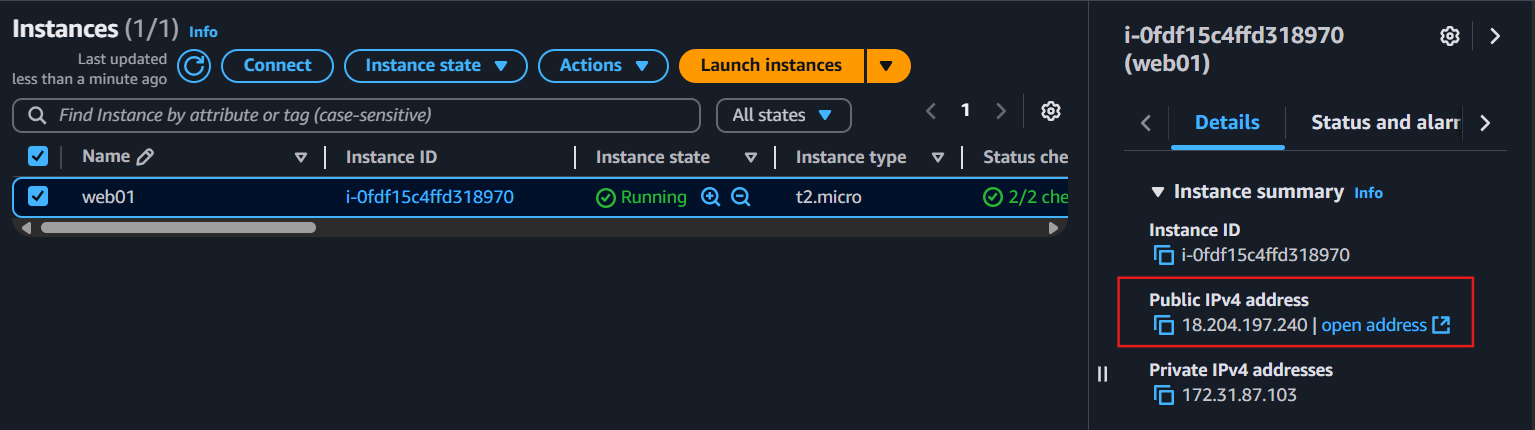
But wait… page not responding?
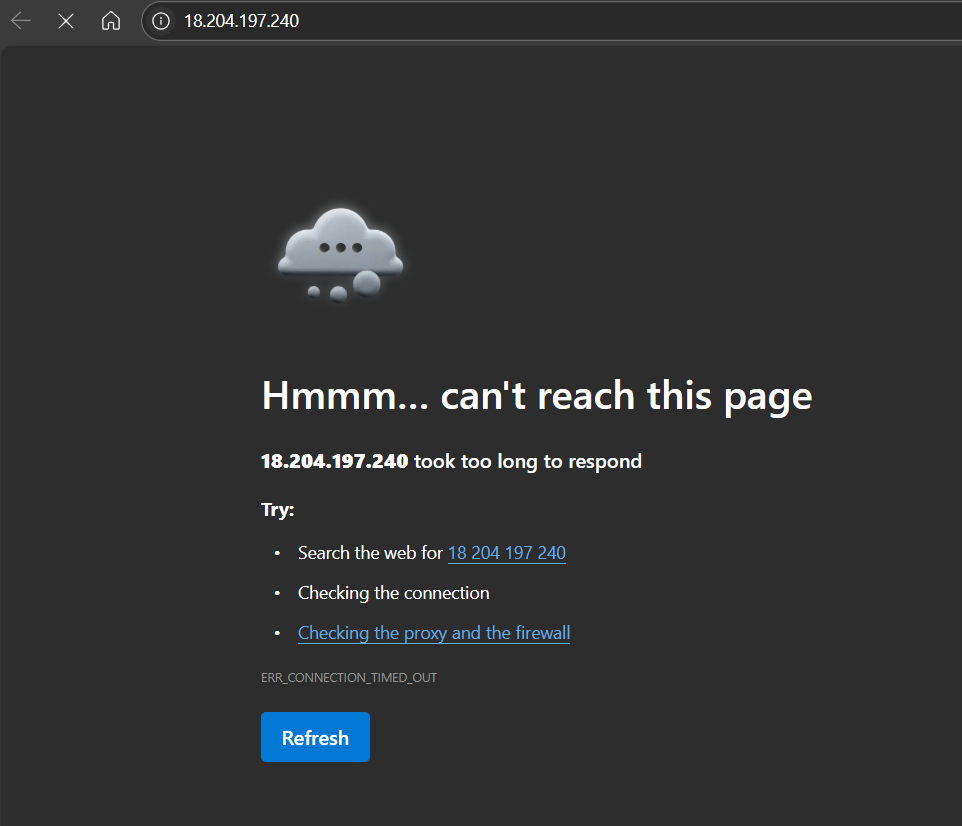
Yeah, that’s because our security group didn’t initially allow HTTP traffic. So let’s fix that.
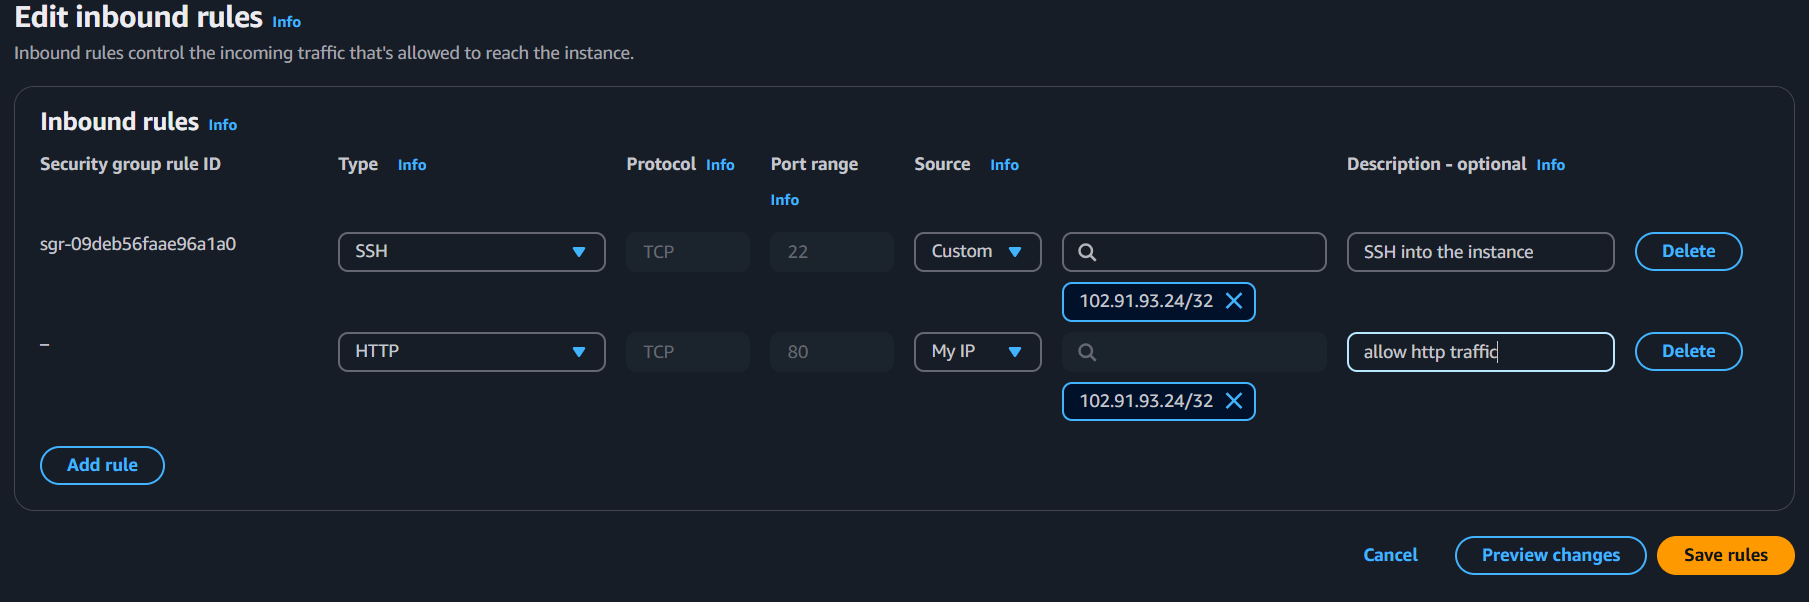
- Head back to your AWS console
- Go to Security Groups > Inbound rules
- Edit and add HTTP (port 80)
- Save, and refresh the browser
Boom! Your site should be live.

✅ Wrap Up
Congrats, you've just deployed a static site to AWS EC2! 🎉
It’s a small step, but a huge part of understanding how cloud hosting works under the hood. As I continue down this DevOps path, I’ll be sharing more tutorials, real-world use cases, and the bumps along the way.
Follow along if you want to grow your cloud confidence one project at a time. and oh, by the way don't forget to clean up your instance when you're done😁.
