Introduction
With the enhanced image-generation capabilities of ChatGPT, not only can you create illustrations of any environment, but you can also have ChatGPT break them into individual component images. From there, you can feed each extracted component into an image-to-mesh pipeline to generate 3D models. Conceptually, this means you can now generate as many 3D models as you like in a consistent style.
Of course, even before this, you could have asked ChatGPT for a “picture of a red apple” and then used image-to-mesh to create a 3D model. However, by having ChatGPT separate out the parts of a single illustration, you can ensure that all objects share the same color palette, style, and look—allowing you to bulk-generate a large set of cohesive 3D models.
Below is an example where all of the 3D models were generated from a single ChatGPT-created illustration.

In this article, I’ll explain how it’s done.
Step 1: Generating the Original Illustration in ChatGPT
This is straightforward. For instance, you might prompt ChatGPT with:
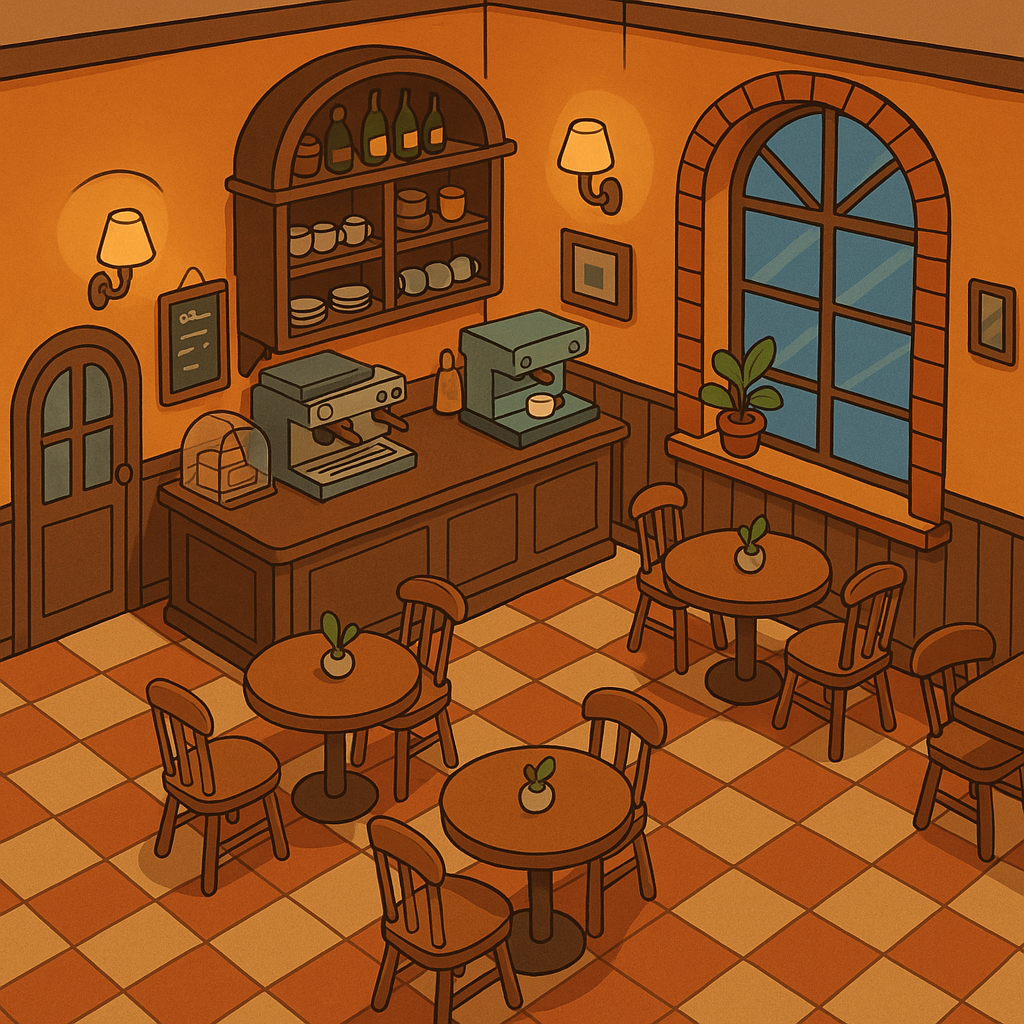
Generate an illustration of a European-style cafe interior,
in an isometric projection, with a somewhat cartoonish style.
The key term here is “isometric projection.” By including this, the image will (as much as possible) avoid perspective distortion. Also, try not to include too many objects in the scene, because the more objects there are, the more work you’ll have extracting and converting them.
Below is the image I used for this example, generated by ChatGPT:
Next, I gave ChatGPT a second instruction:
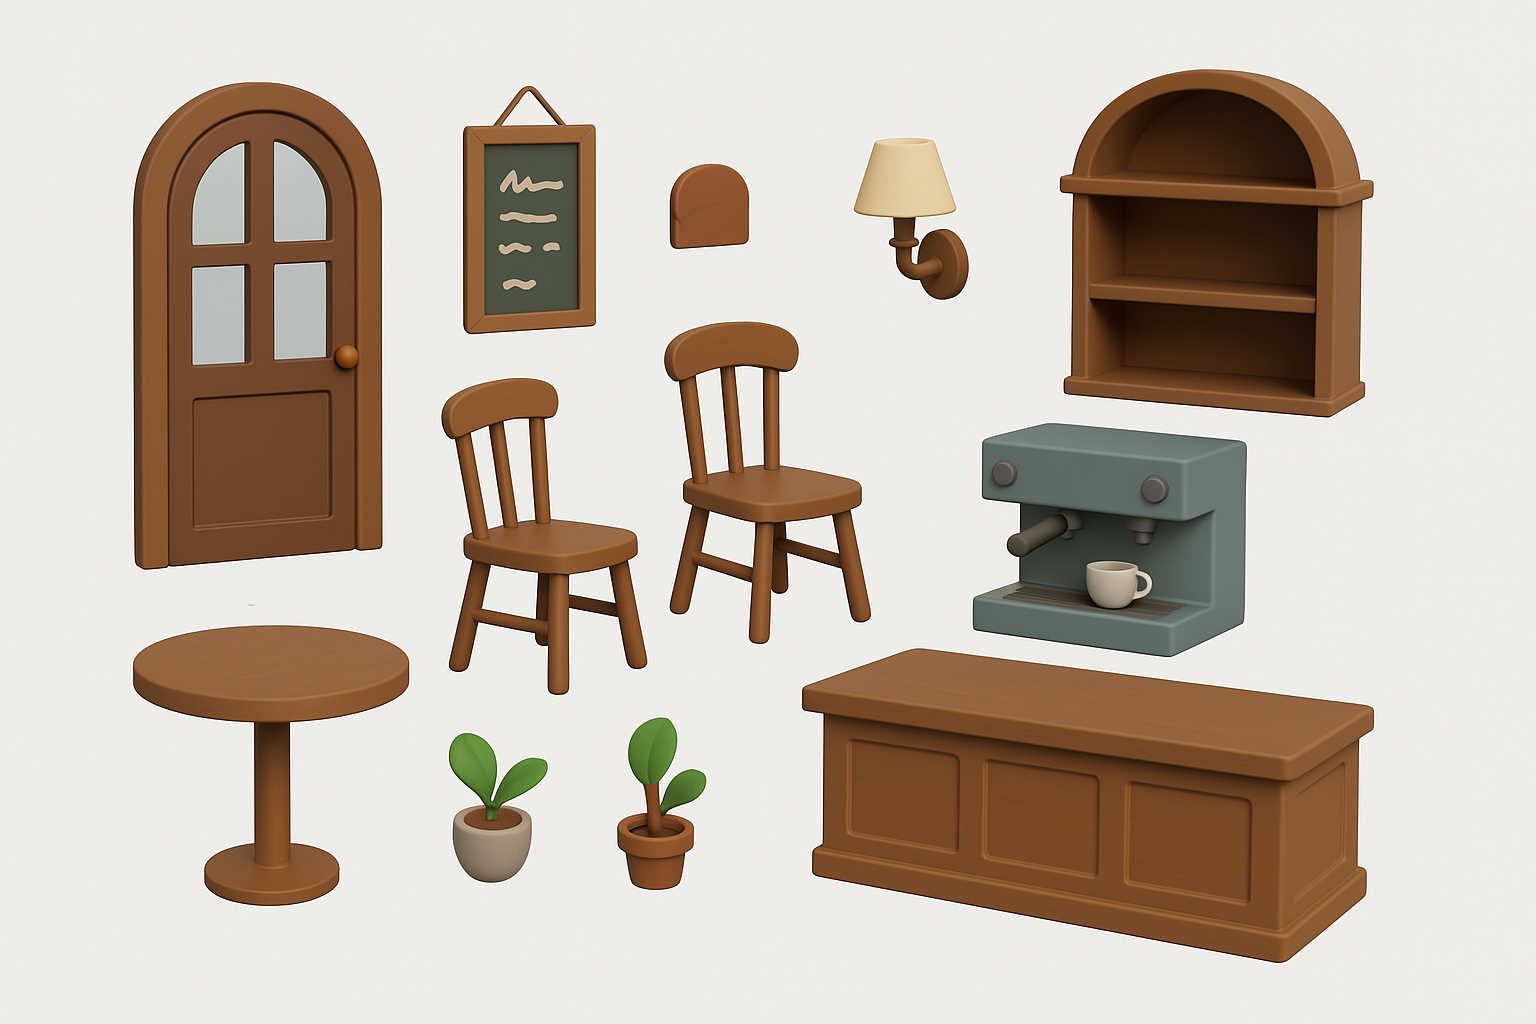
I want to recreate all the furniture and appliances in this image as 3D models.
Please separate each item and show them arranged on a single sheet.
Make each piece clear and easy to reference for 3D modeling.
Use a white background.
ChatGPT will then produce a single image with all the “parts” laid out separately:
Ideally, we’d like ChatGPT to give us each item as a separate image, but ChatGPT only outputs one image per prompt. We’ll handle splitting them in the next step.
Step 2: Splitting the Parts into Individual Images
Go to the Parts Extraction Tool.
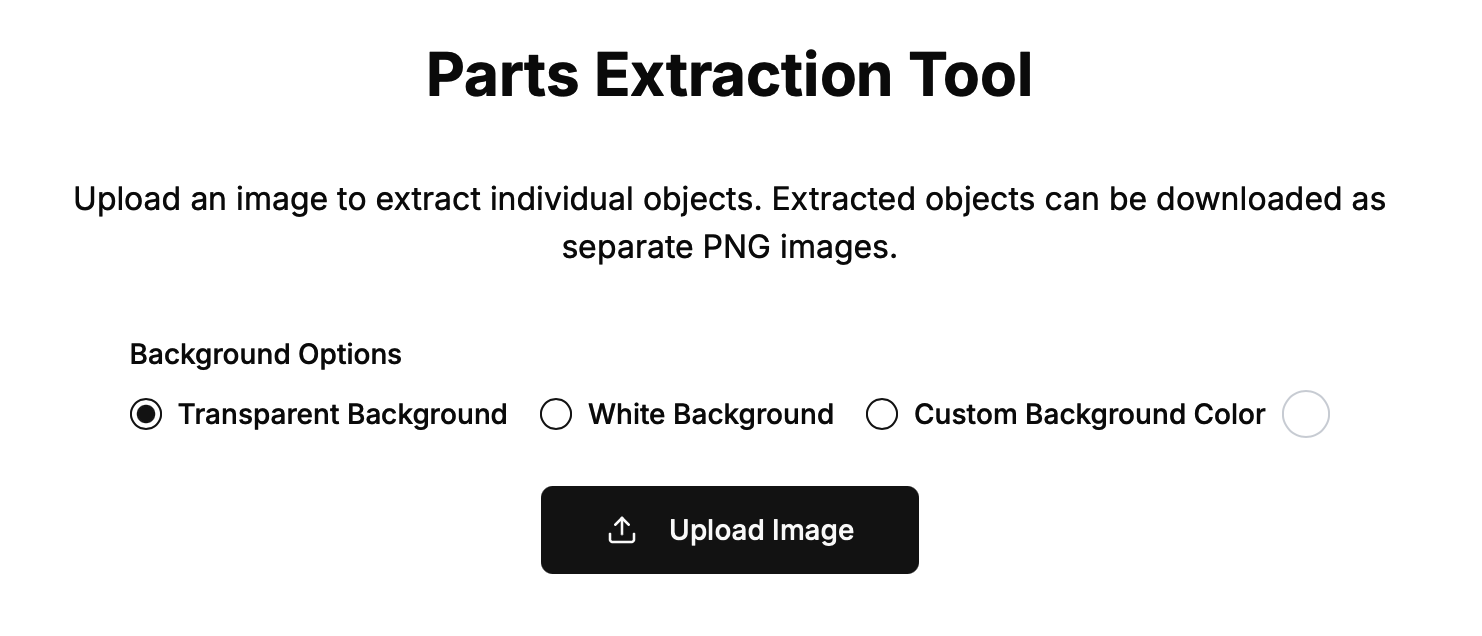
Upload the single “combined” sheet from above. The tool automatically detects and splits each object, giving you separate images. You can click Download as ZIP to download them all in one go.

Under “Custom Background Color” you can choose whether the images have a white or transparent background (or pick a custom color). This might matter depending on which Image-to-Mesh tool you use, but usually transparent or white is fine.
Step 3: Installing the Local Image-to-Mesh Library with pinokio
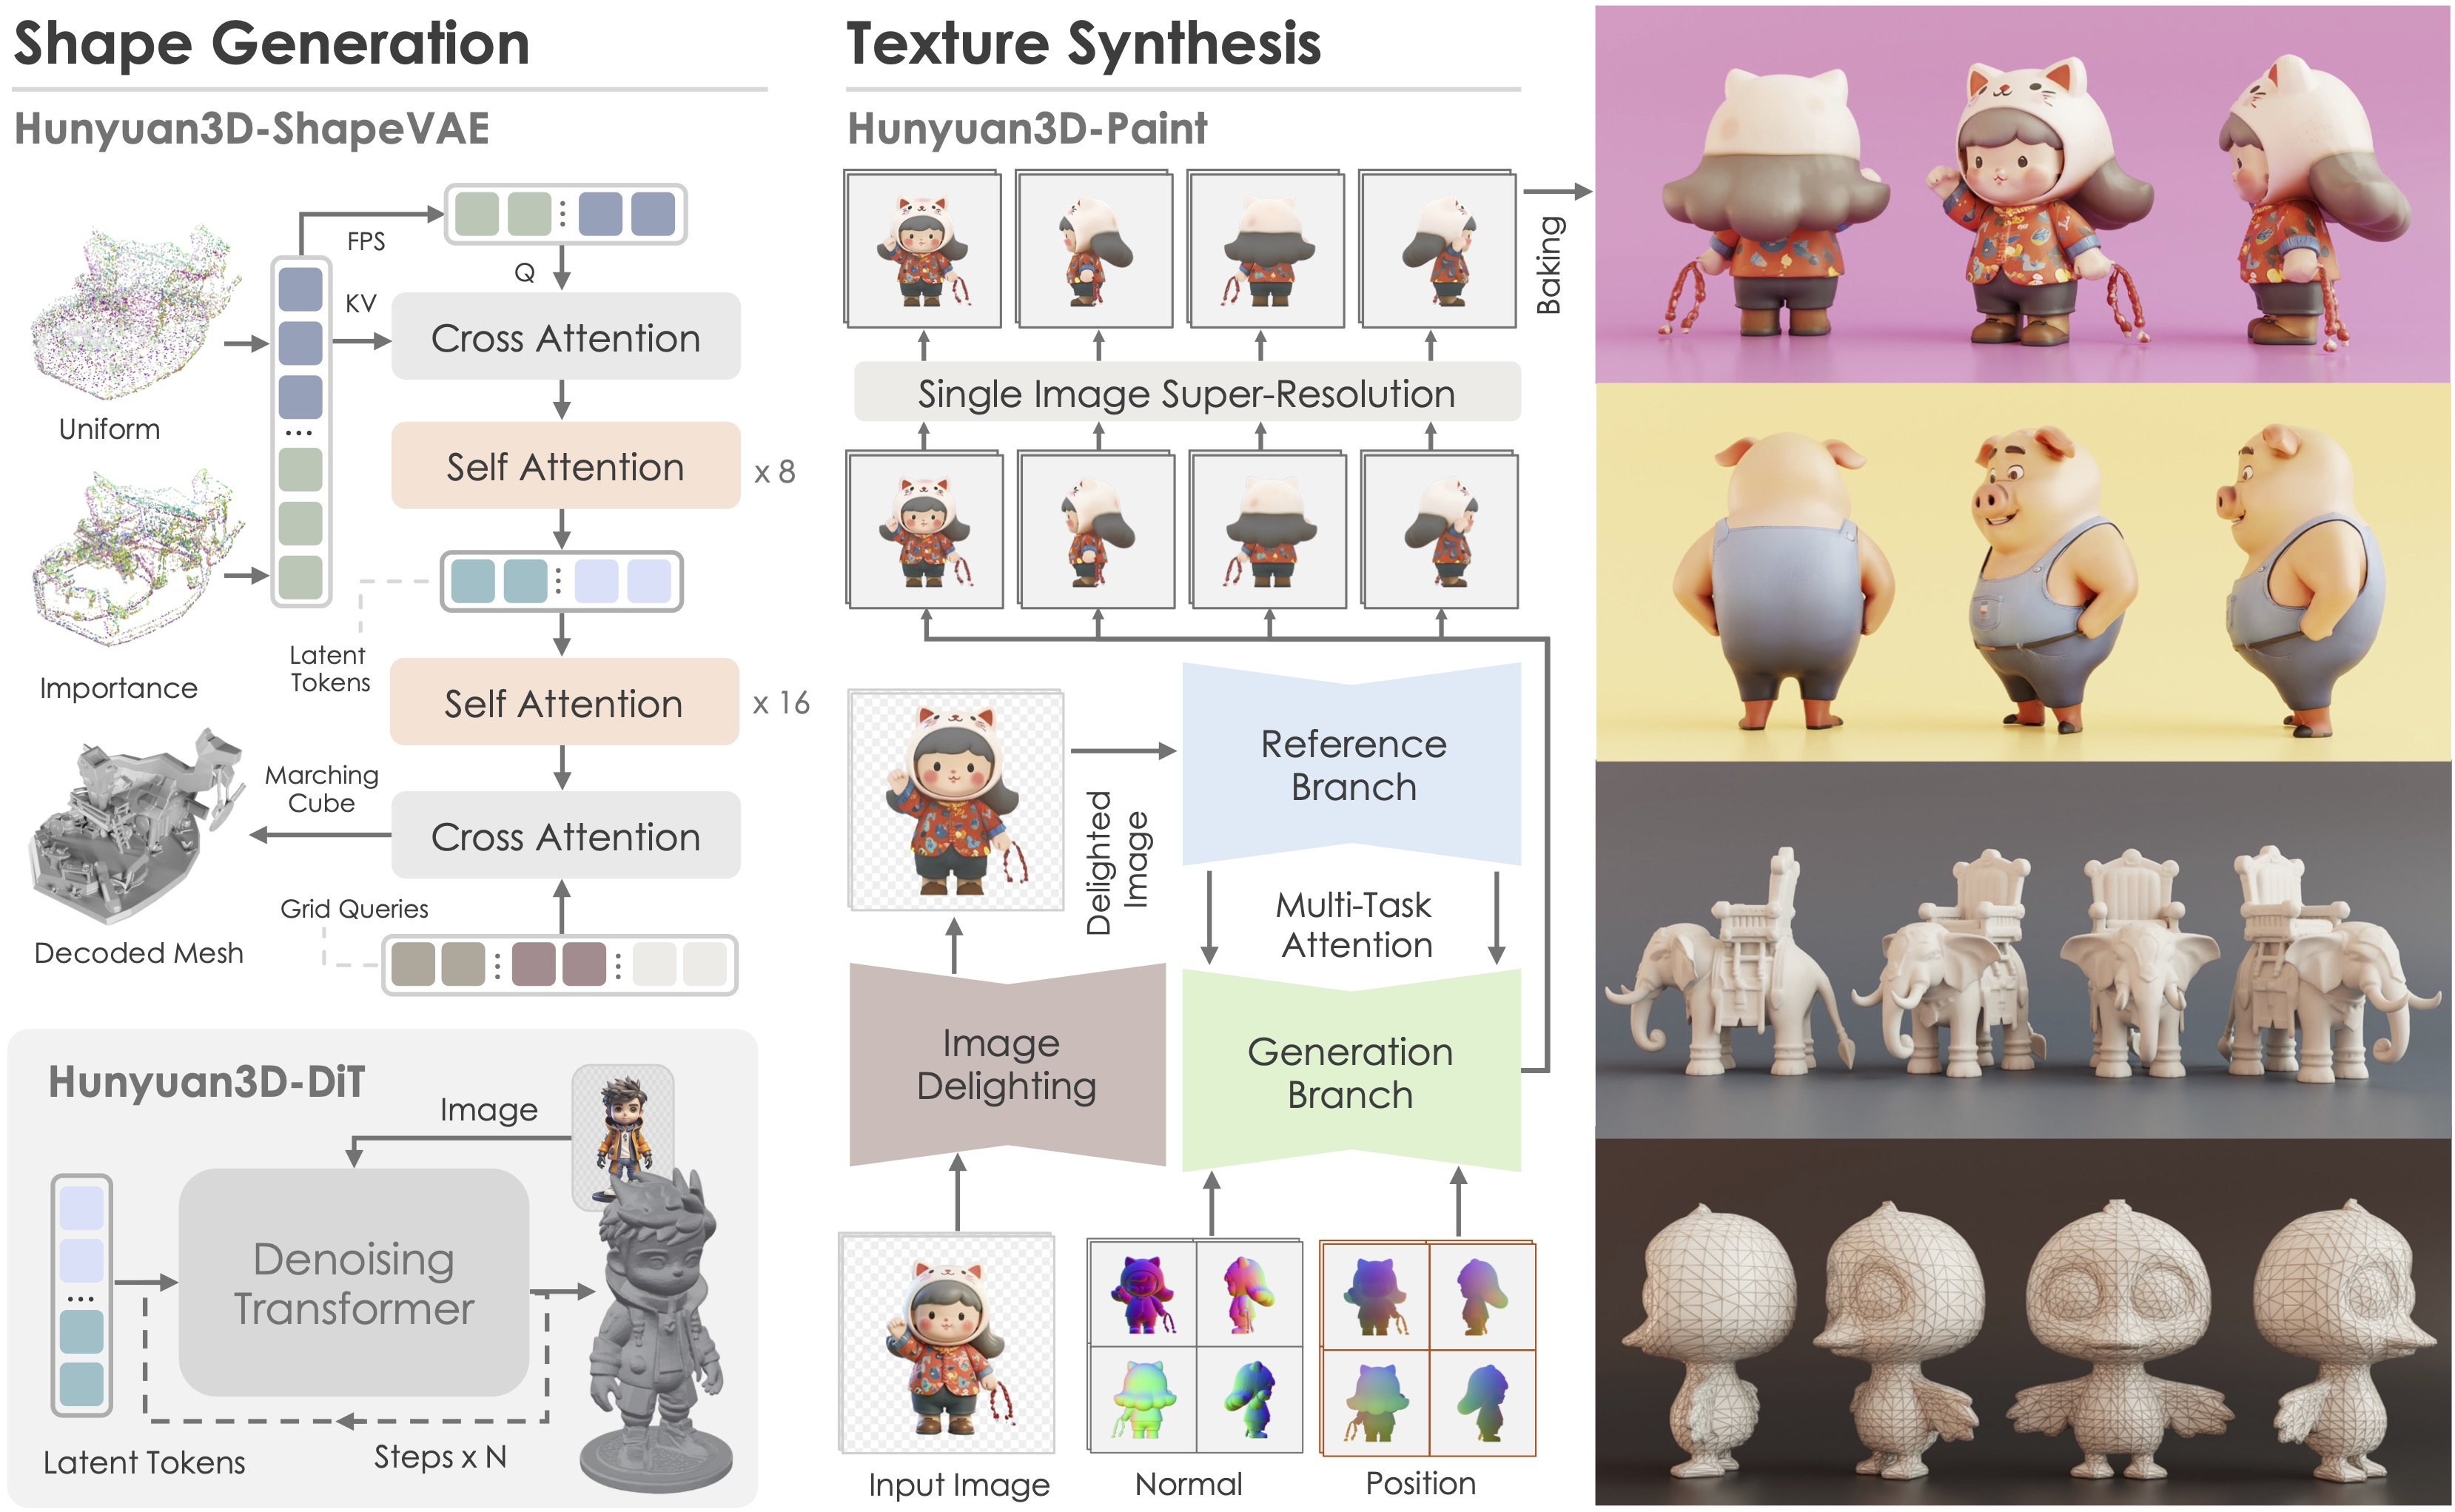
Next, we’ll convert these 2D images into 3D models. You could use a service like Meshy for this, but if you have a large number of images, the costs can get high. Therefore, we’ll use a local Image-to-Mesh library. There are several, but one powerful option is Hunyuan3D-2.
However, installing Hunyuan3D-2 can be tedious. That’s where pinokio comes in. Pinokio automates installing libraries and provides a local GUI to run them, reminiscent of Hugging Face Spaces. According to this article, you’ll need:
- An NVIDIA GPU with at least 8 GB VRAM
- GPU driver version 550 or later
- At least 24 GB of system memory
You’ll also need around 50 GB of disk space available.
- Download pinokio (Windows version) from the official site.
- When running the installer, you might see a security warning. Click “More info” and then “Run anyway.”
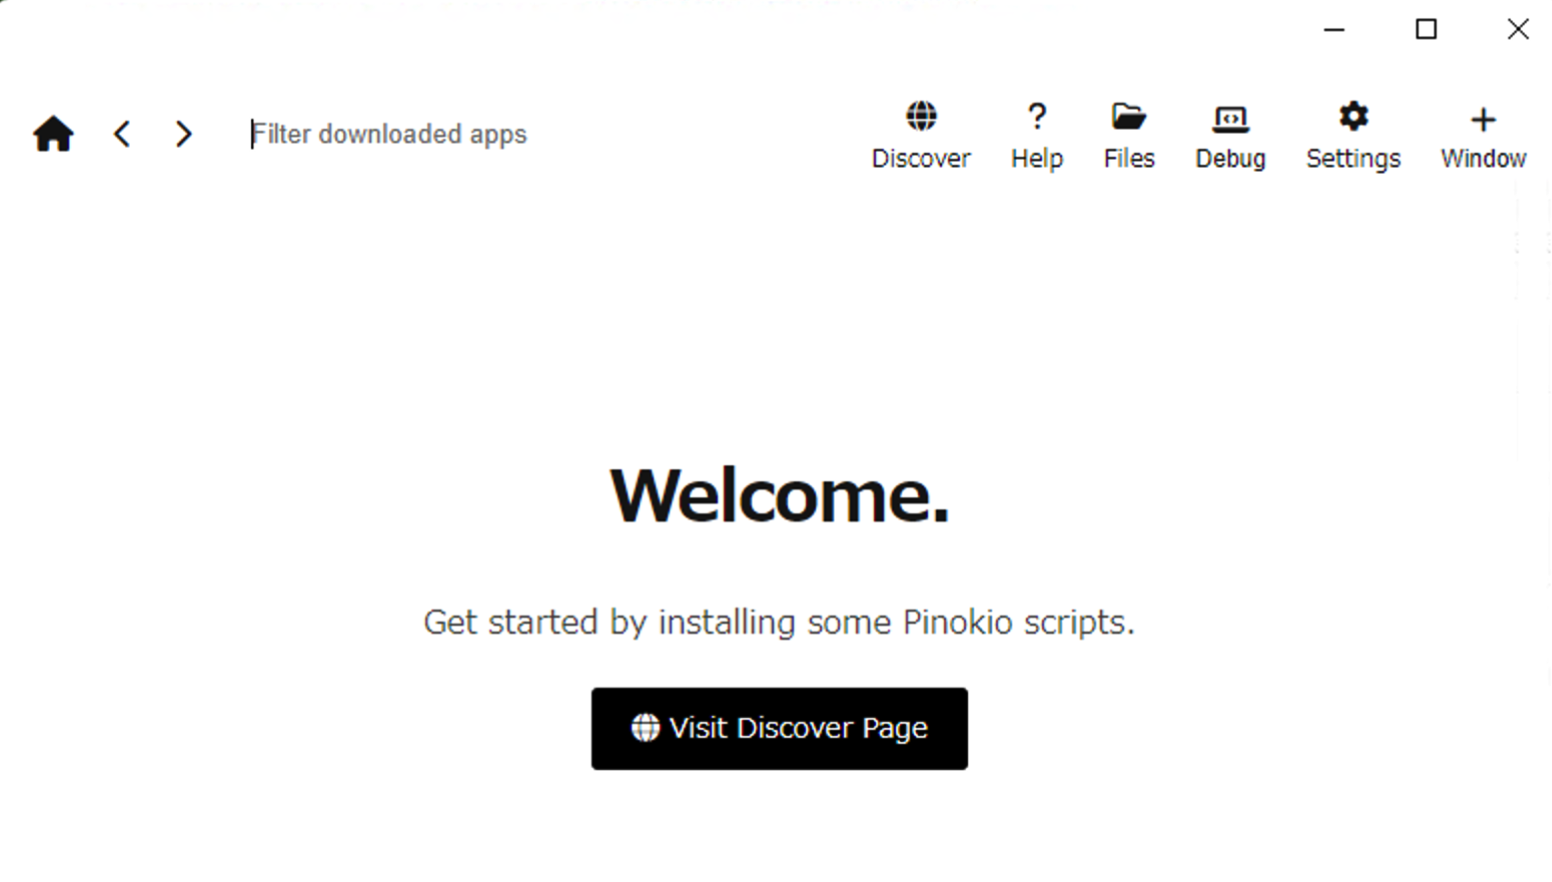
- Accept the default settings until you reach the start screen, then click “Visit Discover Page.”
Hunyuan3D-2 might not be listed among the available models by default.
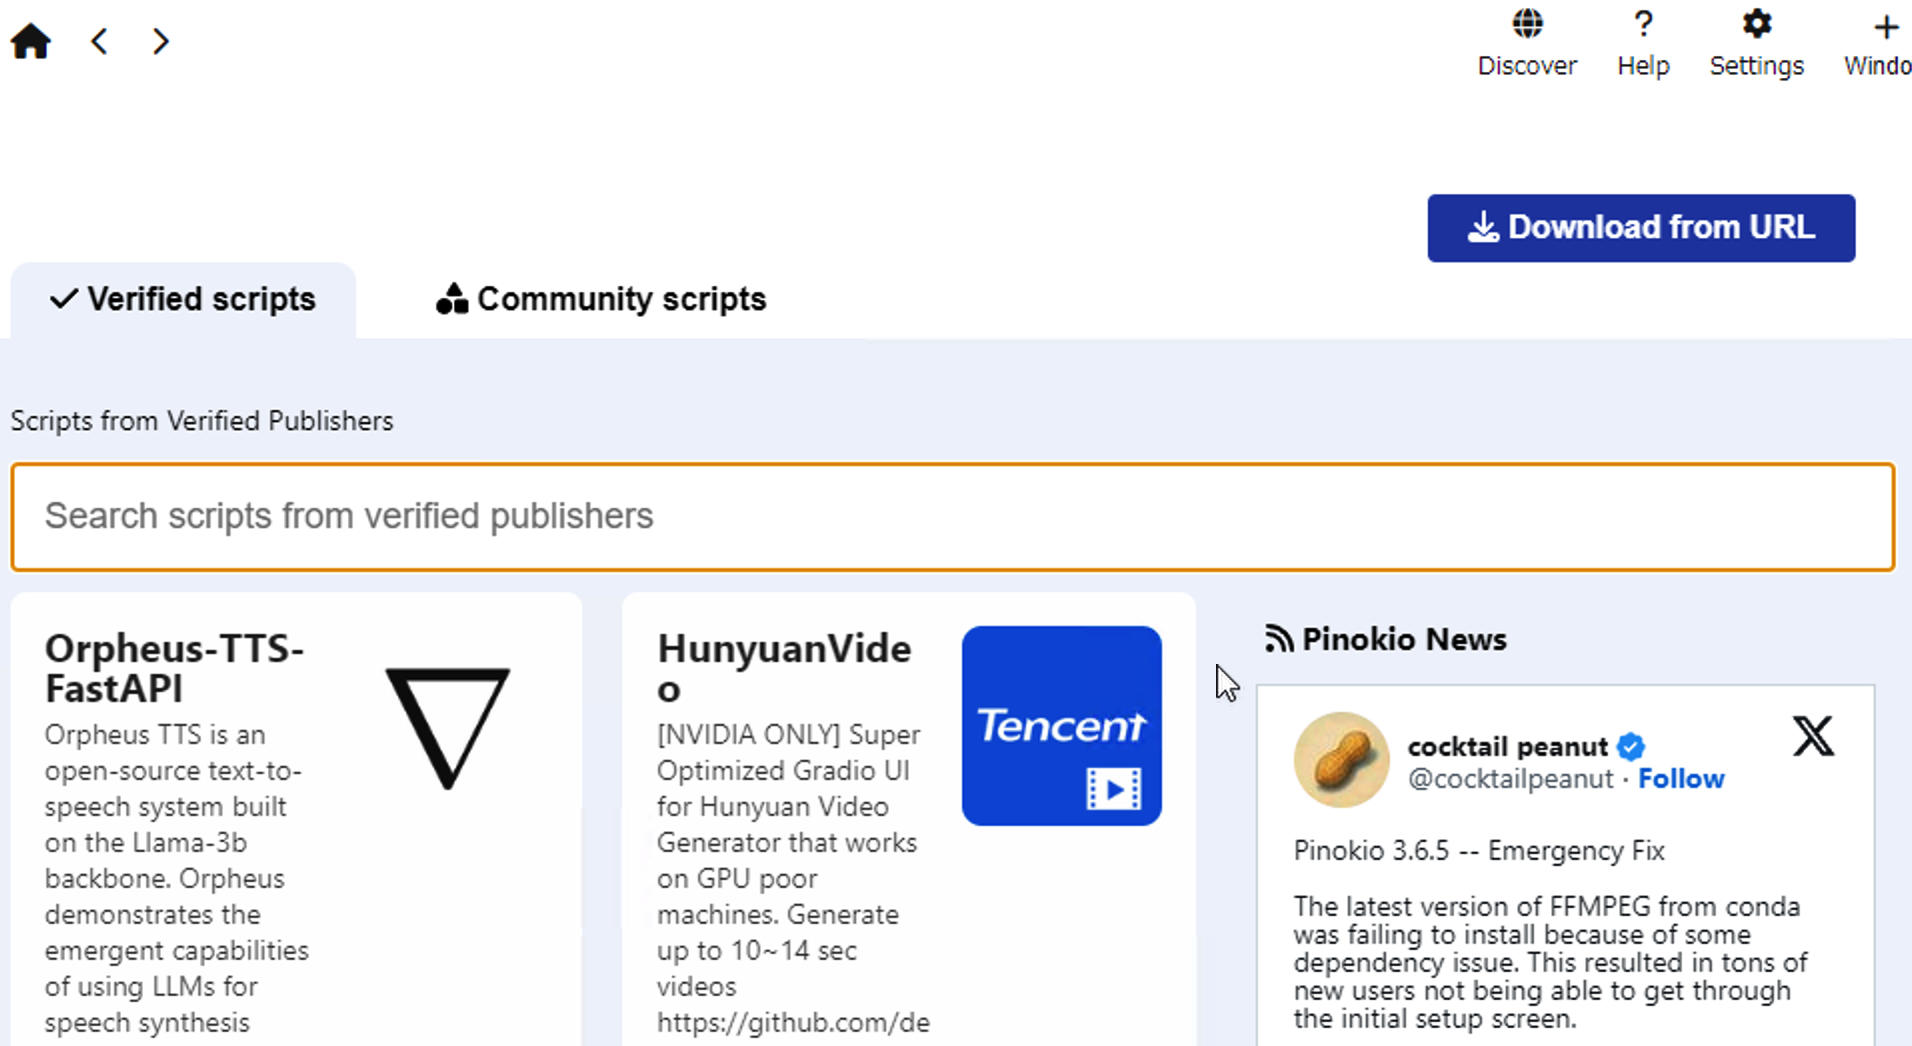
Click “Download from URL” and enter:
https://github.com/pinokiofactory/Hunyuan3D-2.git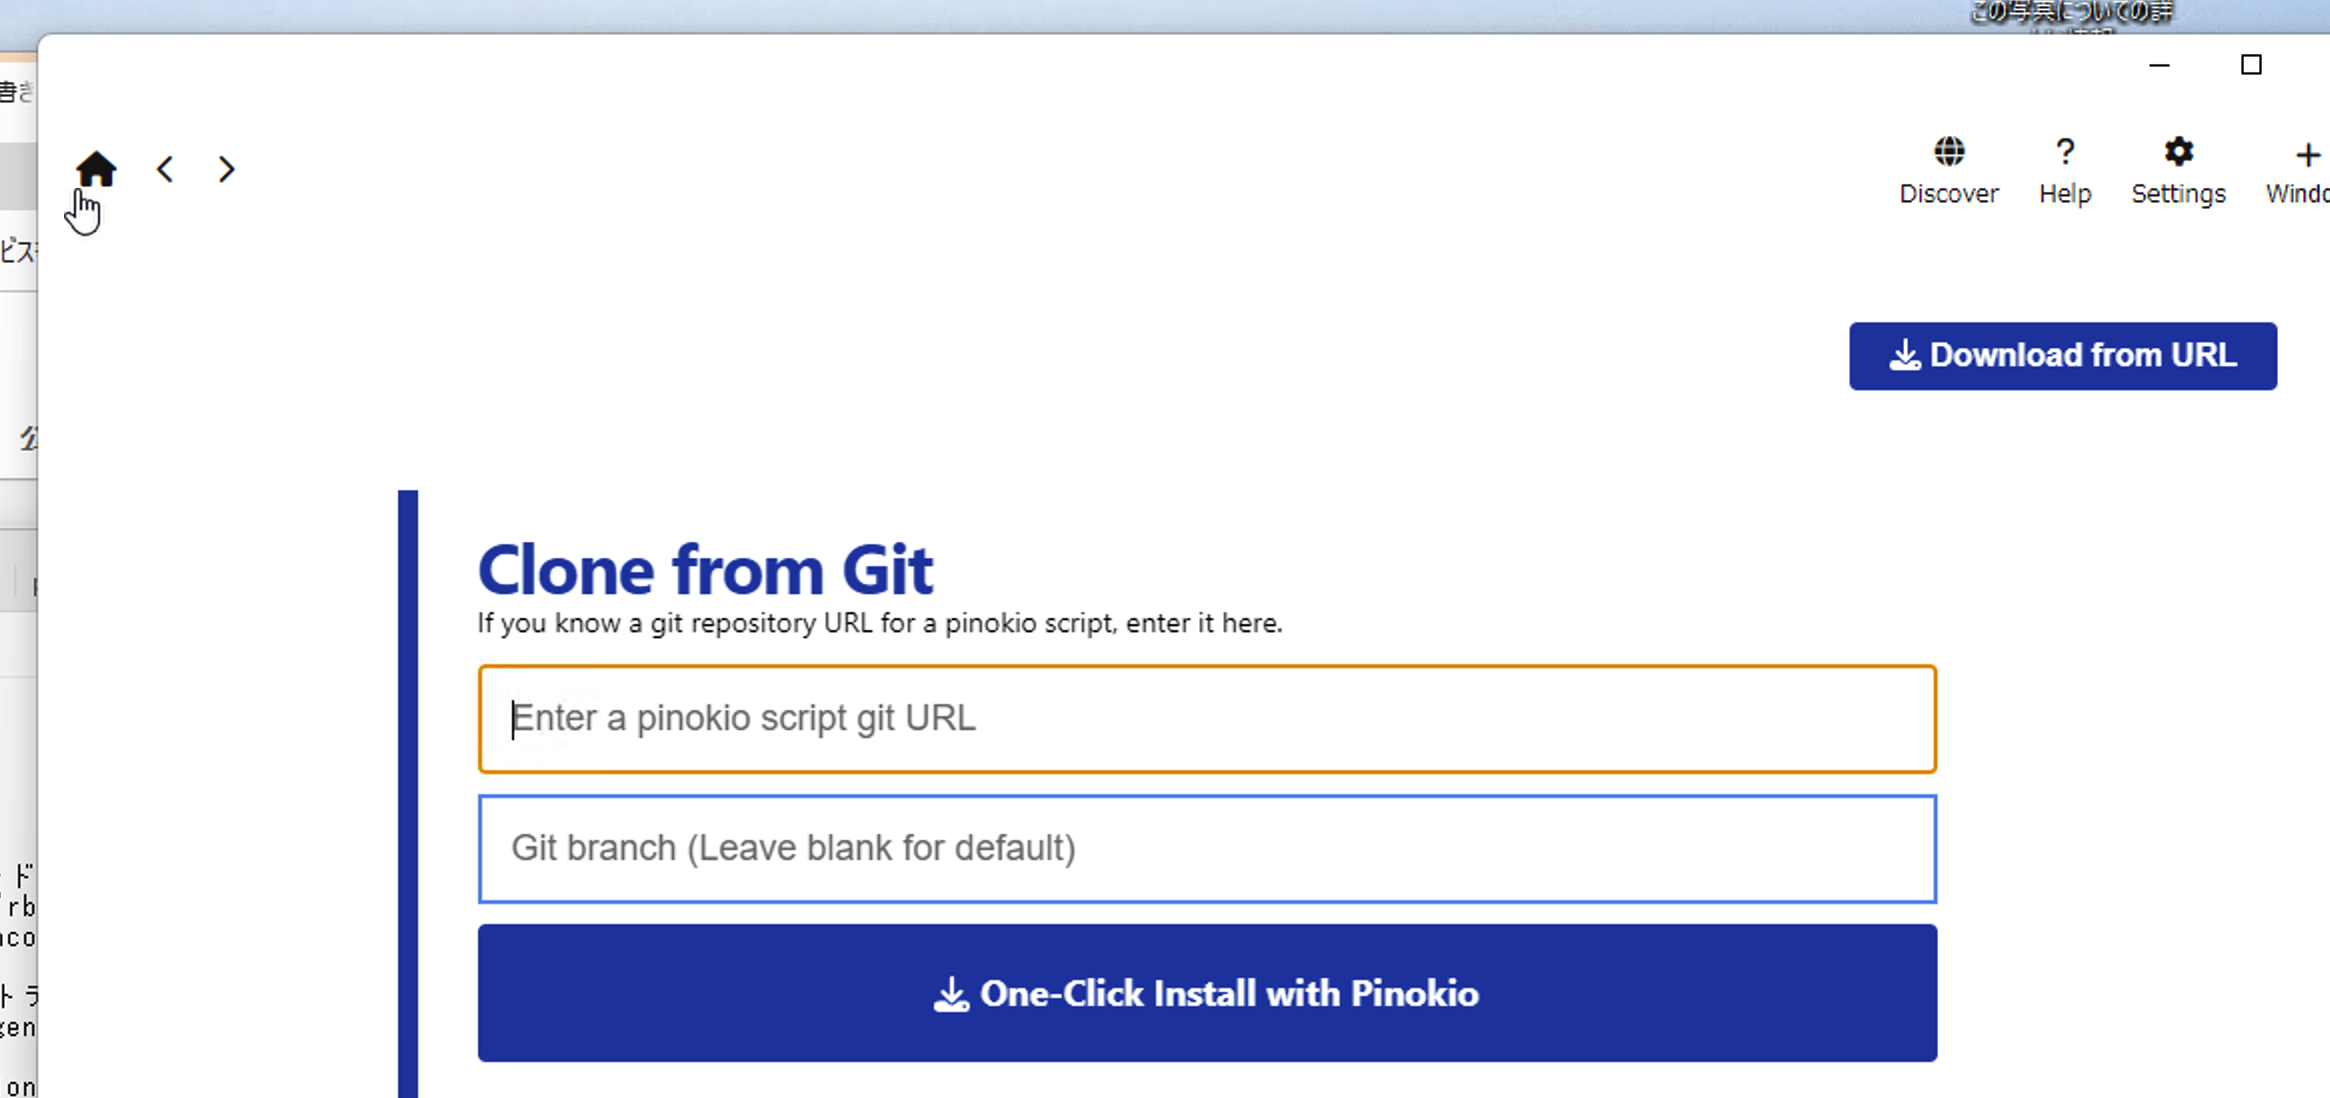
Then click “One-Click Install with Pinokio.” It will list all the packages to install. Confirm with “install.” During installation, you’ll see a console window where everything is set up in a virtual environment. Keep an eye on it and follow any on-screen instructions.
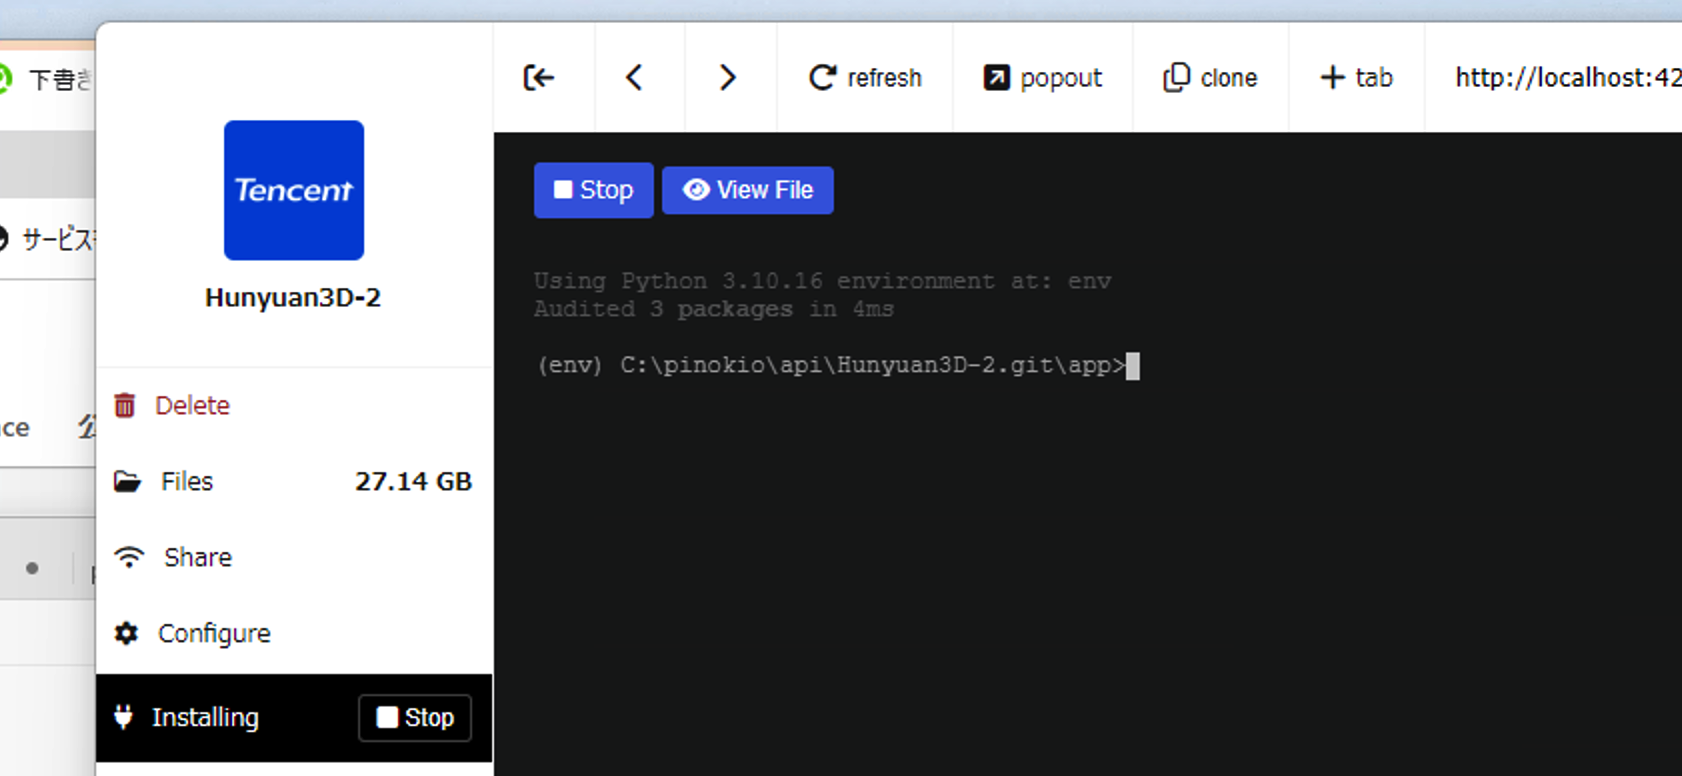
When it’s finished, you’ll see:

Step 4: Batch-Converting Images into 3D Models
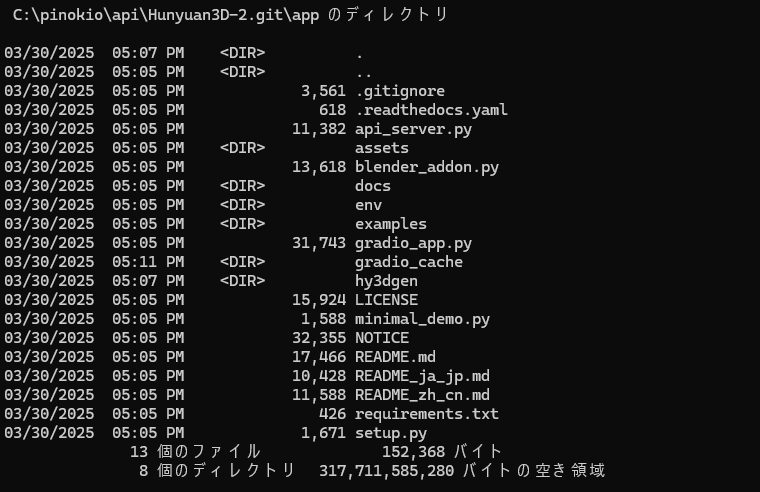
At this point, everything should be installed. By default, the files for Hunyuan3D-2 reside in:
C:\pinokio\api\Hunyuan3D-2.git\appOpen a command prompt and navigate to that app folder. You should see files like these:
4.1 Activating the Virtual Environment
First, activate the virtual environment:
.\env\Scripts\activate4.2 Running the Local Server
Next, start the local server that handles 3D generation:
python api_server.py --enable_tex --host 0.0.0.0 --port 8080-
--enable_textells it to generate textures as well. -
--hostand--portspecify where the service runs.
The server will download necessary data, which can take a while. Once it’s done, you’ll see something like:

4.3 Testing with a Single Image
Create a script called generate.py in the same app folder:
import base64
import requests
import json

def send_image_to_api():
    # Base64-encode the image file
    with open('assets/demo.png', 'rb') as image_file:
        img_b64_str = base64.b64encode(image_file.read()).decode('utf-8')

    # API endpoint and request data
    url = "http://localhost:8080/generate"
    headers = {
        "Content-Type": "application/json"
    }
    payload = {
        "image": img_b64_str,
        "texture": True
    }

    # Send the POST request
    response = requests.post(url, headers=headers, json=payload)

    # Save the response
    if response.status_code == 200:
        with open('test1.glb', 'wb') as f:
            f.write(response.content)
        print("GLB file saved successfully.")
    else:
        print(f"Error occurred. Status code: {response.status_code}")

if __name__ == "__main__":
    send_image_to_api()
Then open another command prompt (no need to activate the env again for the second prompt), go to the app folder, and run:
python generate.pyIf it works, you’ll get a .glb file with textures. The server window should show something like:
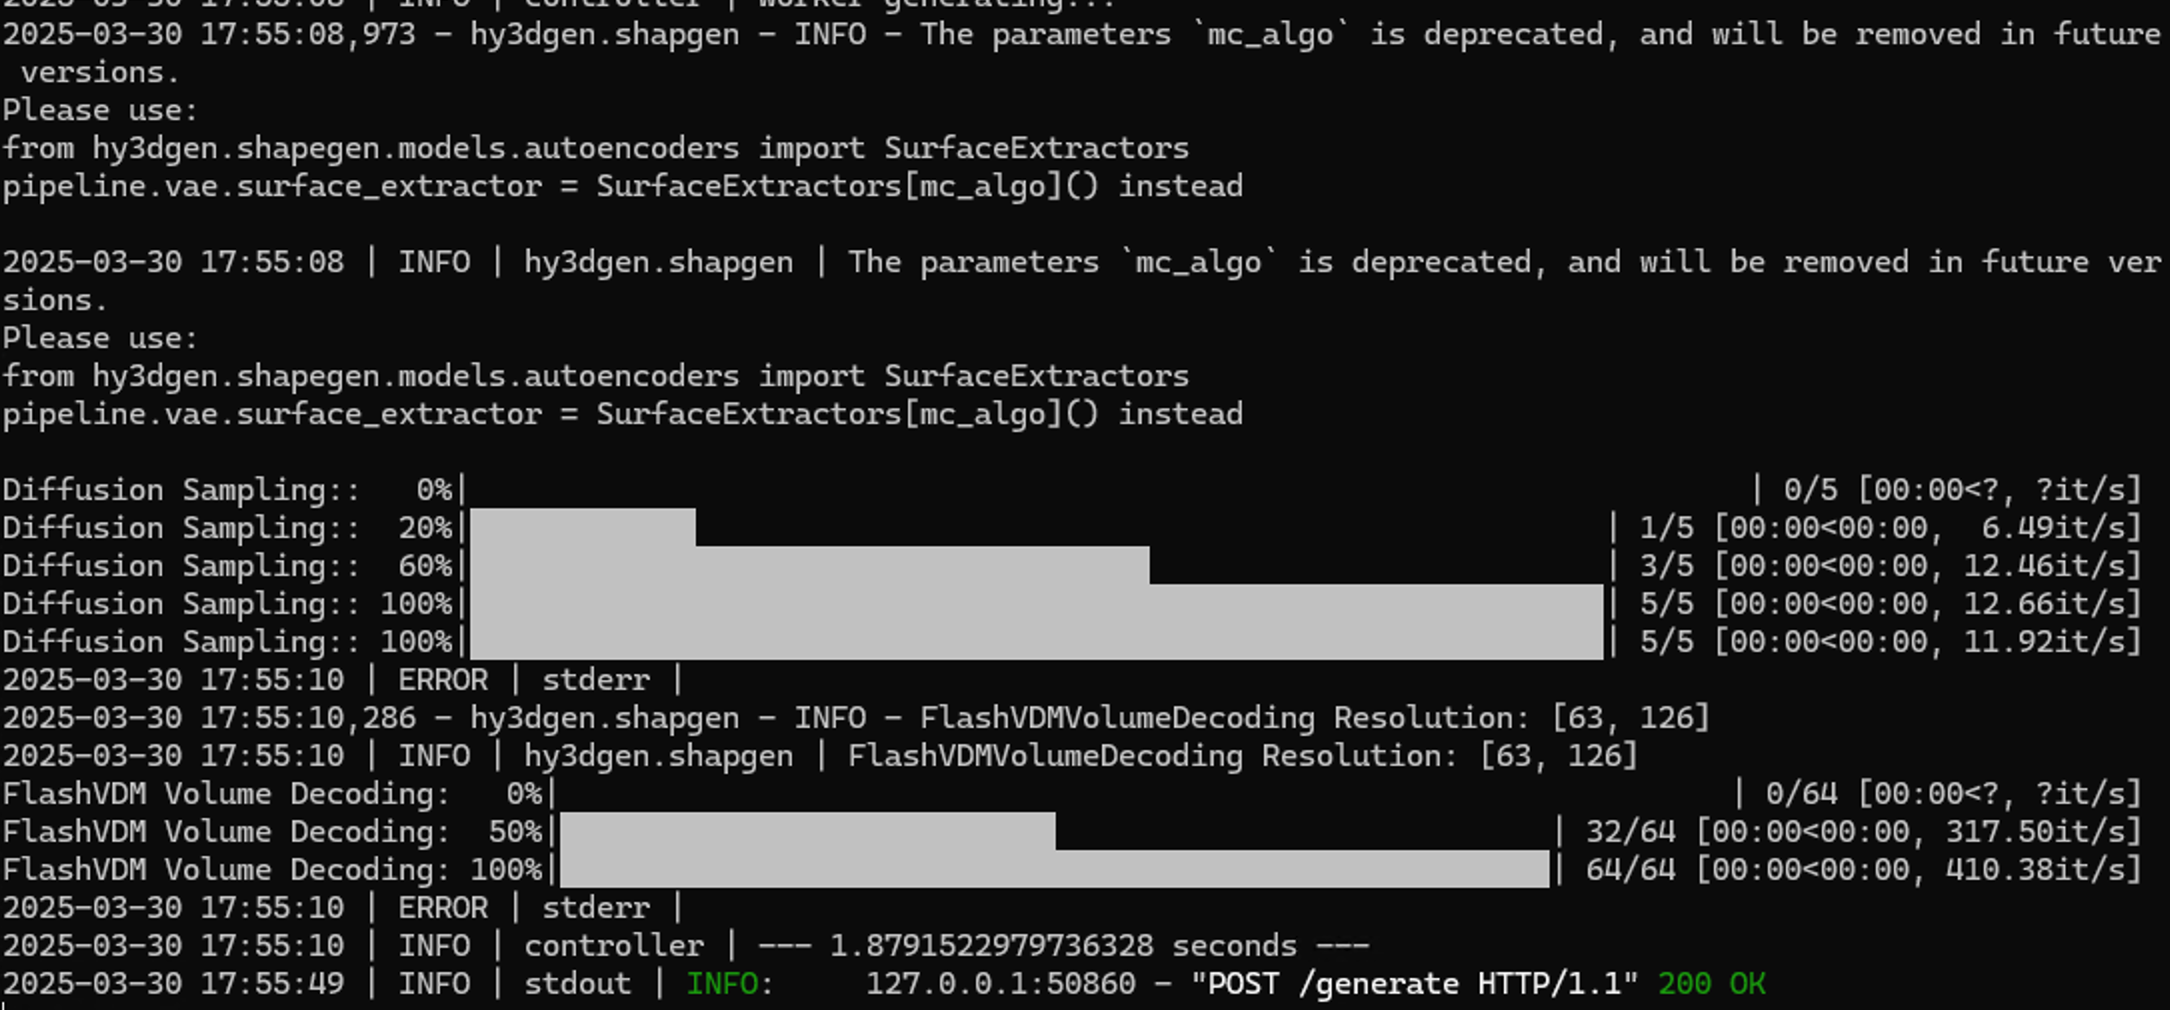
You’ll find the test1.glb file in the same folder as generate.py:
4.4 Batch Conversion for Multiple Images
Create another script, generate_myimages.py, in the same folder:
import base64
import requests
import json
import os
import time

def send_image_to_api(image_path, output_path, retries=3, timeout=600):
    print(f"\n--- Start processing: {image_path} ---")
    start_time = time.time()

    with open(image_path, 'rb') as image_file:
        img_b64_str = base64.b64encode(image_file.read()).decode('utf-8')

    url = "http://localhost:8080/generate"
    headers = {"Content-Type": "application/json"}
    payload = {
        "image": img_b64_str,
        "texture": True
    }

    for attempt in range(1, retries + 1):
        try:
            print(f"  → Sending to API (attempt {attempt}/{retries})...")
            response = requests.post(url, headers=headers, json=payload, timeout=timeout)

            if response.status_code == 200:
                with open(output_path, 'wb') as f:
                    f.write(response.content)
                duration = time.time() - start_time
                minutes = int(duration // 60)
                seconds = int(duration % 60)
                print(f"  ✅ Success: saved to {output_path} (time taken: {minutes}m {seconds}s)")
                return
            else:
                print(f"  ❌ Status code: {response.status_code}")

        except requests.exceptions.Timeout:
            print("  ⚠️ Timeout occurred.")
        except Exception as e:
            print(f"  ⚠️ Error: {e}")

        time.sleep(5)  # Retry interval

    duration = time.time() - start_time
    minutes = int(duration // 60)
    seconds = int(duration % 60)
    print(f"  ❌ Failed after final attempt: {image_path} (time taken: {minutes}m {seconds}s)")

def process_all_images():
    input_dir = 'assets/myimages'
    output_dir = 'assets/output_glb'
    os.makedirs(output_dir, exist_ok=True)

    image_files = sorted([
        f for f in os.listdir(input_dir)
        if f.lower().endswith(('.png', '.jpg', '.jpeg'))
    ])

    total = len(image_files)
    print(f"=== Processing {total} images in total ===")

    for idx, filename in enumerate(image_files, 1):
        image_path = os.path.join(input_dir, filename)
        base_name = os.path.splitext(filename)[0]
        output_path = os.path.join(output_dir, f'{base_name}.glb')
        print(f"\n📄 [{idx}/{total}] Processing {filename} ...")
        send_image_to_api(image_path, output_path)

    print("\n=== All done ===")

if __name__ == "__main__":
    process_all_images()
Place all your extracted part images into assets/myimages. Then run:
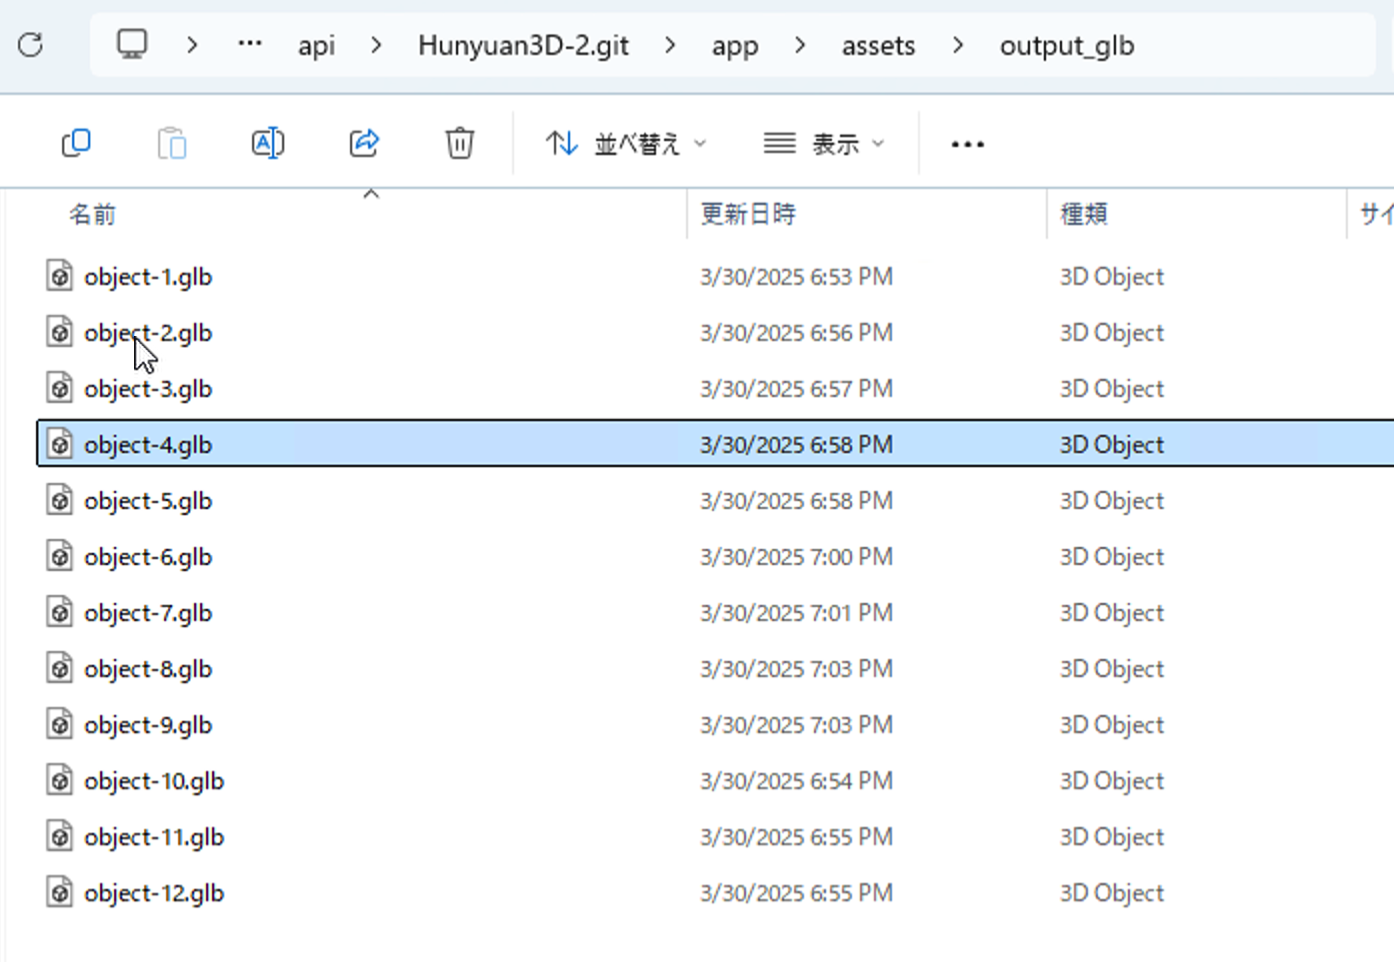
python generate_myimages.pyYou’ll end up with .glb files in the assets/output_glb folder:
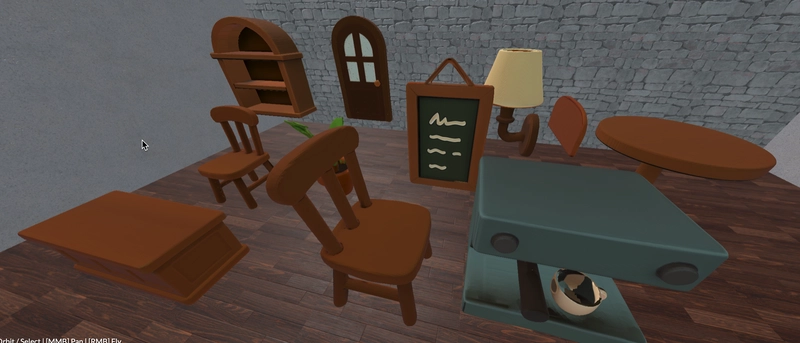
You can see the final 3D models at the top of this article. They turned out pretty well, although some details, like the plant leaves, got a bit distorted. Future improvements to the model might help.
Conclusion
In this example, I created 12 objects from a single illustration. By asking ChatGPT to generate another illustration in the same style—perhaps a different cafe or a different scene—and repeating the workflow, you can produce a large number of objects that share a consistent look. Traditionally, if you wanted to build a virtual environment with 3D models, you might purchase them from various marketplaces only to find you’re missing a particular item or the styles don’t match. With this method, you can maintain a cohesive style across your entire 3D asset library.
I hope you find this approach useful for populating virtual spaces with consistent 3D objects. Enjoy exploring the possibilities!
Happy 3D modeling with ChatGPT and local Image-to-Mesh!
If you have any questions or run into issues, let me know in the comments.