In today’s fast-paced tech world, understanding version control is no longer optional—it's essential. On ML Day 1, we kicked things off with a hands-on session introducing Git and GitHub, the fundamental tools every developer should master. Here’s a walkthrough of the practical session we followed, which is perfect for beginners aiming to get comfortable with Git operations.
📁 Step 1: Setting Up Your Project Directory
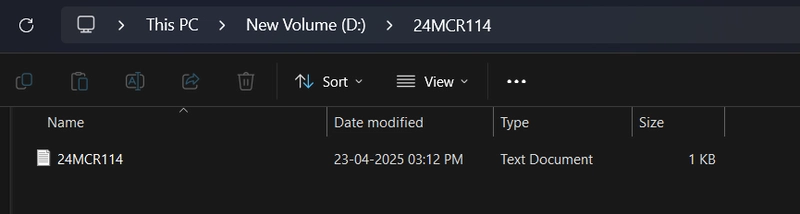
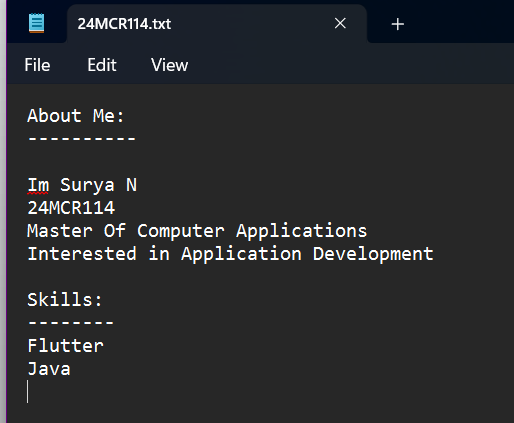
We began by creating a new project directory, named after our registration number (for example, 24MCR114). Inside this directory, we created a simple text file:
mkdir 24MCR114

cd 24MCR114

touch 24MCR114.txt
✍️ Step 2: Adding Basic Info & Initializing Git
Next, we added some basic personal information to our text file using a text editor like nano or vim. After saving the file, we initialized a Git repository:
git init
📦 Step 3: Staging and Committing Changes
To track changes, we staged the text file and committed it with an appropriate message:
git add 24MCR114.txt

git commit -m "Initial commit with basic information"

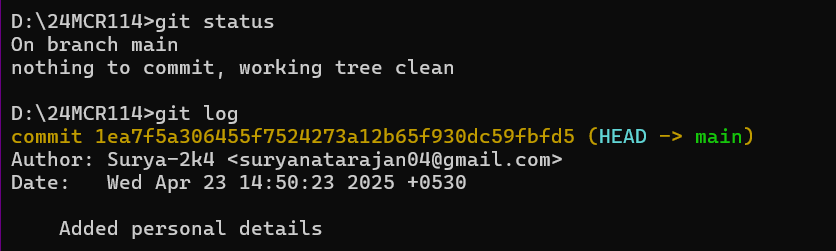
🔍 Step 4: Checking Repo Status and History
To ensure everything was in place, we used Git commands to check the repository status and log:
git status

git log
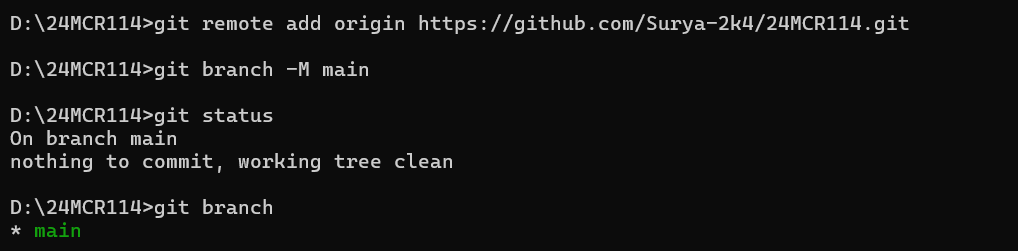
🌐 Step 5: Connecting to GitHub
We then linked our local repository to an existing GitHub repository using the remote add command:
git remote add origin https://github.com/username/repository.git
🛠️ Step 6: Updating the File with Skills Section
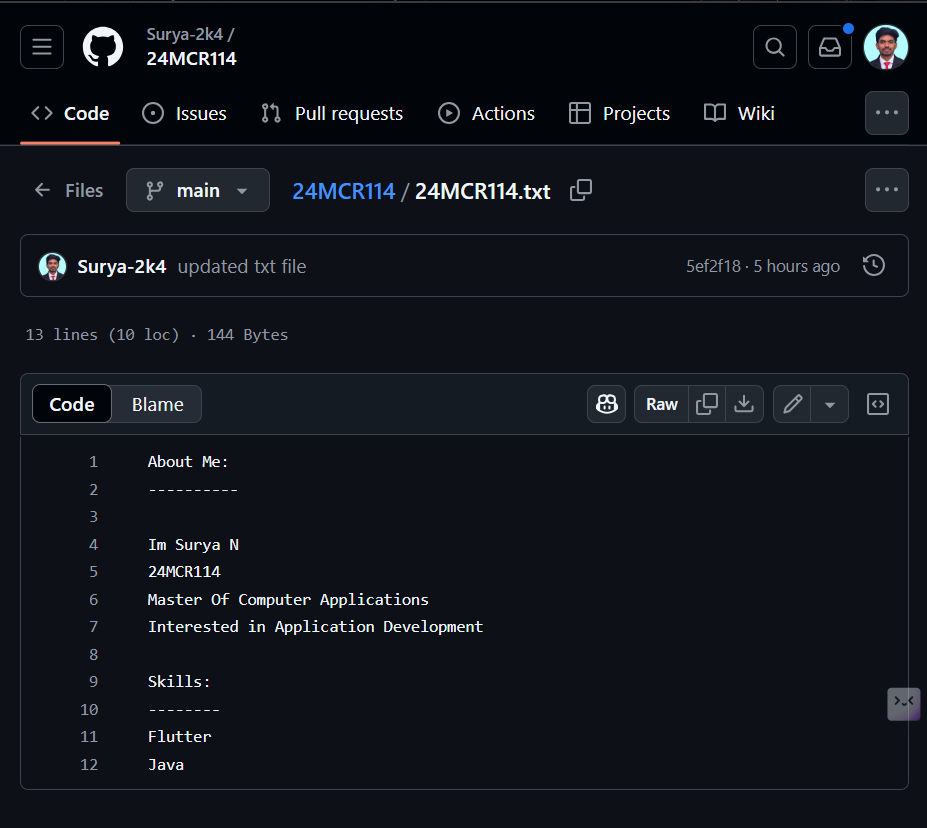
To enhance our profile file, we added a “Skills” section—highlighting programming languages, tools, or frameworks we're familiar with.
✅ Step 7: Commit and Push Updates
After updating the file, we staged the changes, committed them with a message, and pushed everything to GitHub:
git add 24MCR114.txt

git commit -m "Added Skills section"

git push origin main
🧠 Final Thoughts
This hands-on session was a fantastic introduction to Git and GitHub. It not only helped us understand version control but also demonstrated how simple actions can lead to robust project management. Whether you're a beginner or brushing up your skills, this workflow lays a solid foundation for collaboration and code tracking.
