👋 Hey there! I’m Sarvar, a Cloud Architect passionate about cutting-edge technologies. With extensive experience in Cloud Operations (AWS & Azure), Data Operations, Data Analytics, DevOps, and GenAI, I've had the privilege of working with global clients to deliver impactful solutions. I’m always exploring the latest tech trends and love sharing my learnings. Let’s dive into the world of cloud and tech together! 🚀
In today’s digital world, having a website is one of the best ways to share information, showcase your work, or run a business. If you have a static website which means a website made with HTML, CSS, and JavaScript (without any backend or server-side code like PHP or Node.js) then AWS S3 is one of the easiest and cheapest ways to host it.
What We Are Doing
In this guide, we’ll host a simple static website on AWS S3. We’ll upload our website files (like index.html, images, etc.) to an S3 bucket and configure it to serve as a publicly accessible website.
Why Use AWS S3?
There are a few different ways to host a website on AWS. For example, you could use Amazon EC2, which gives you full control over a virtual server where you can install anything. While EC2 is powerful, it also requires more setup, maintenance, and can be more expensive for simple use cases. That’s where S3 (Simple Storage Service) shines. It’s ideal for hosting static websites meaning websites that don’t have a backend or database, and are mostly made up of HTML, CSS, JavaScript, and media files. S3 is simple, scalable, and cost-effective, and it takes just a few clicks to get your site live.
🚀 Step-by-Step: Hosting a Static Website on S3
Let’s go through each step in detail. We will host a very simple website with just one HTML file and an image.
1. Prepare Your Website Files
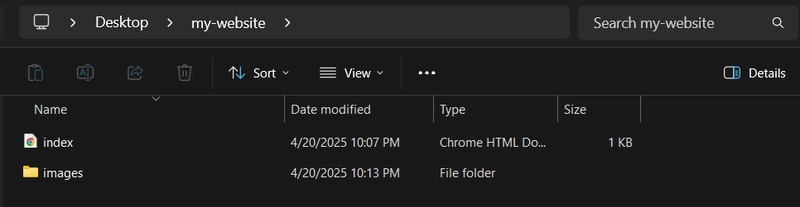
Let’s say you have the following structure:
my-website/
├── index.html
└── images/
    └── logo.png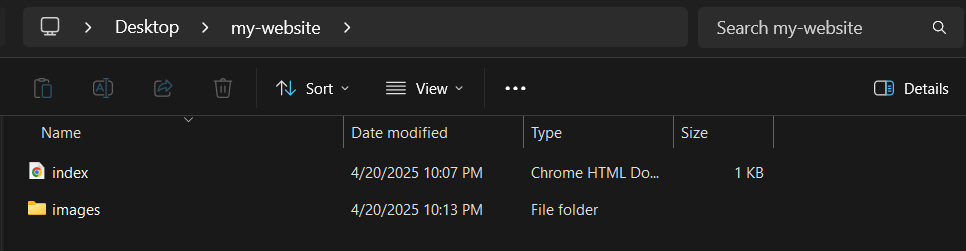
Your index.html might look like this:
</span>


  My First S3 Website


  Hello from AWS S3!
   src="images/logo.png" alt="Logo">


    Enter fullscreen mode


    Exit fullscreen mode


Tip: Make sure your site works locally before uploading it. Just open the index.html file in your Google Chrome browser.Download your logo.png from HEREOnce downloaded:
Create an images folder inside your my-website directory (if it doesn't already exist).
Move the downloaded PNG image into the images folder.
Rename the image to logo.png.


  2. Create an S3 Bucket

Go to the AWS Management Console, search for S3, and open it.

Click Create bucket.

Set a unique name like dev-to-static-website-demo.
Leave all other settings as default for now and click Create bucket.

Your S3 bucket is created successfully.


  3. Upload Your Website Files

Open your bucket.

Click Upload → Add files, then select your index.html.

Click Add folder, then select your images/ folder.

Finally, click Upload.


  4. Enable Static Website Hosting

Go to the Properties tab of your bucket. Scroll down to Static website hosting and click Edit.


Select Enable, then choose Host a static website.
For Index document, type: index.html.

Leave the Error document blank or enter error.html if you have one, and click Save changes.


  5. Make the Bucket Public
By default, S3 blocks public access. To allow anyone to access your website:
Go to the Permissions tab and under Block public access, click Edit.

Uncheck Block all public access, confirm the warning, and click Save changes.


  6. Update Object Ownership and Permissions

Still in the Permissions tab, scroll down to Object Ownership and click Edit.


Select ACLs enabled, check the acknowledgment box, and click Save changes.


  7. Make Your Files Public

Go back to the Objects tab in your S3 bucket.
Select all files and folders, then click Actions → Make public using ACL.


Confirm the changes to make your files publicly accessible.


  8. Access Your Website
Here’s the final section, wrapped up cleanly and ready to go:
Go to the Properties tab > Static website hosting, and copy the Bucket website endpoint URL.

Open the URL in your browser.
🎉 Congratulations! You should now see your website live on the internet!


Conclusion: That’s it! With just a few steps, I hosted a static website using Amazon S3. The best part is that I didn’t need to set up any servers, install software, or worry about traffic scaling. S3 takes care of all that in the background. Compared to EC2 or other traditional hosting solutions, using S3 is much easier for static content. It’s fast, cost-effective, and scalable. Whether you’re hosting a portfolio, a personal site, or a landing page, S3 is a fantastic choice.
— — — — — — — —
Here is the End!✨ Thank you for reading! ✨ I hope this article helped simplify the process and gave you valuable insights. As I continue to explore the ever-evolving world of technology, I’m excited to share more guides, tips, and updates with you. 🚀 Stay tuned for more content that breaks down complex concepts and makes them easier to grasp. Let’s keep learning and growing together! 💡

