🔥 Quick Recap
In my previous article , we spun up an EC2 instance, configured Apache, and hosted a static website the traditional way.
Today, we're taking a lighter, serverless approach, hosting a static website using Amazon S3.
No servers to manage. No SSH logins. Just pure, clean static site hosting. Let’s get into it! 🚀
🧰 What You’ll Need
- An AWS account
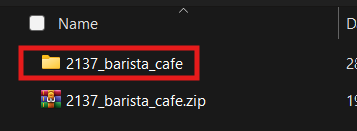
- A static website (you can build yours or grab a free one from Tooplate.com.
- Basic familiarity with the AWS Console
📖 Walkthrough: Hosting a Static Website on S3
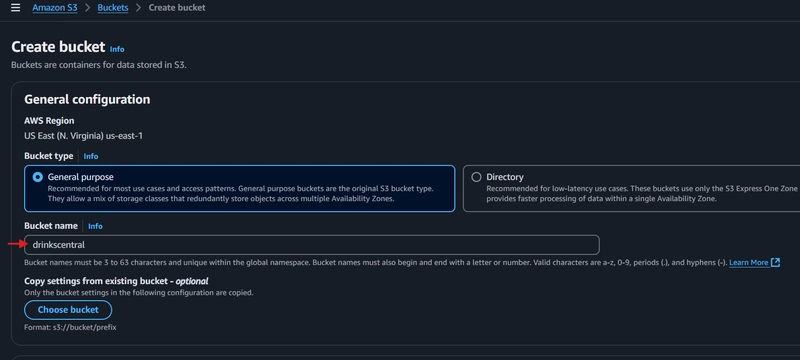
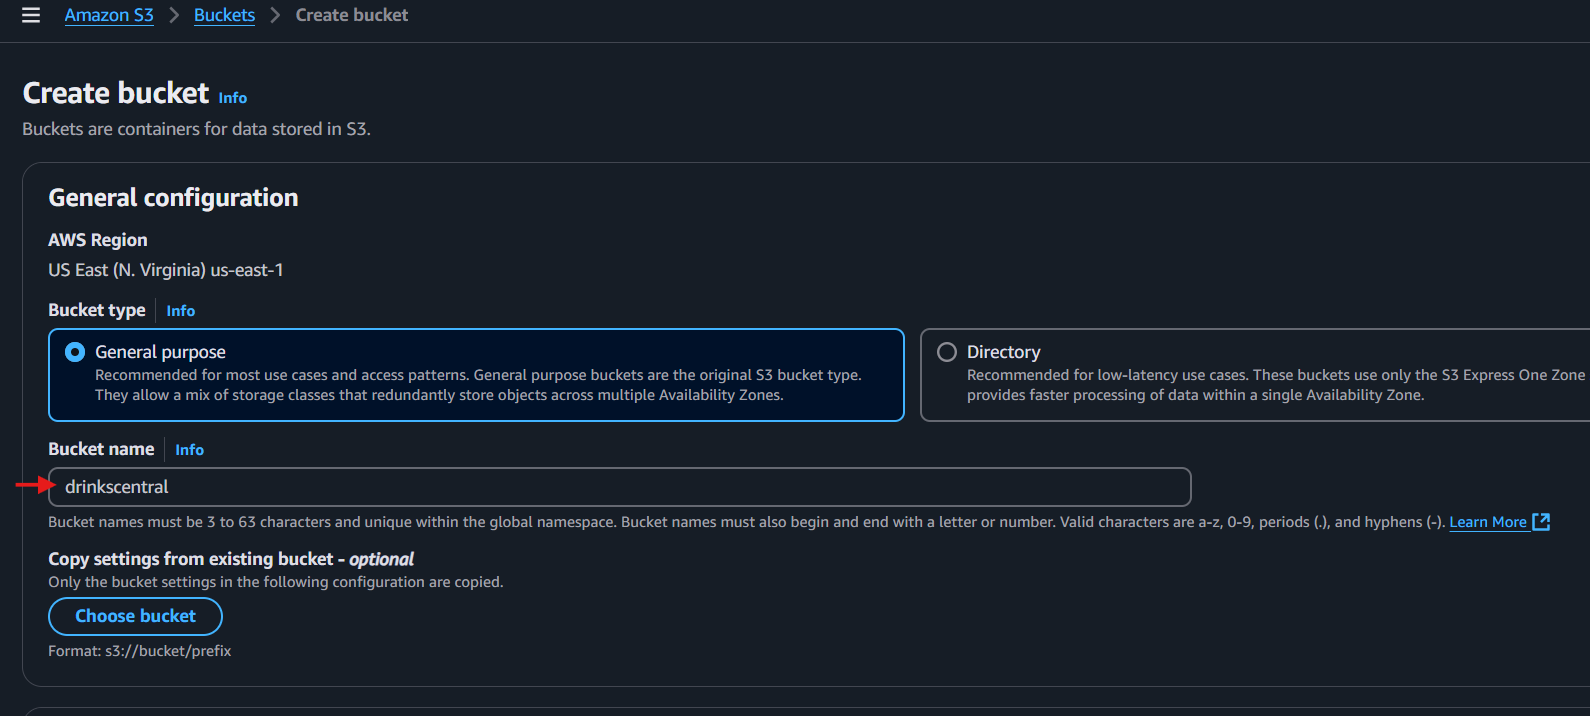
🛒 Step 1: Create an S3 Bucket
- Head over to the AWS S3 Console.
- Click on Create Bucket.
- Give your bucket a globally unique name in my case "drinkscentral".
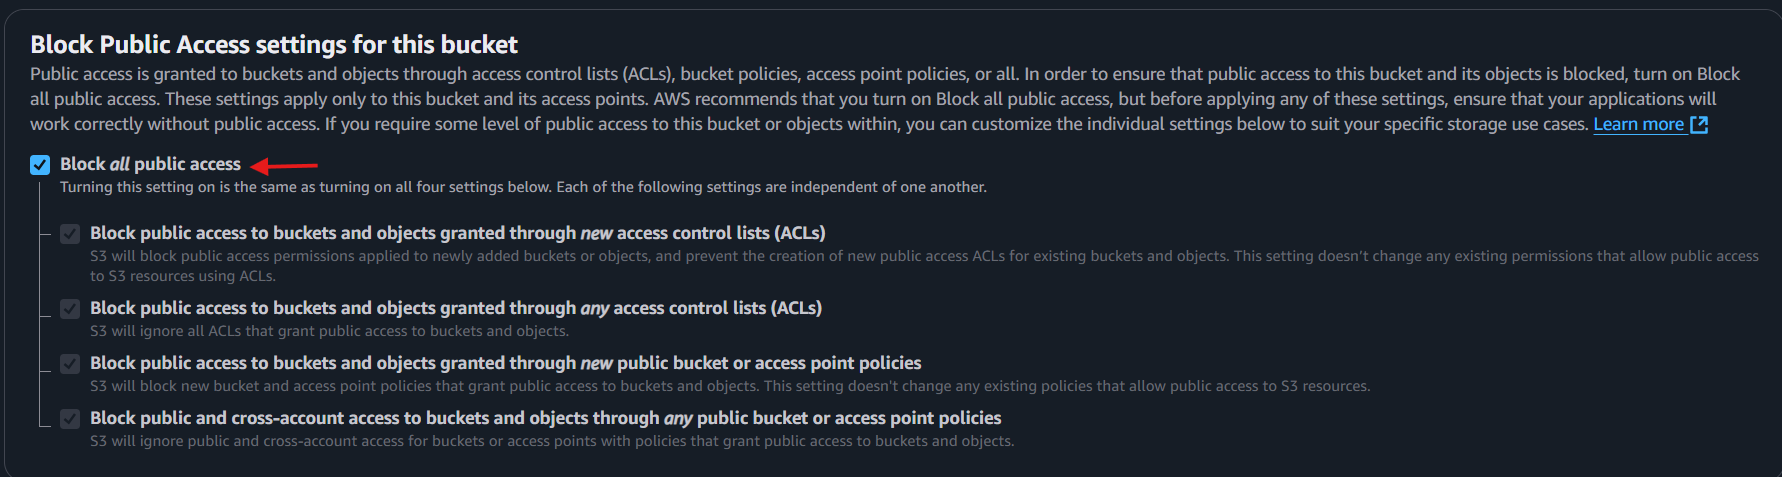
- Notice that public access is blocked by default, but don't worry, we'll come back to fix that. 😉
- Click Create Bucket.
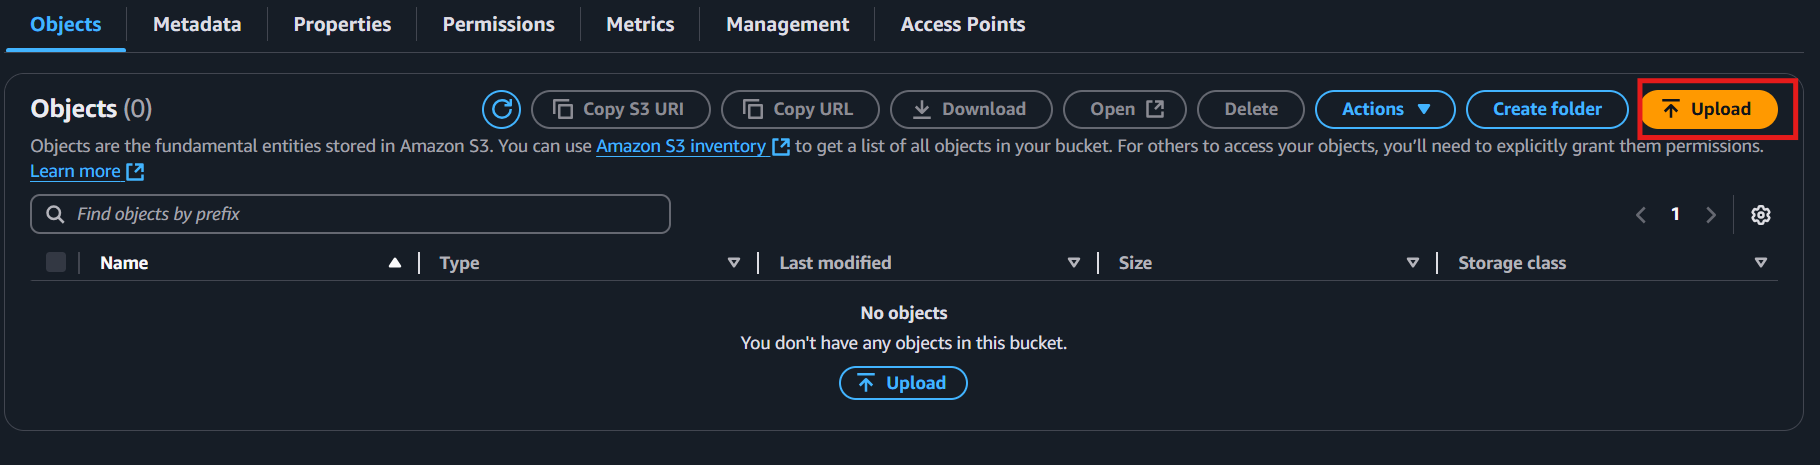
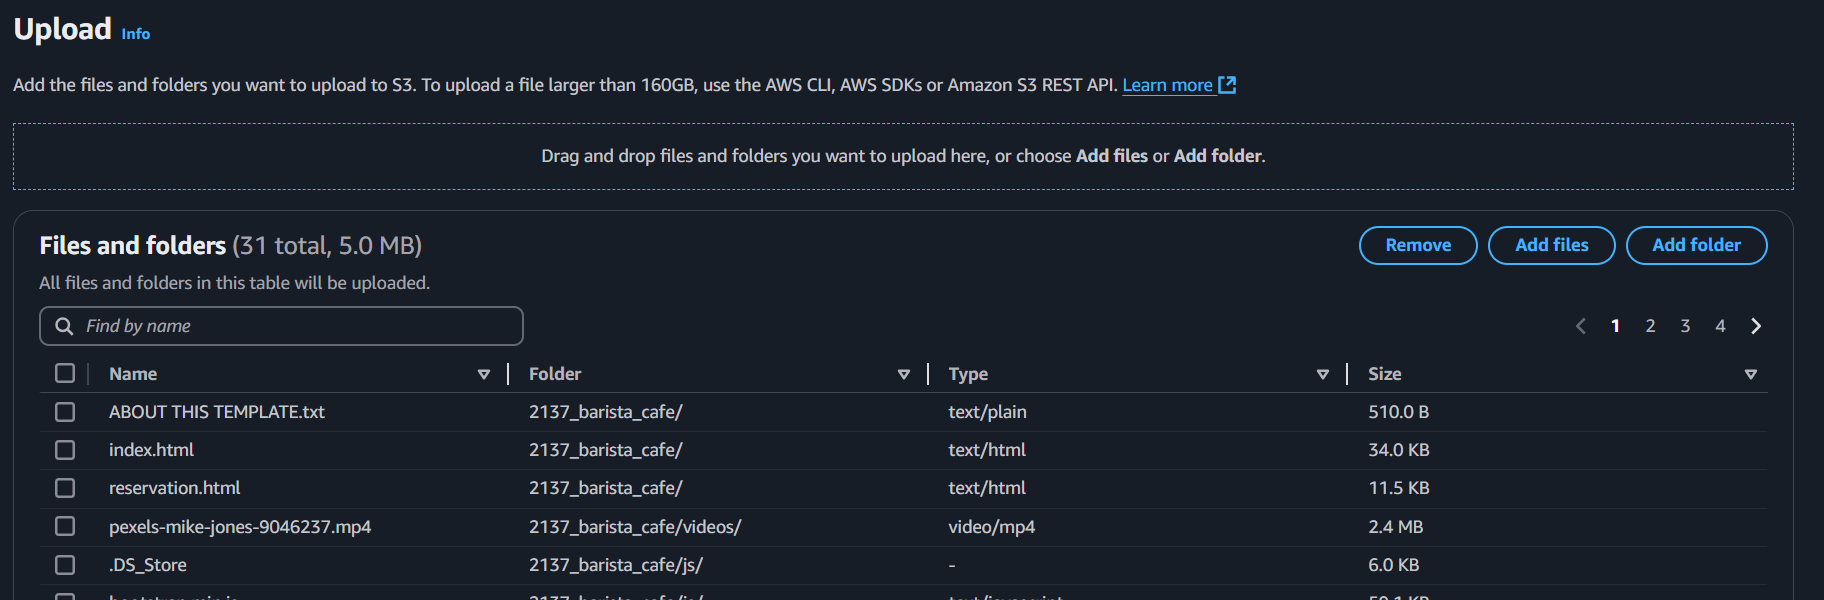
📤 Step 2: Upload Your Website Files
After creating the bucket:
- Click into your newly created bucket.
- Hit Upload then click Add Files.
- Select the files you downloaded from Tooplate.com (or your own static site).
- Click Upload.
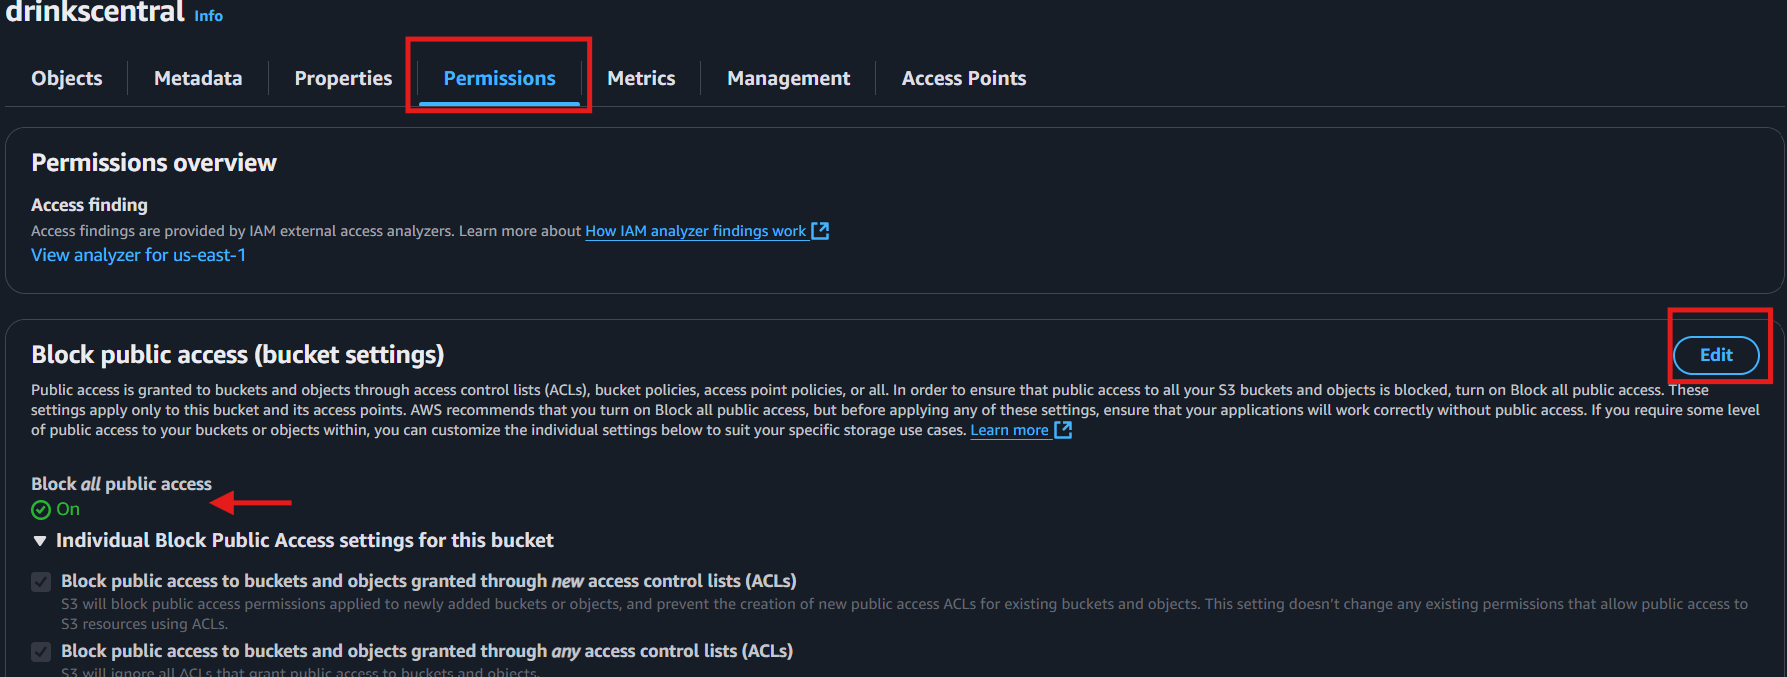
🔓 Step 3: Set Public Access
Remember earlier when I said public access was blocked? Time to fix that.
- Go to the Permissions tab.
- Under Block Public Access, click Edit.
- Untick the options that block public access.
- Save changes.
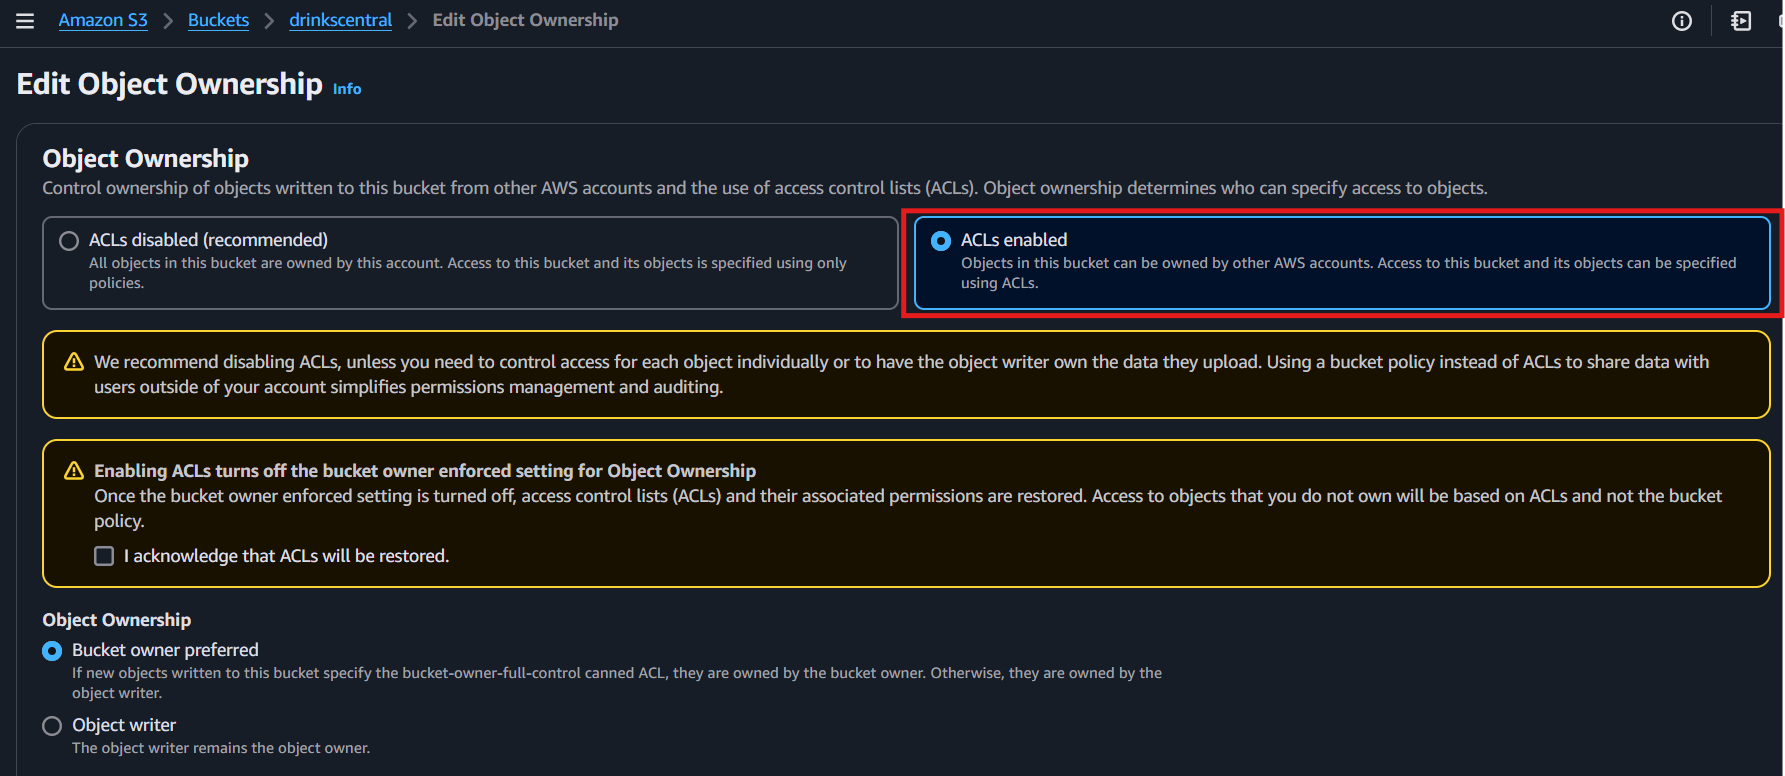
🛡️ Step 4: Enable ACLs (Access Control Lists)
Why enable ACL?
ACLs let us manually grant permissions to individual objects, like making our uploaded website files publicly readable.
- Still in the Permissions tab, scroll to Object Ownership.
- Click Edit.
- Select ACLs enabled.
- Acknowledge and save changes.
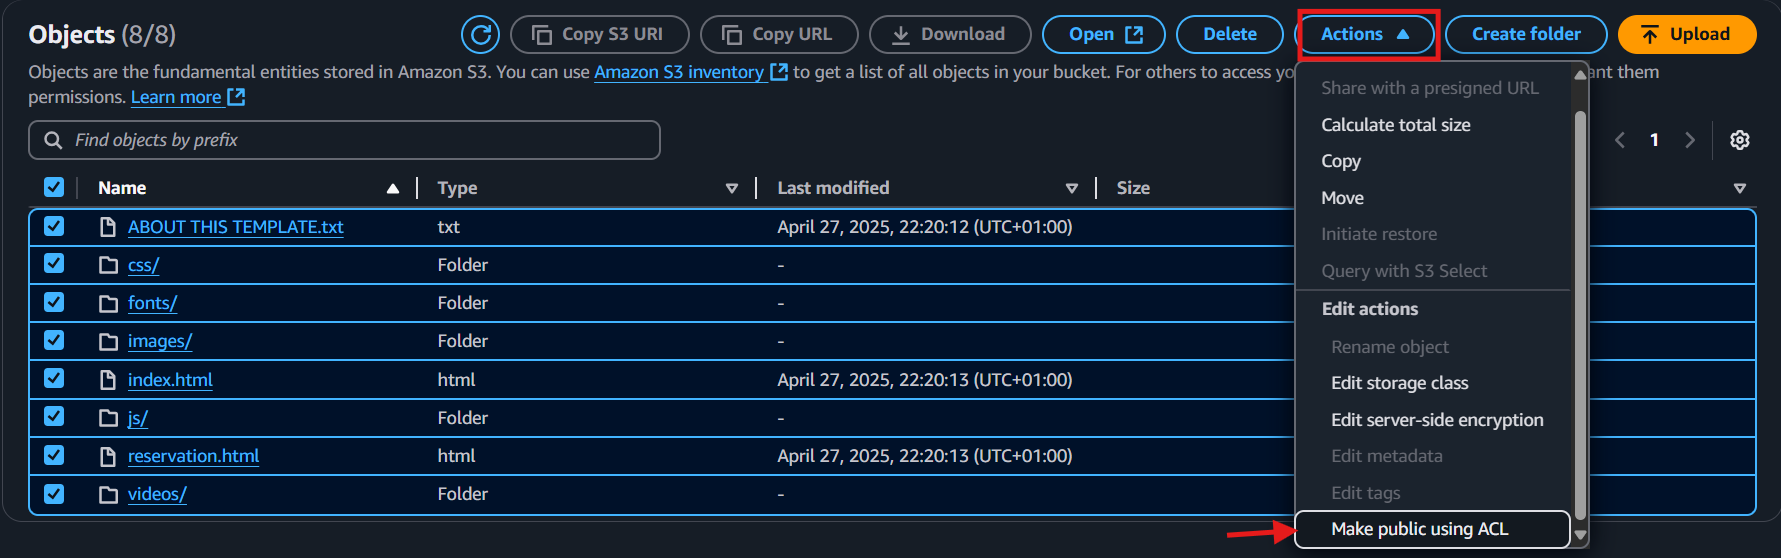
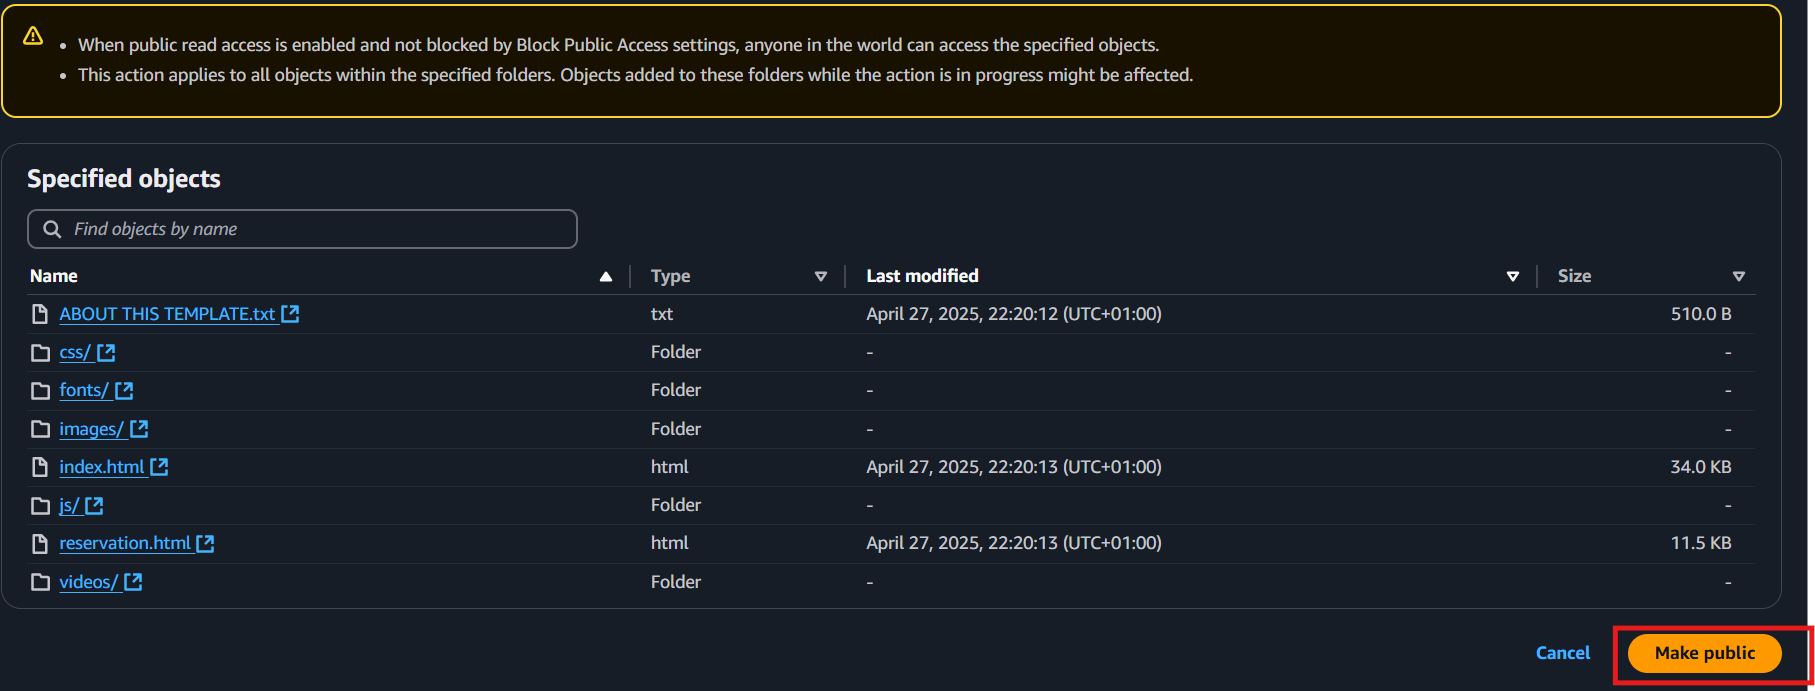
🌍 Step 5: Make Objects Public
Now that ACLs are enabled:
- Go back to the Objects tab.
- Select all uploaded files.
- Click Actions then Make public using ACL.
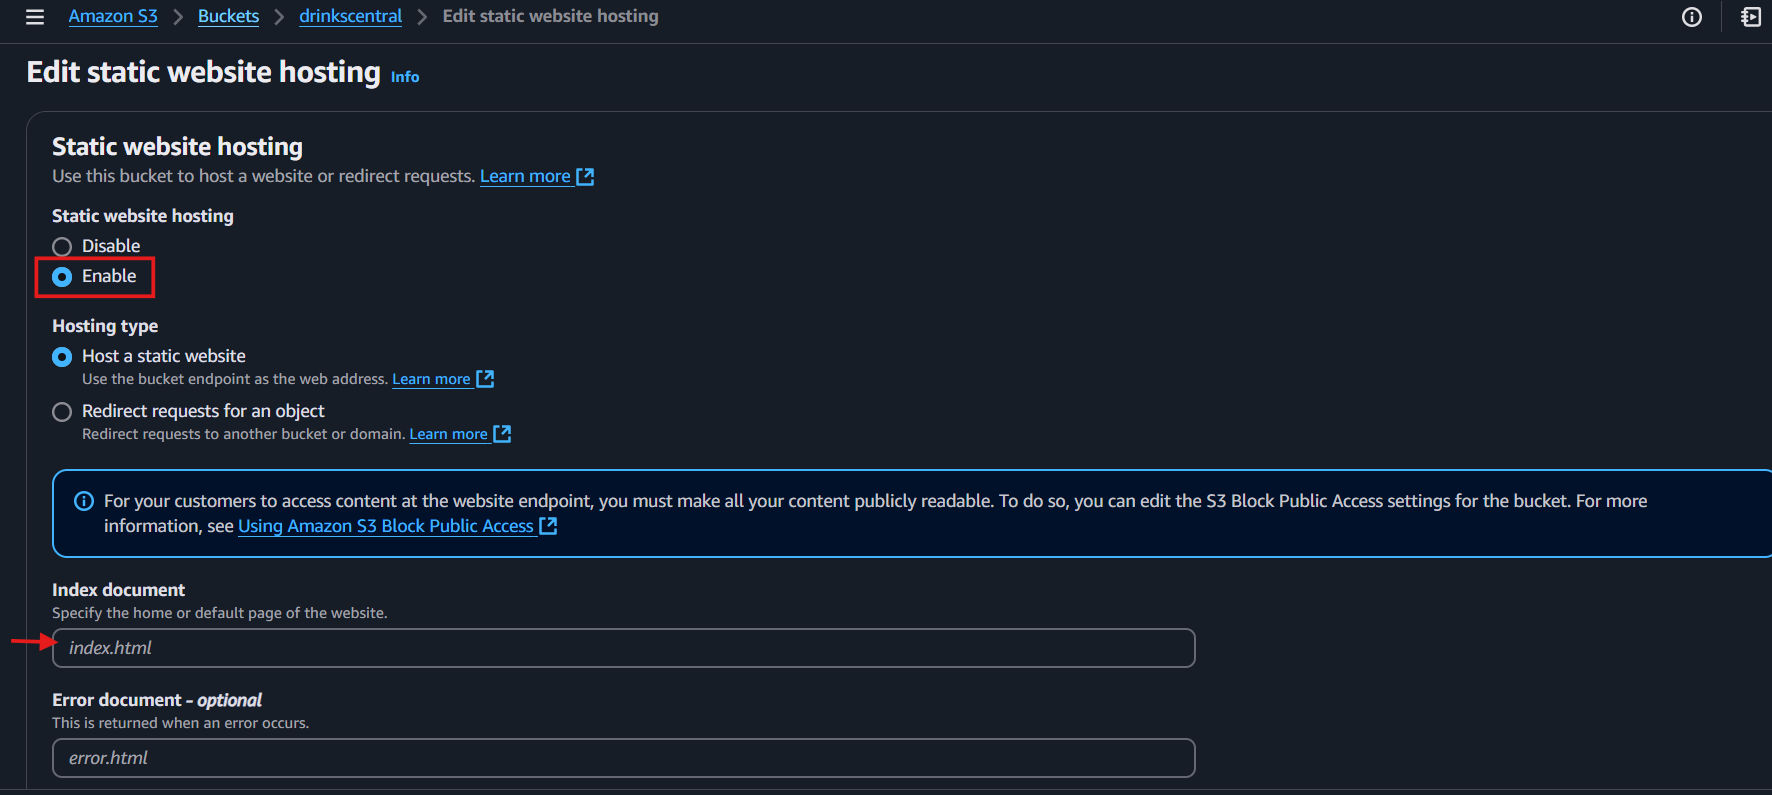
⚙️ Step 6: Enable Static Website Hosting
Finally, let's tell S3 that this bucket is a website.
- Go to the Properties tab.
- Scroll down to Static website hosting.
- Click Edit then Enable.
- Enter:
-
Index document:
index.html - (Optional) Error document:
error.html
-
Index document:
- Save changes.
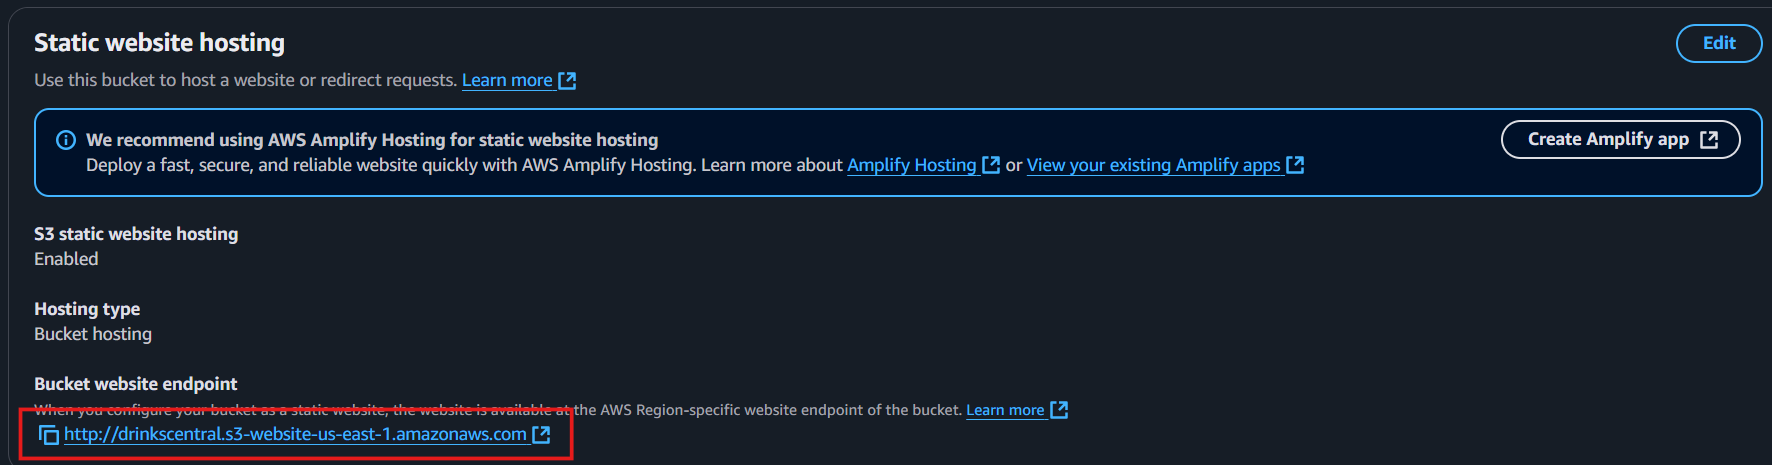
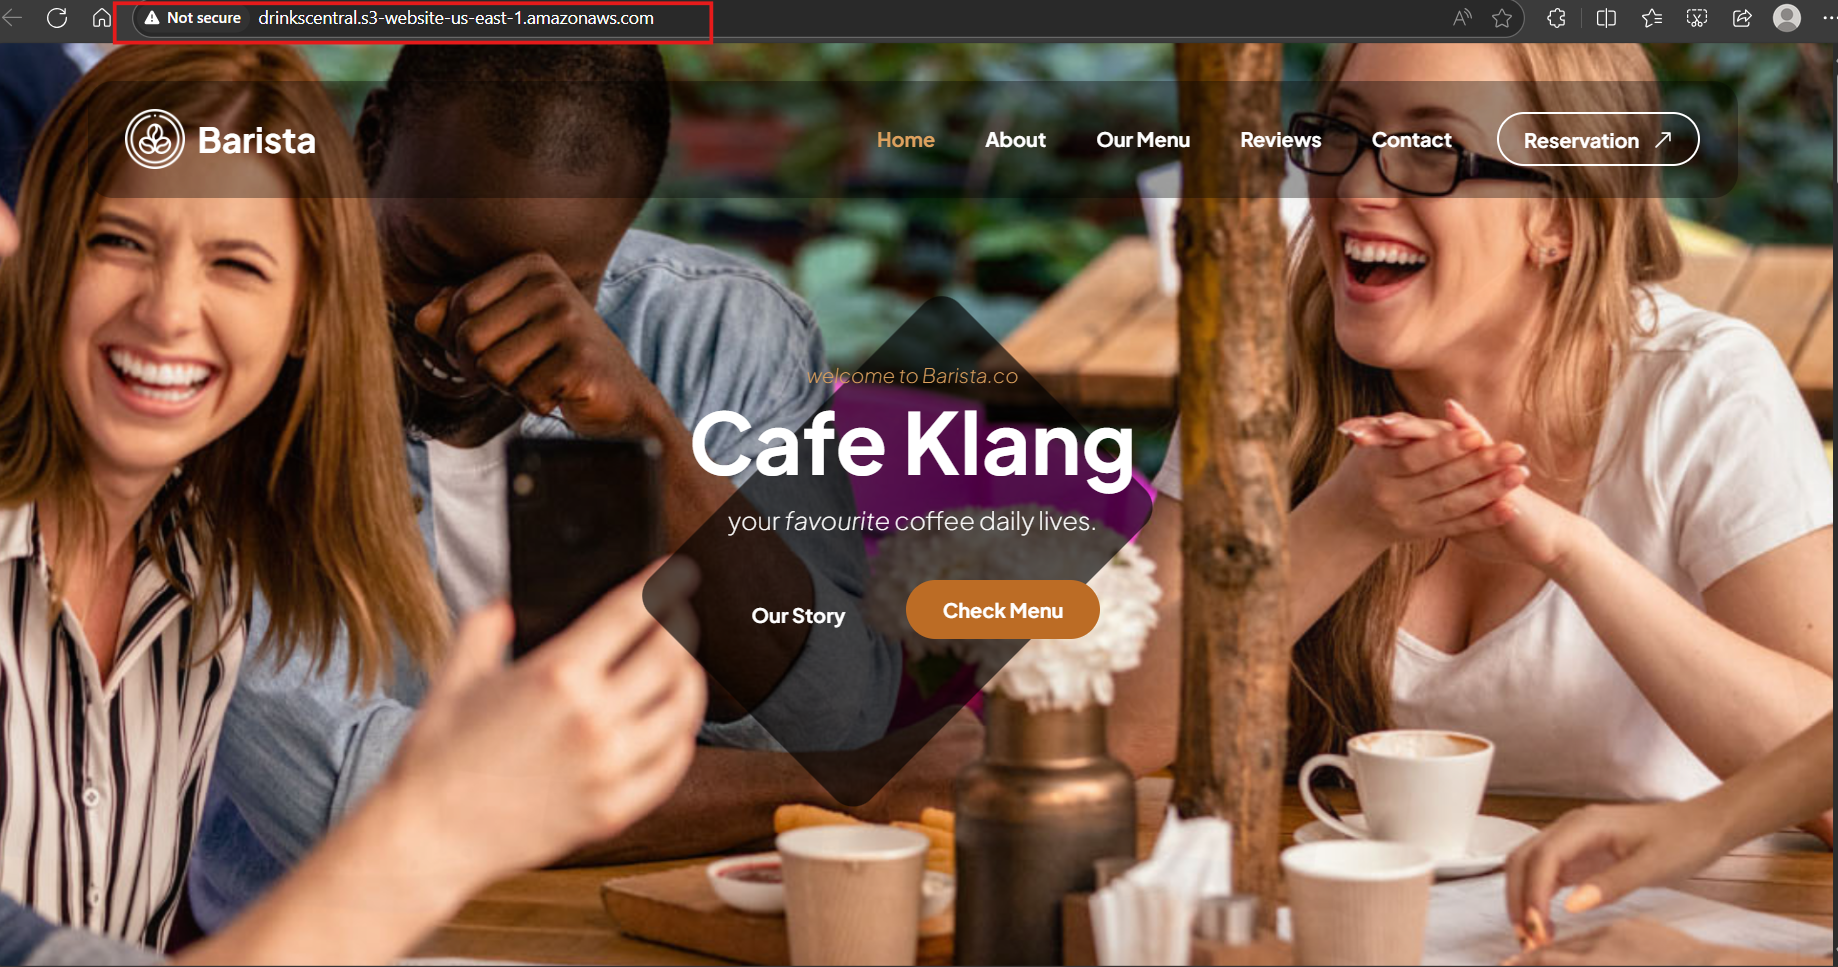
🌐 Step 7: Access Your Live Website!
You're done! 🎉
- Still in the Properties tab, scroll down to Static Website Hosting.
- Copy the Bucket Website Endpoint link.
- Paste it into your browser.
Boom 💥 your static site is live, hosted on AWS S3!
🆚 EC2 vs S3 for Static Websites
| Feature | EC2 Hosting | S3 Hosting |
|---|---|---|
| Server Management | Manual (configure OS, Apache, etc) | Serverless (no management) |
| Cost | Higher (pay per uptime) | Very low (pay per storage/requests) |
| Setup Complexity | Medium to High | Easy |
| Scalability | Manual scaling | Auto scales |
| Suitable For | Dynamic + static websites | Static websites only |
🏁 Final Thoughts
In our previous EC2 approach, we had to spin up servers, configure Apache, and manage everything.
Here on S3, it's simply upload → tweak permissions → launch. Easy, scalable, and super cost-effective.
S3 static hosting is good for portfolios, landing pages, and lightweight projects.
Stay tuned as I continue learning, maybe we'll set up CloudFront, SSL, and custom domains next. 👀
Thanks for following along!
Until next time,
- Oluwaseyi 😁✌️
