A Network Security Group (NSG) in Microsoft Azure is a security feature that allows you to control inbound and outbound network traffic to and from Azure resources within a virtual network. NSGs contain a list of security rules that permit or deny traffic based on various parameters such as source and destination IP addresses, ports, and protocols.
Scenario
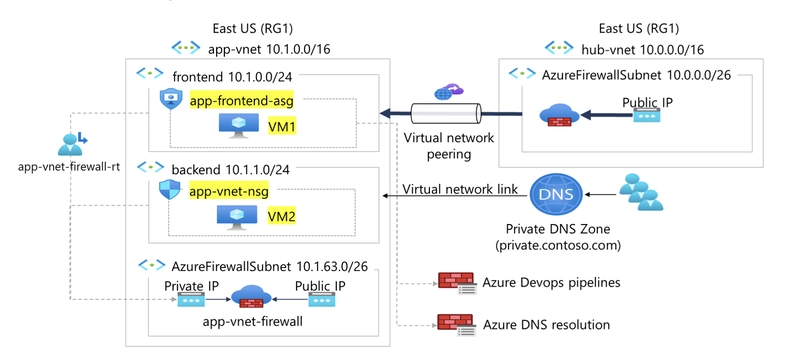
Your organization requires the network traffic in the app-vnet to be tightly controlled. You identify these requirements.
The frontend subnet has web servers that can be accessed from the internet. An *application security group *(ASG) is required for those servers. The ASG should be associated with any virtual machine interface that is part of the group. This will allow the web servers to be easily managed.
The backend subnet has database servers used by the frontend web servers. A network security group (NSG) is required to control this traffic. The NSG should be associated with any virtual machine interface that will be accessed by the web servers.
Skilling tasks
.Create a network security group.
.Create network security group rules.
.Associate a network security group to a subnet.
.Create and use application security groups in network security group rules.
Architecture diagram

For testing, a virtual machines should be installed in the frontend subnet (VM1) and the backend subnet (VM2).
Create two virtual machines vm1 & vm2
Creating vm1
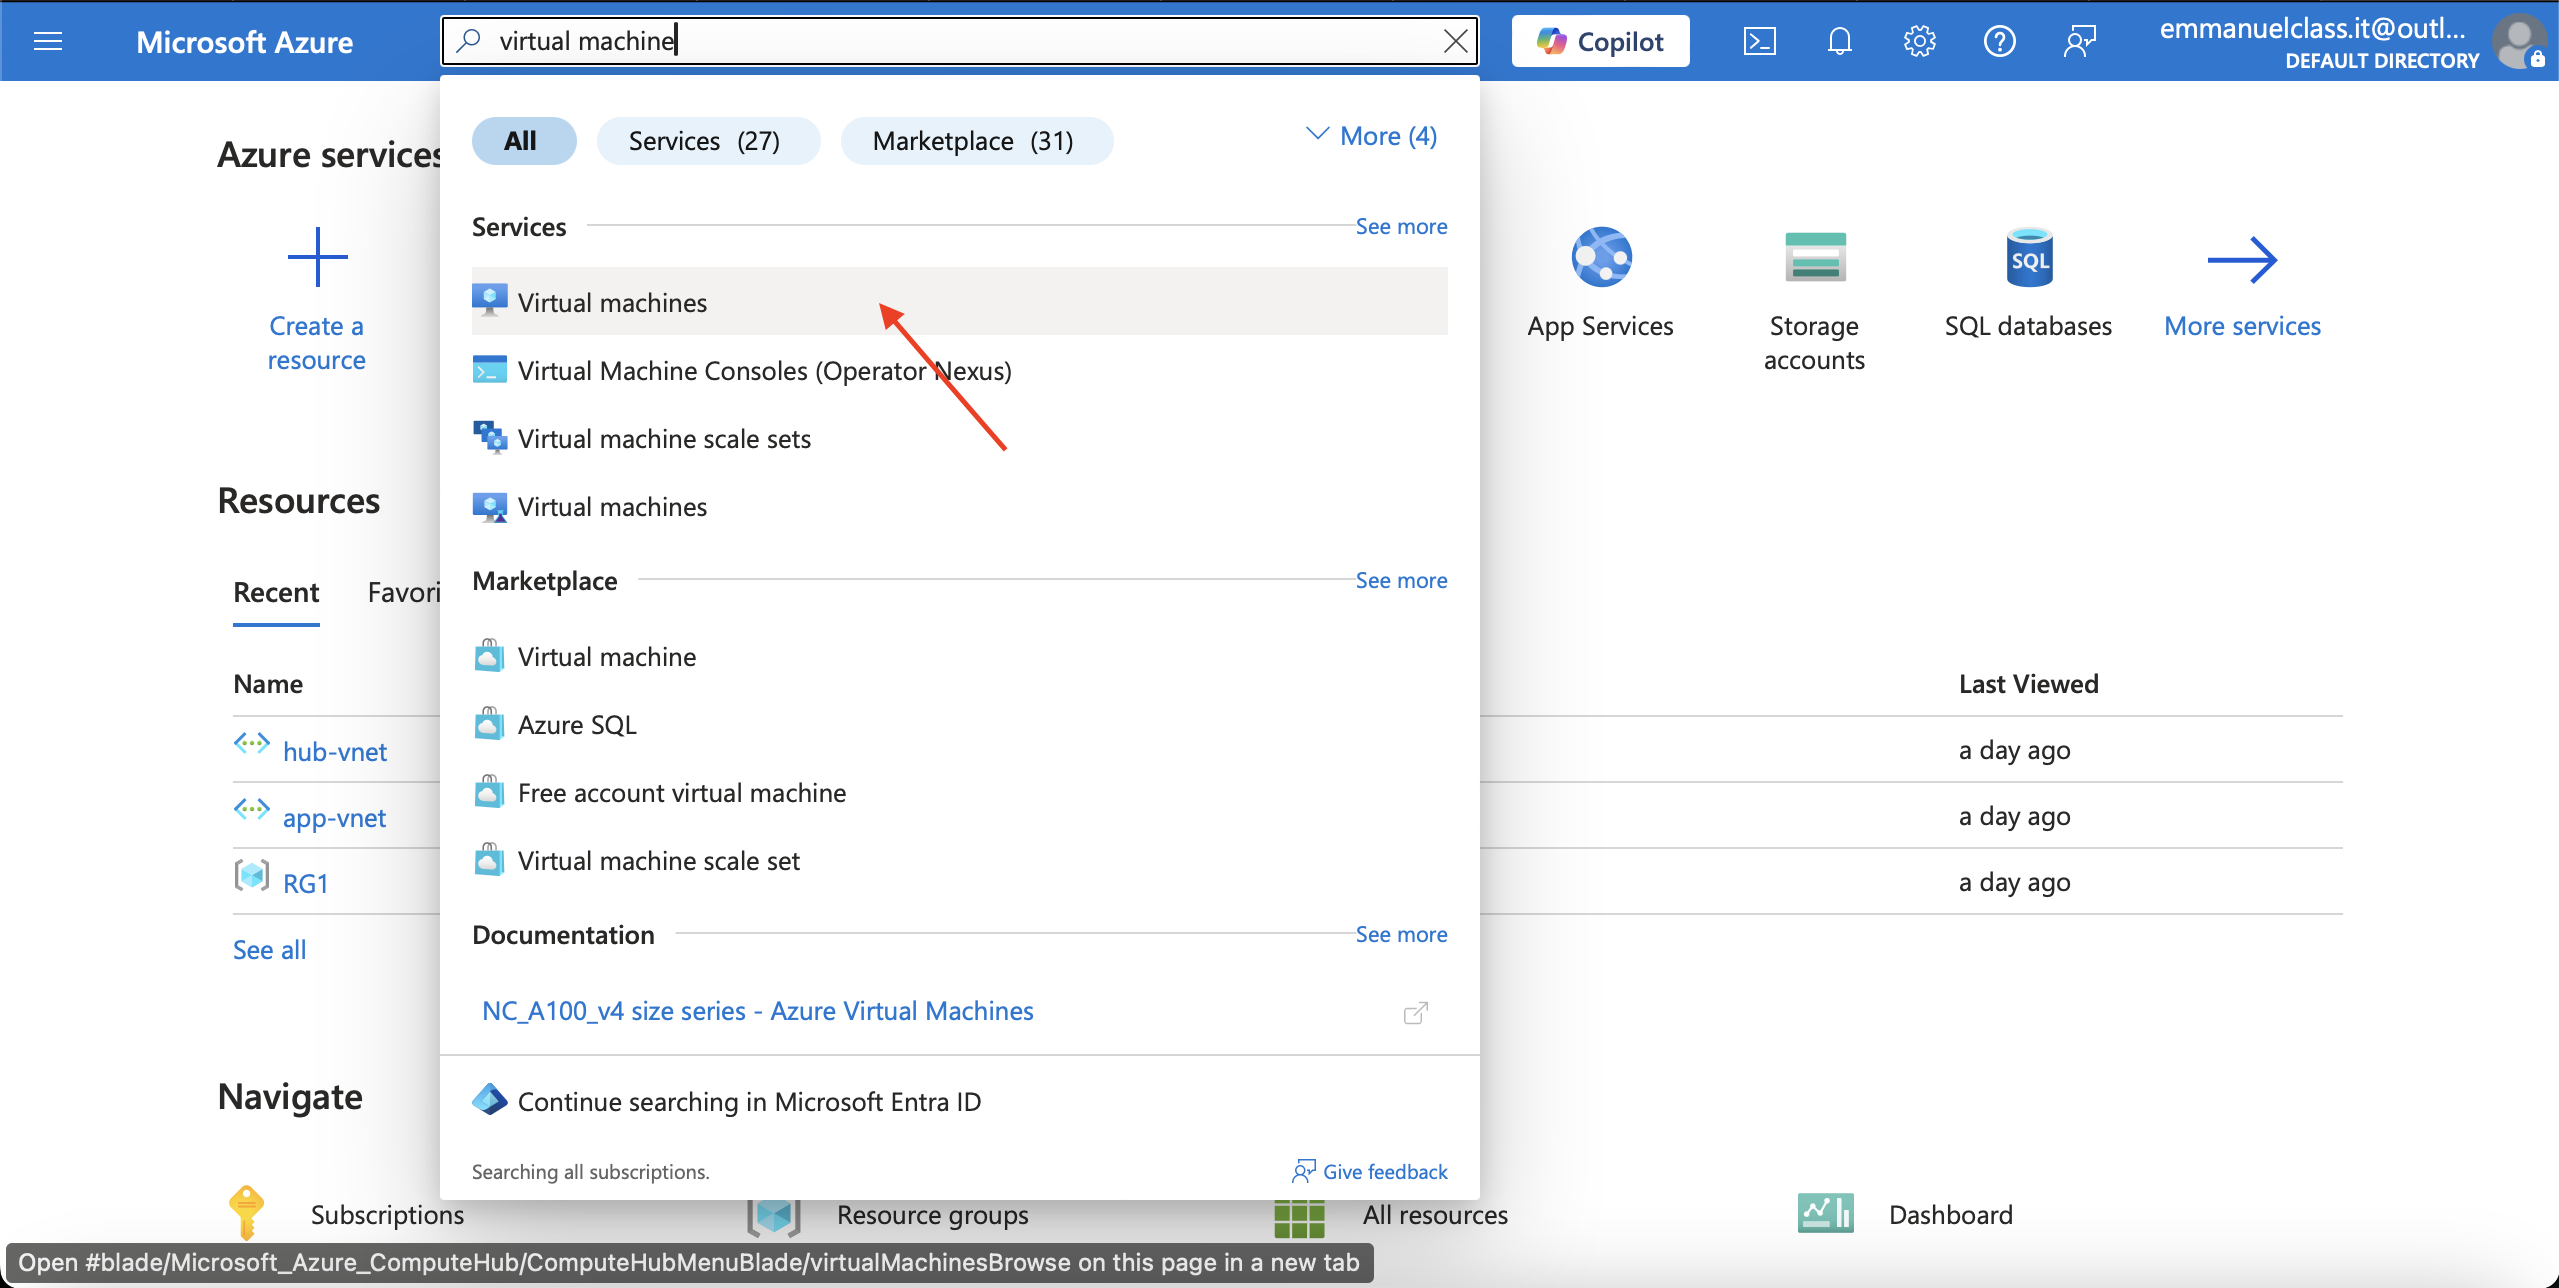
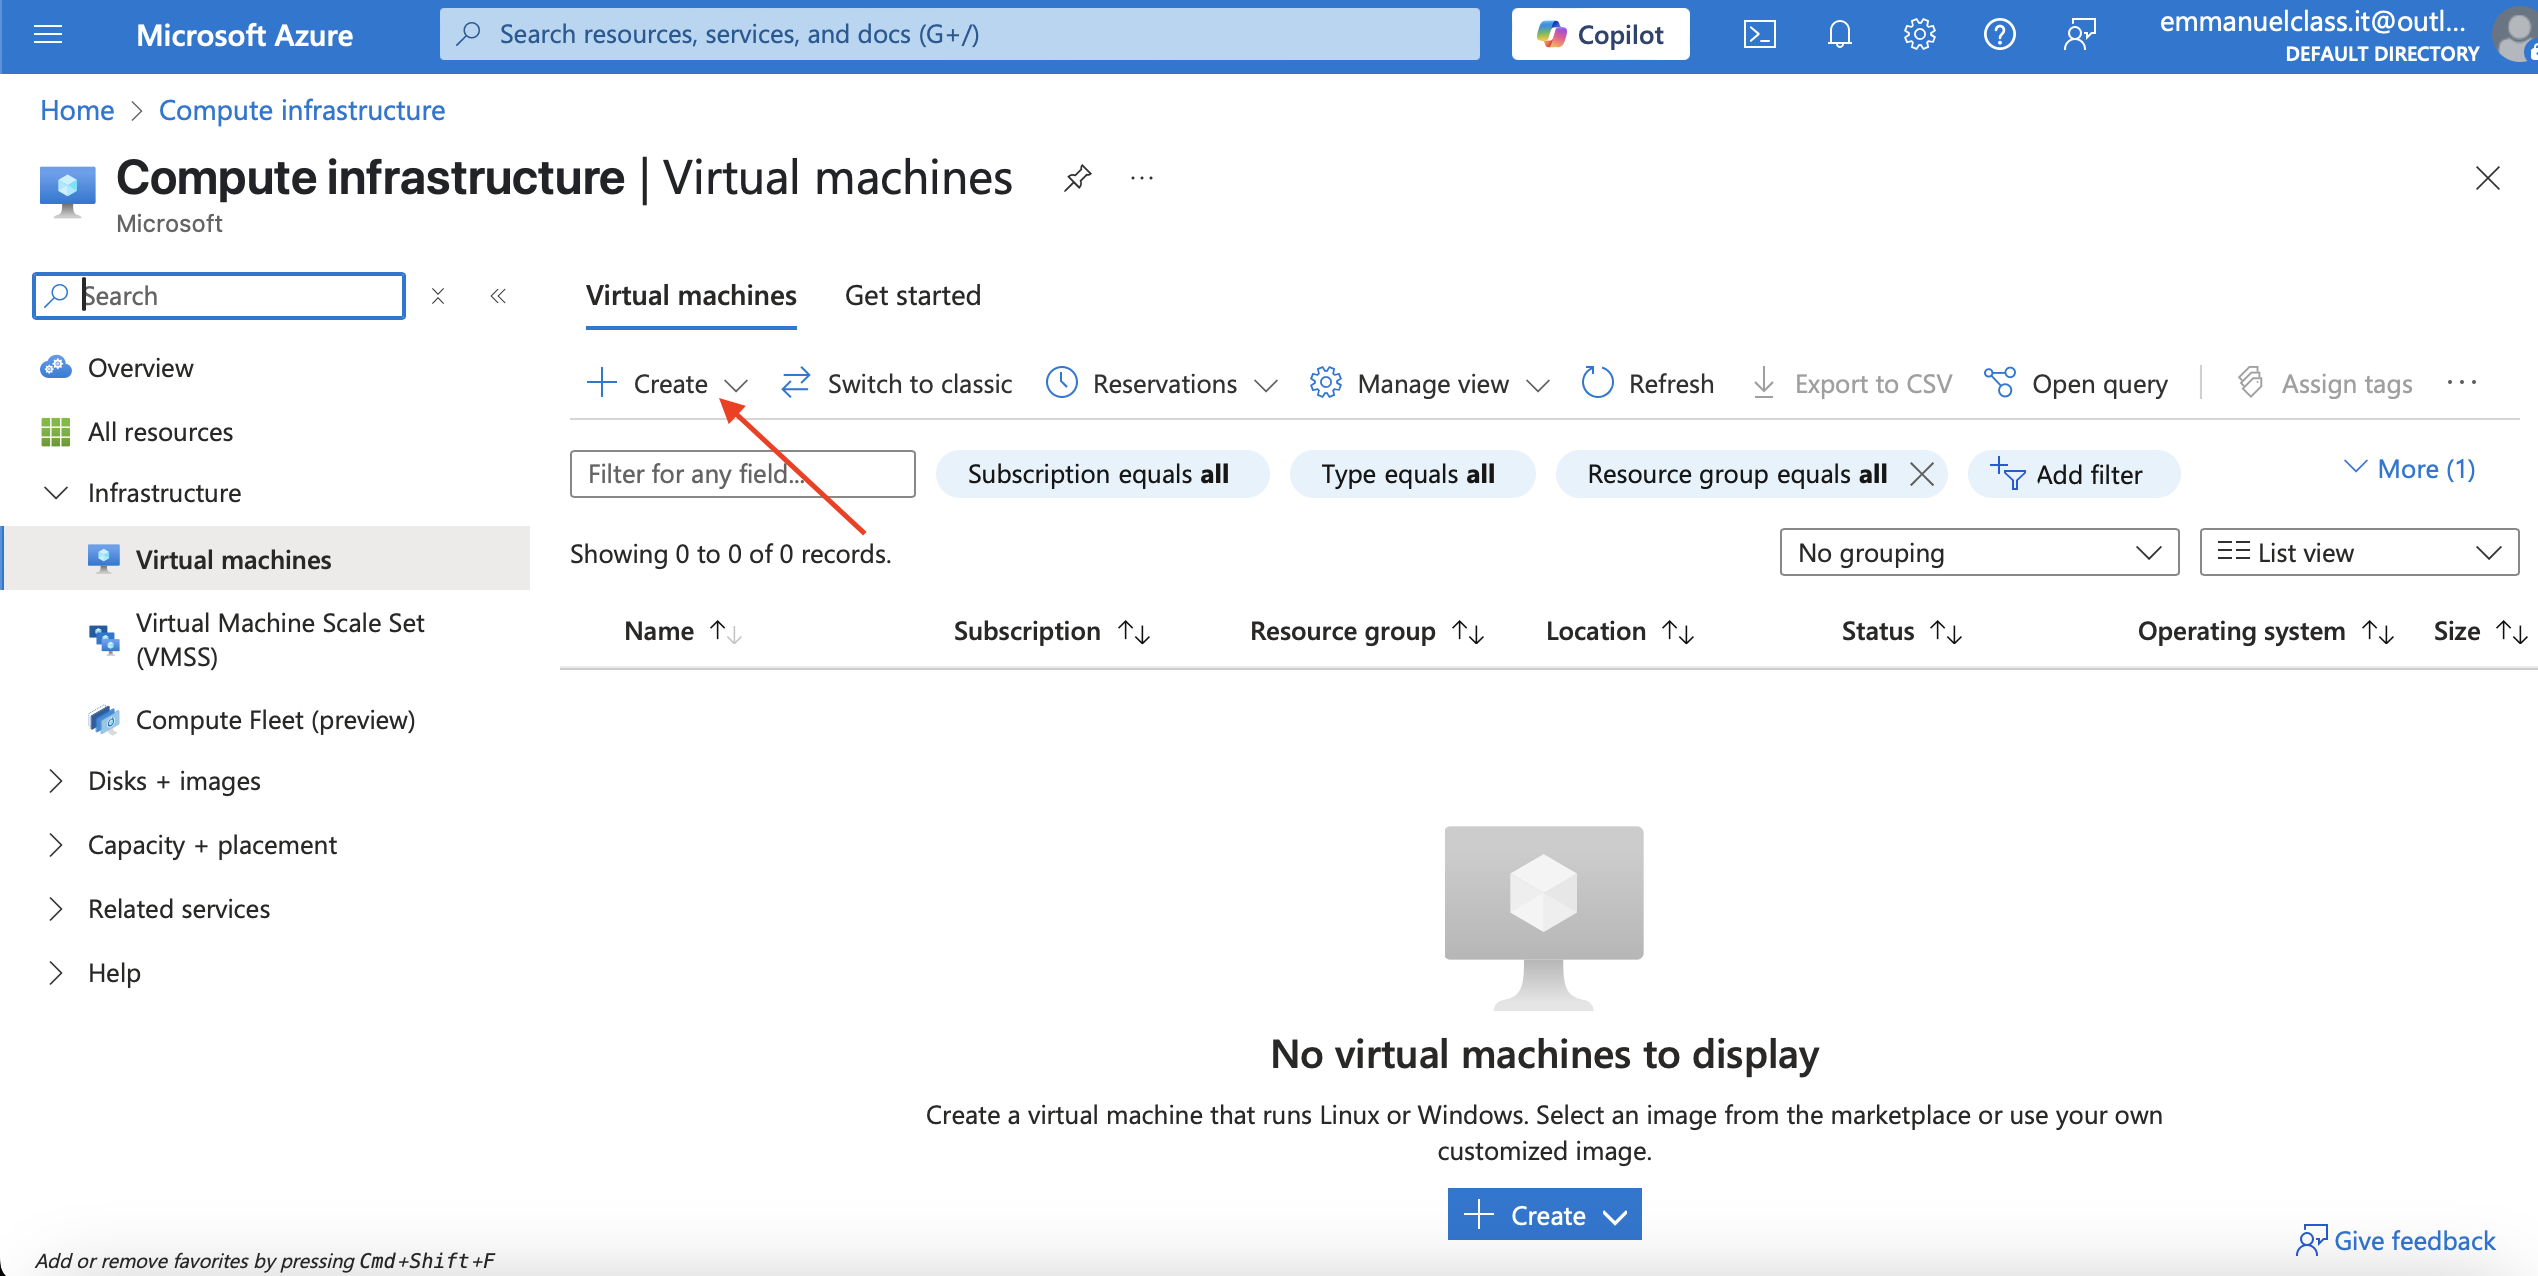
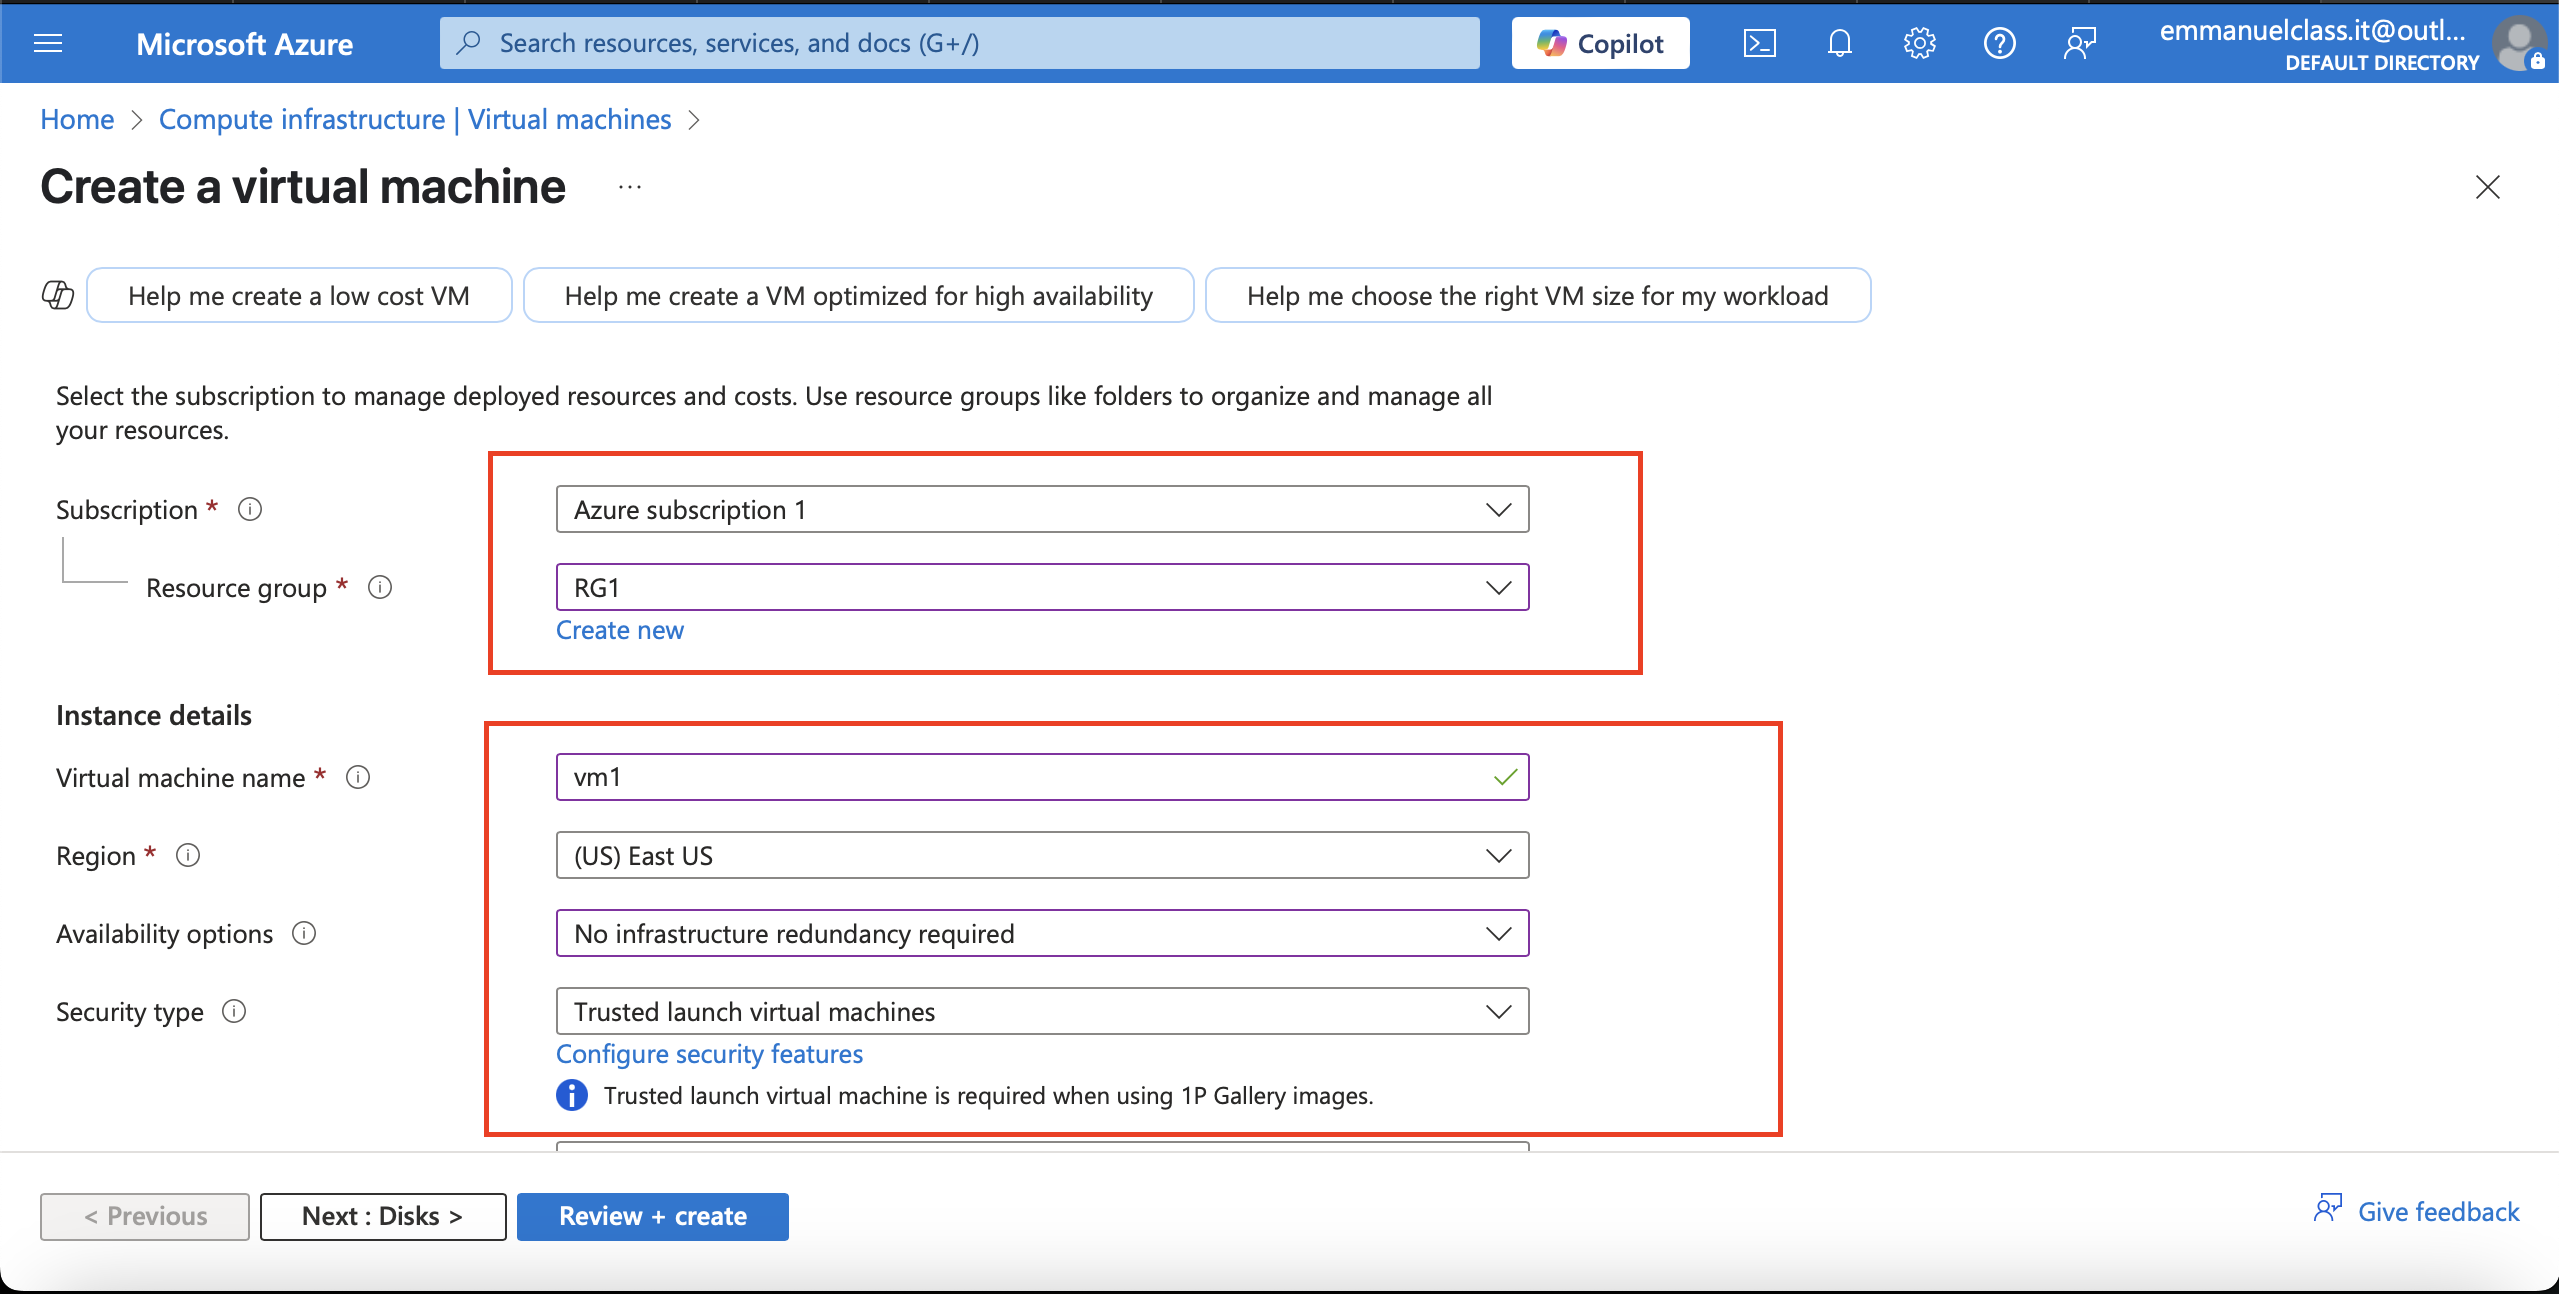
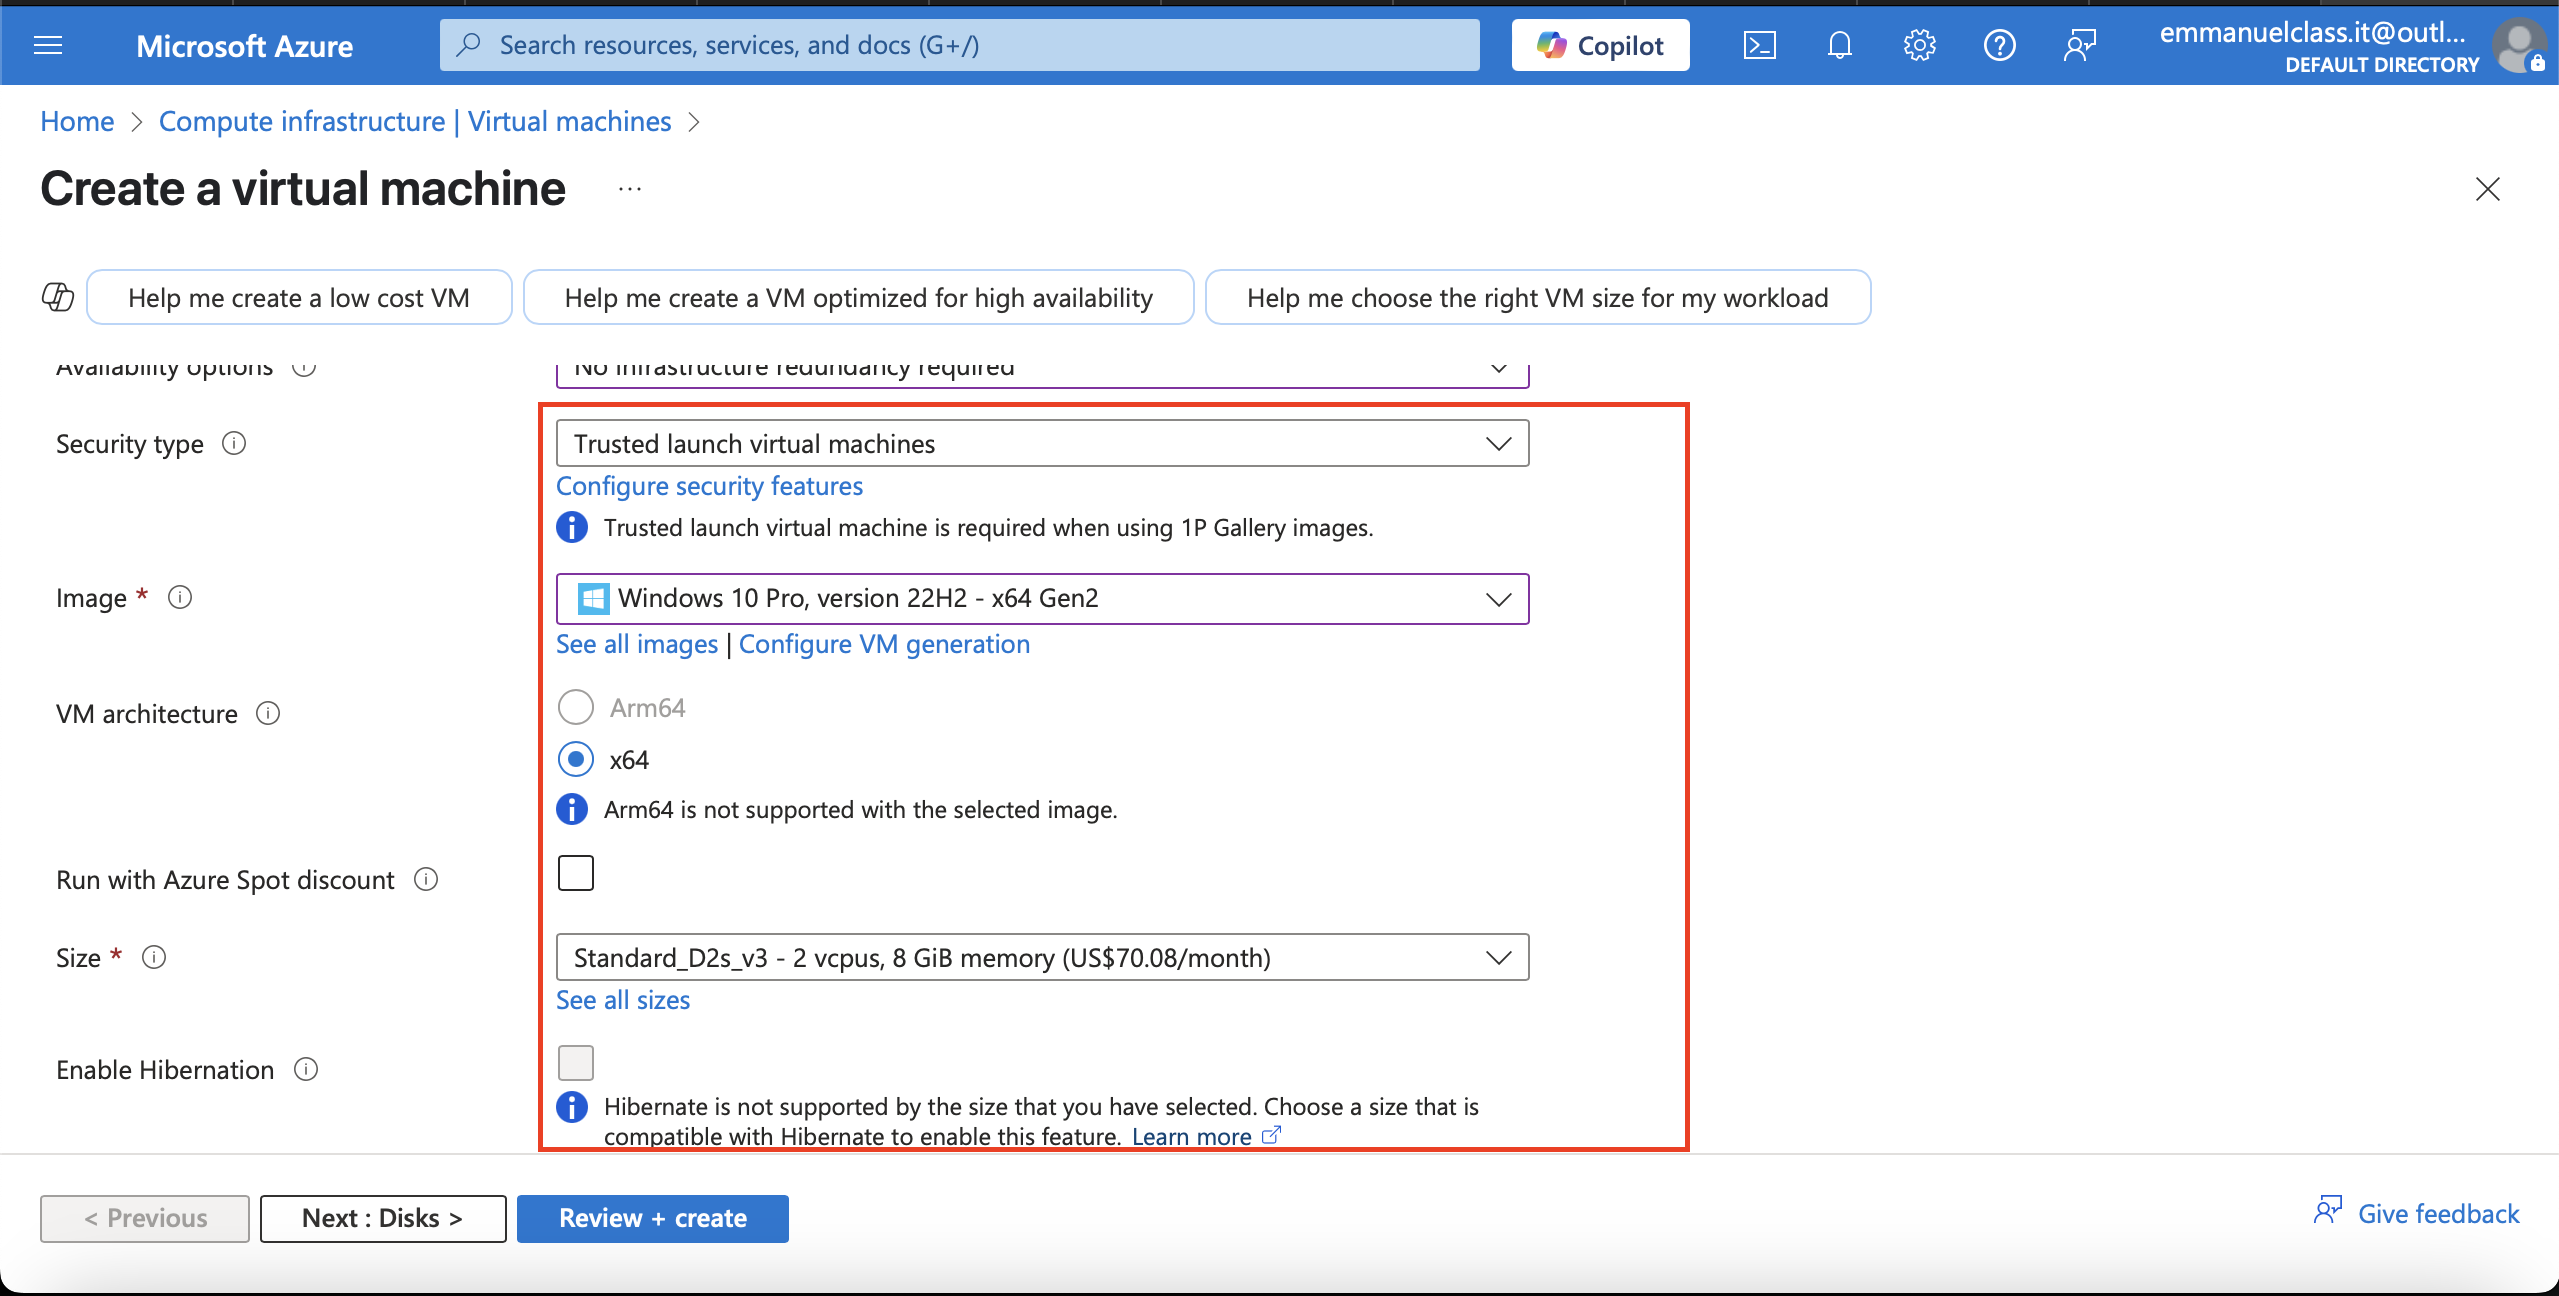
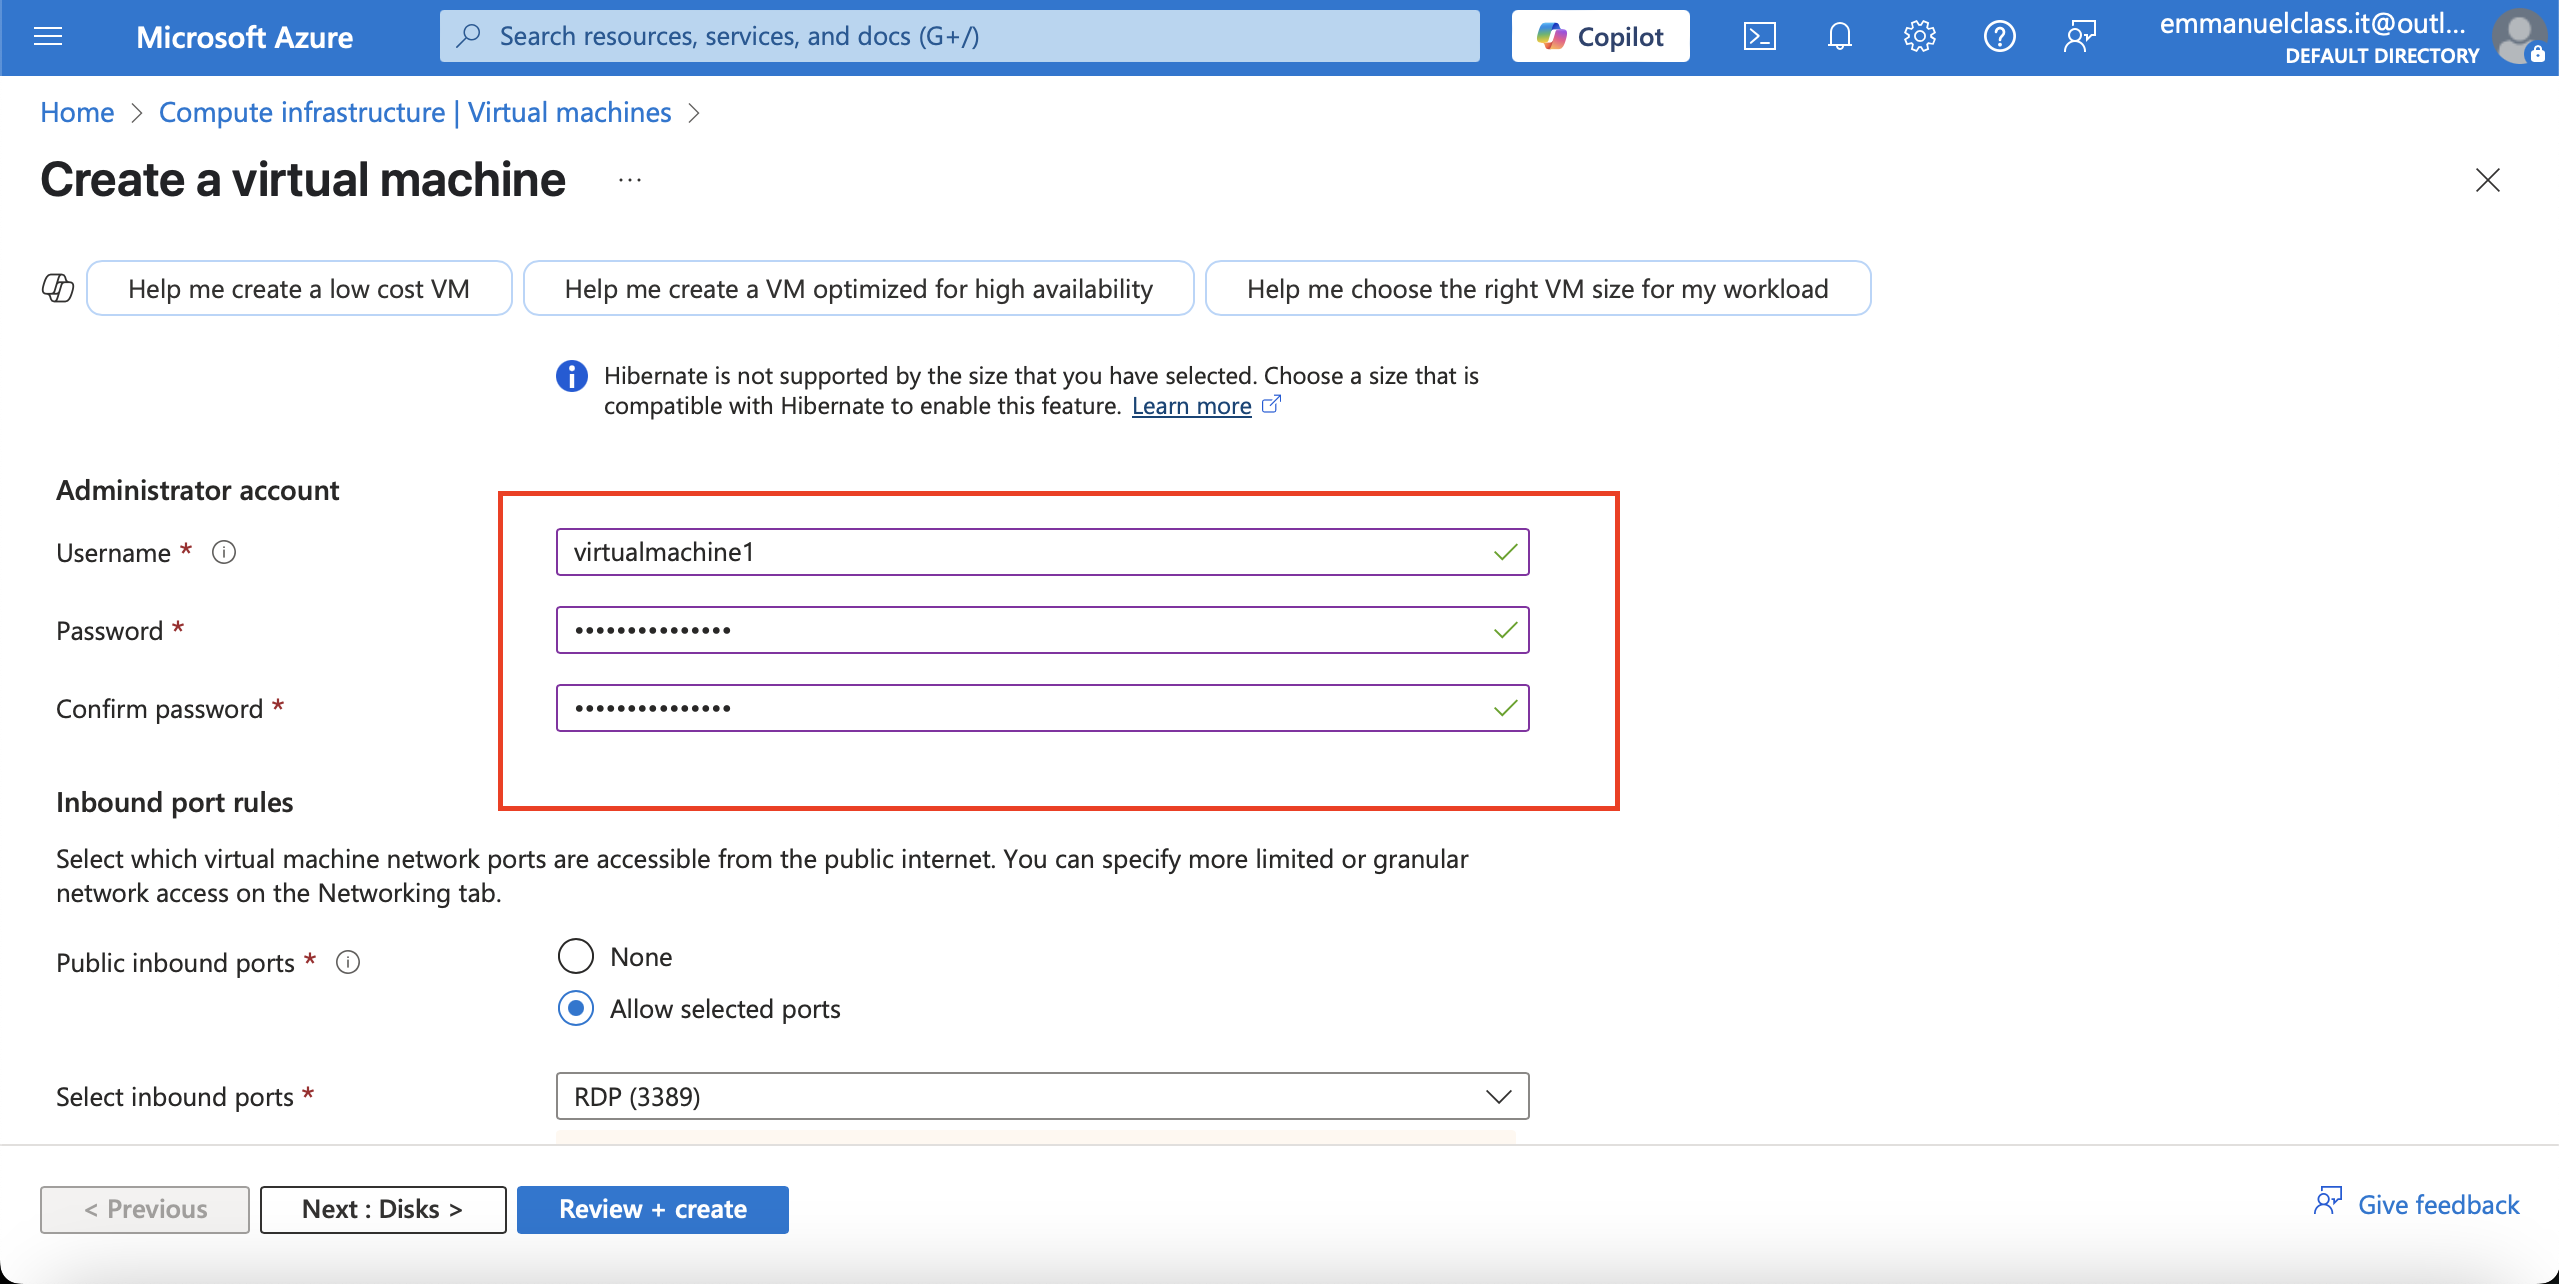
In your Azure portal, search for virtual machine >> click on enter >> click on create >> fill in the basics:your subscription, resource group, virtual machine name, region, availability zone, size, inbound port, adminstrator account >> Review+Create >> create and wait for validation and deployment.
Search for virtual machine in the search resource
Click on the create button to begin creating the virtual machine
Fill in the Basics
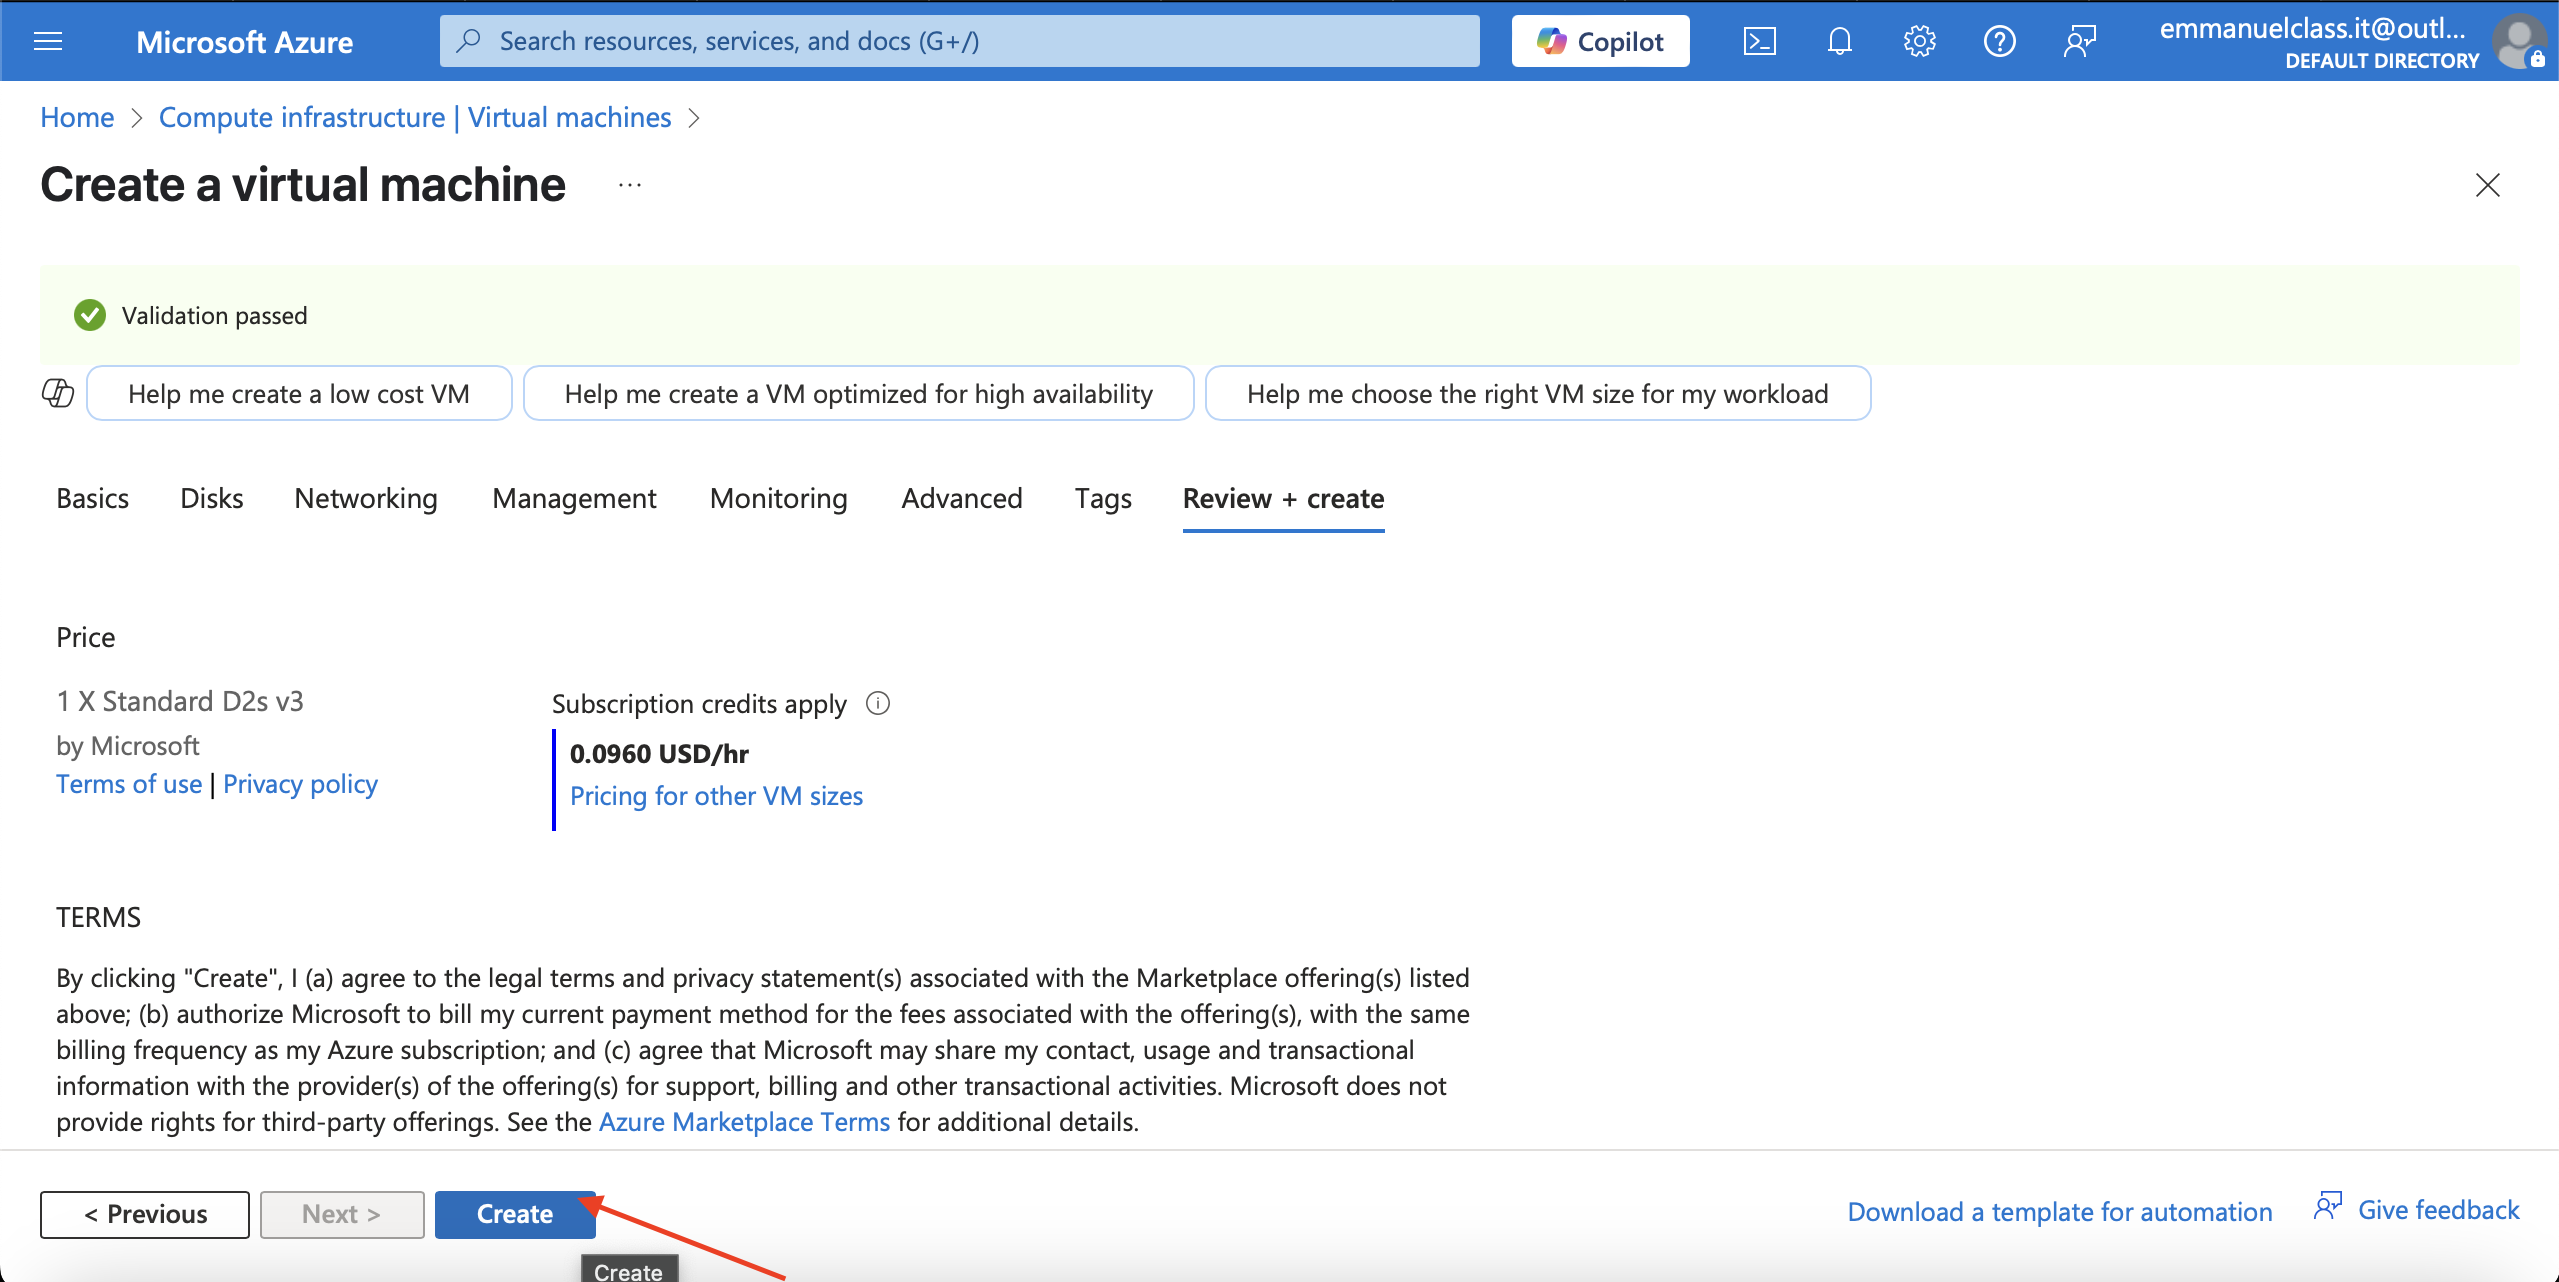
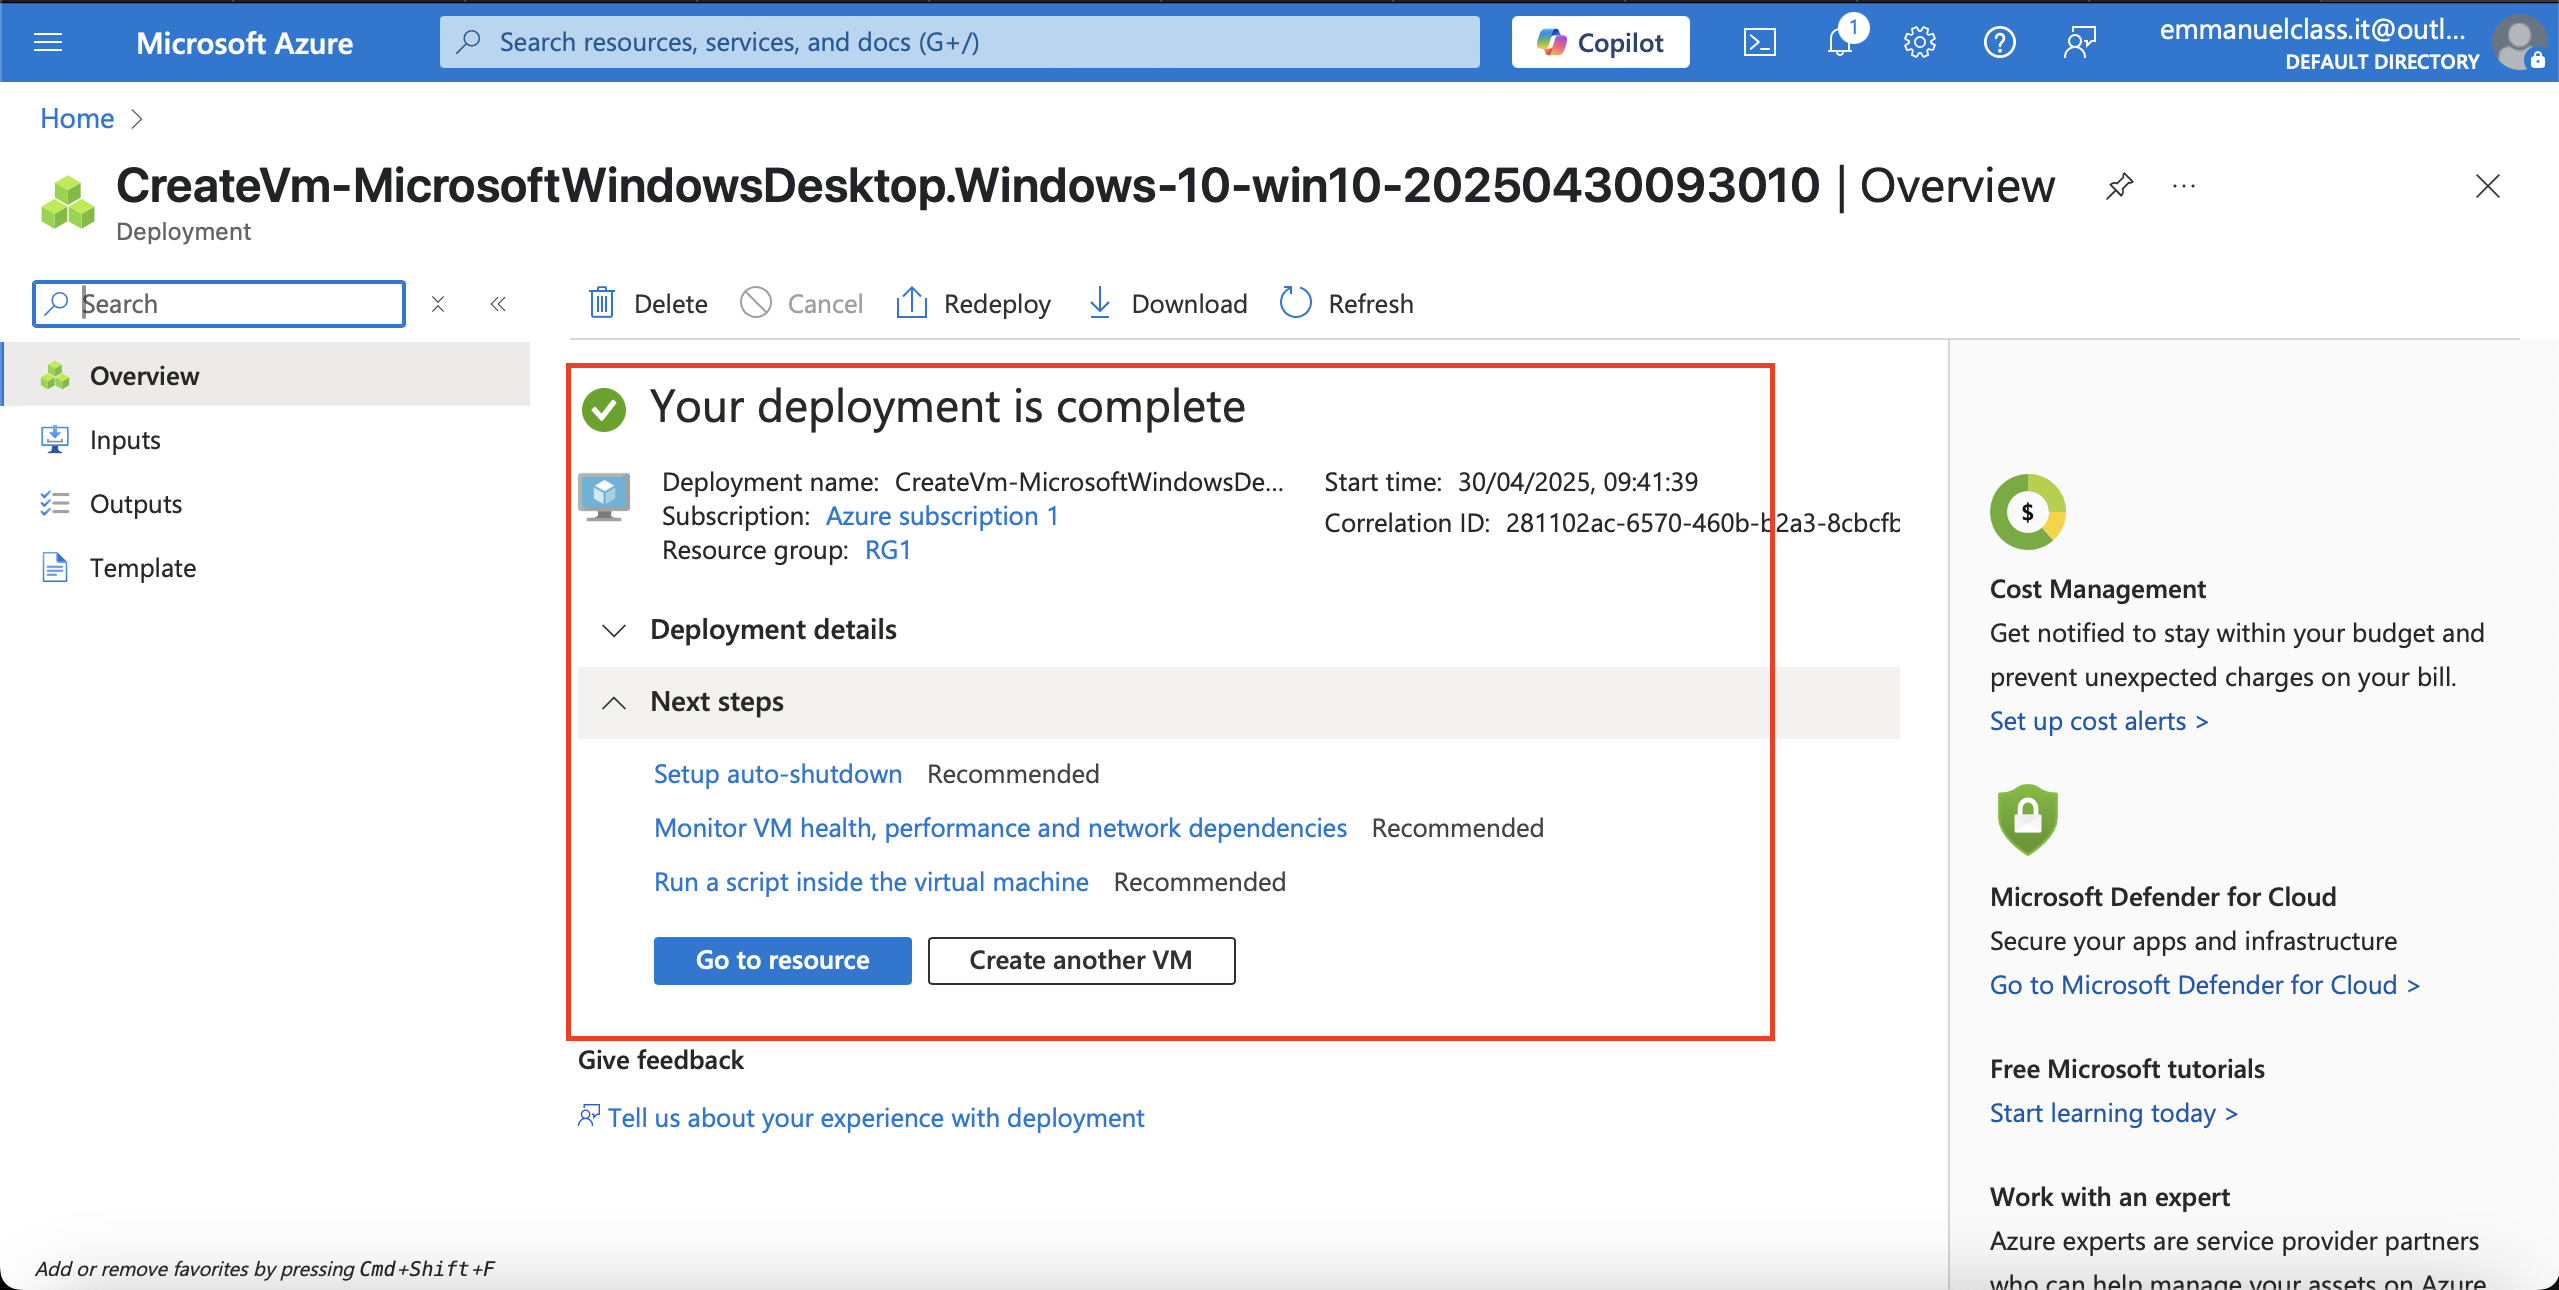
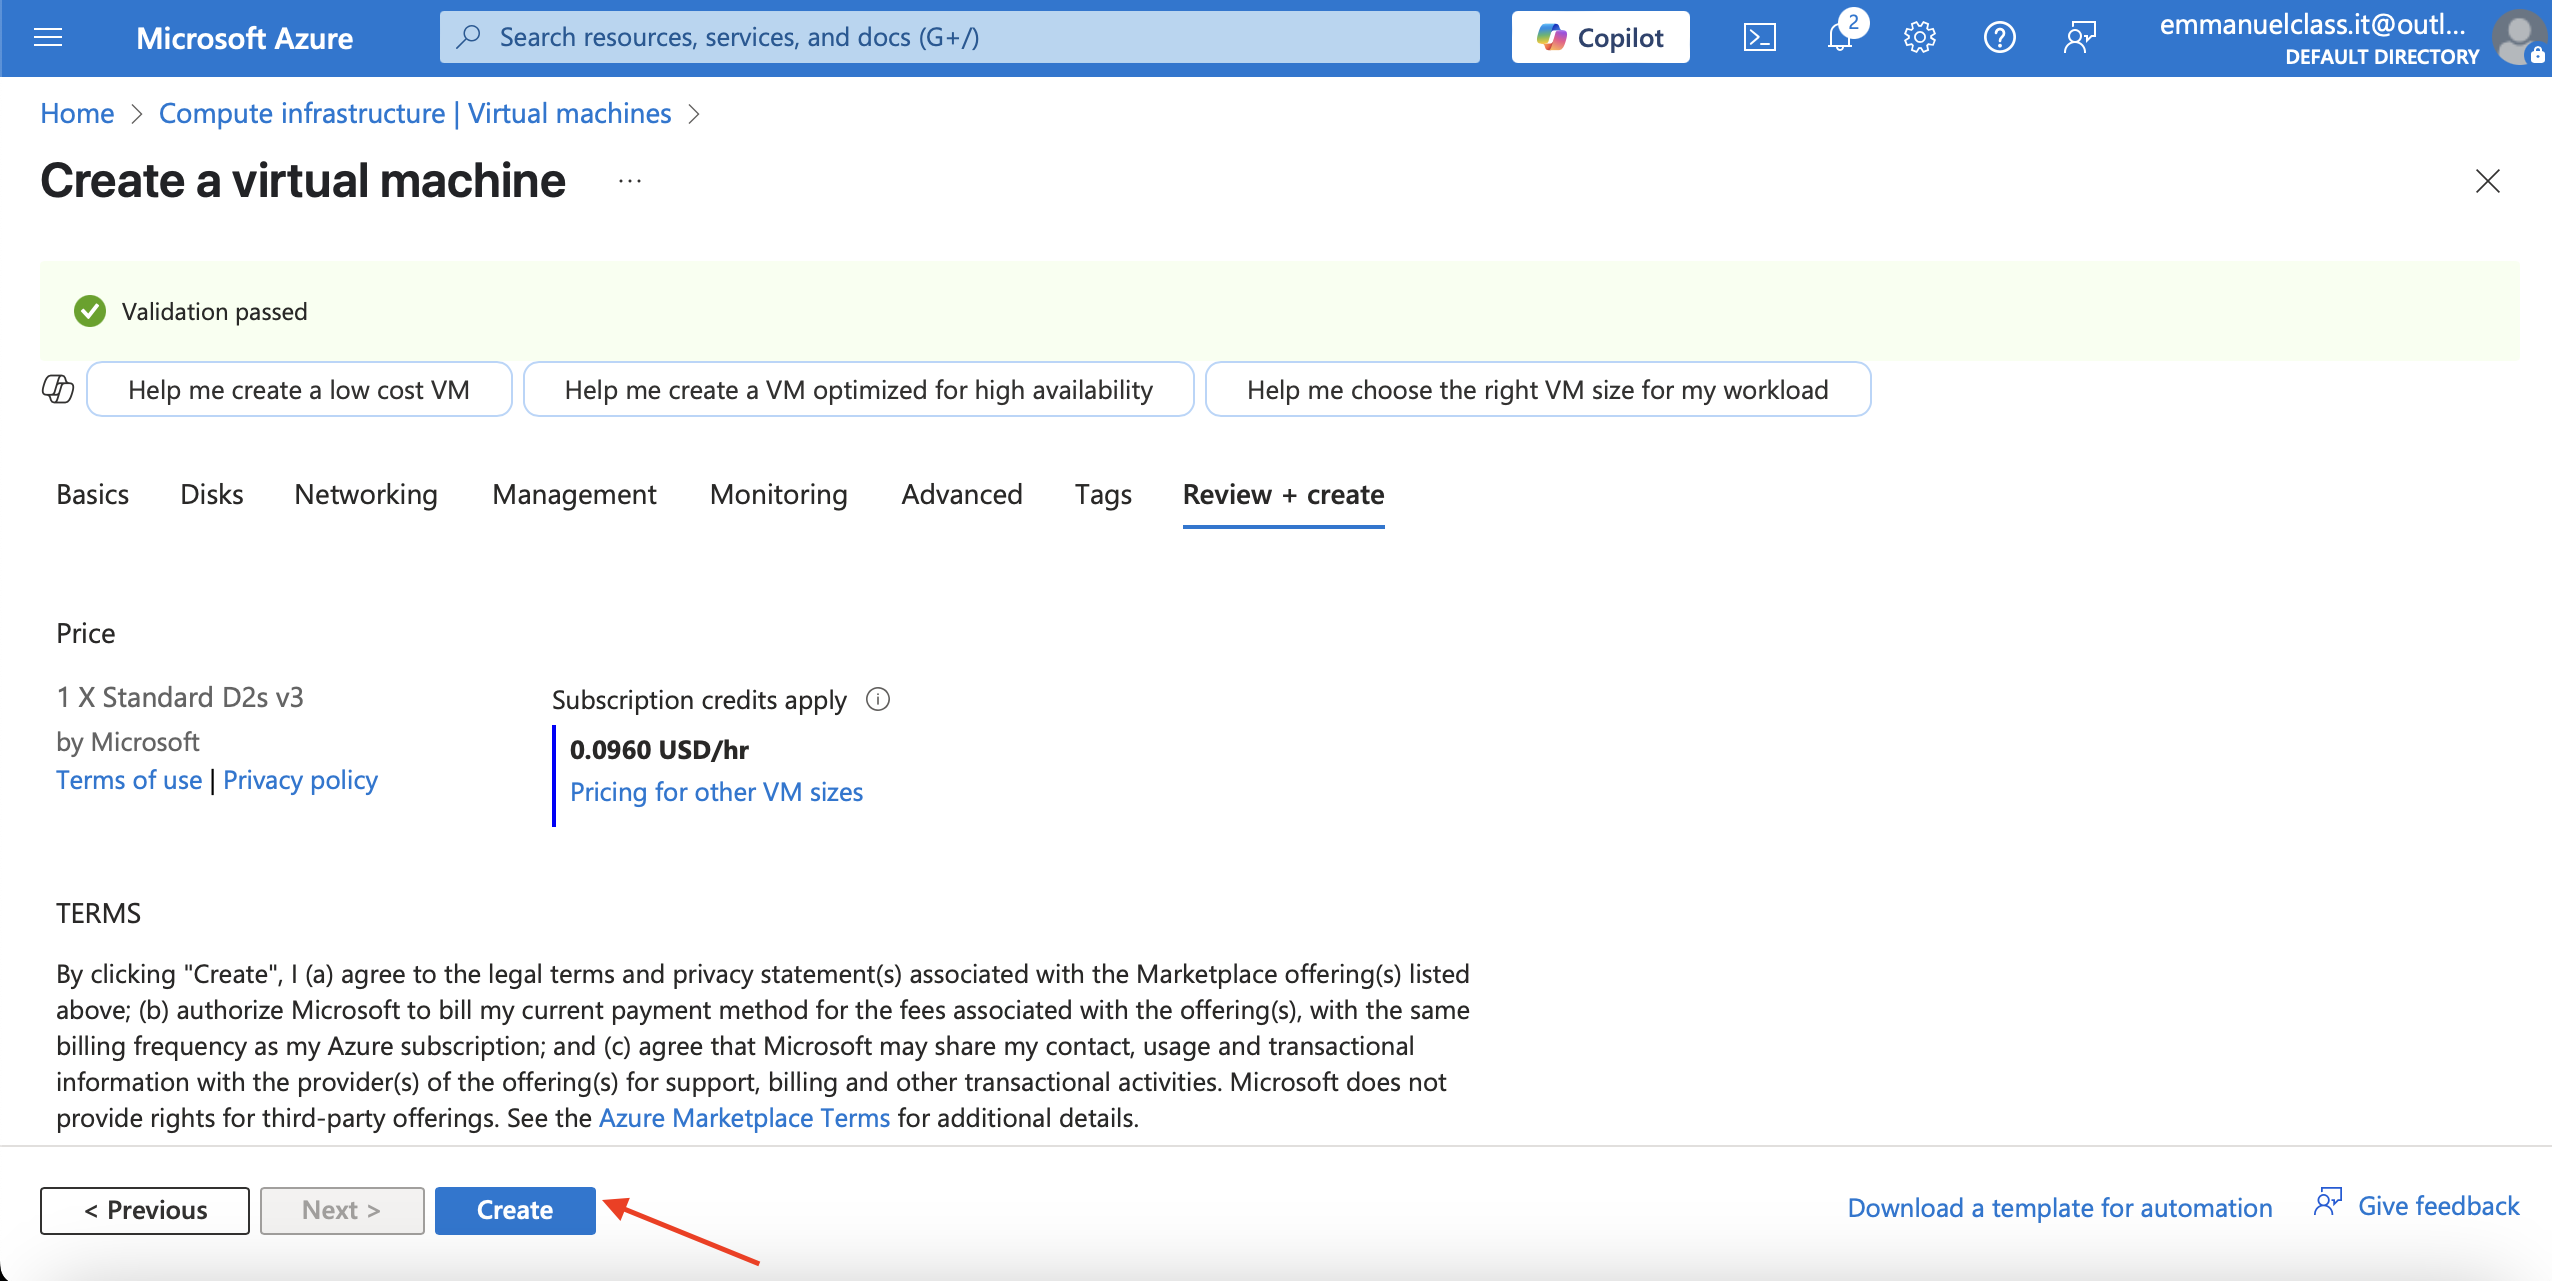
Review+create for validation and click on create for deployment.
Validation pass
Complete Deployment
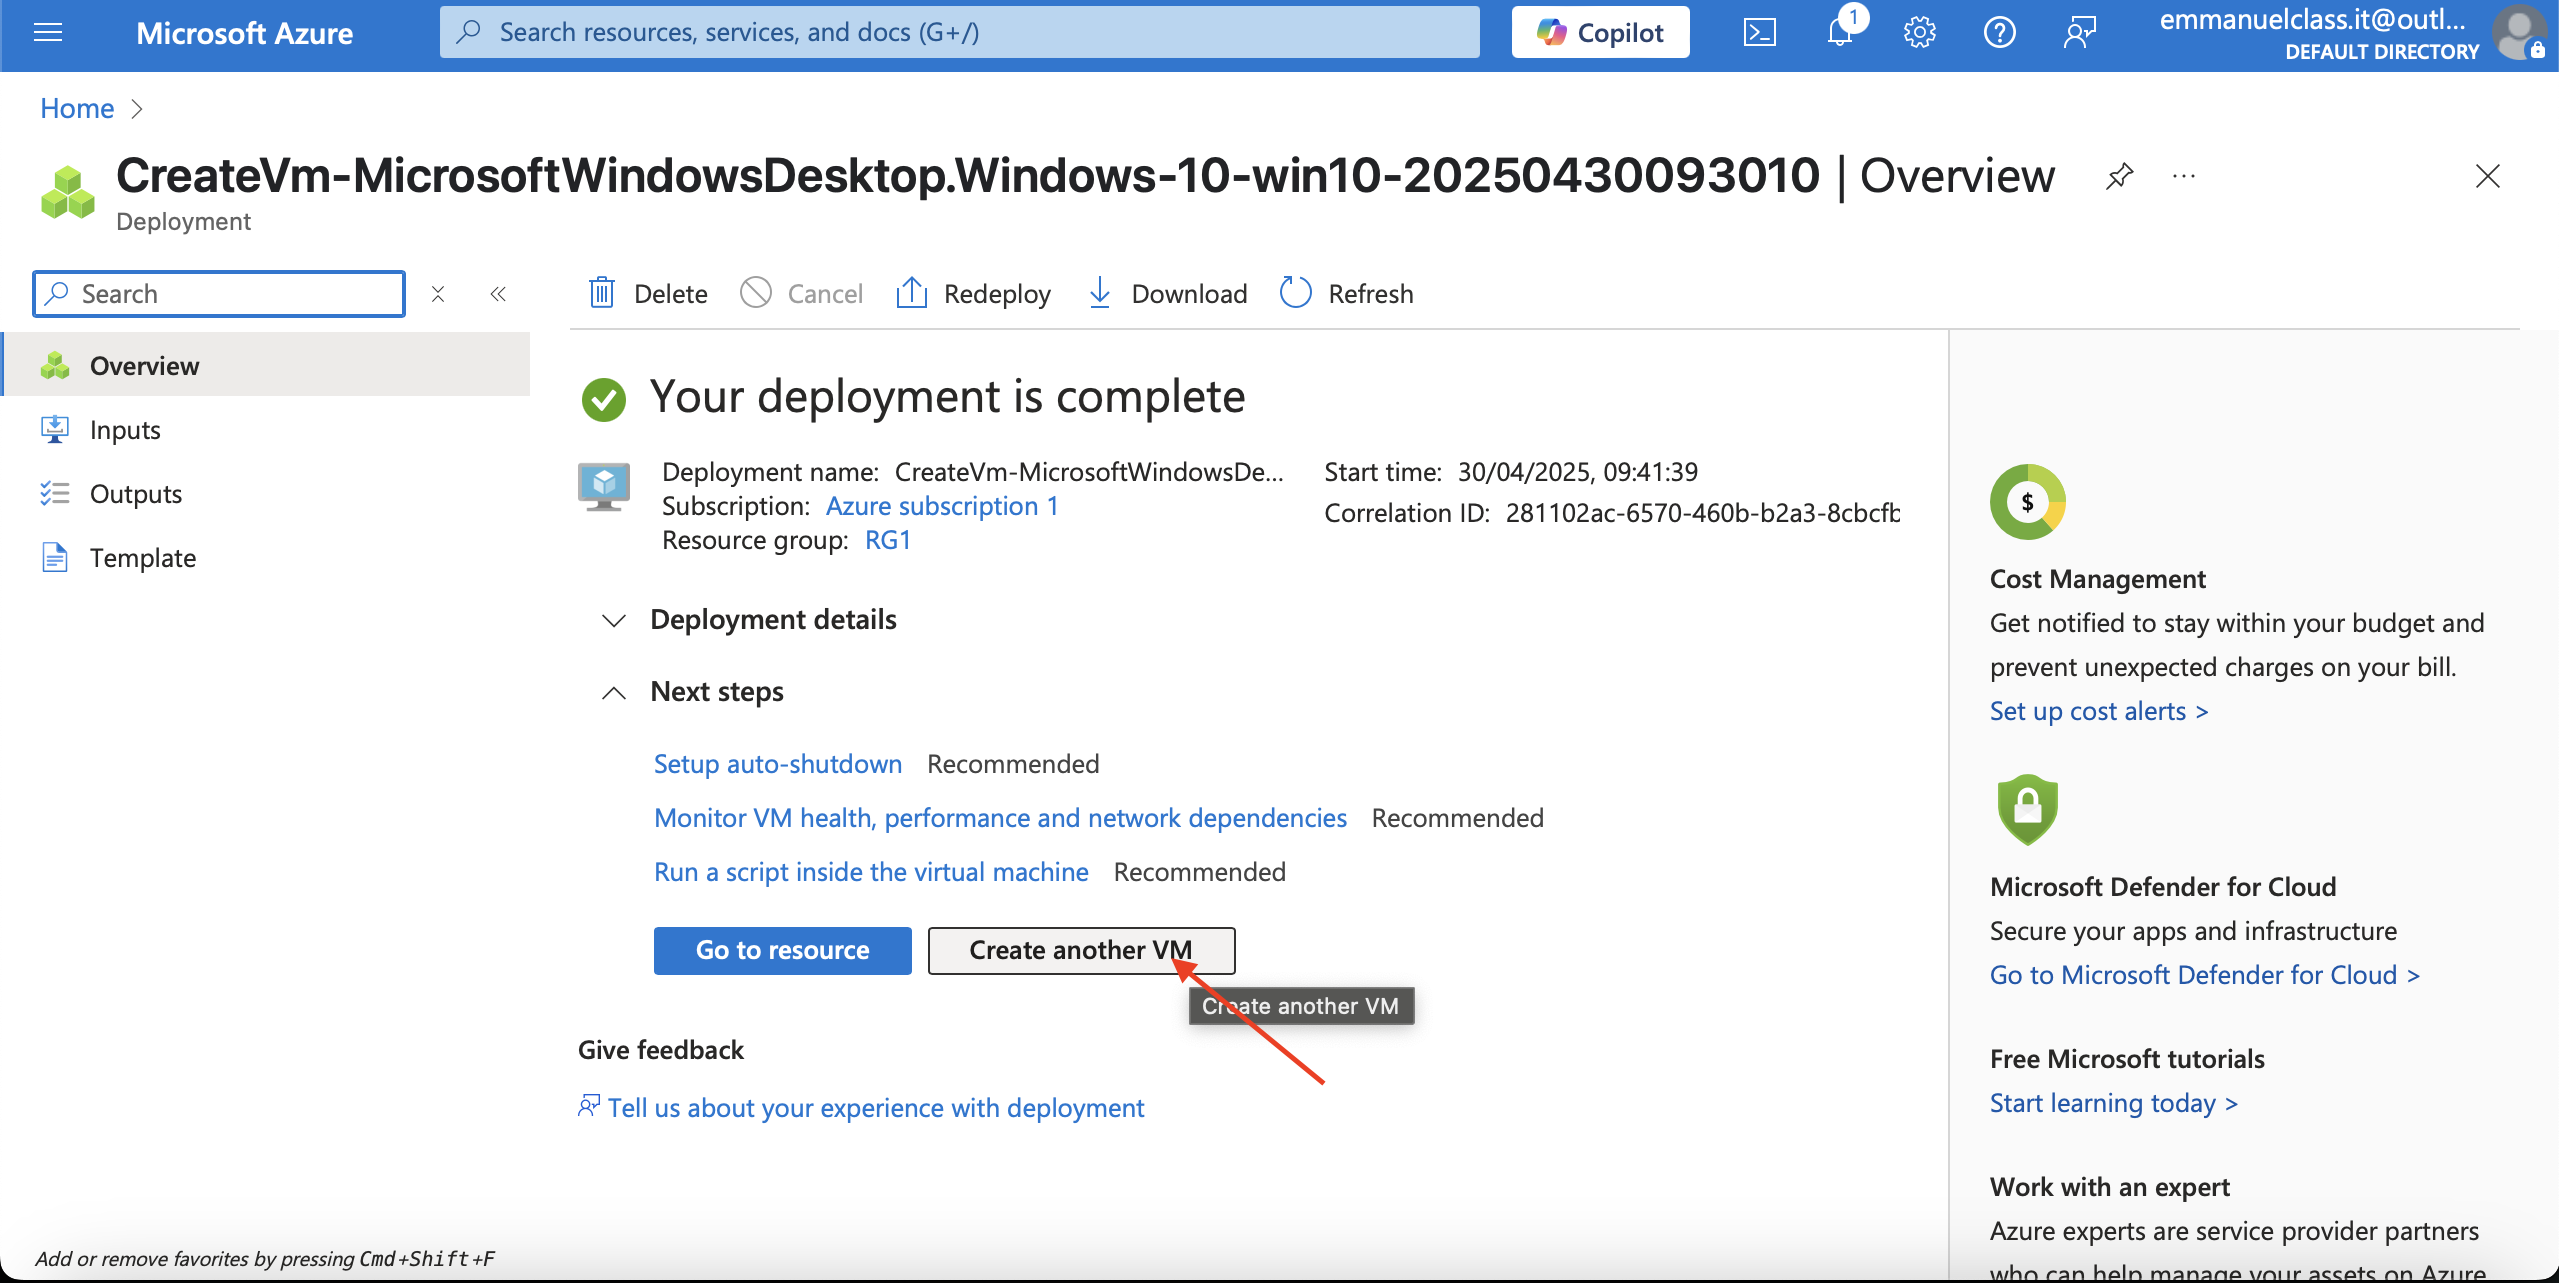
Creating vm2
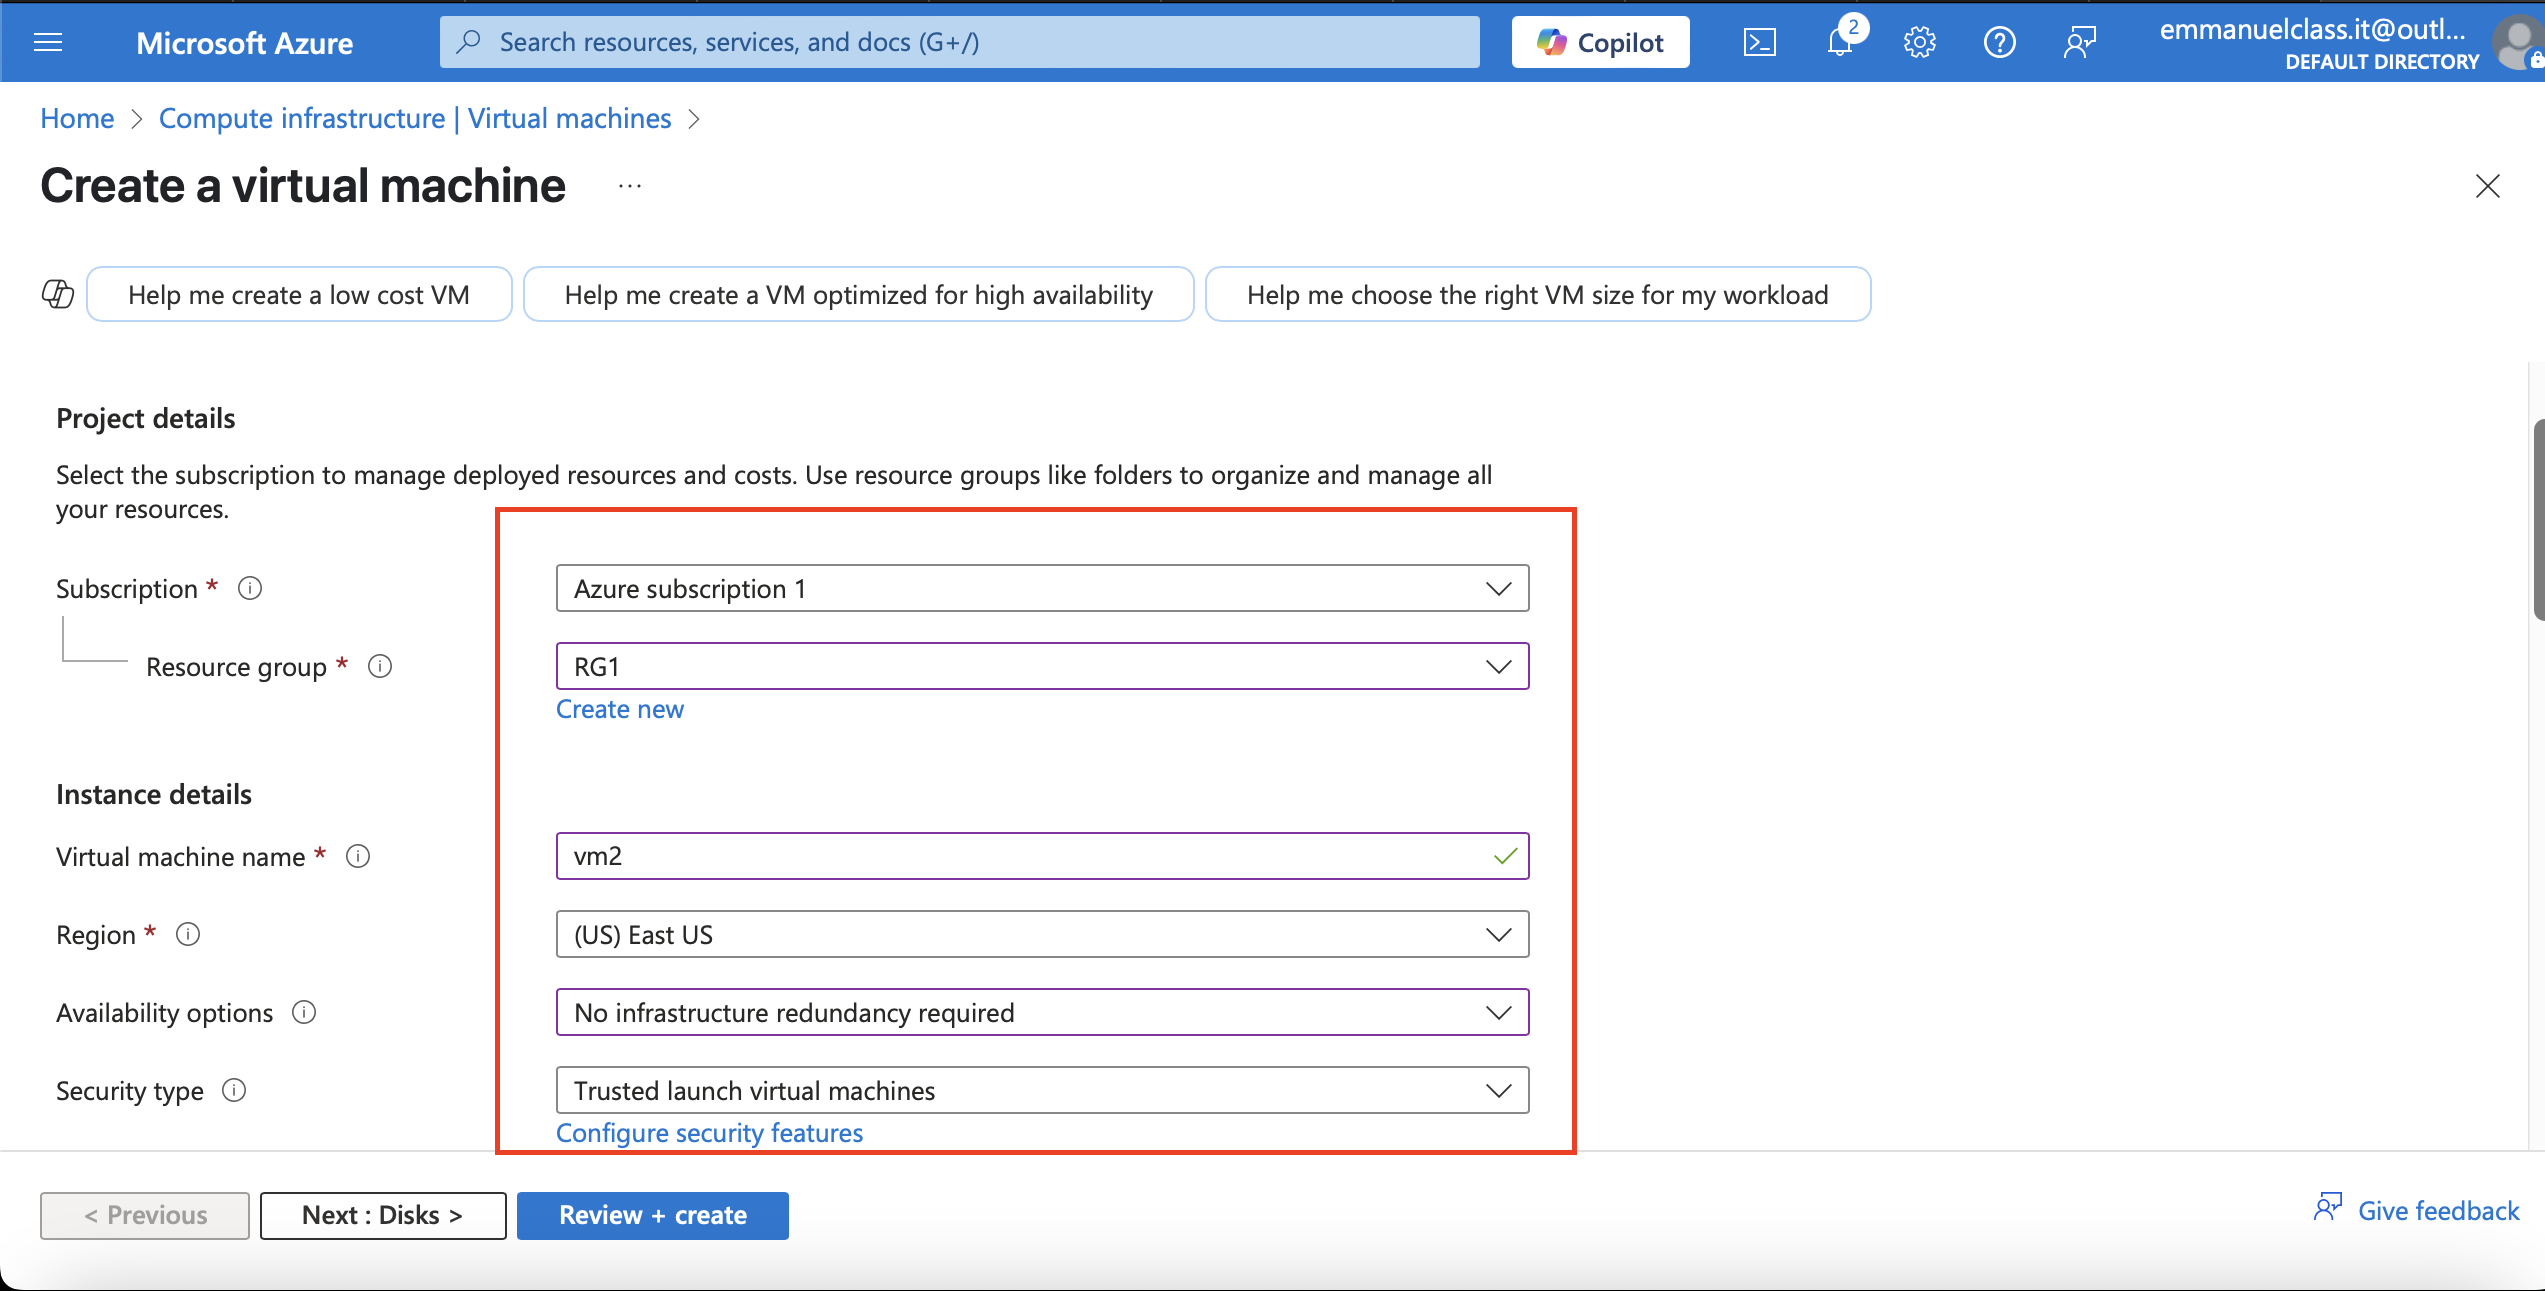
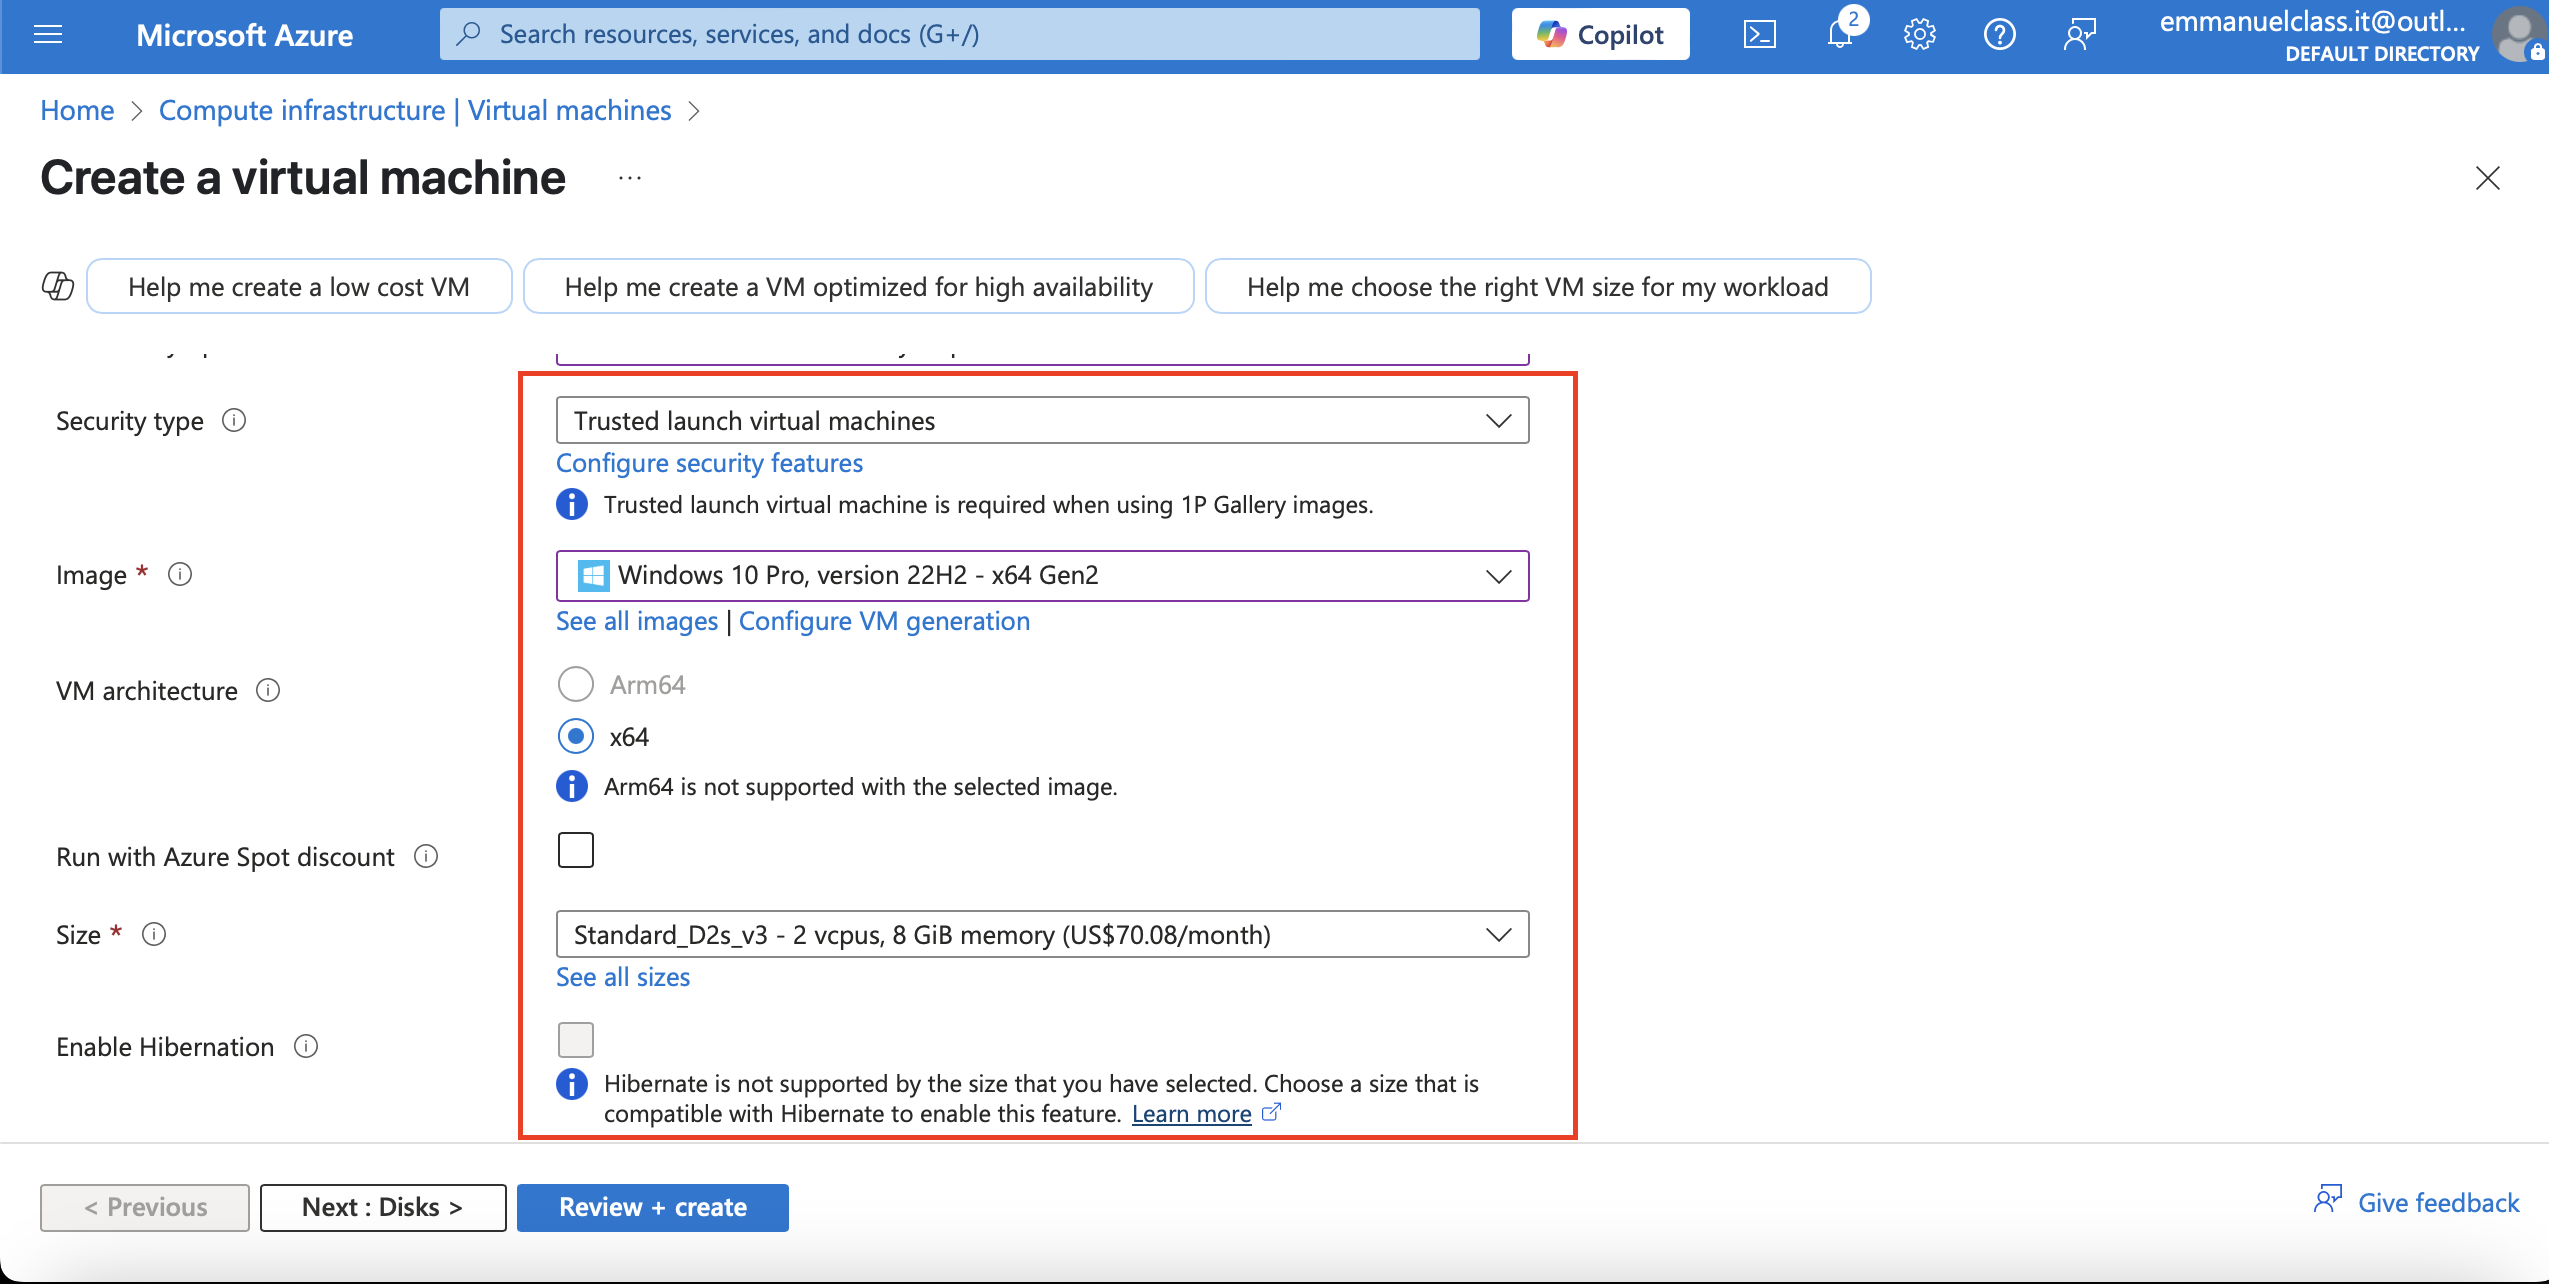
In your Azure portal, search for virtual machine >> click on enter >> click on create >> fill in the basics:your subscription, resource group, virtual machine name, region, availability zone, size, inbound port, adminstative account >> Review+Create >> create and wait for validation and deployment.
Fill in the basics
The project details
Administrator account.
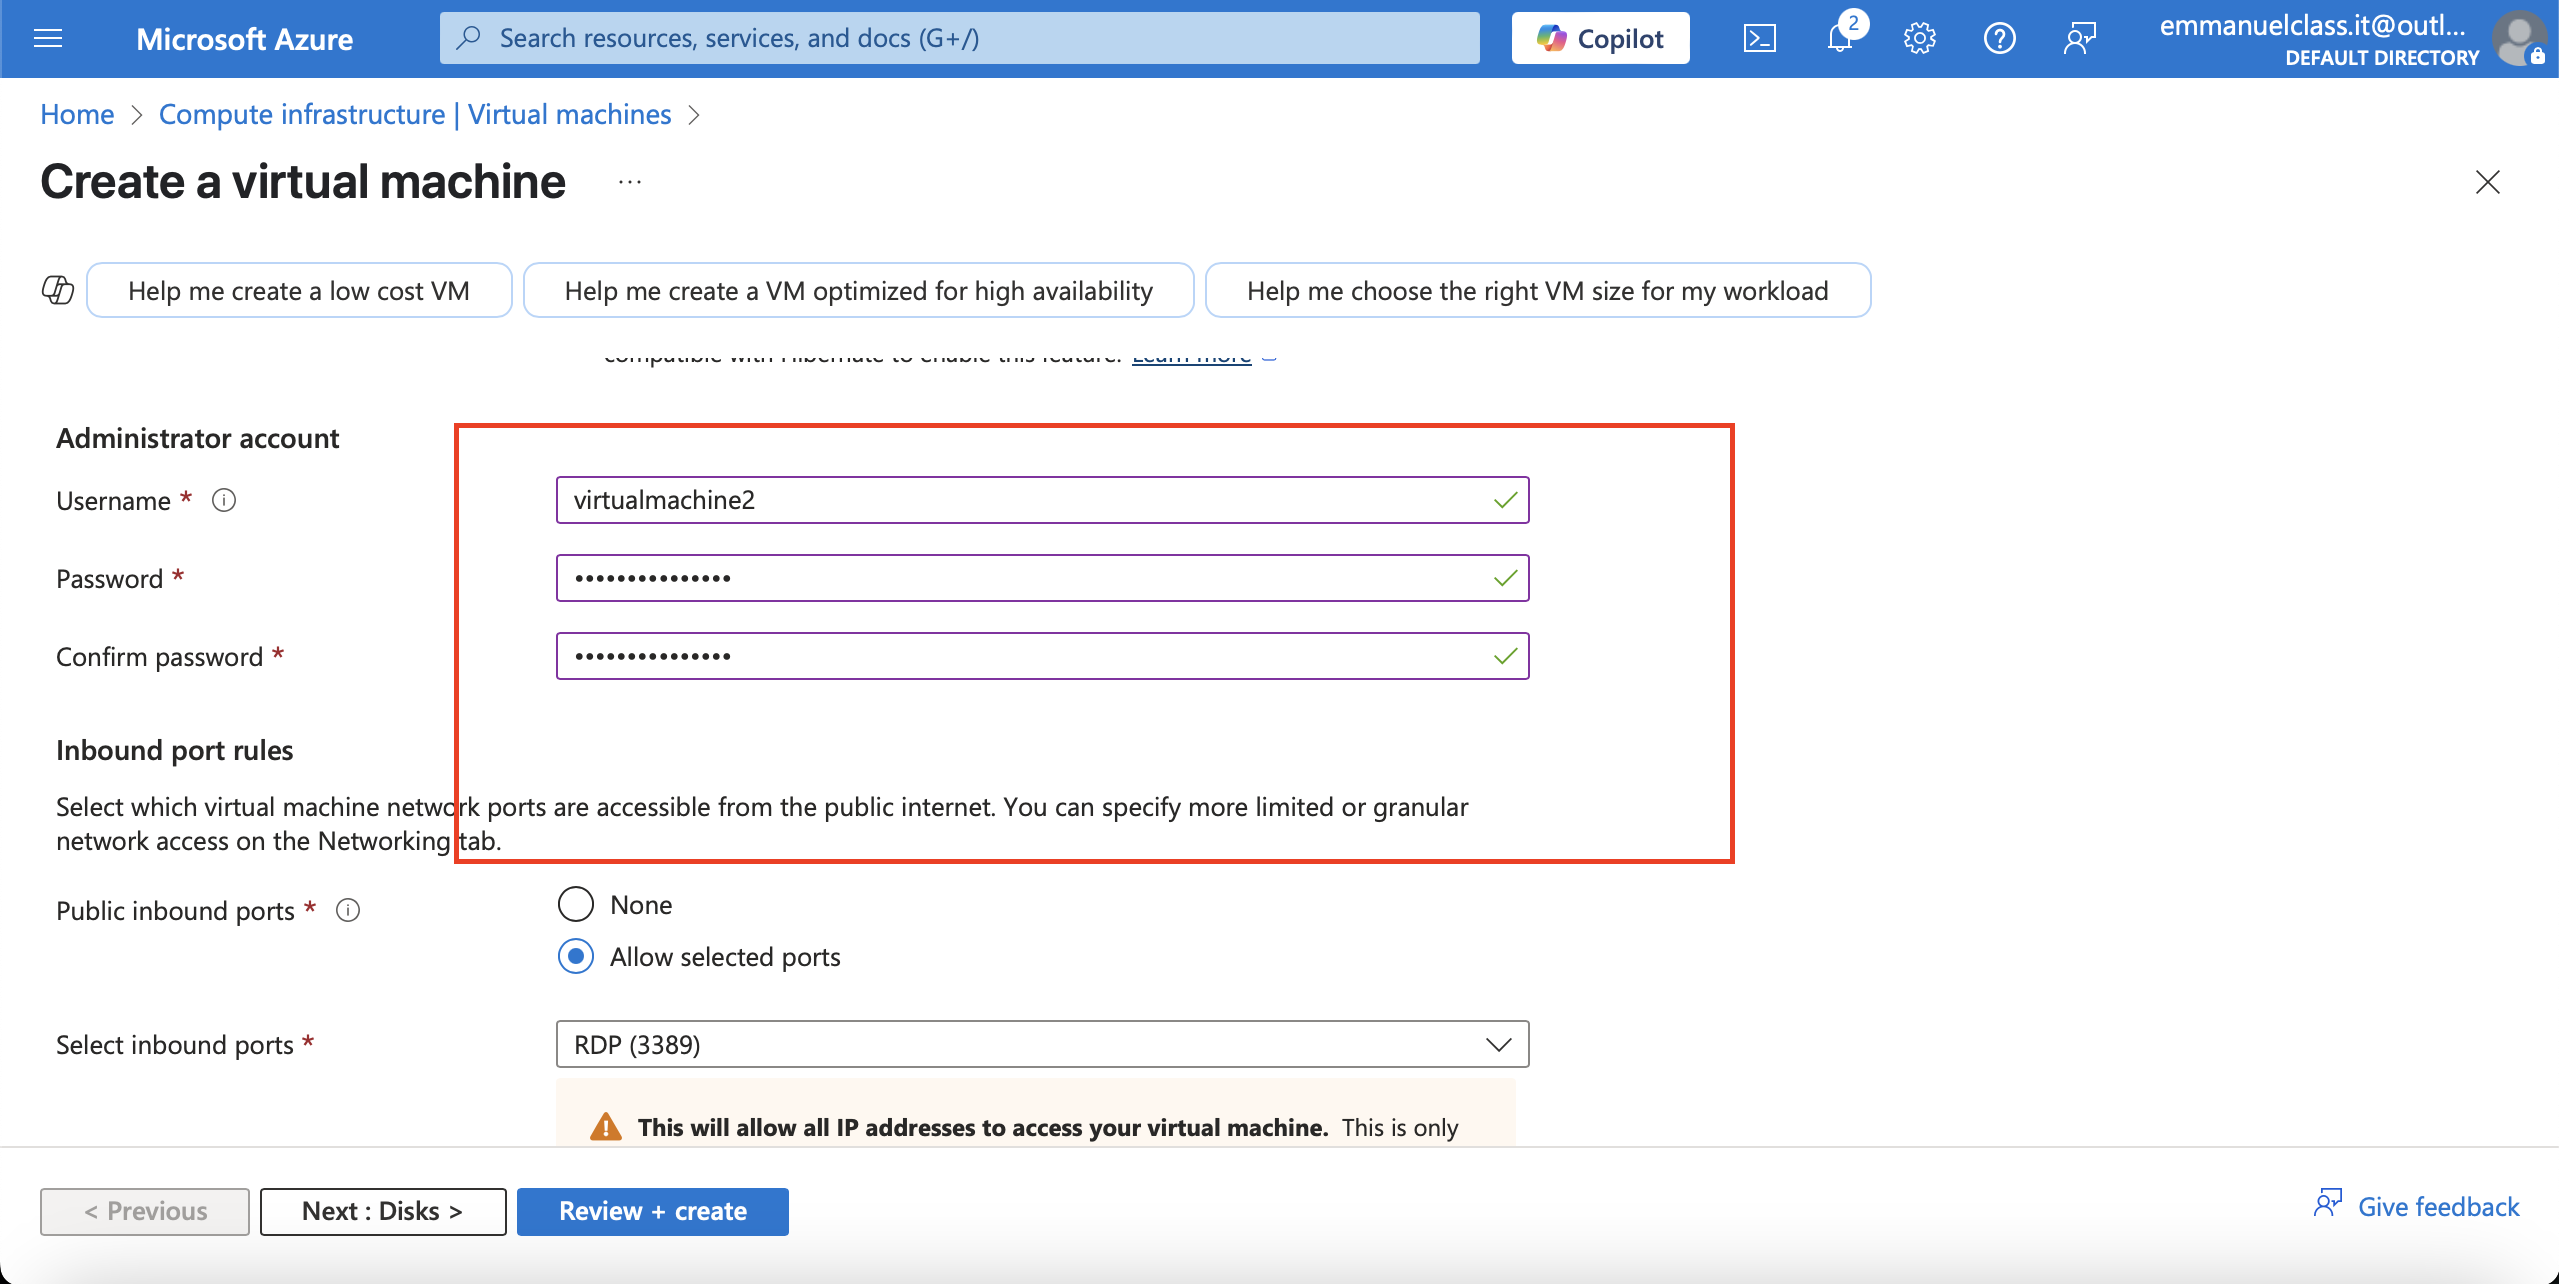
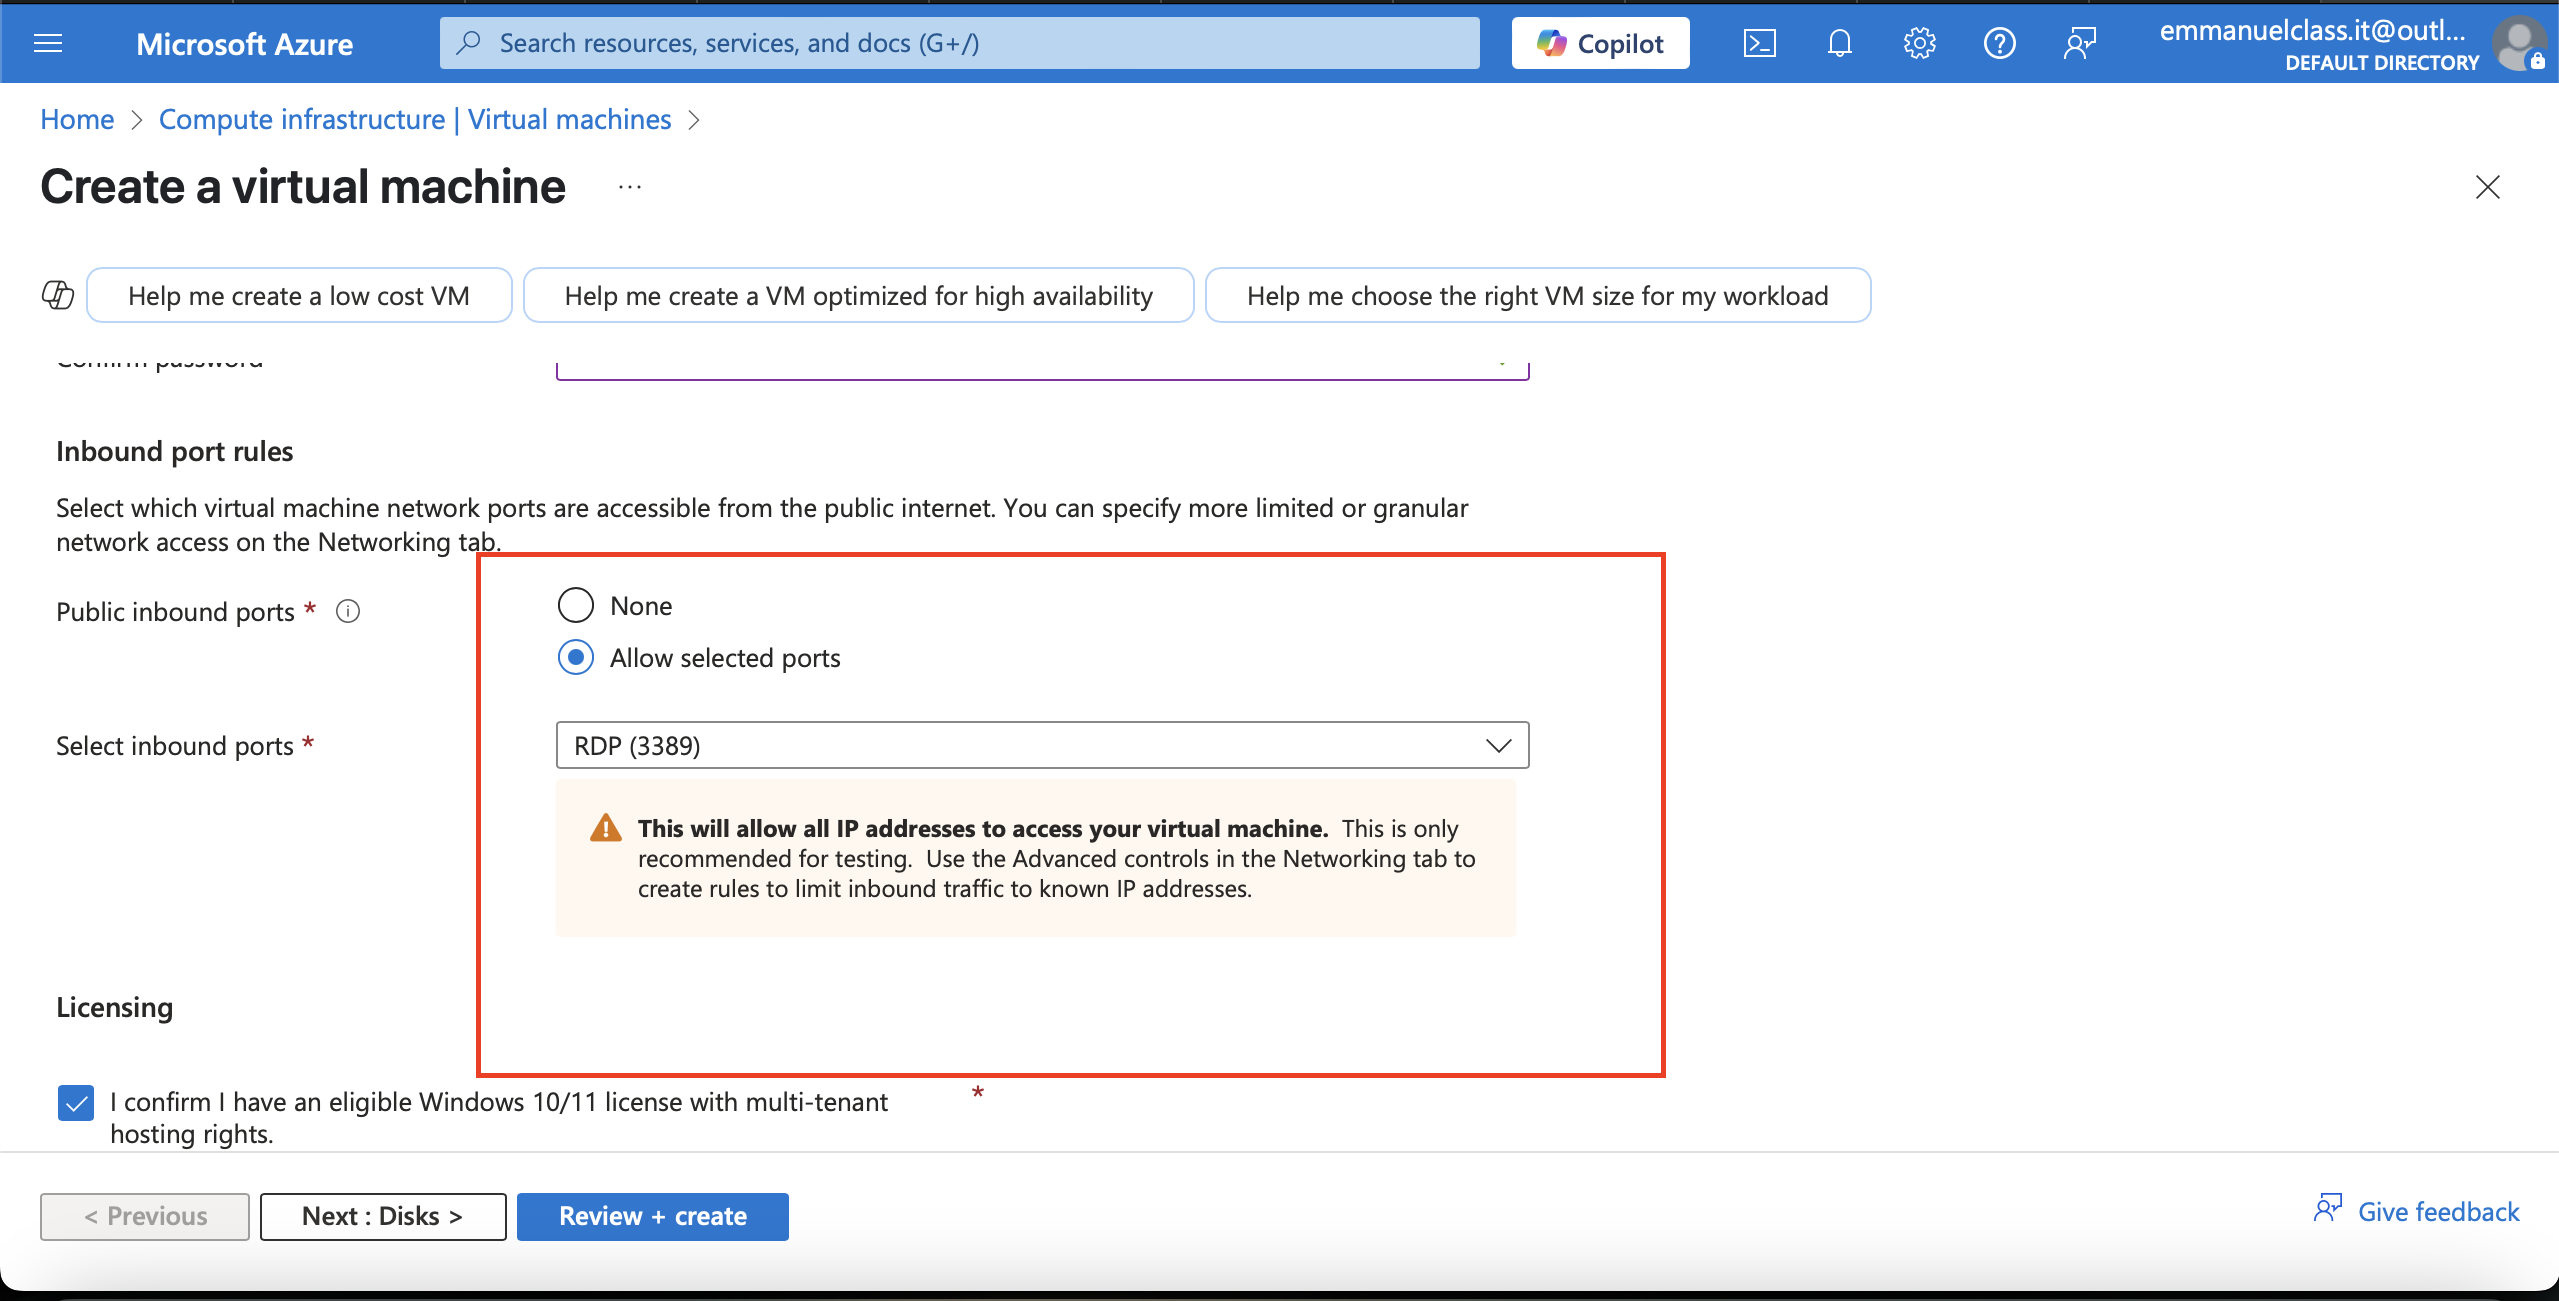
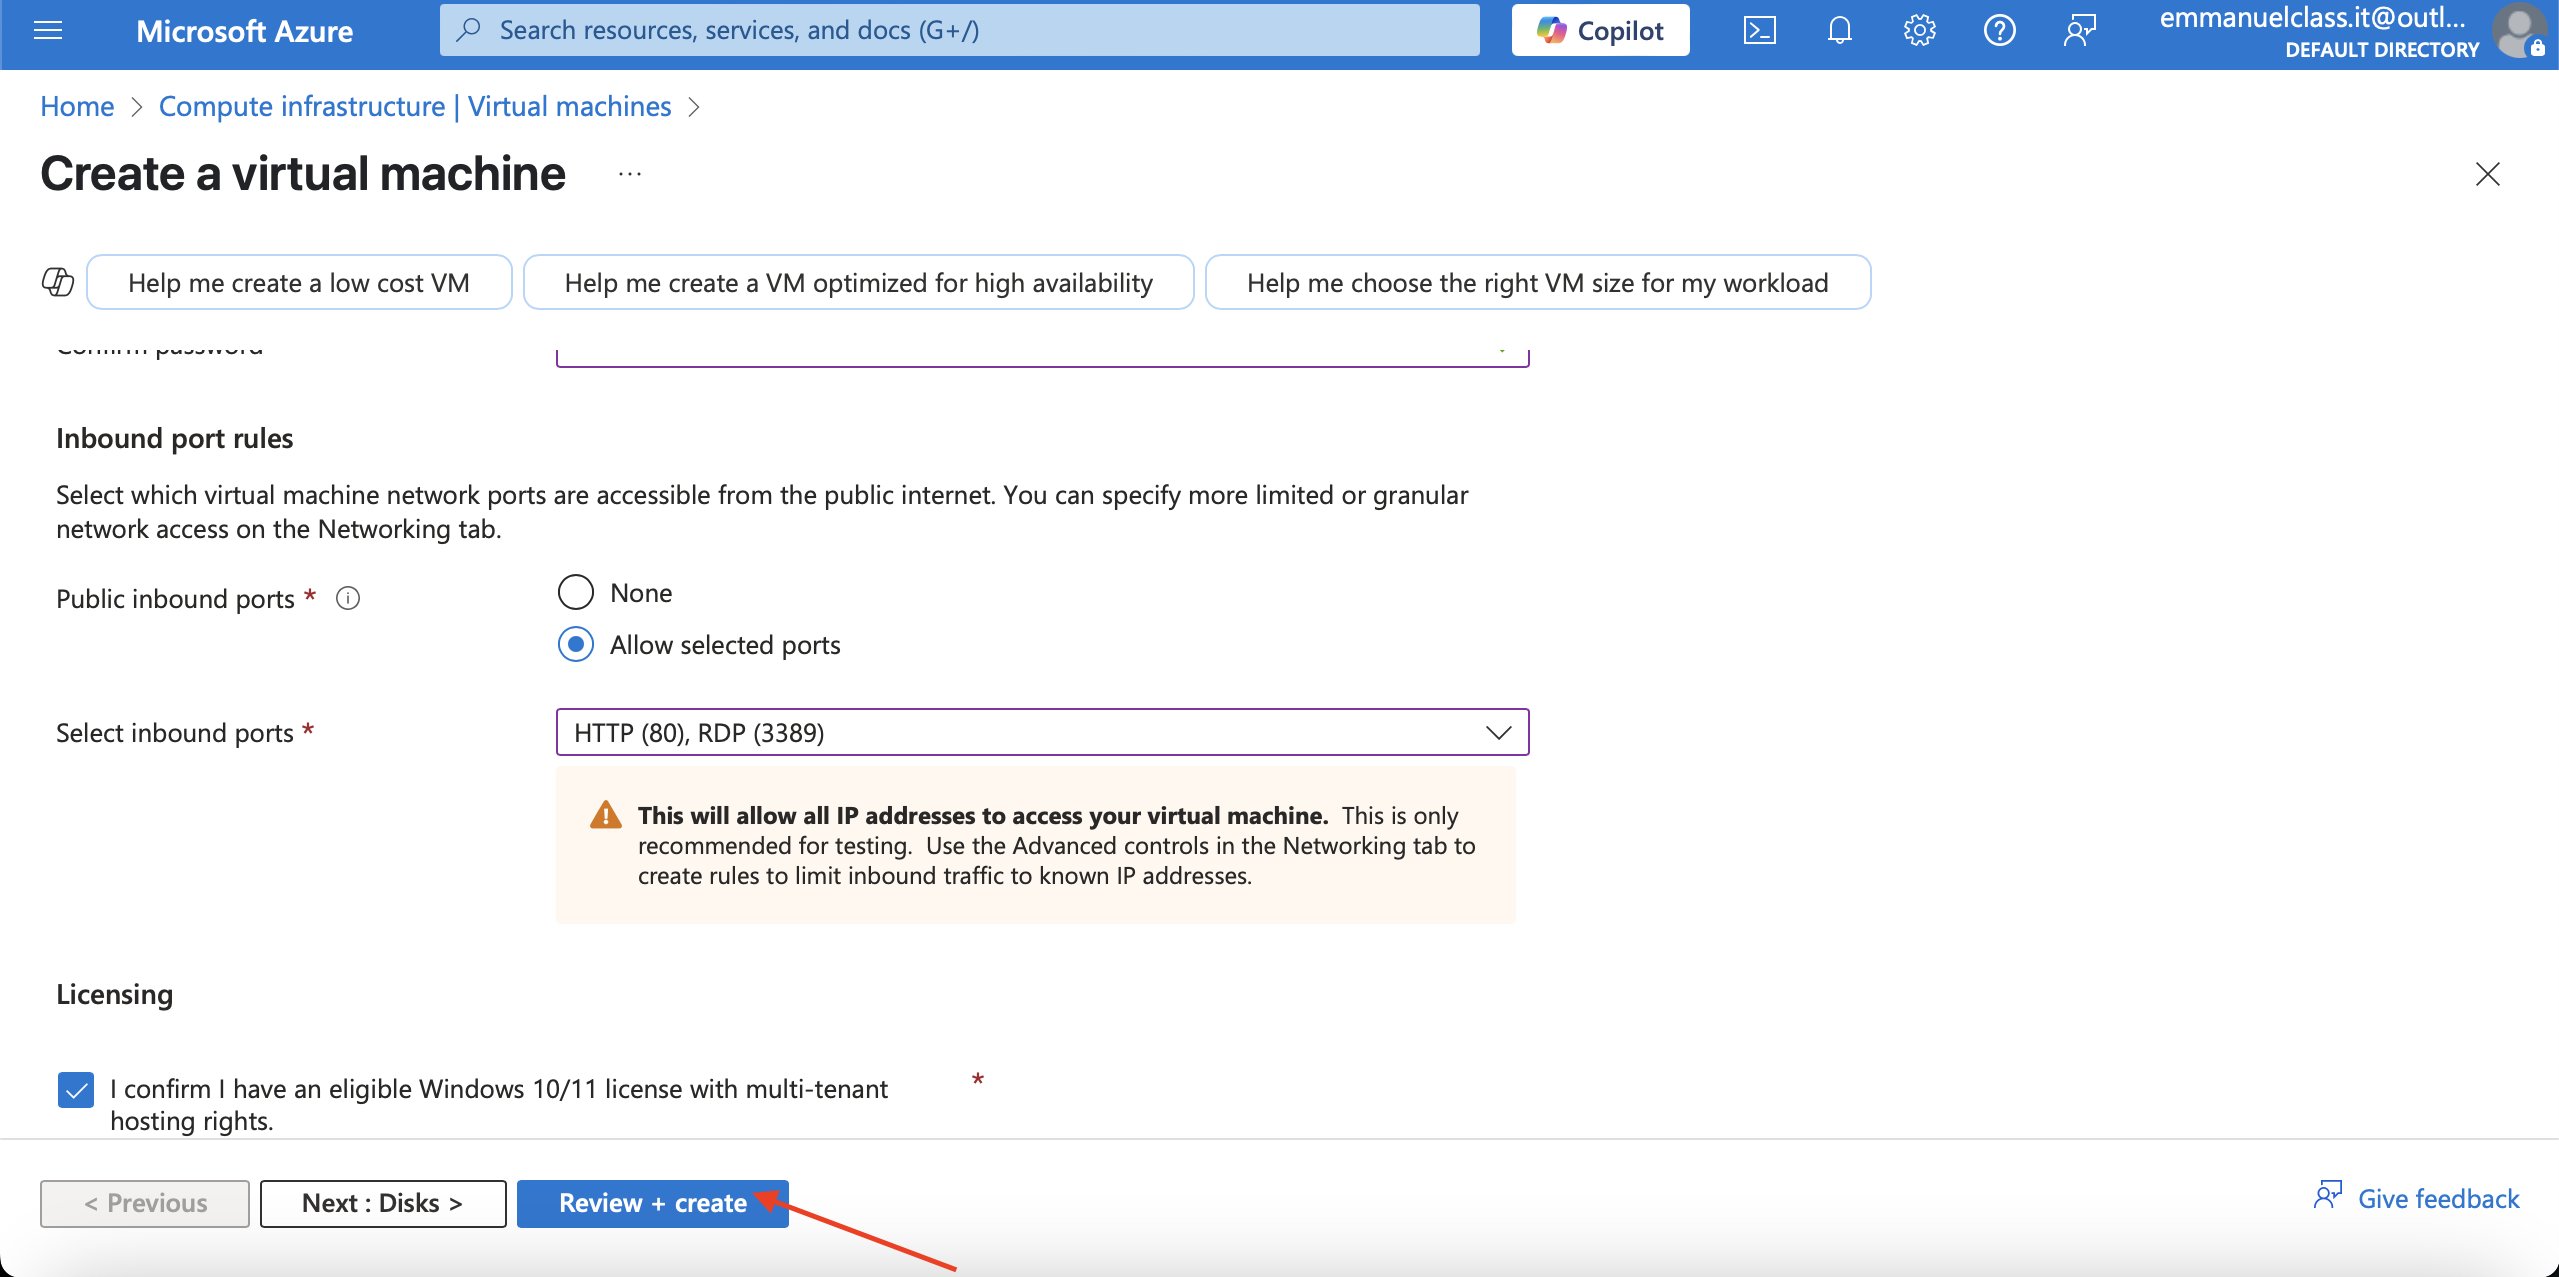
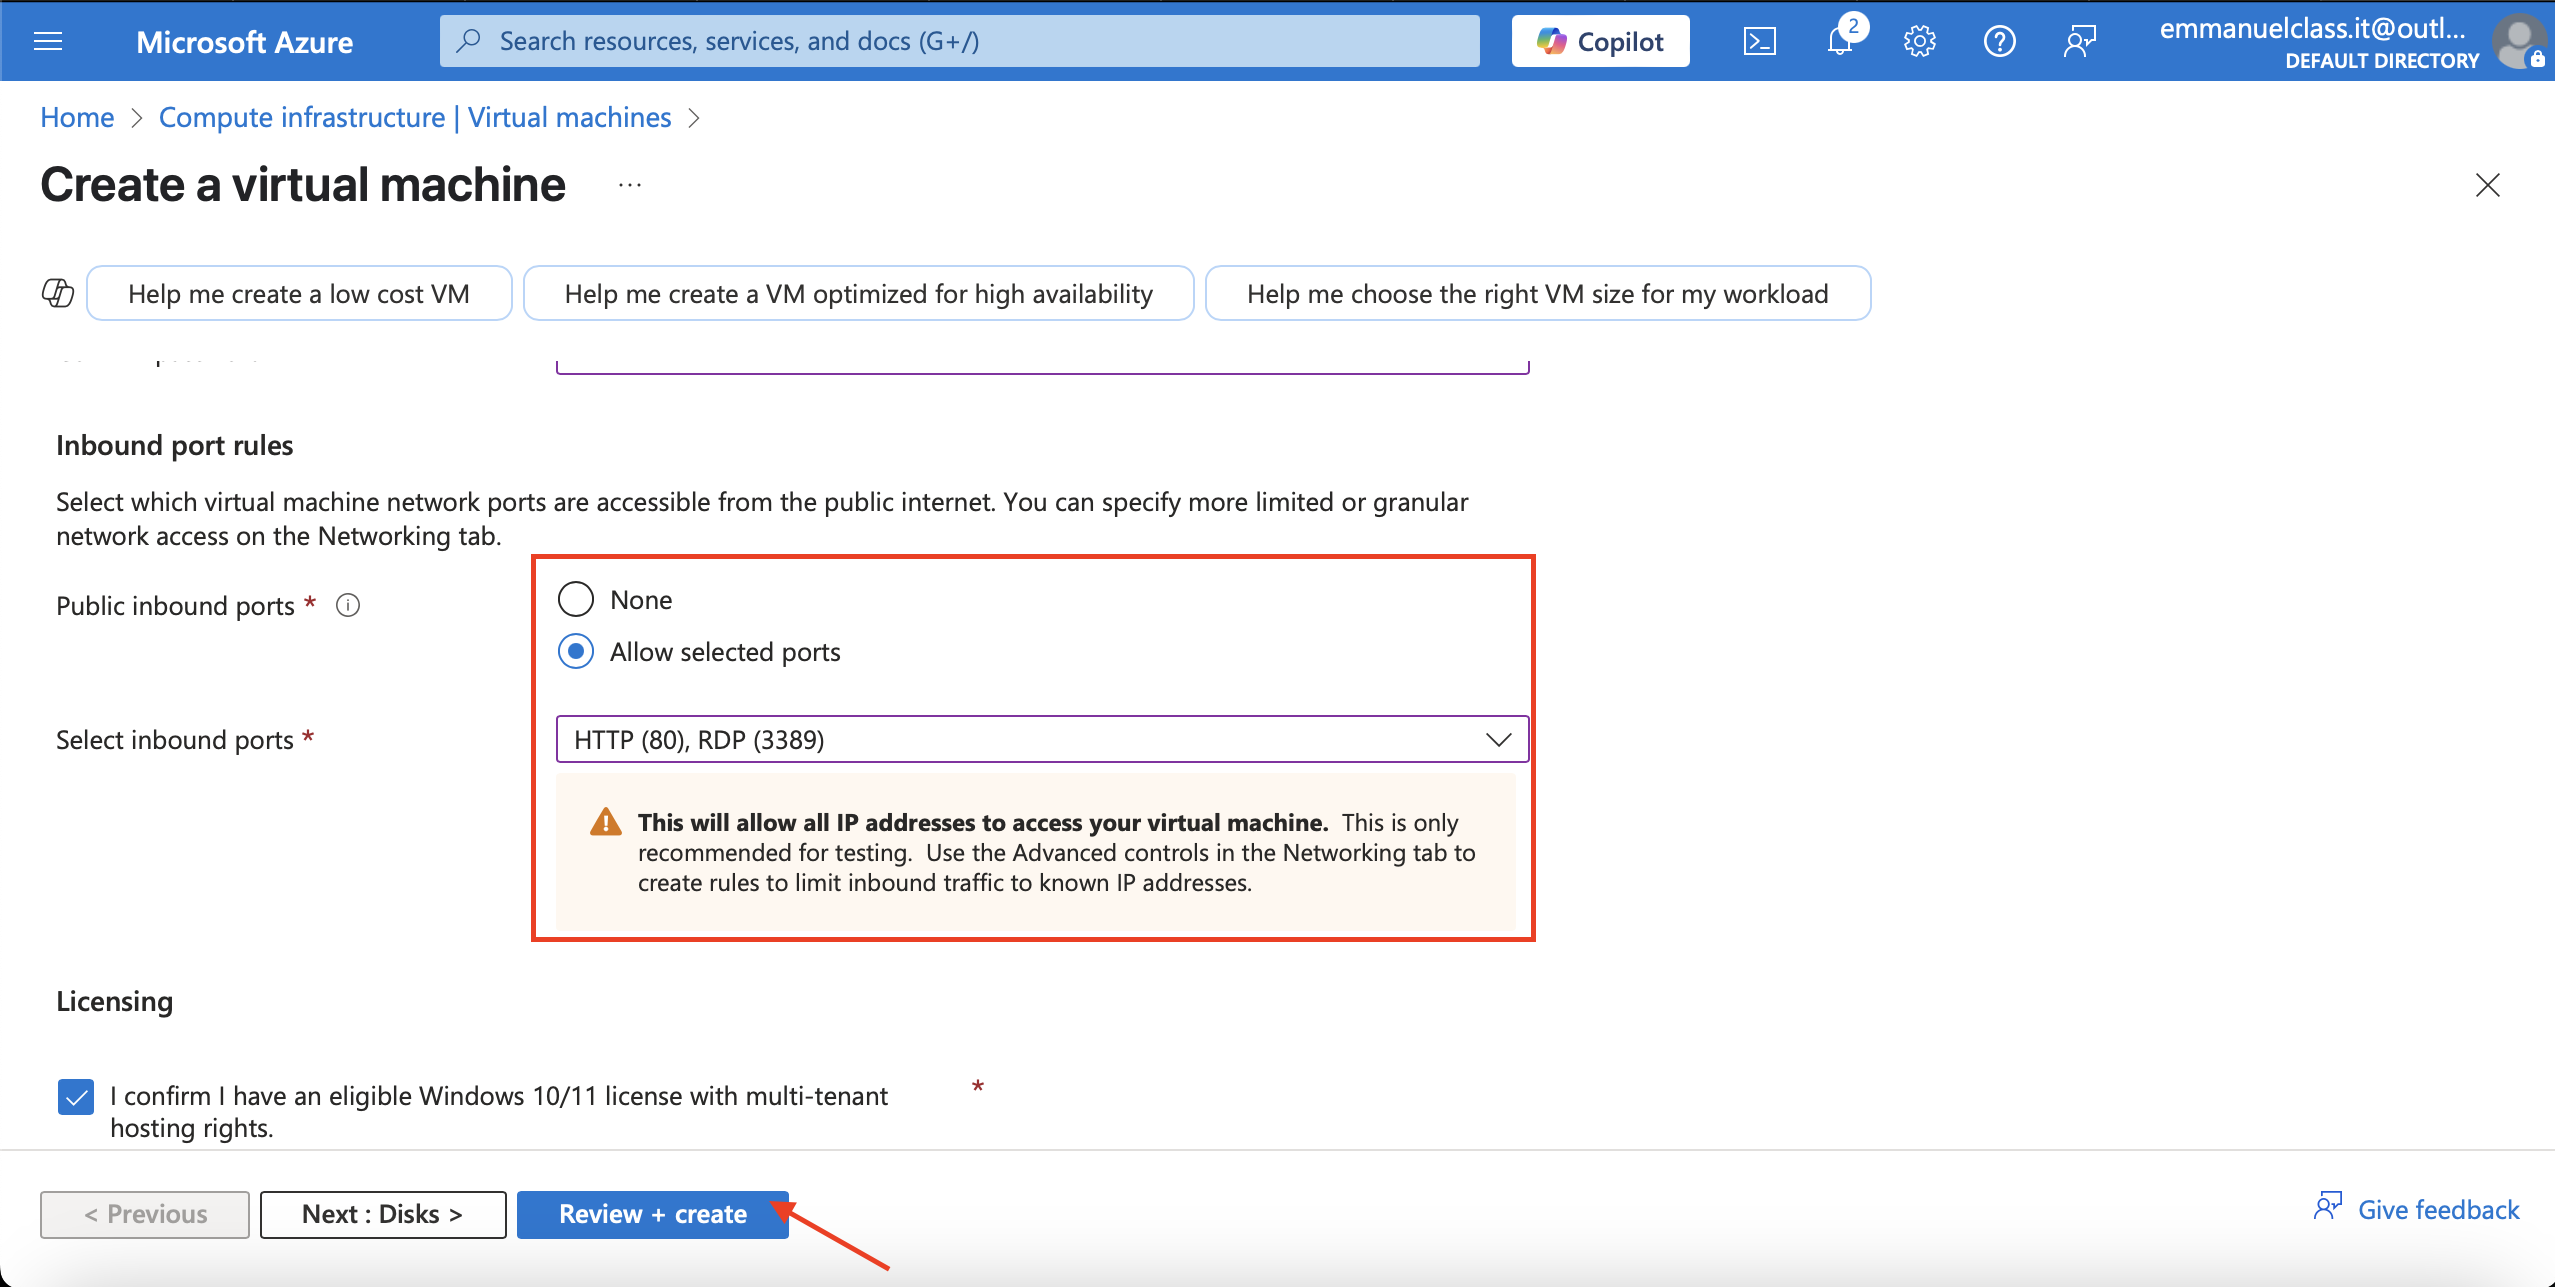
Fill the inbound ports, check Licensing the Review+Create
Click on **Create for deployment of vm2**
Deployment of vm2

After creating and deploying the two virtual machine, we create Application security group.To create Application Security Network
Steps
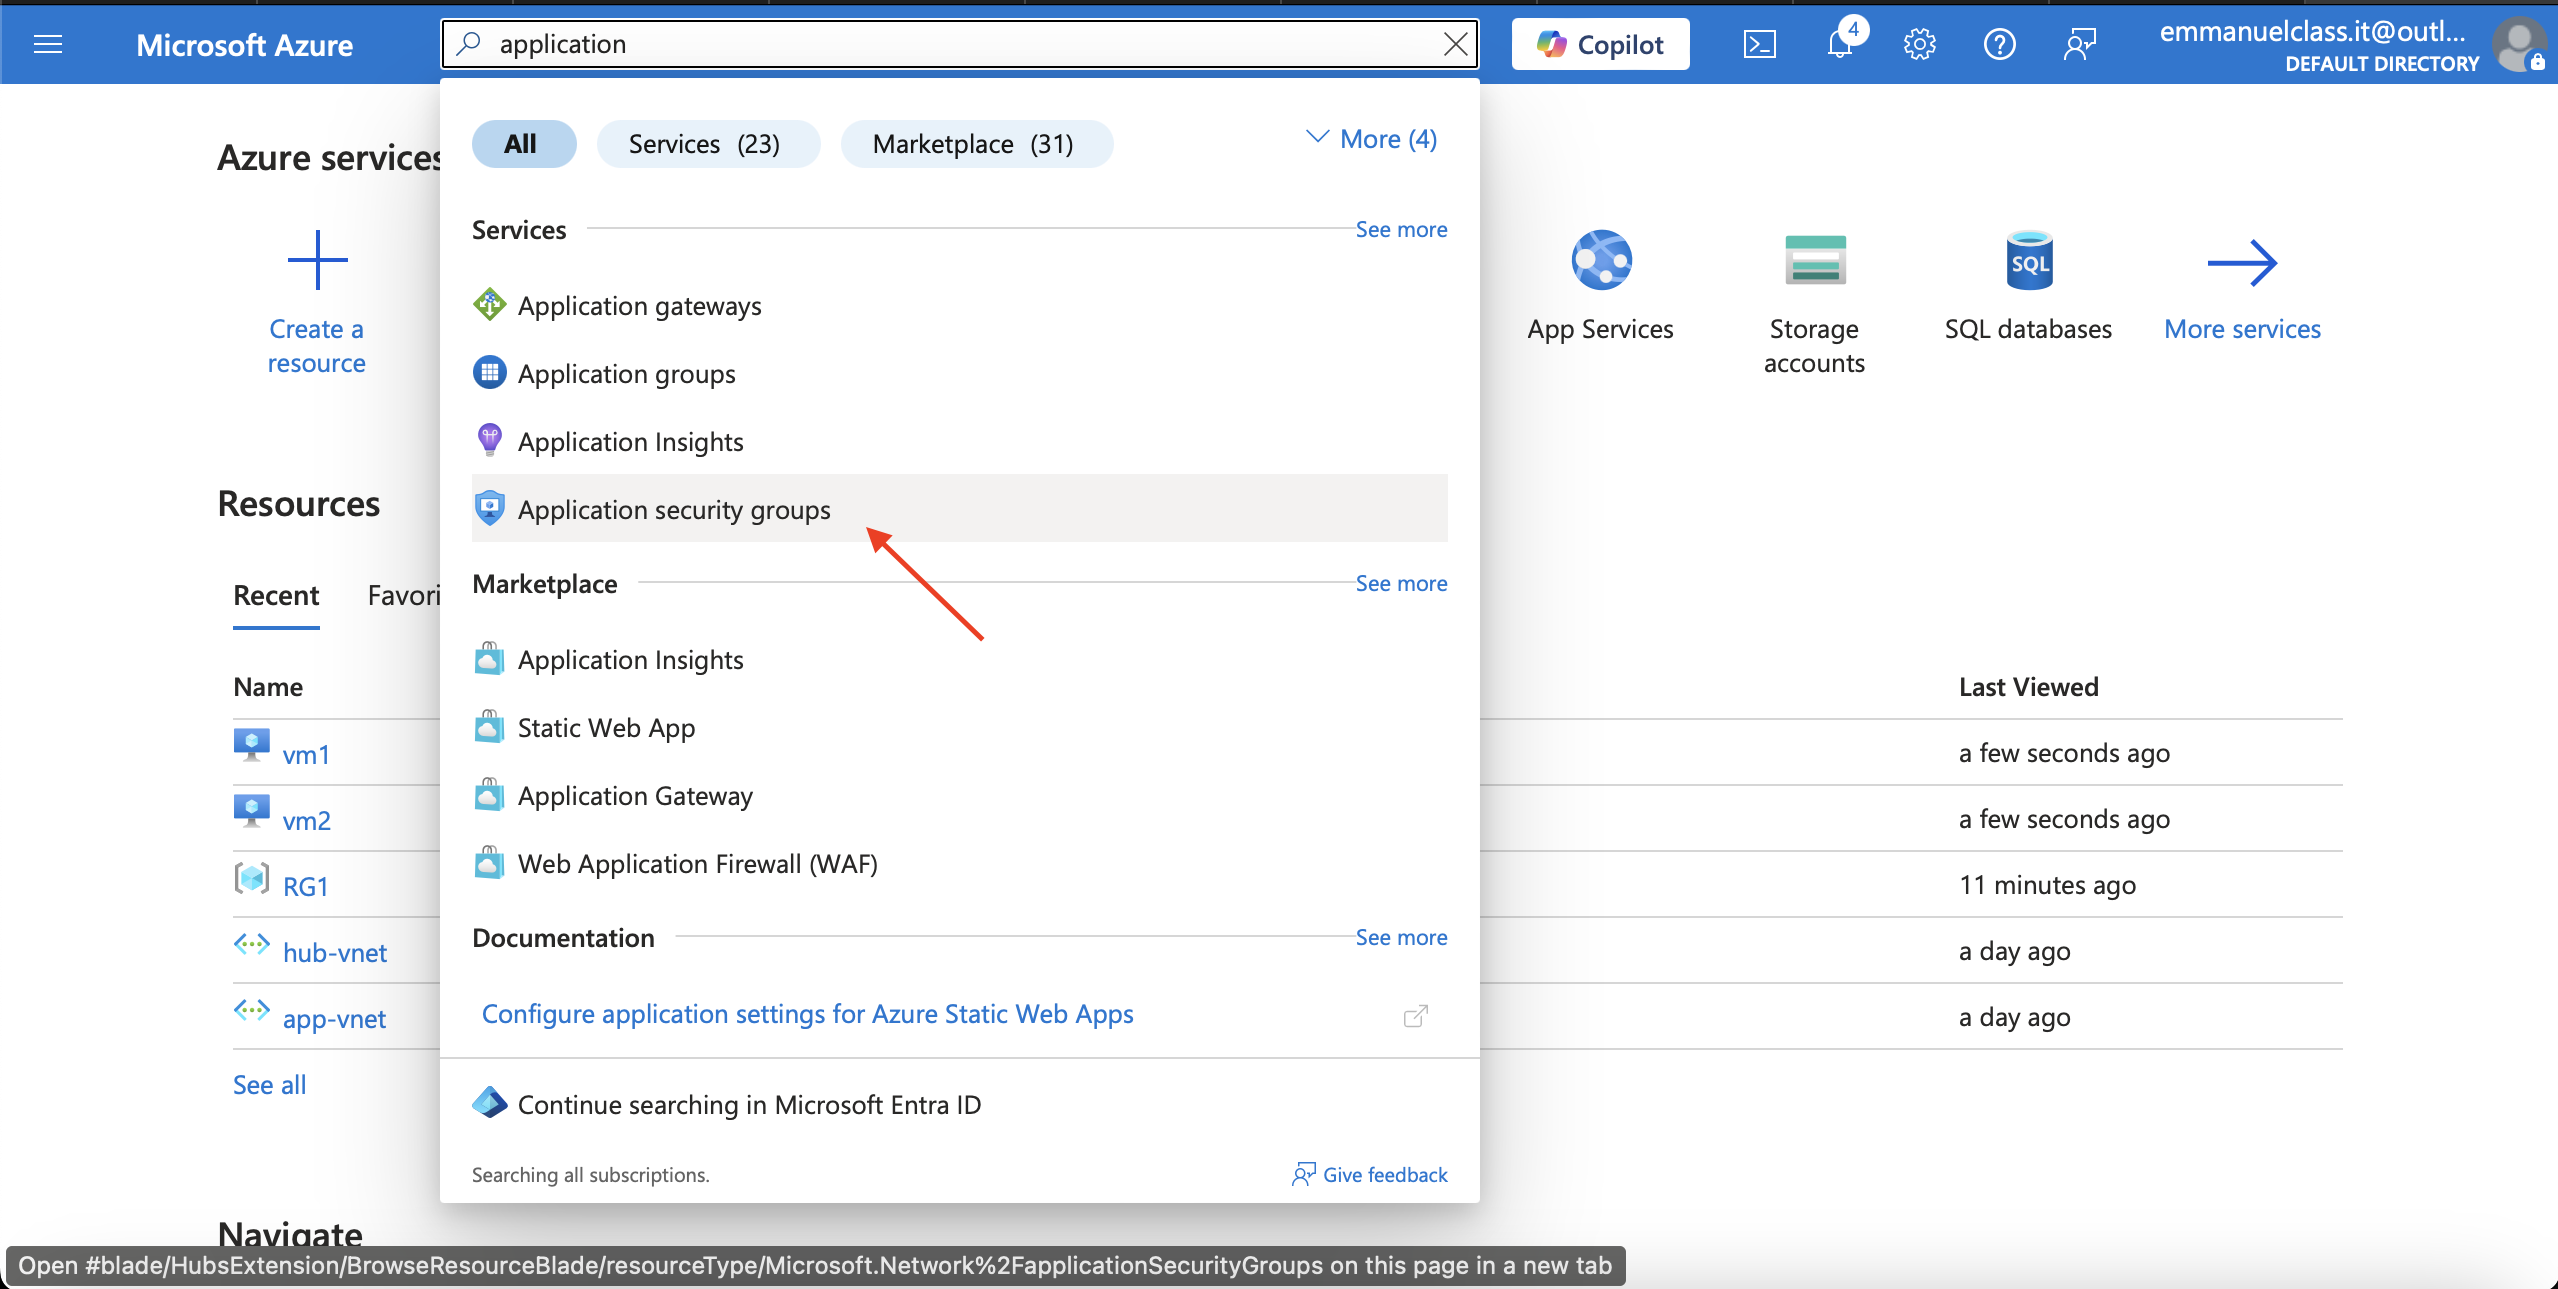
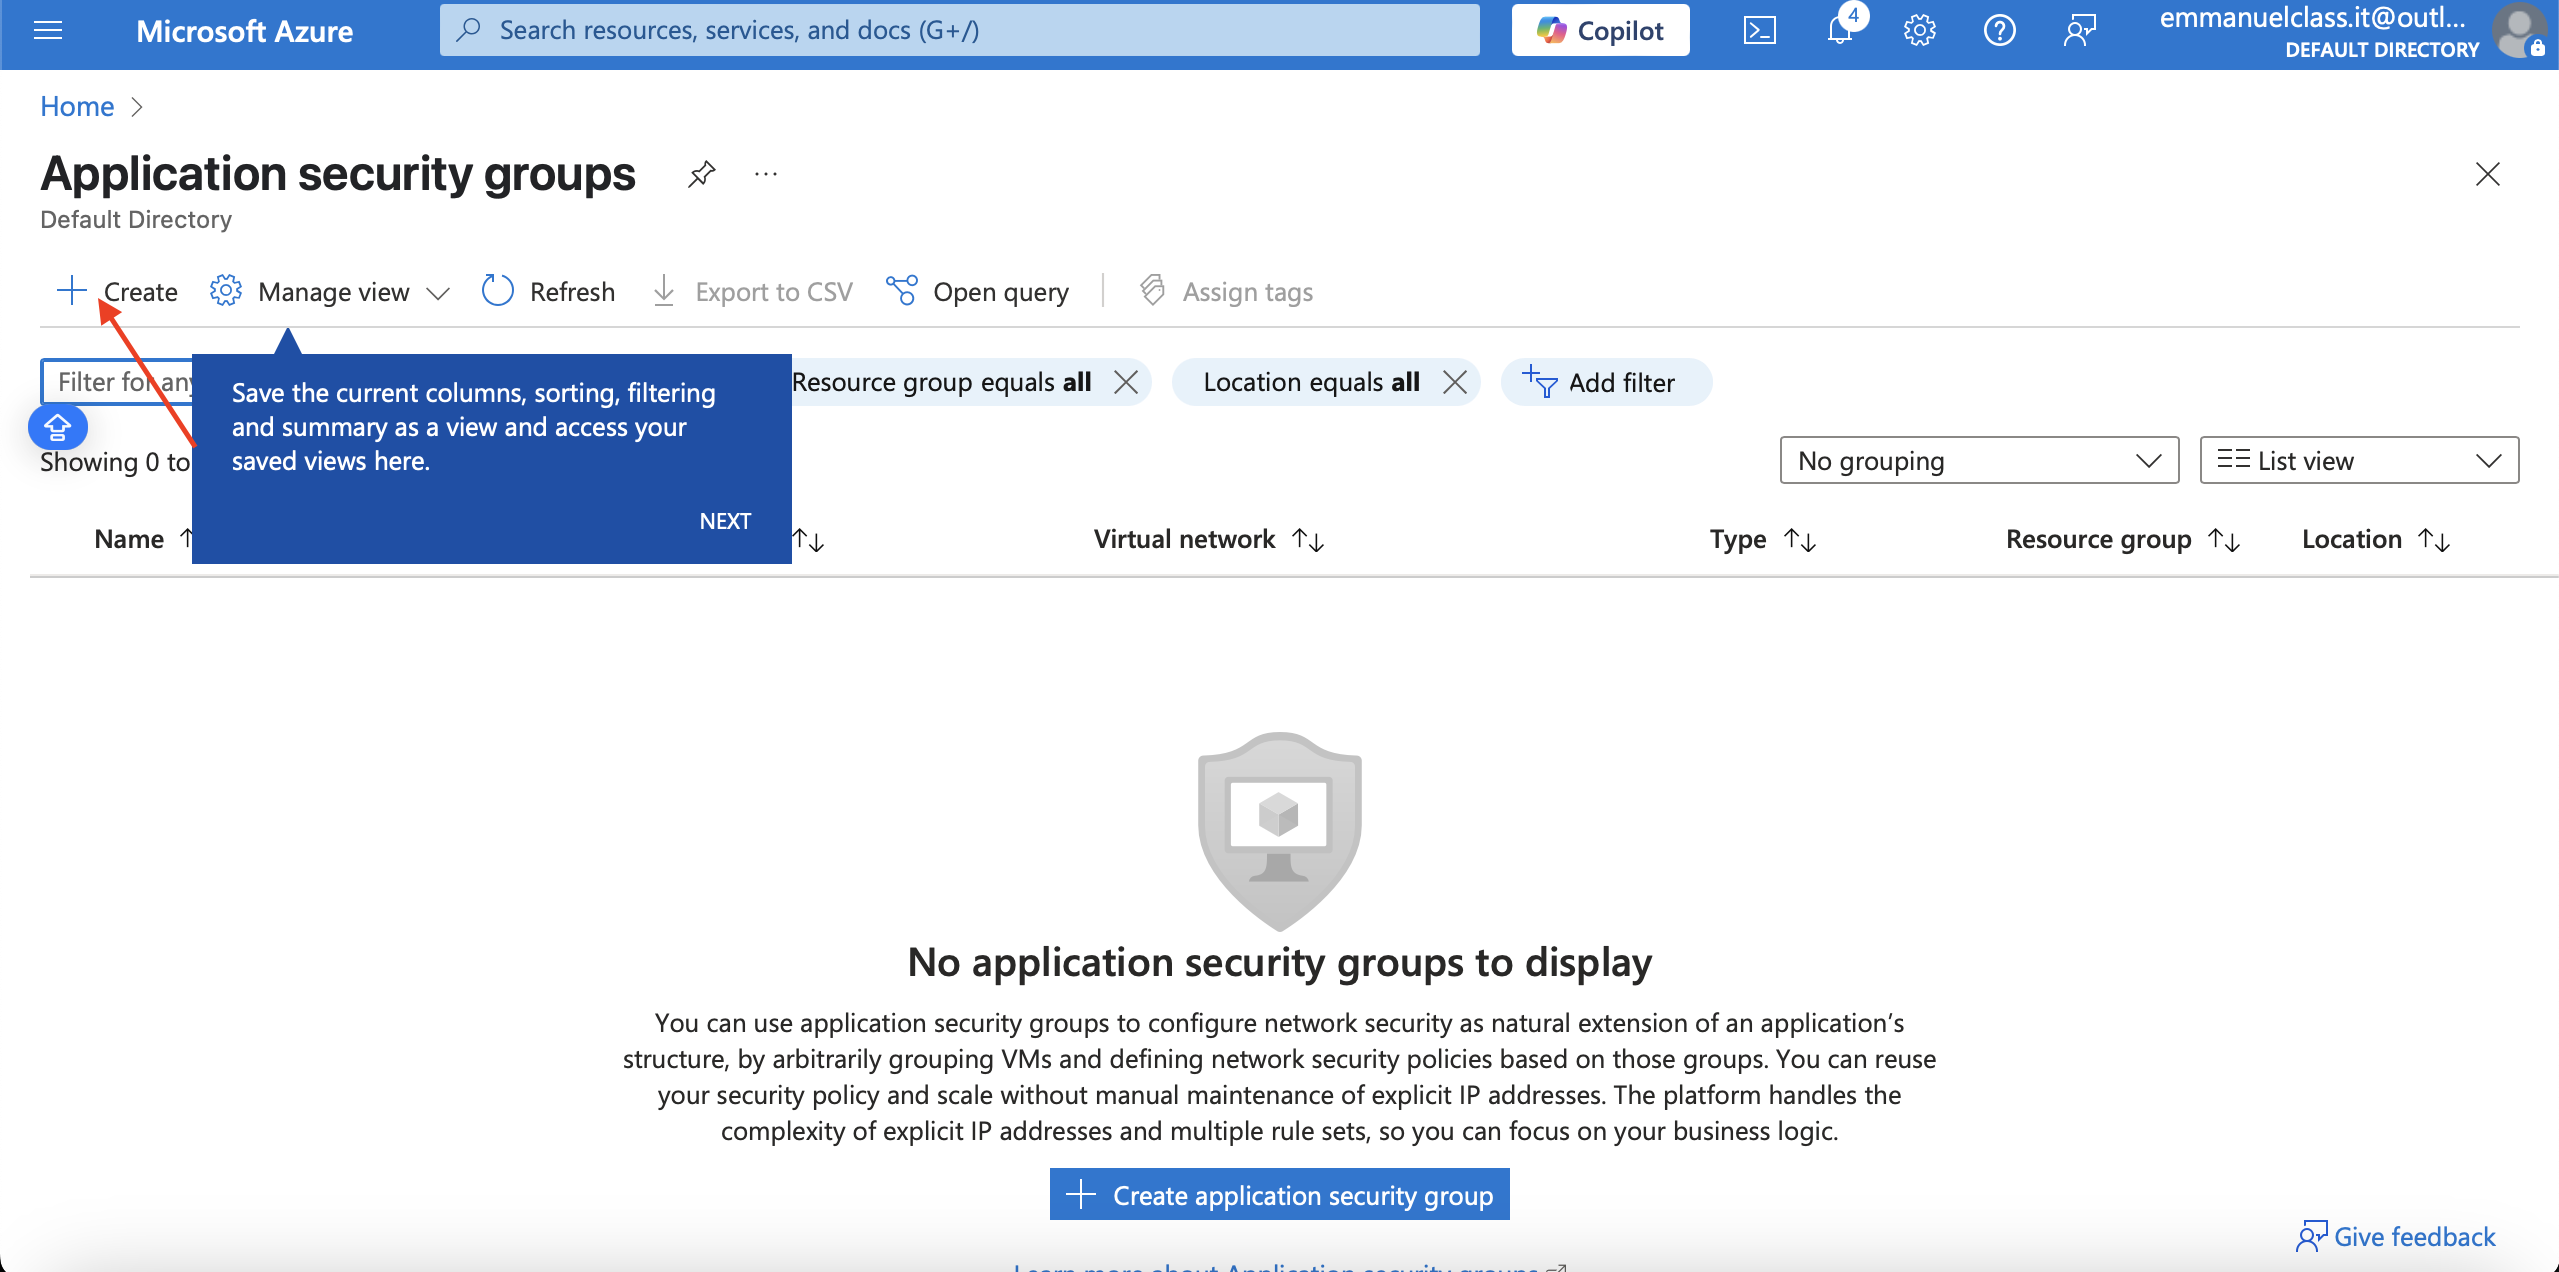
1.In the portal, search for and select Application security groups.
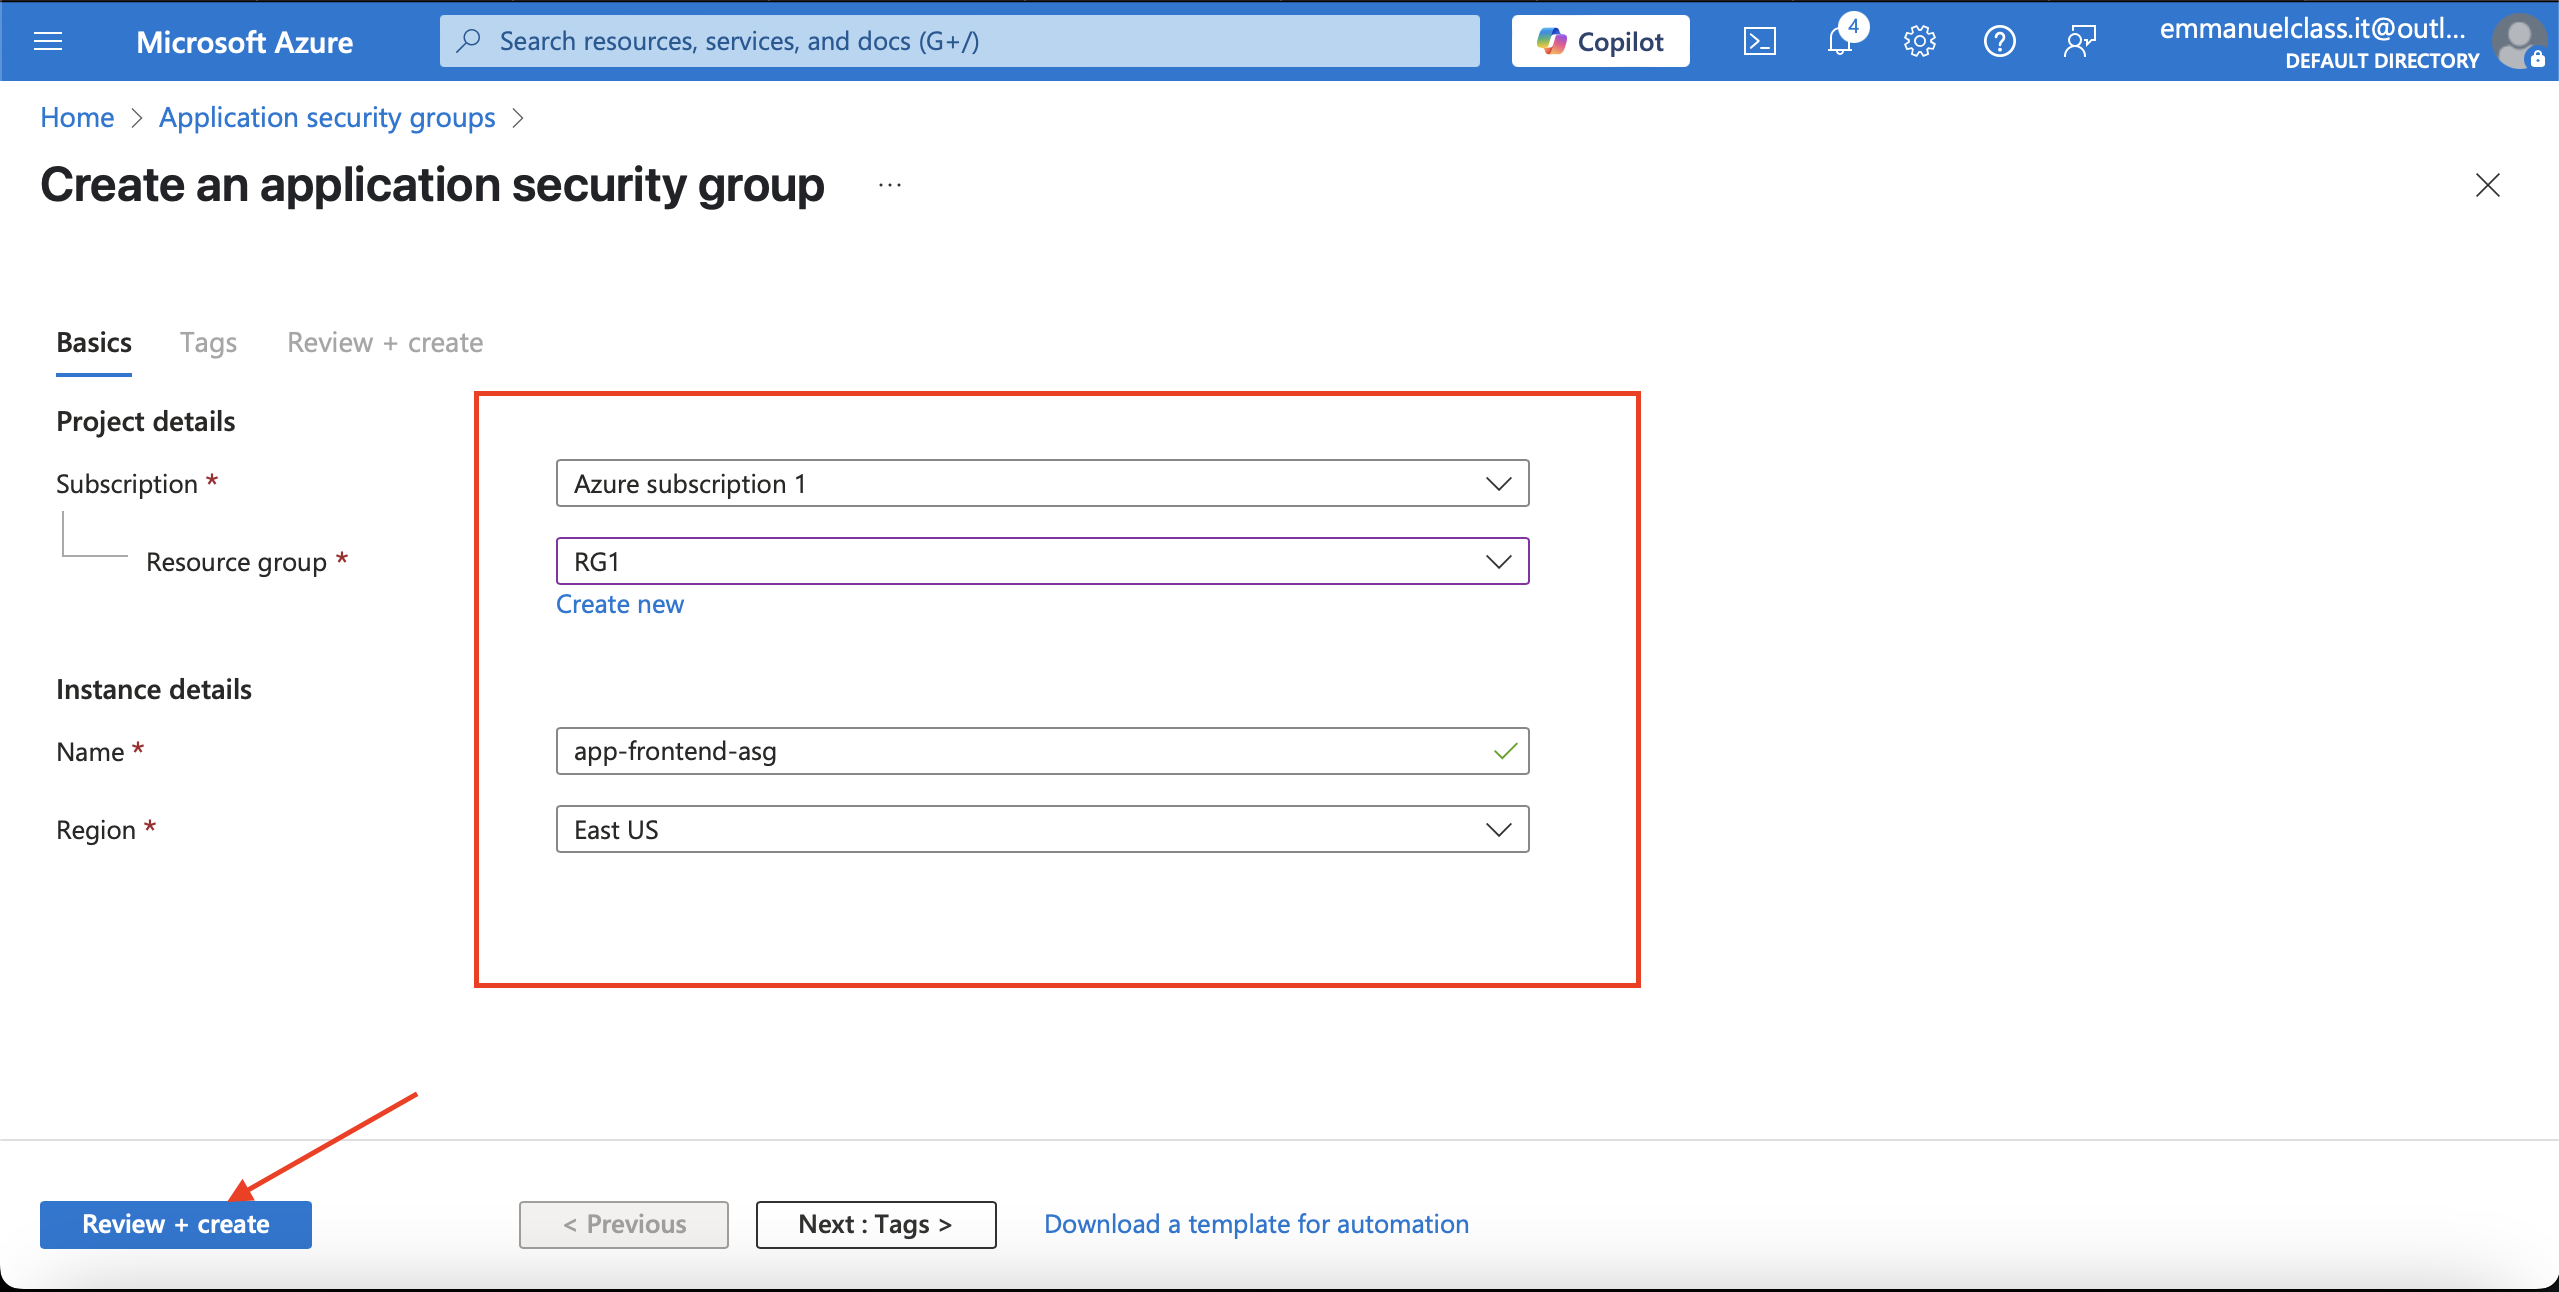
2.Select + Create **and configure the application security group.
**Property Value
Subscription = Select your subscription
Resource group = RG1
Name = app-frontend-asg
Region = East US
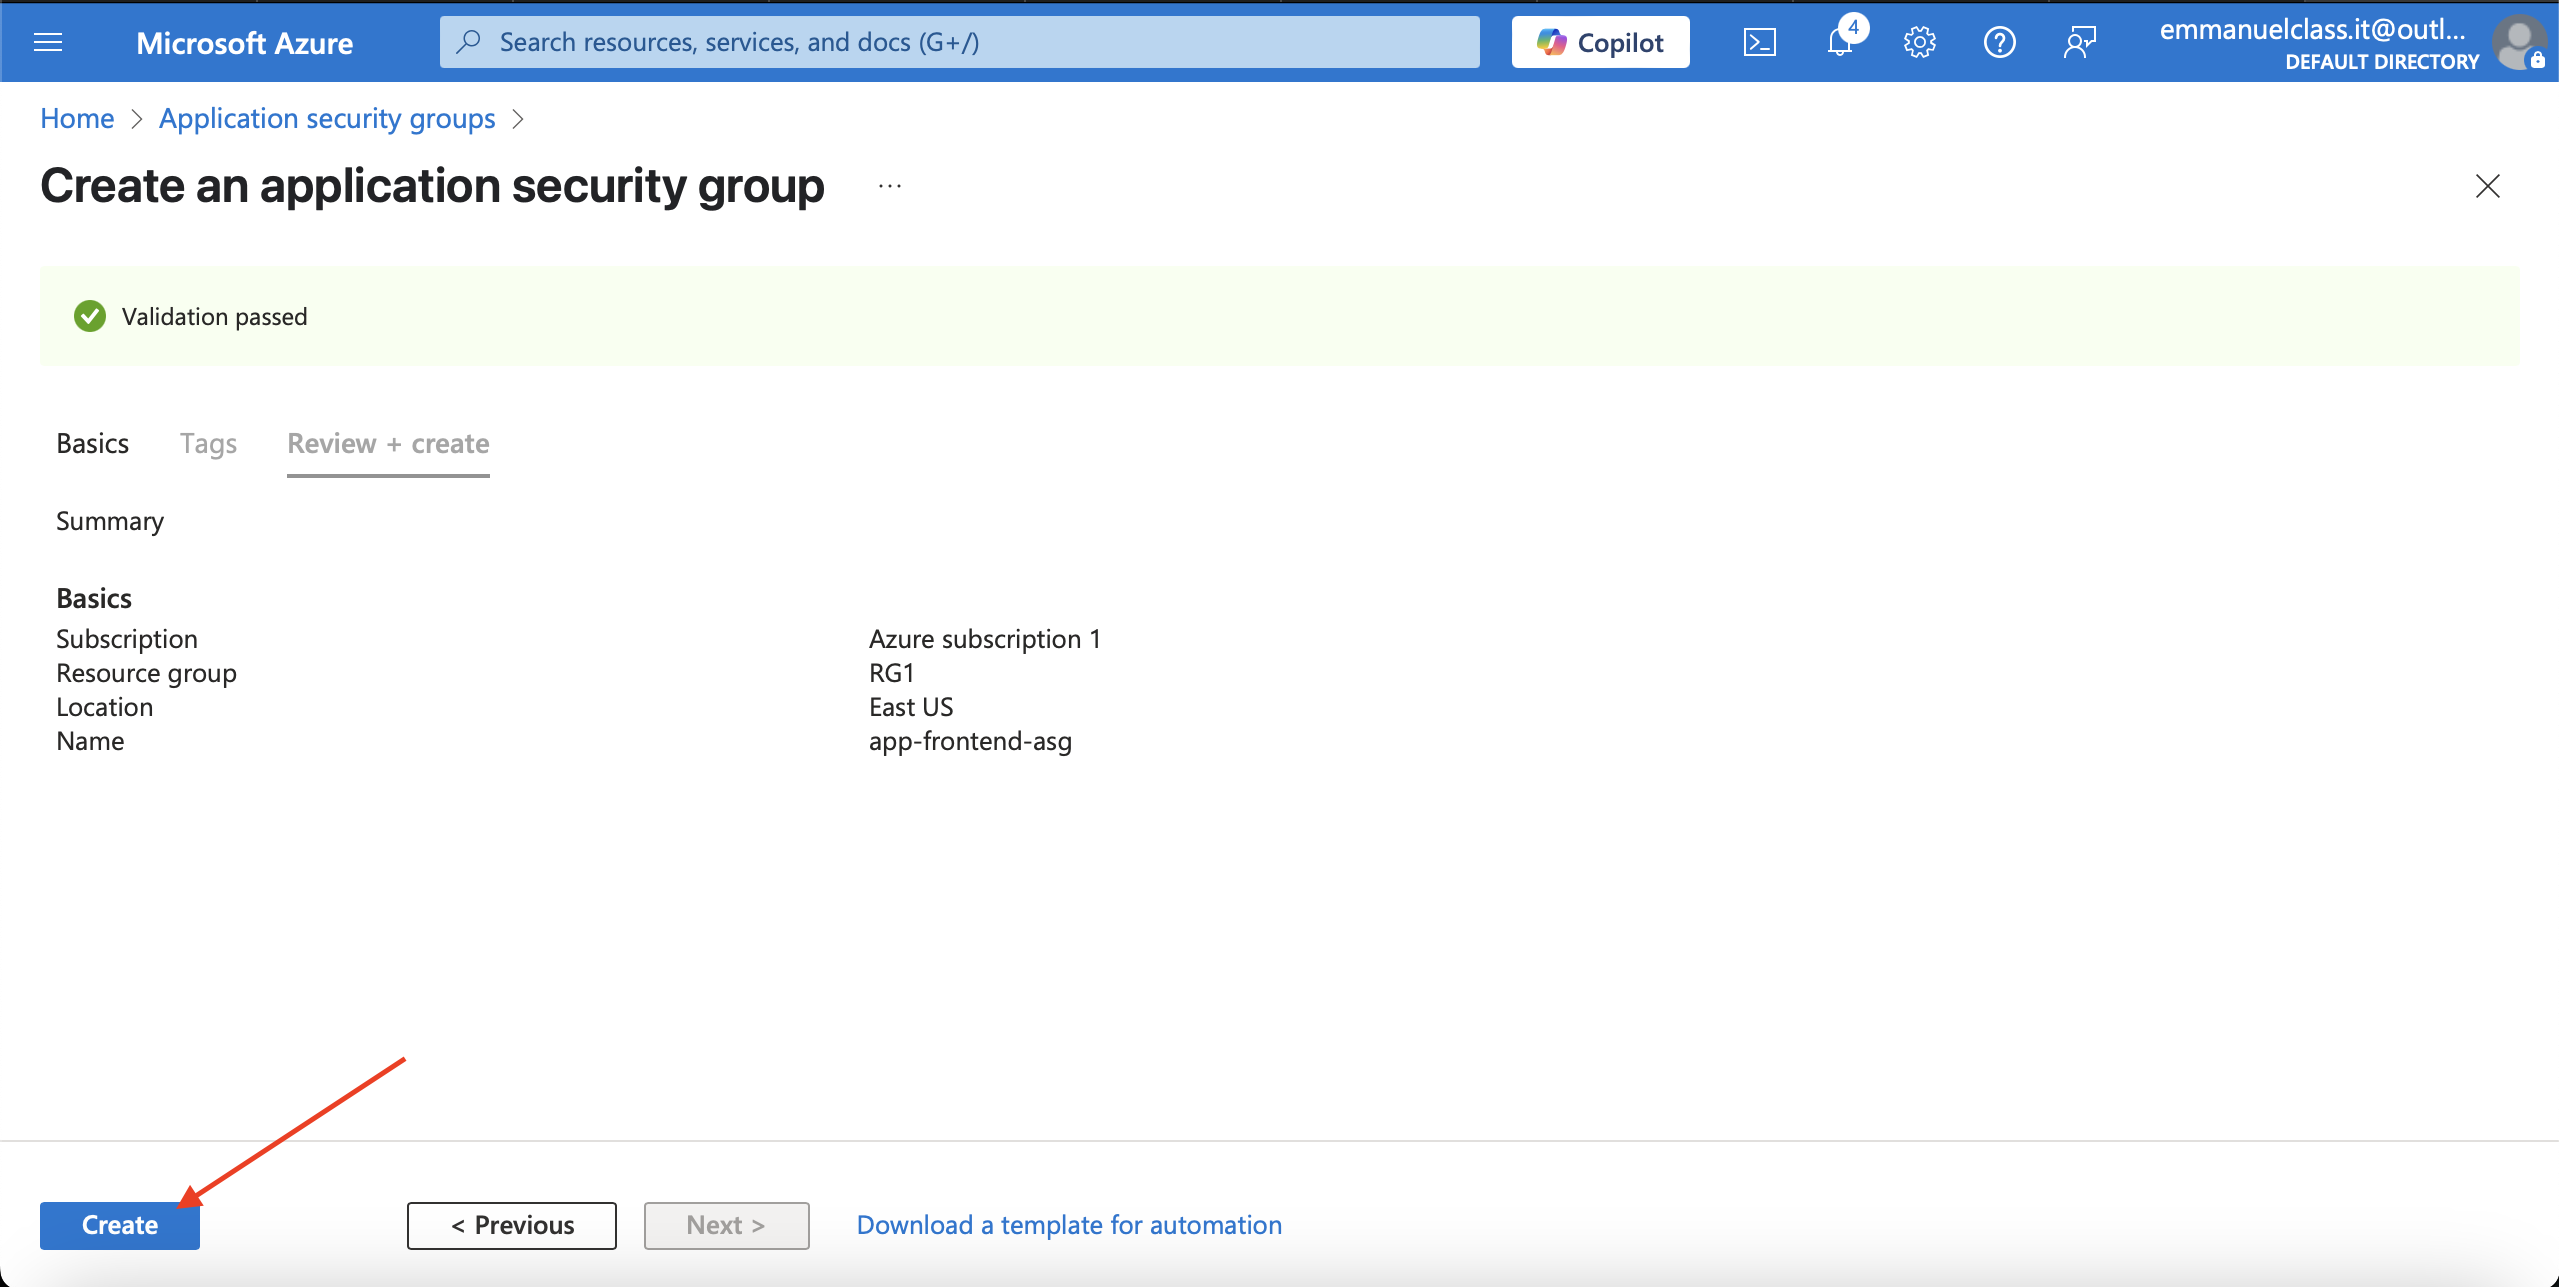
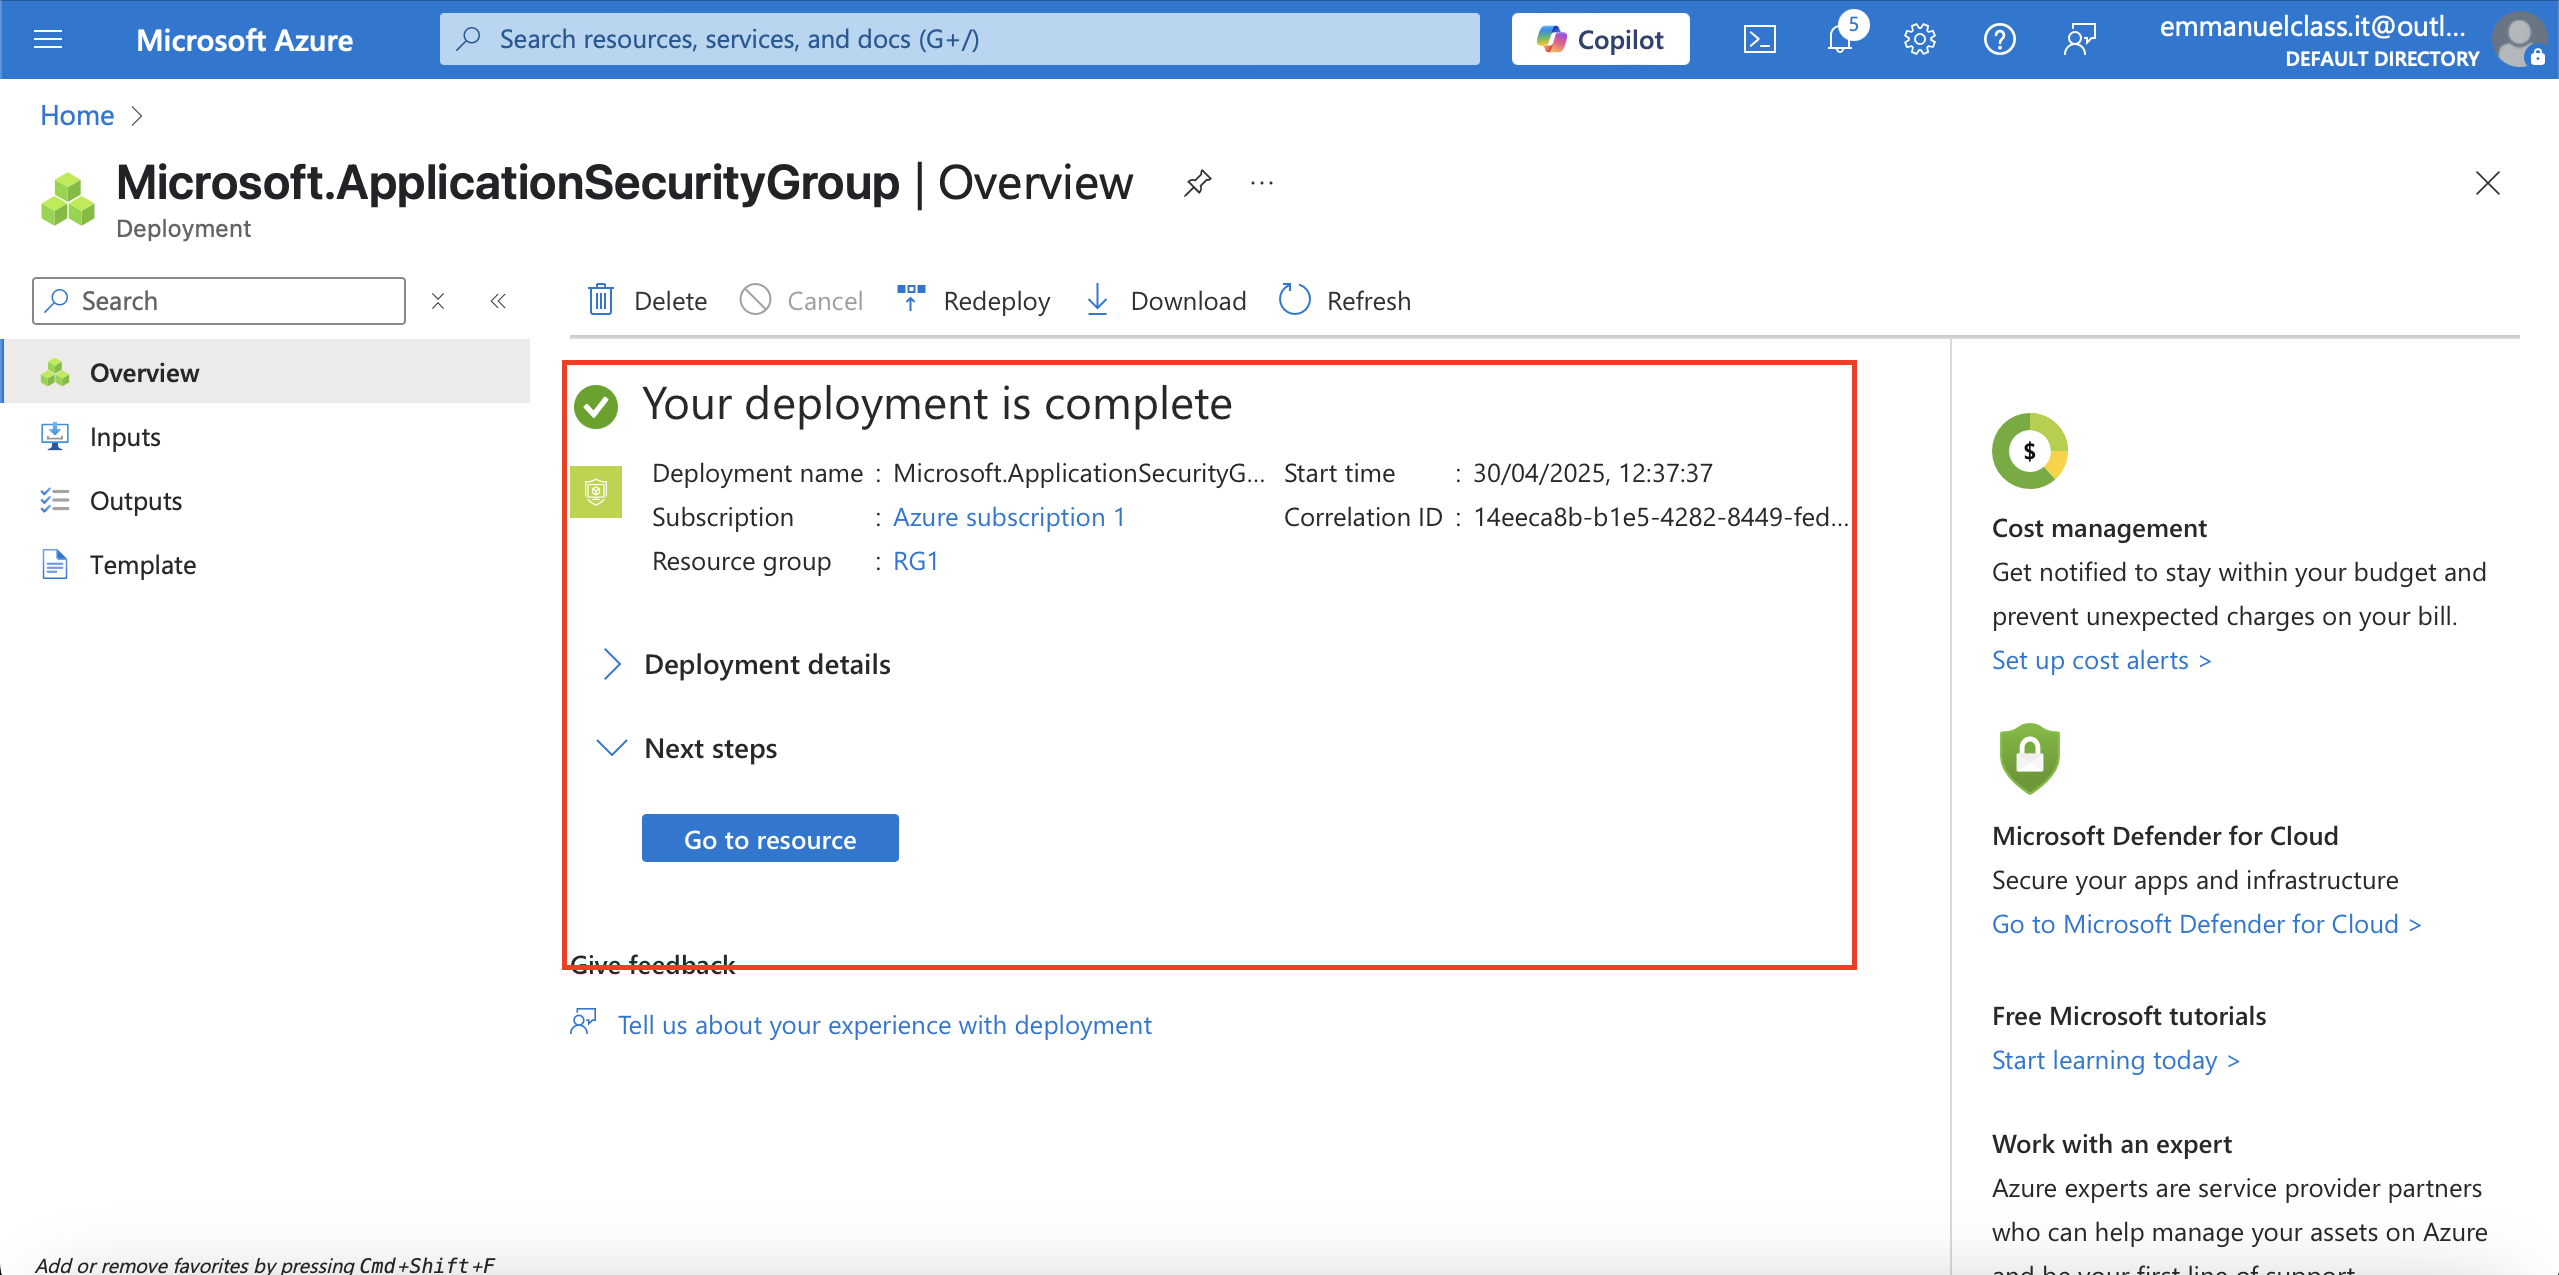
Select Review + create and then select Create for Validating and deployment.
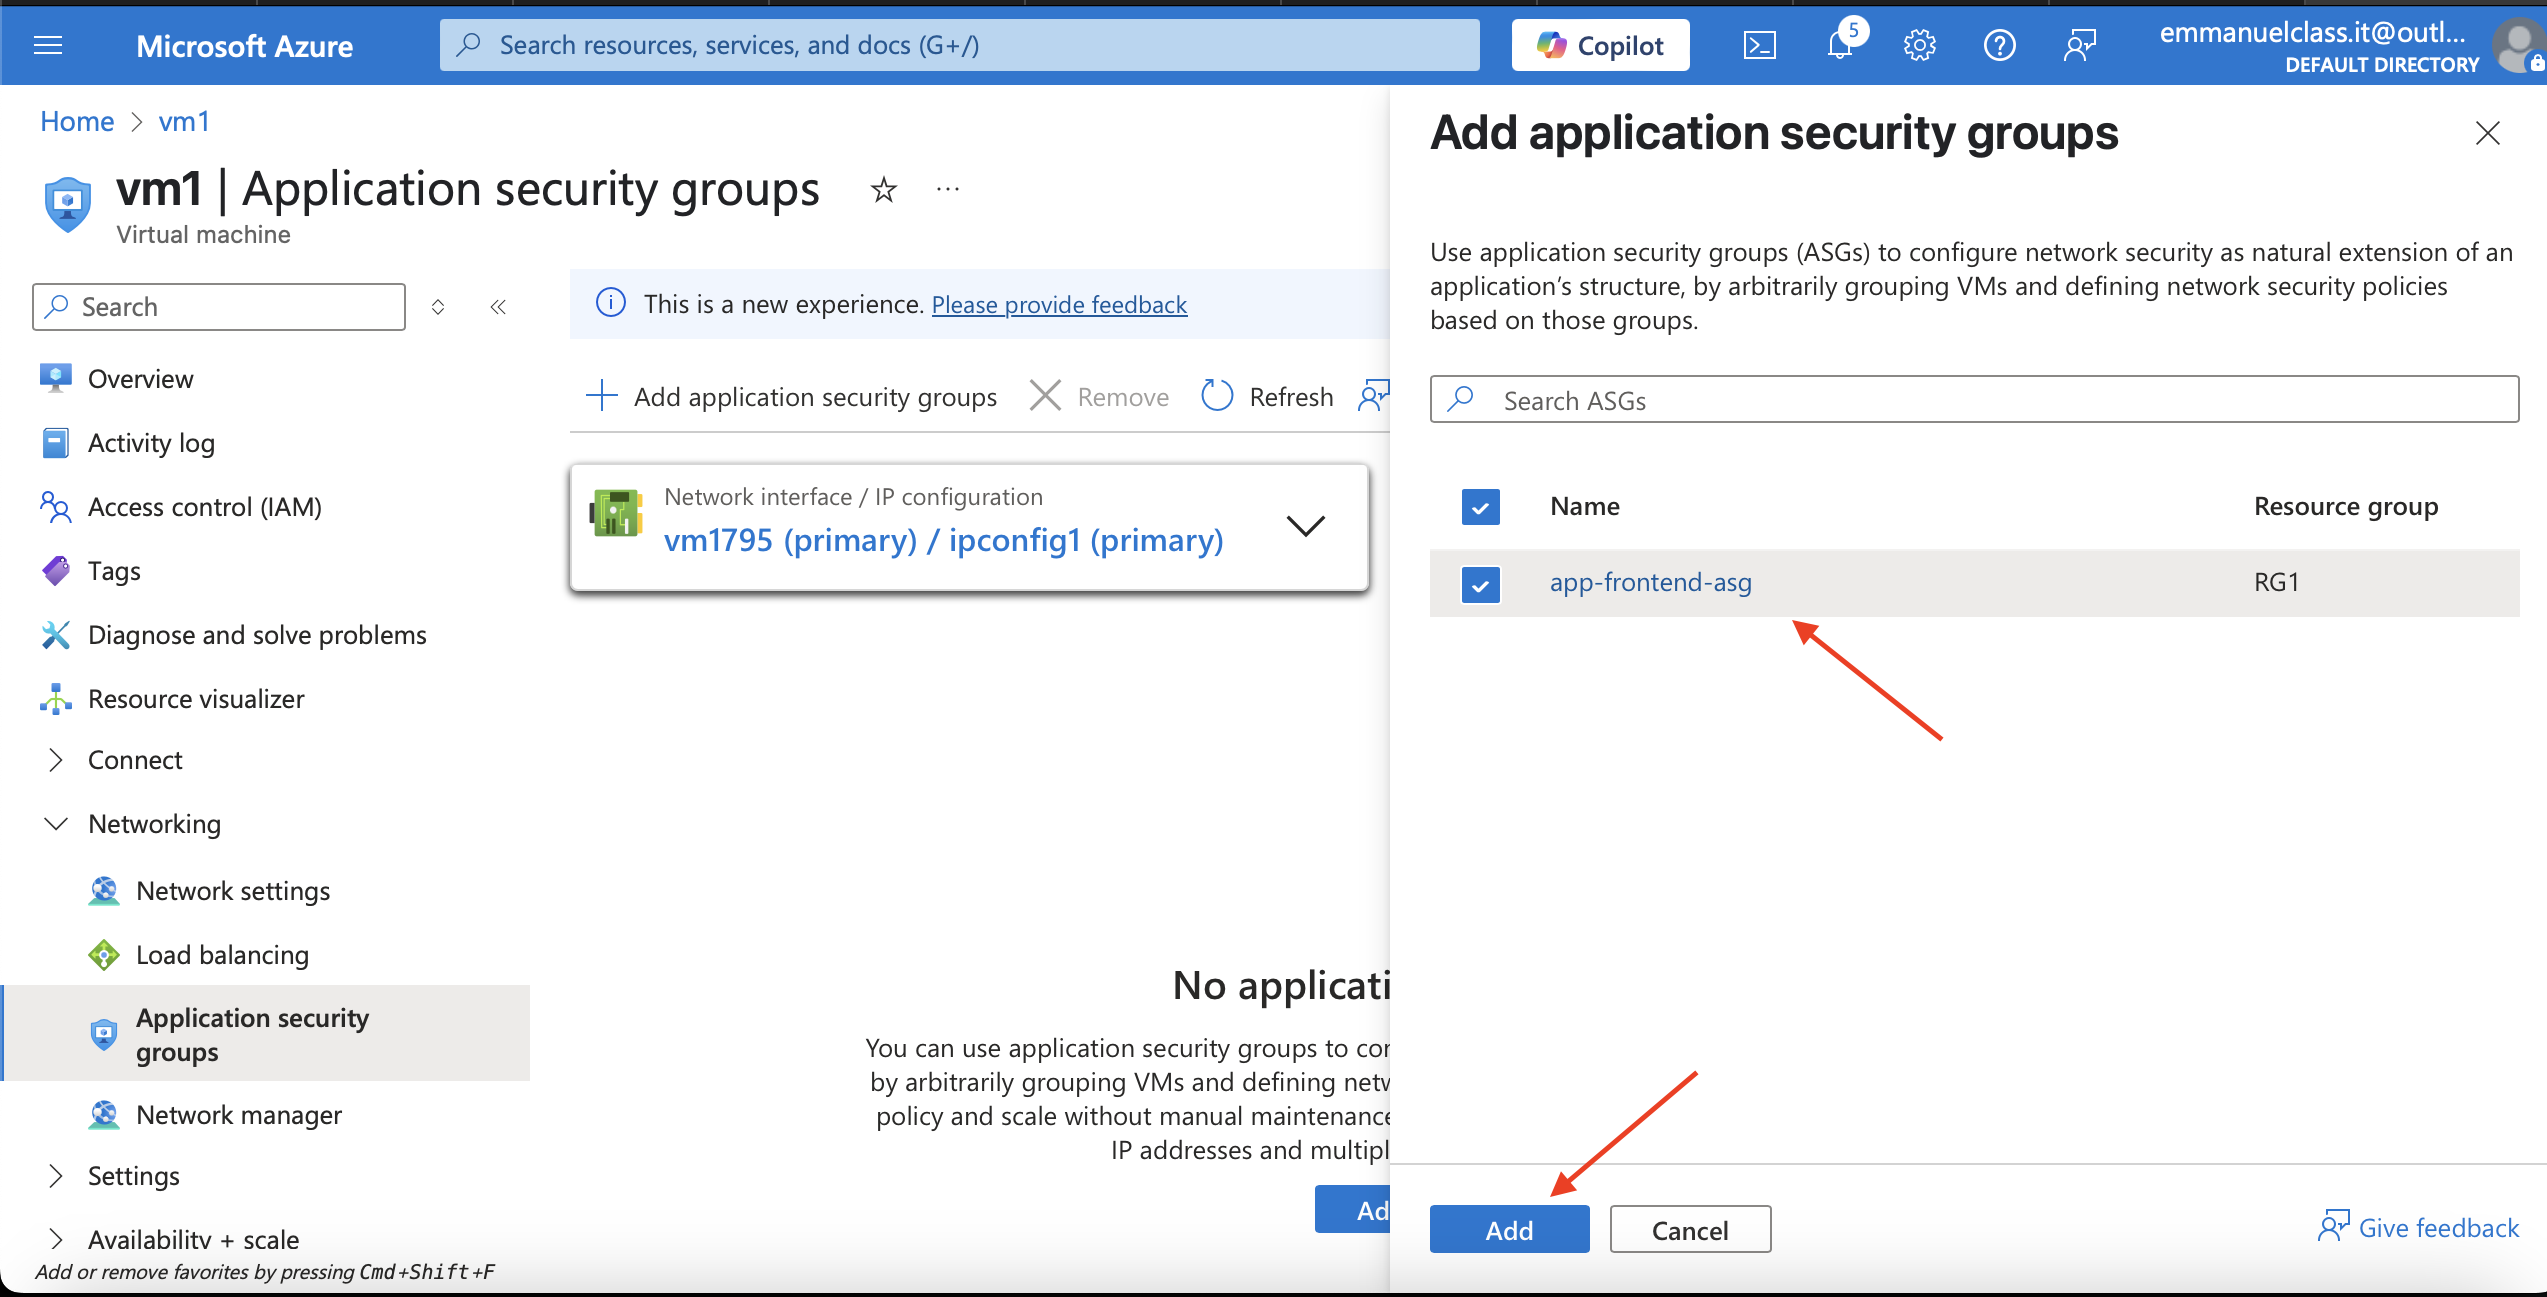
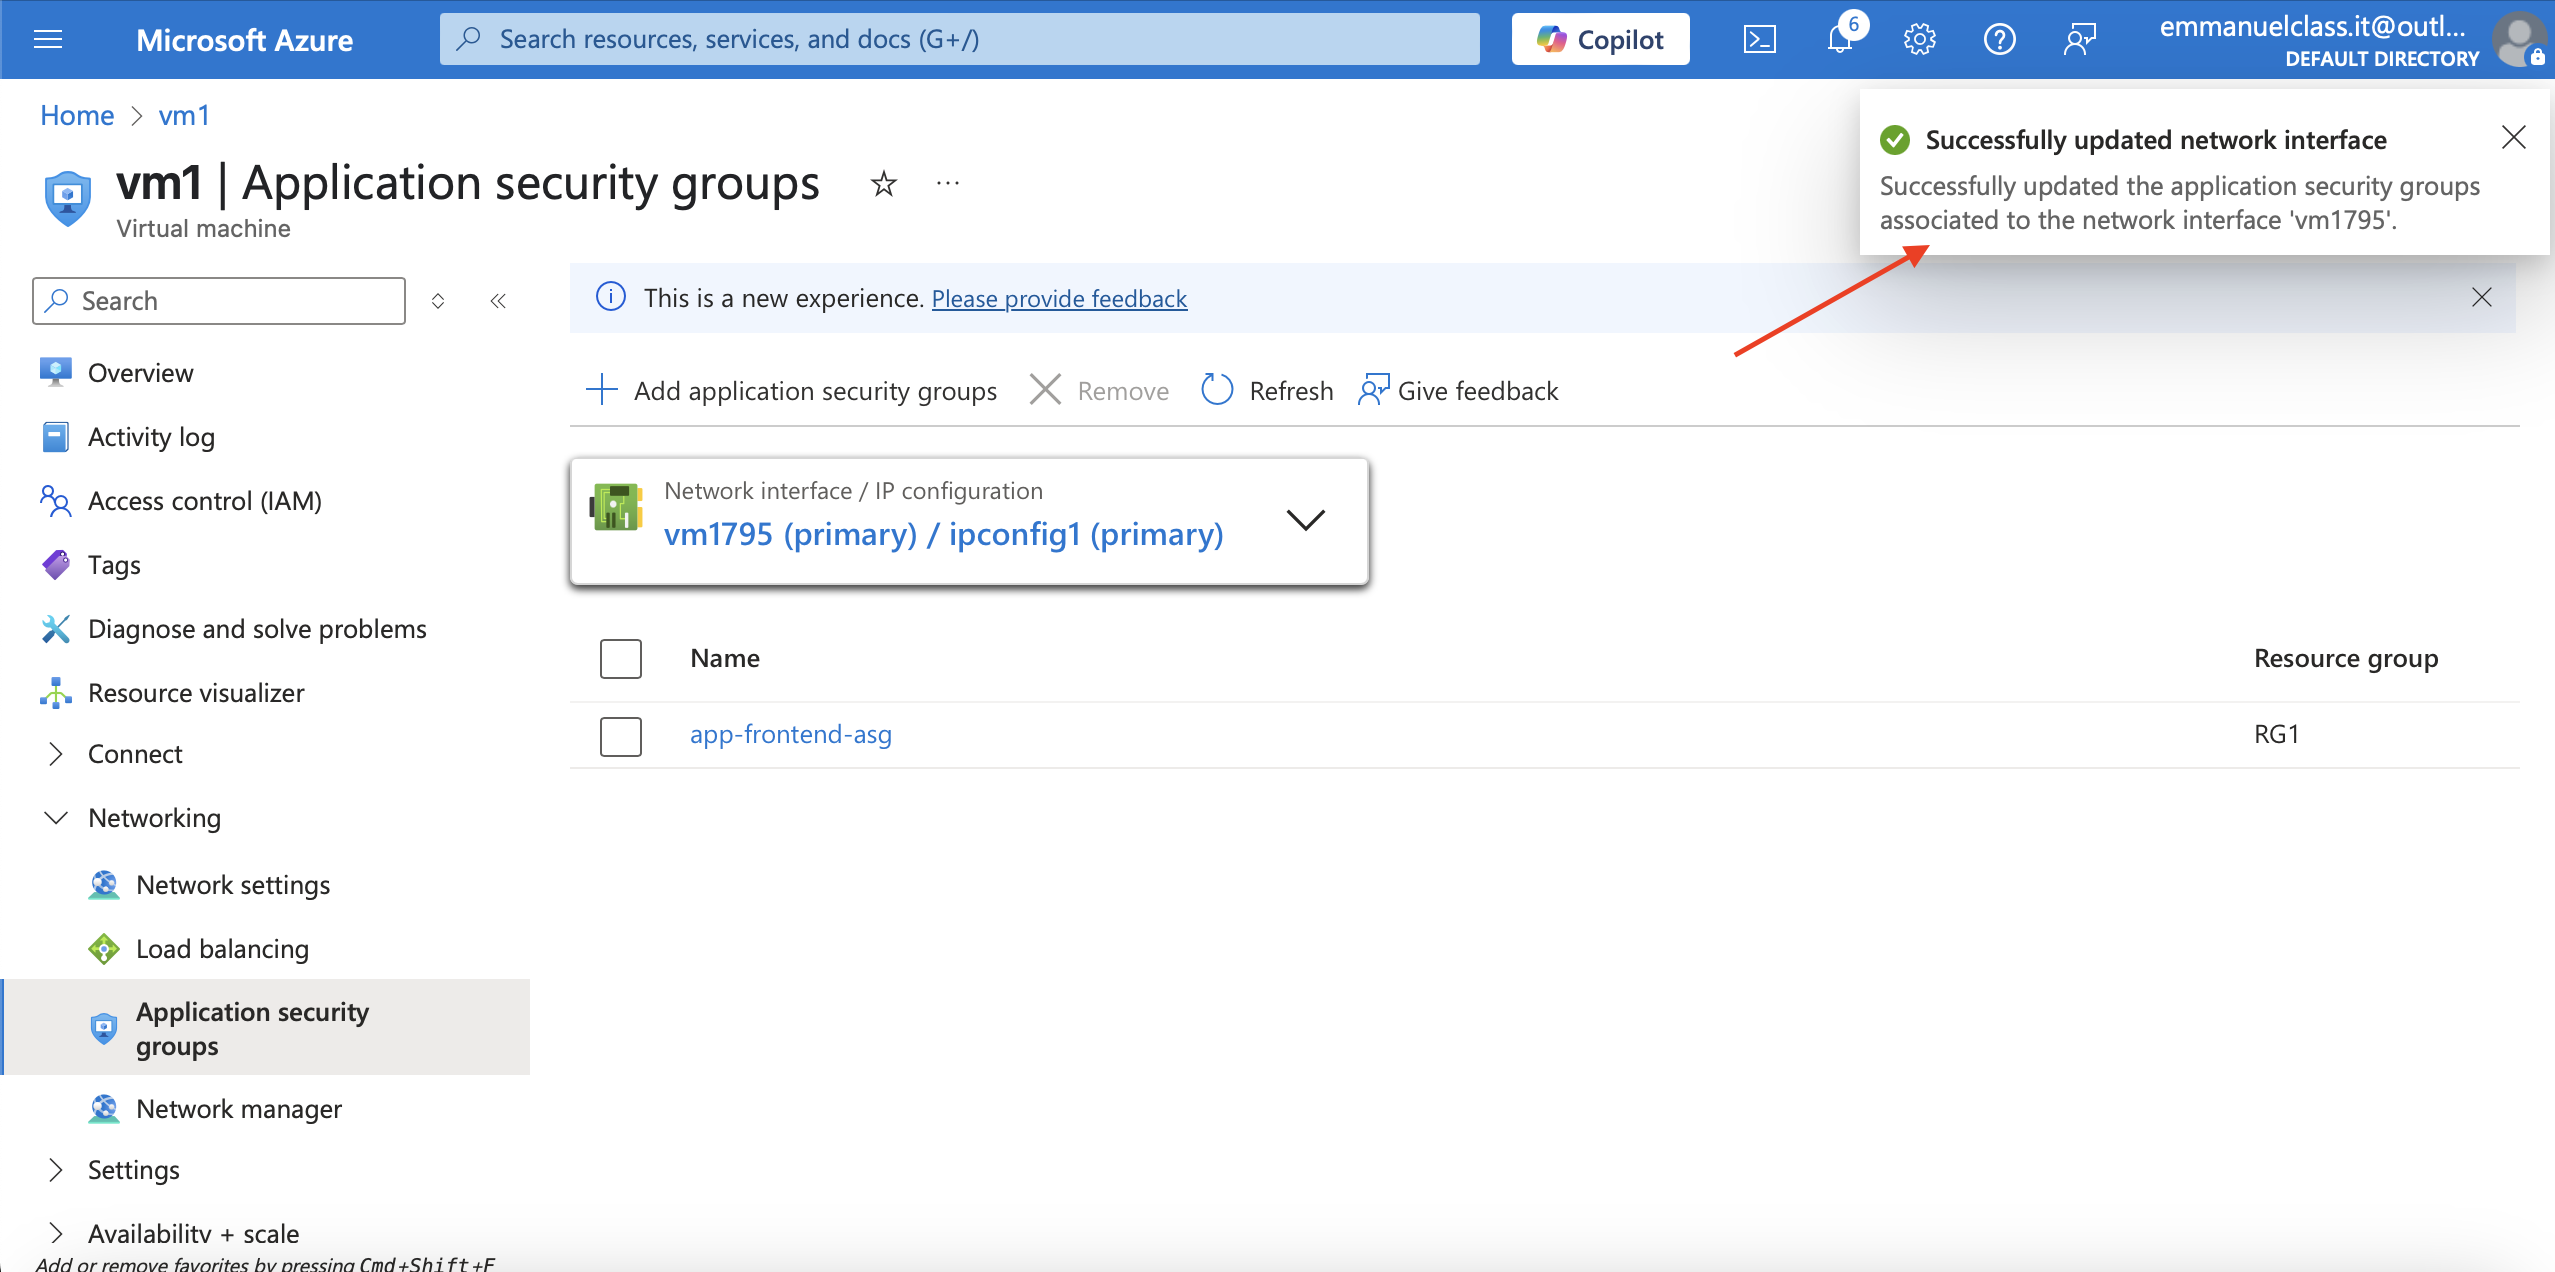
After creating ASG.Associate the application security group to the network interface of the vm1
Steps
1.In the Azure portal, search for and select VM1
2.In the Networking blade, select Application security groups and then select Add application security groups.

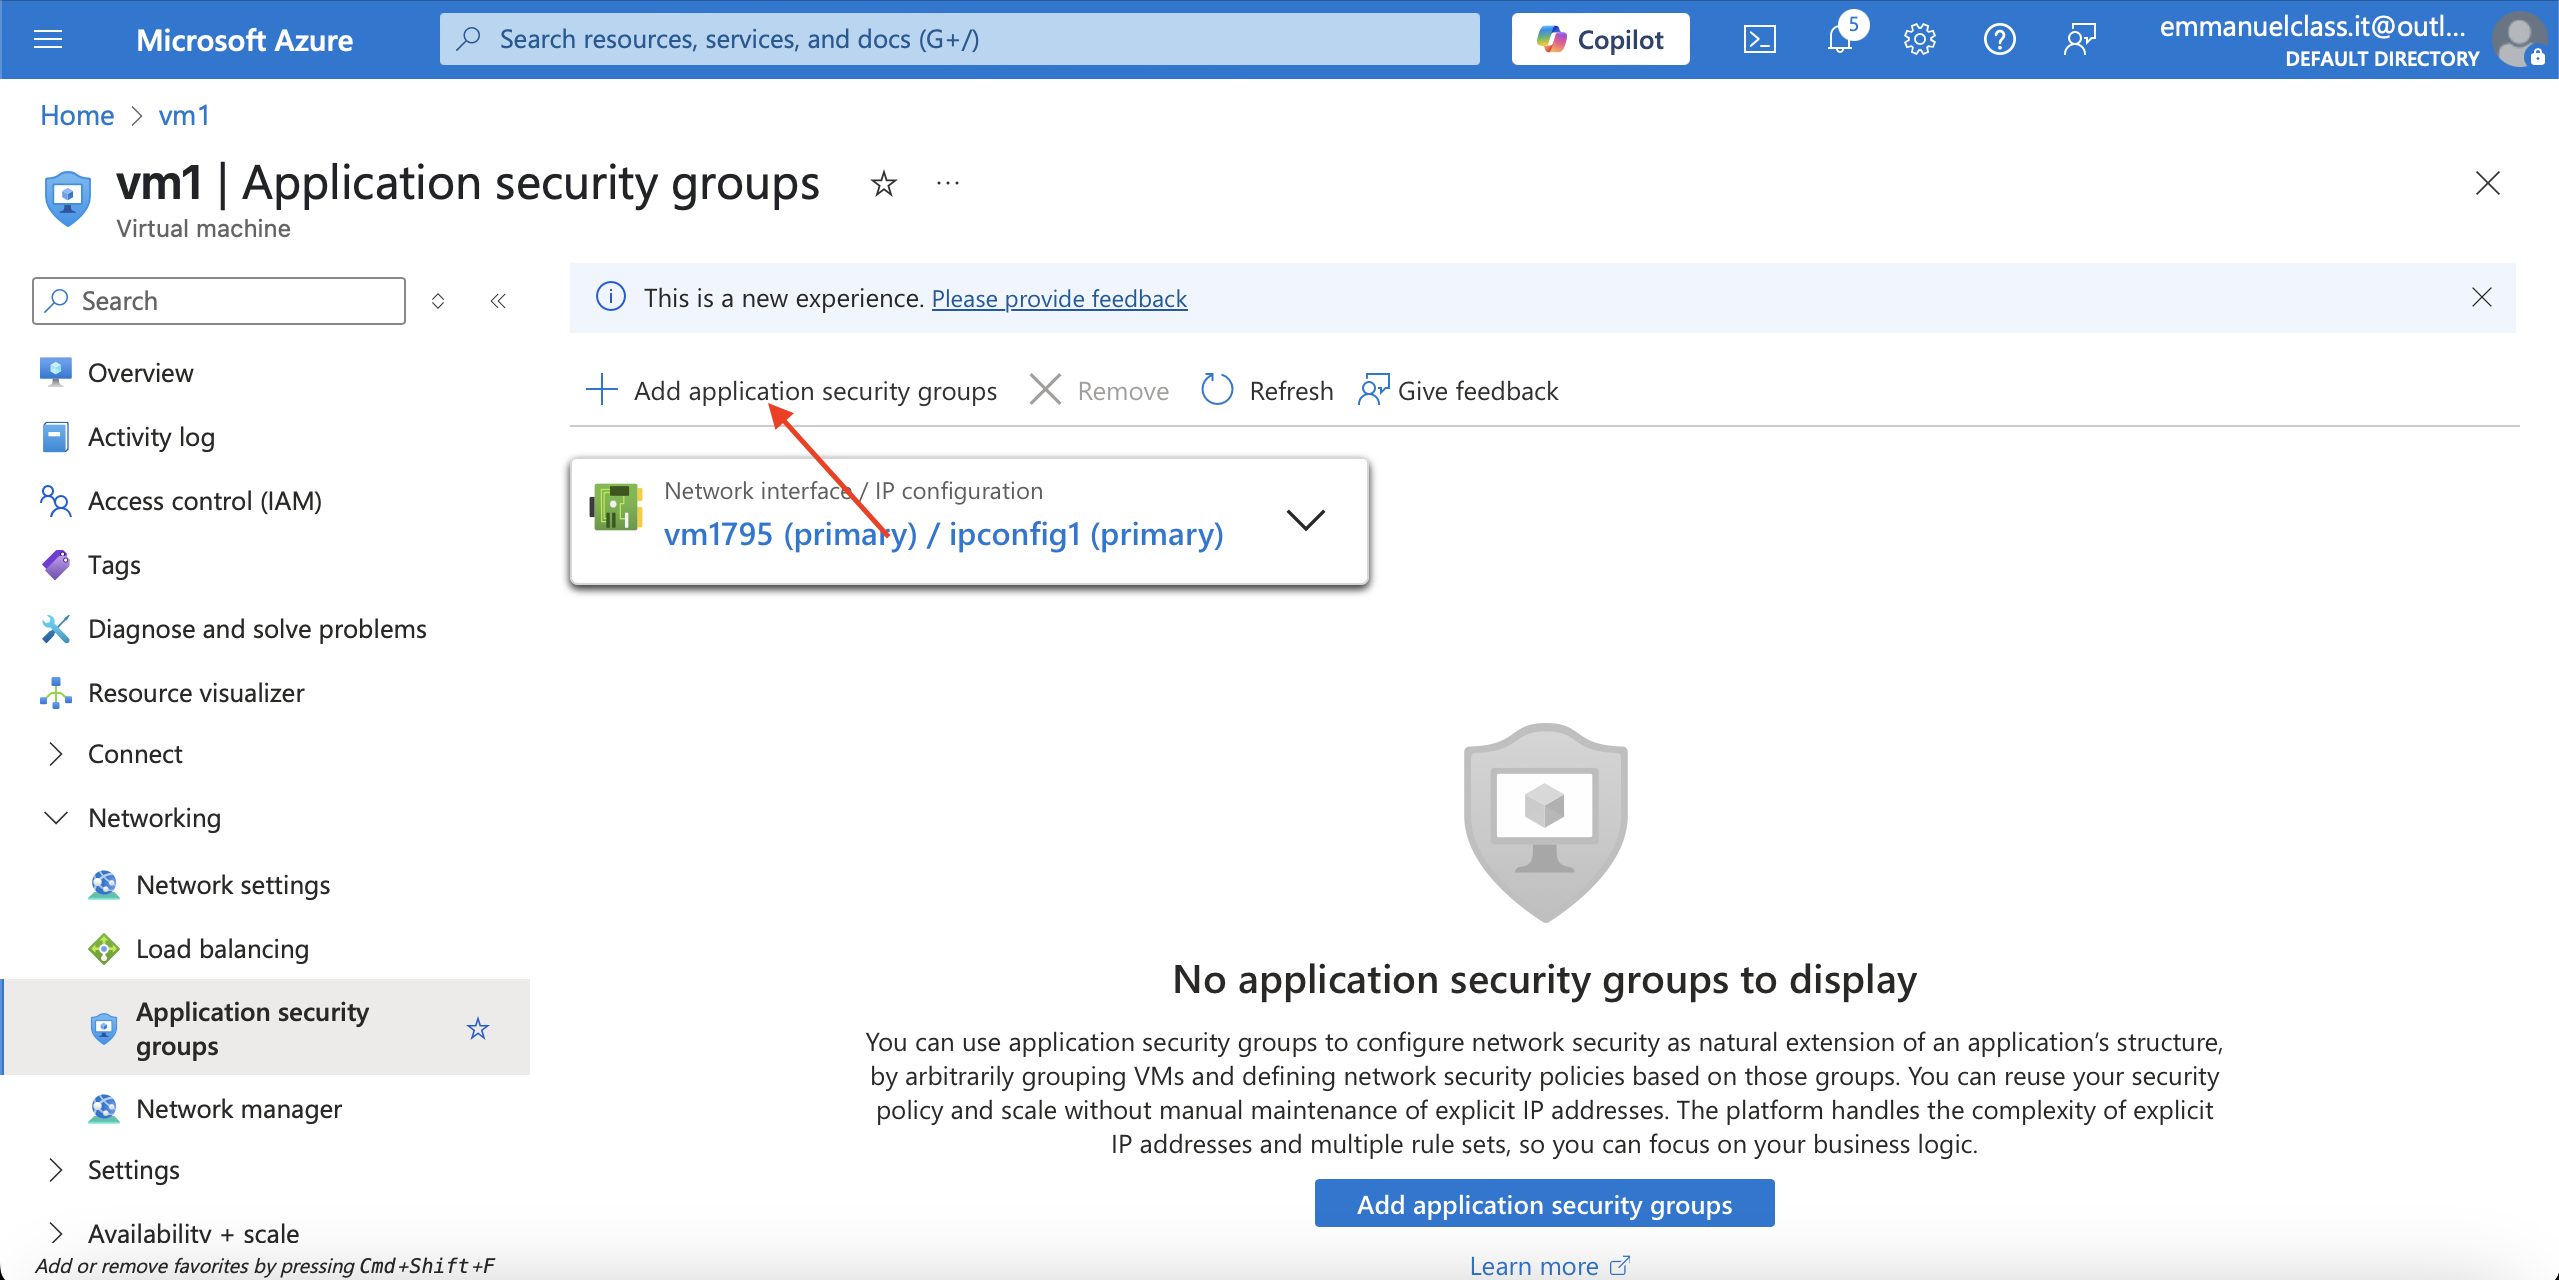
3.Select the app-frontend-asg and then select Add.
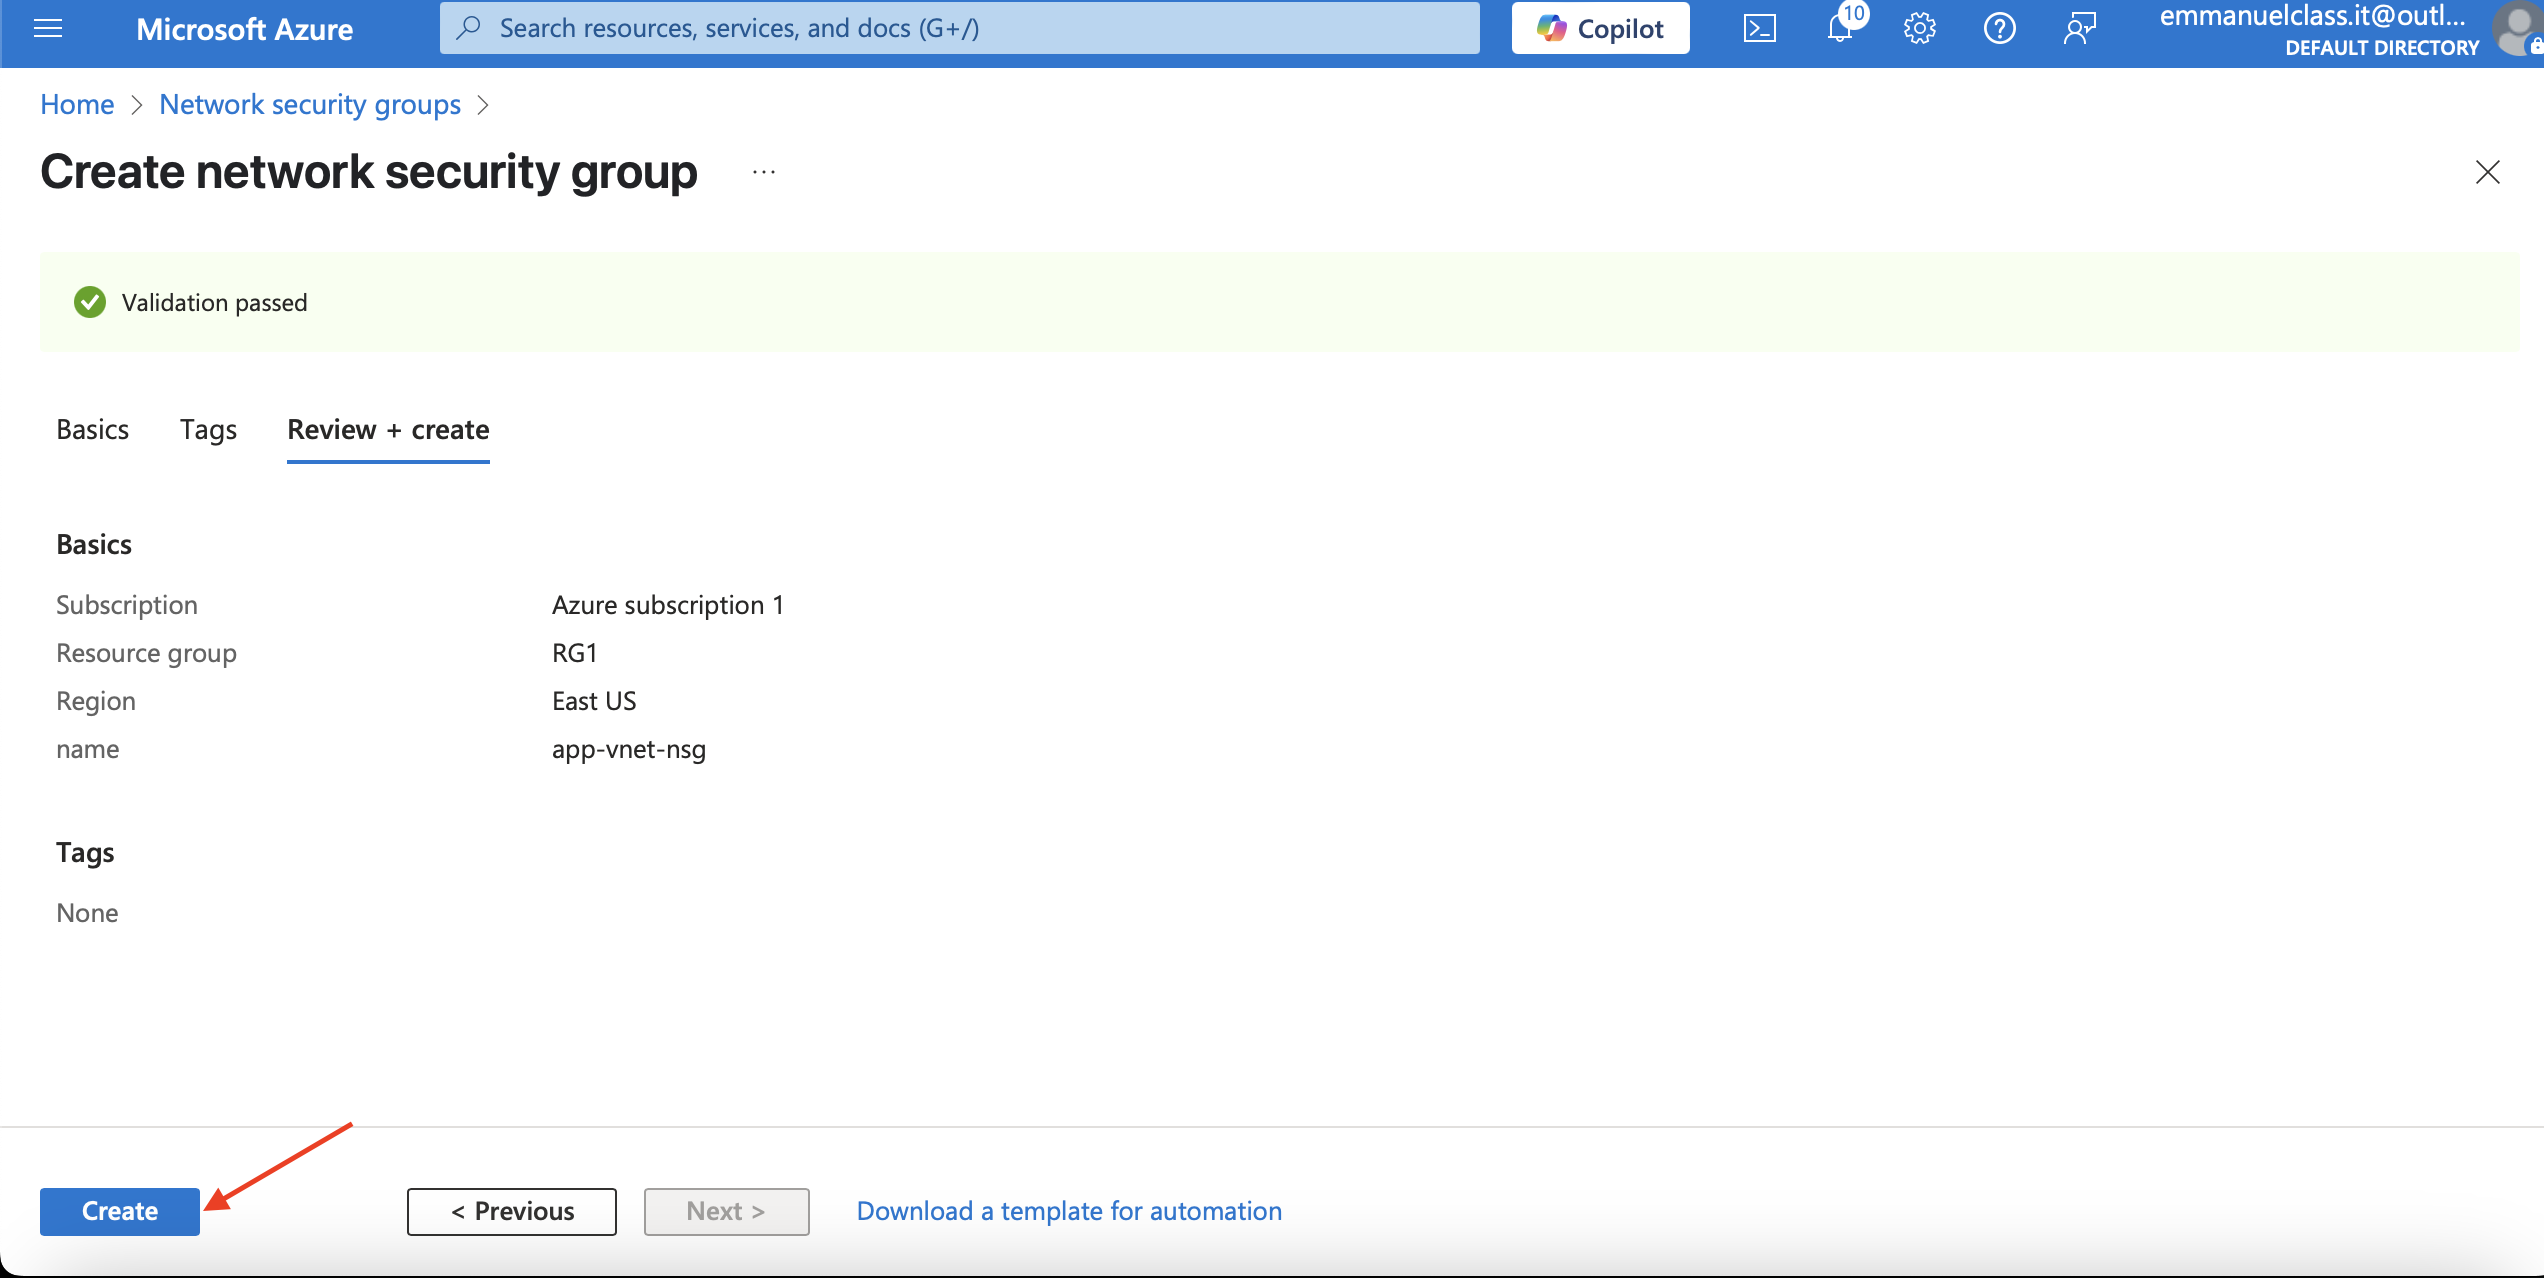
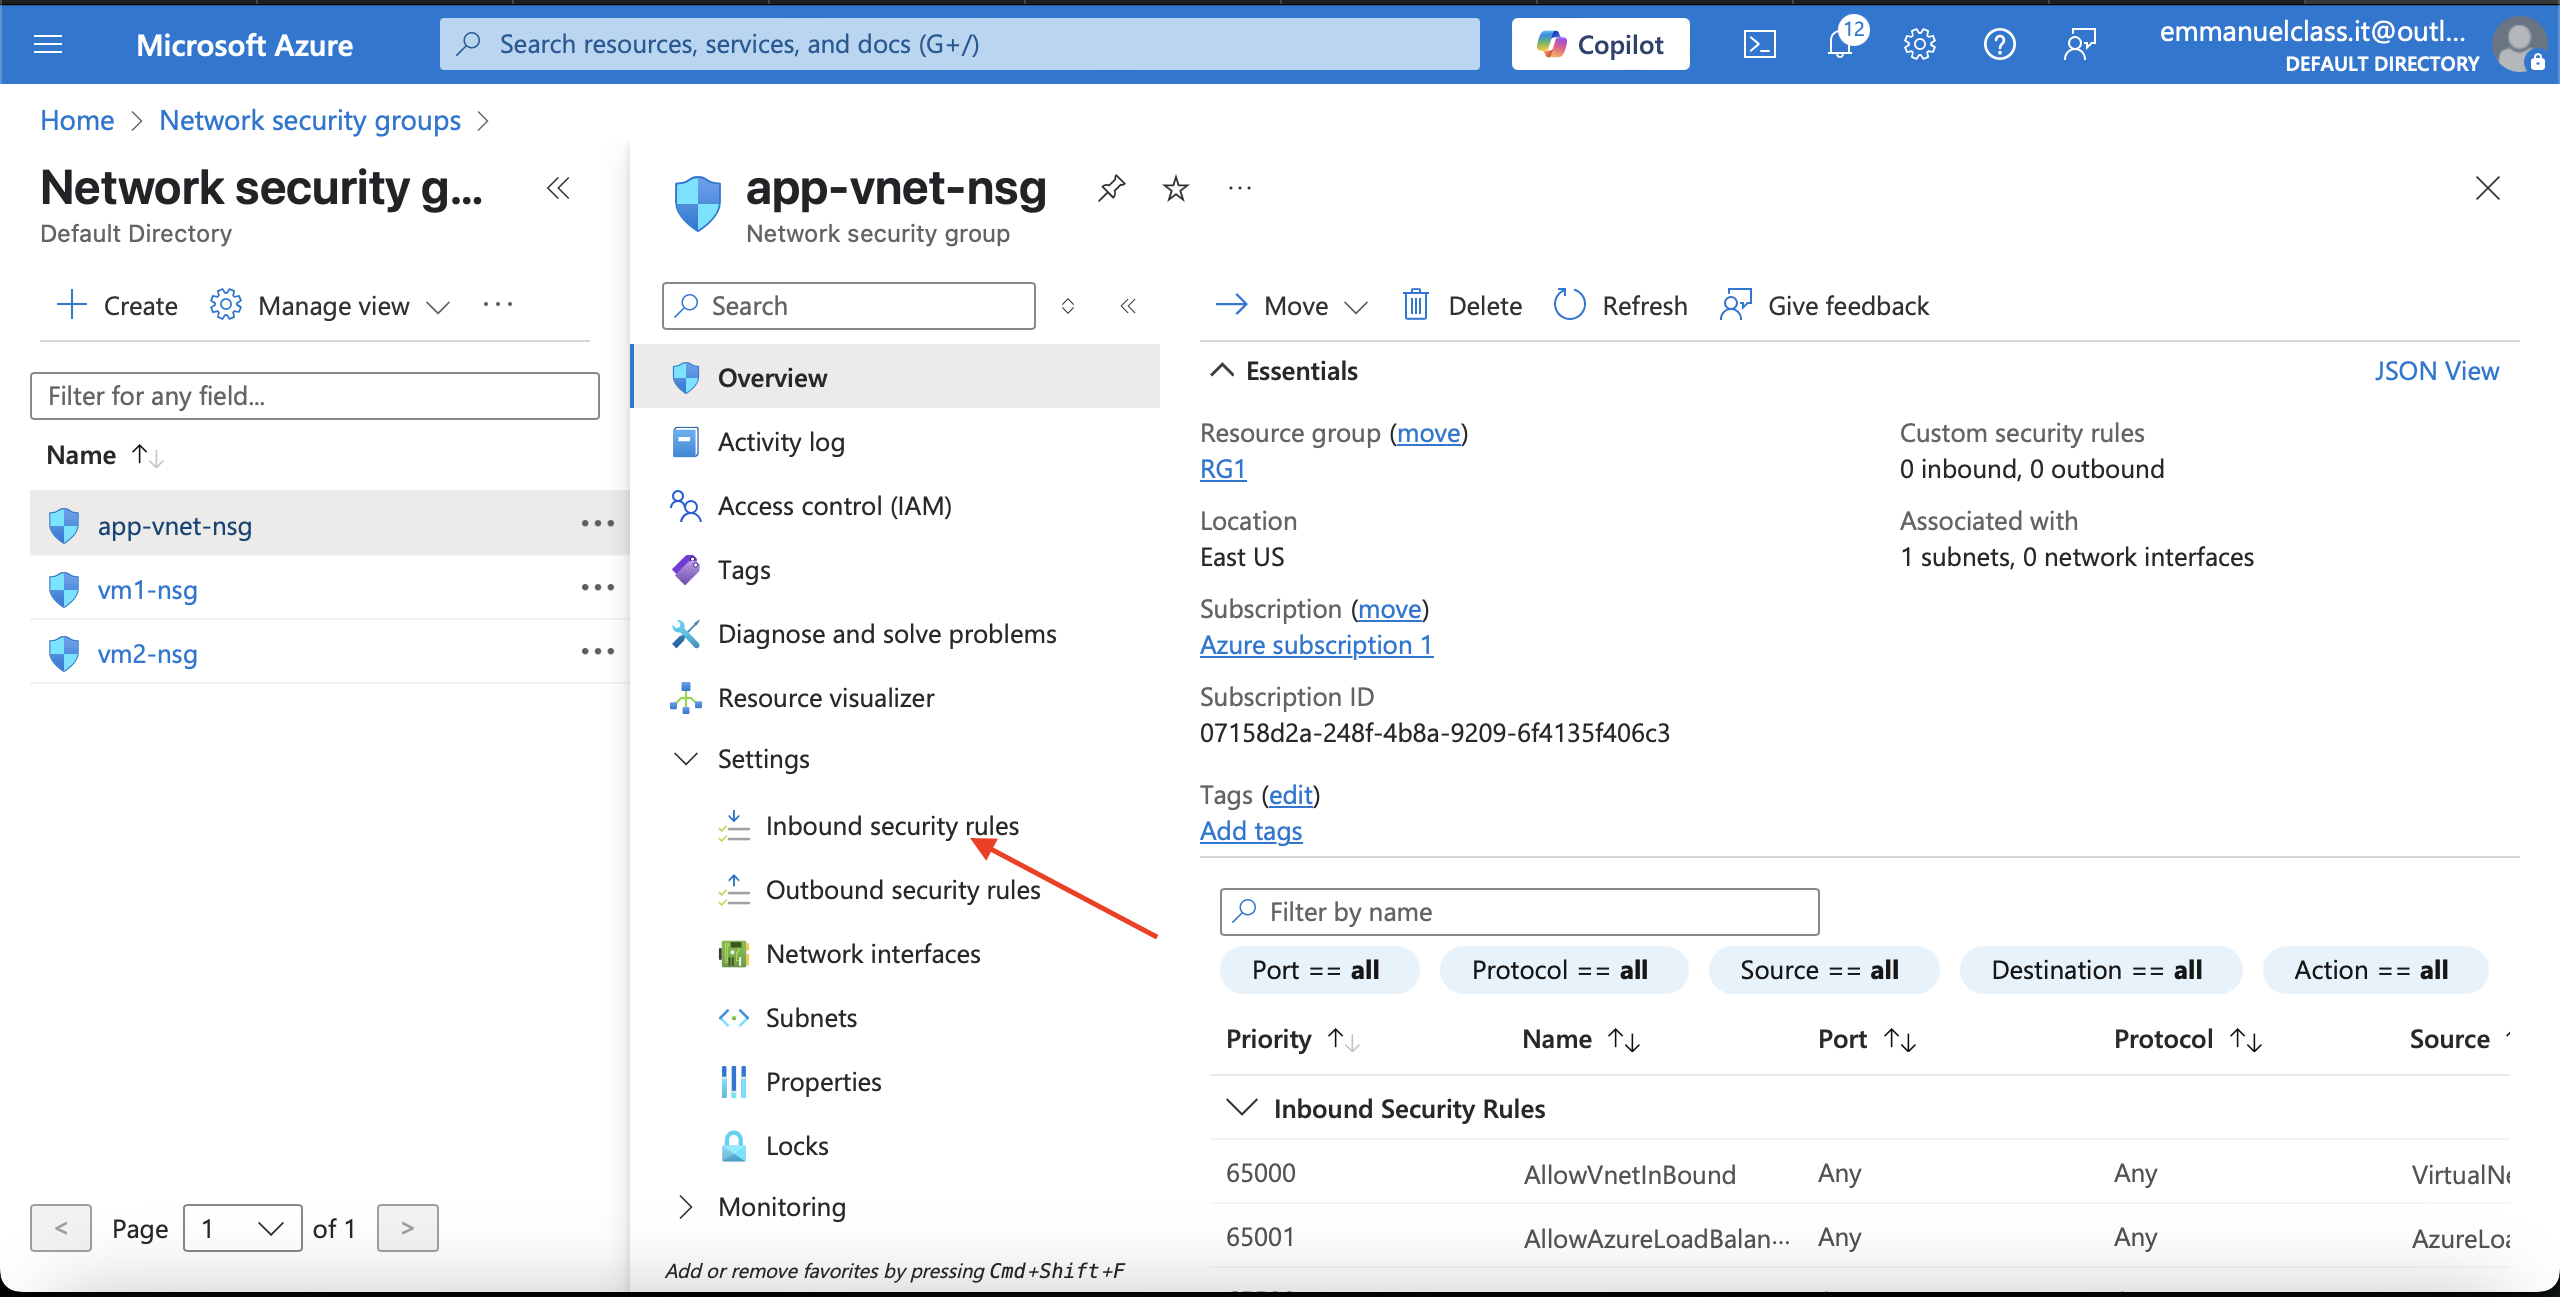
Create and Associate the Network Security Group
*Network security groups (NSGs) * secure network traffic in a virtual network.
Steps
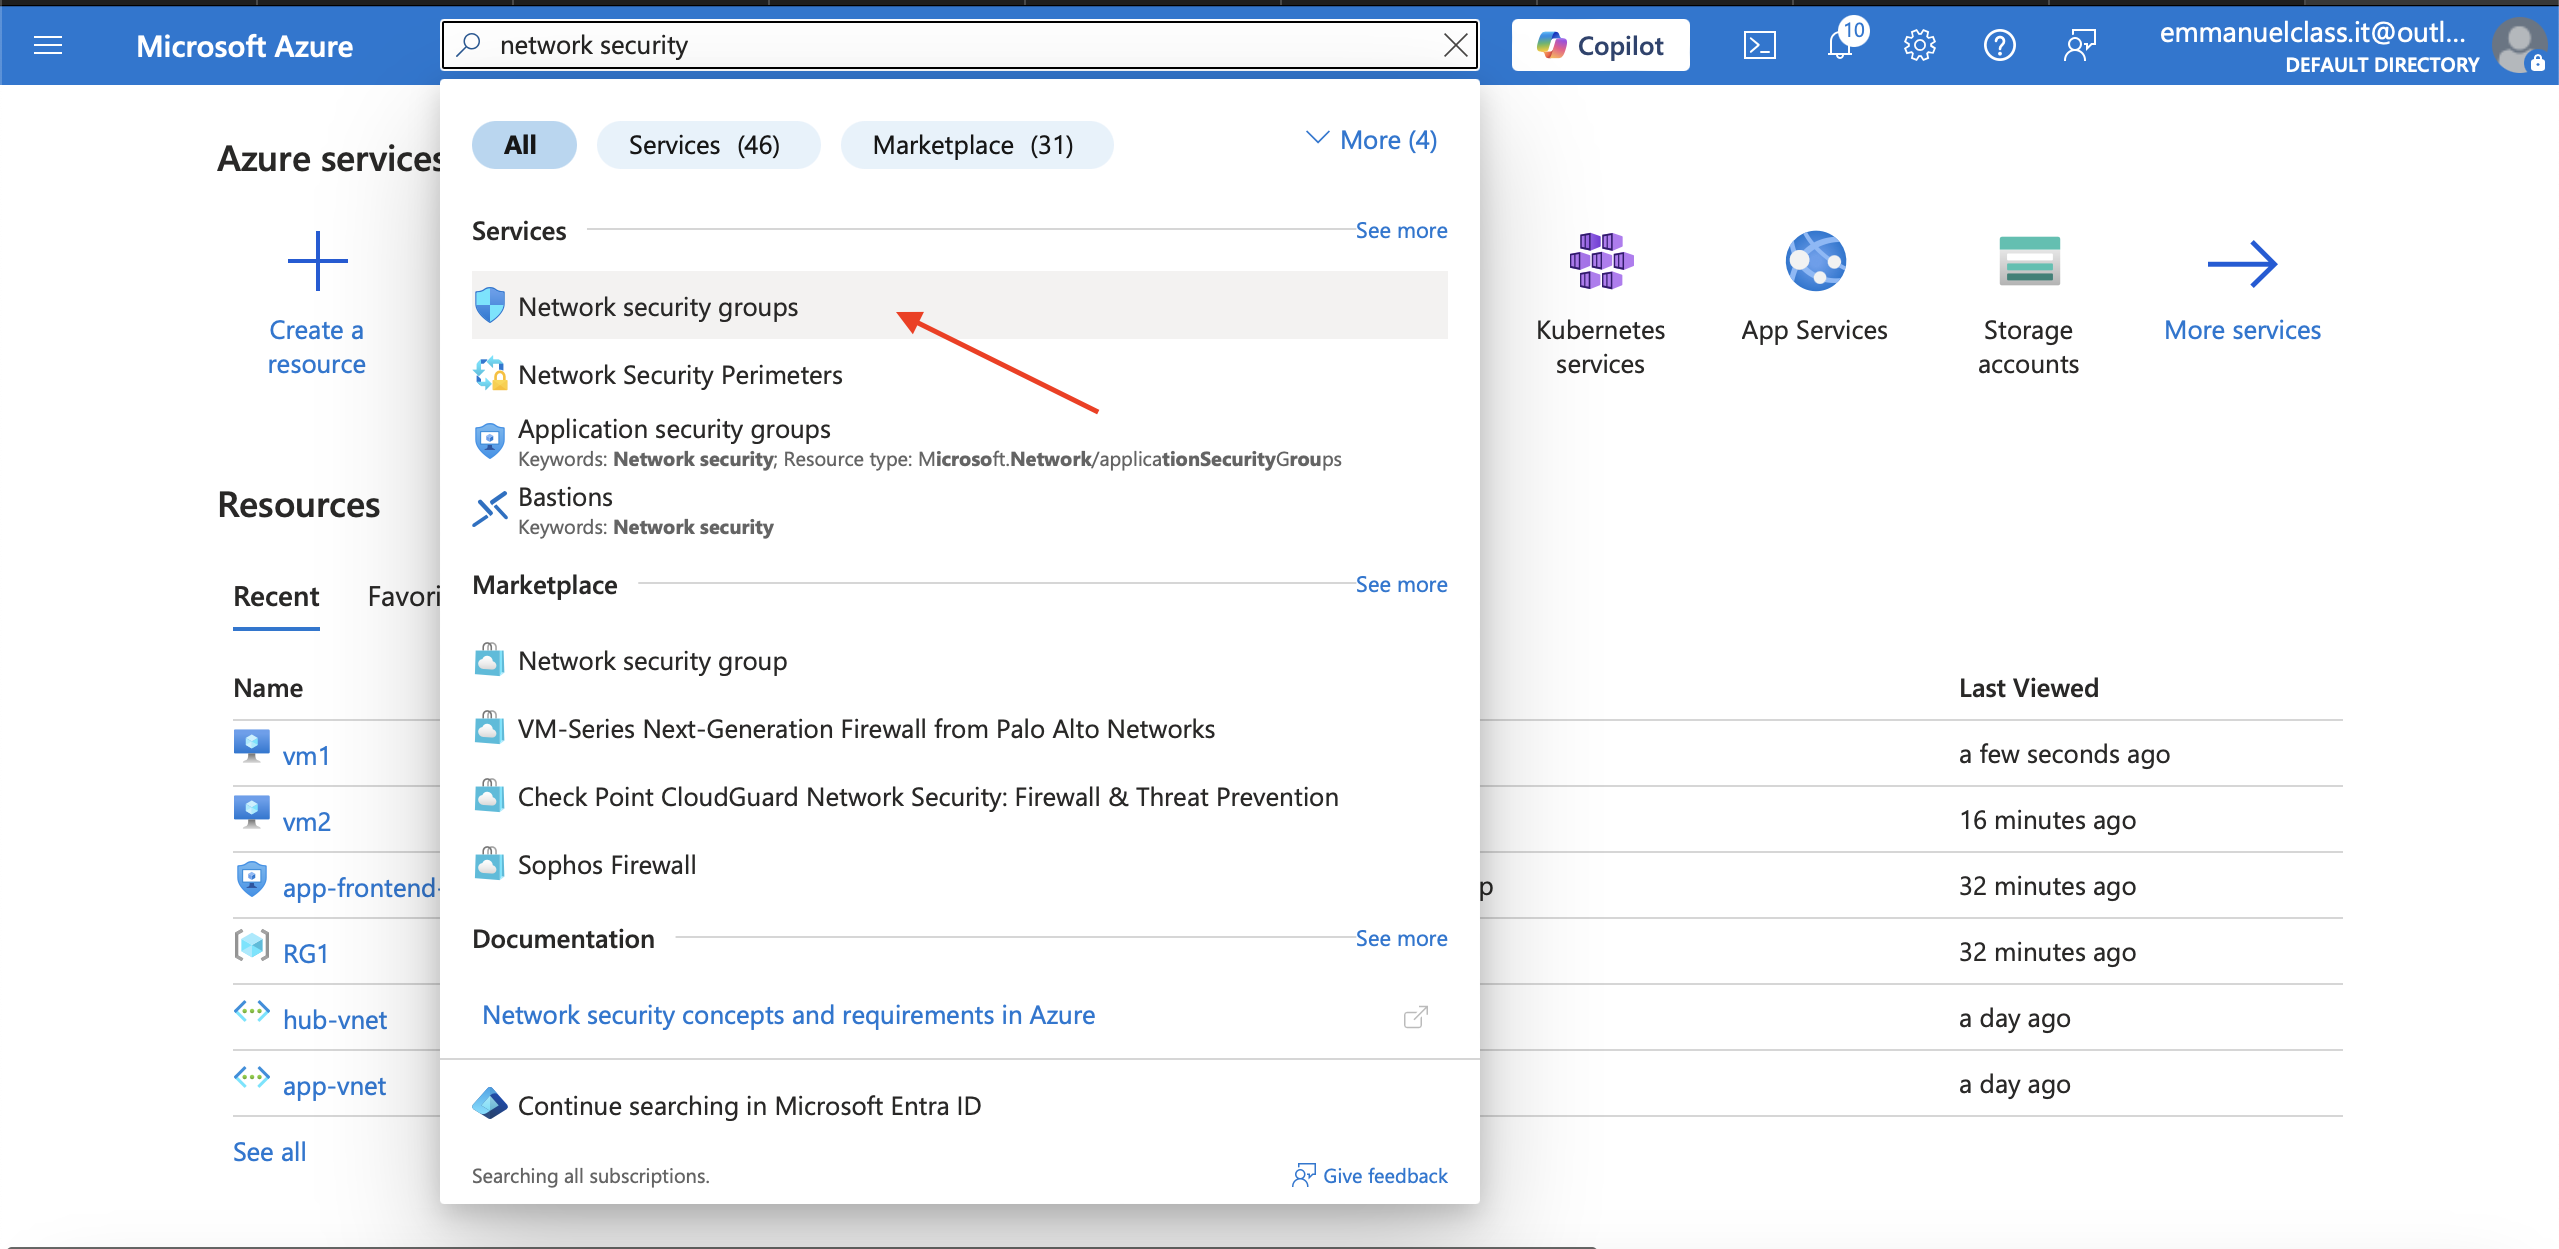
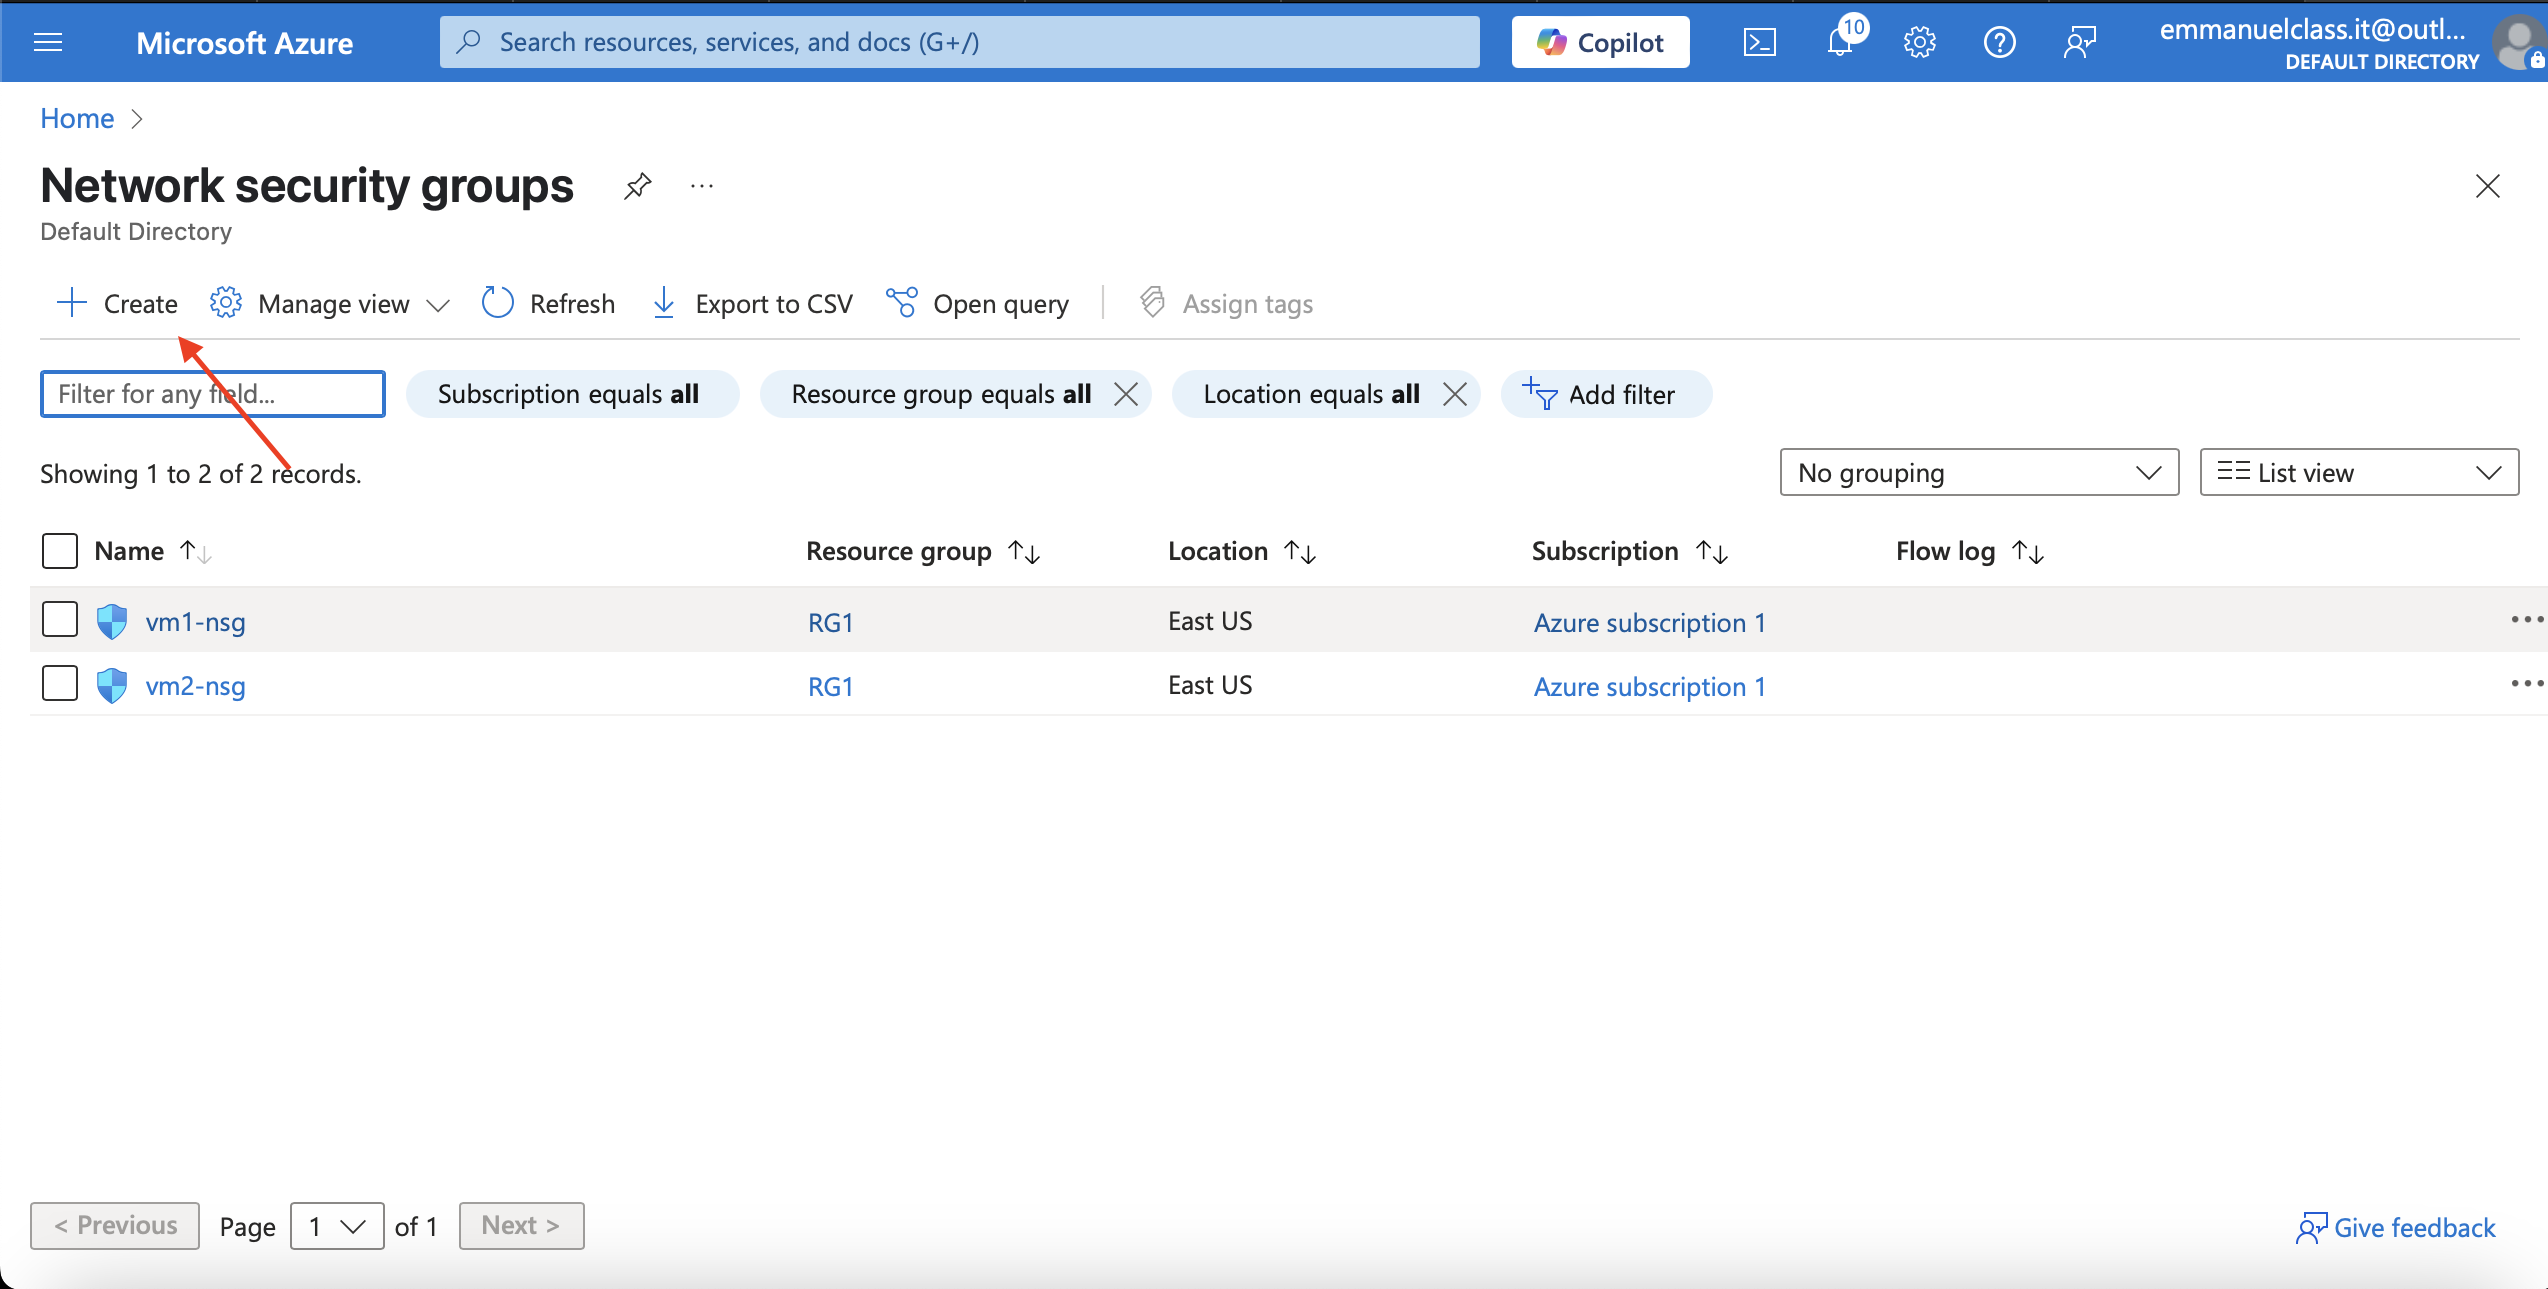
1.In the portal search for and select Network security group.
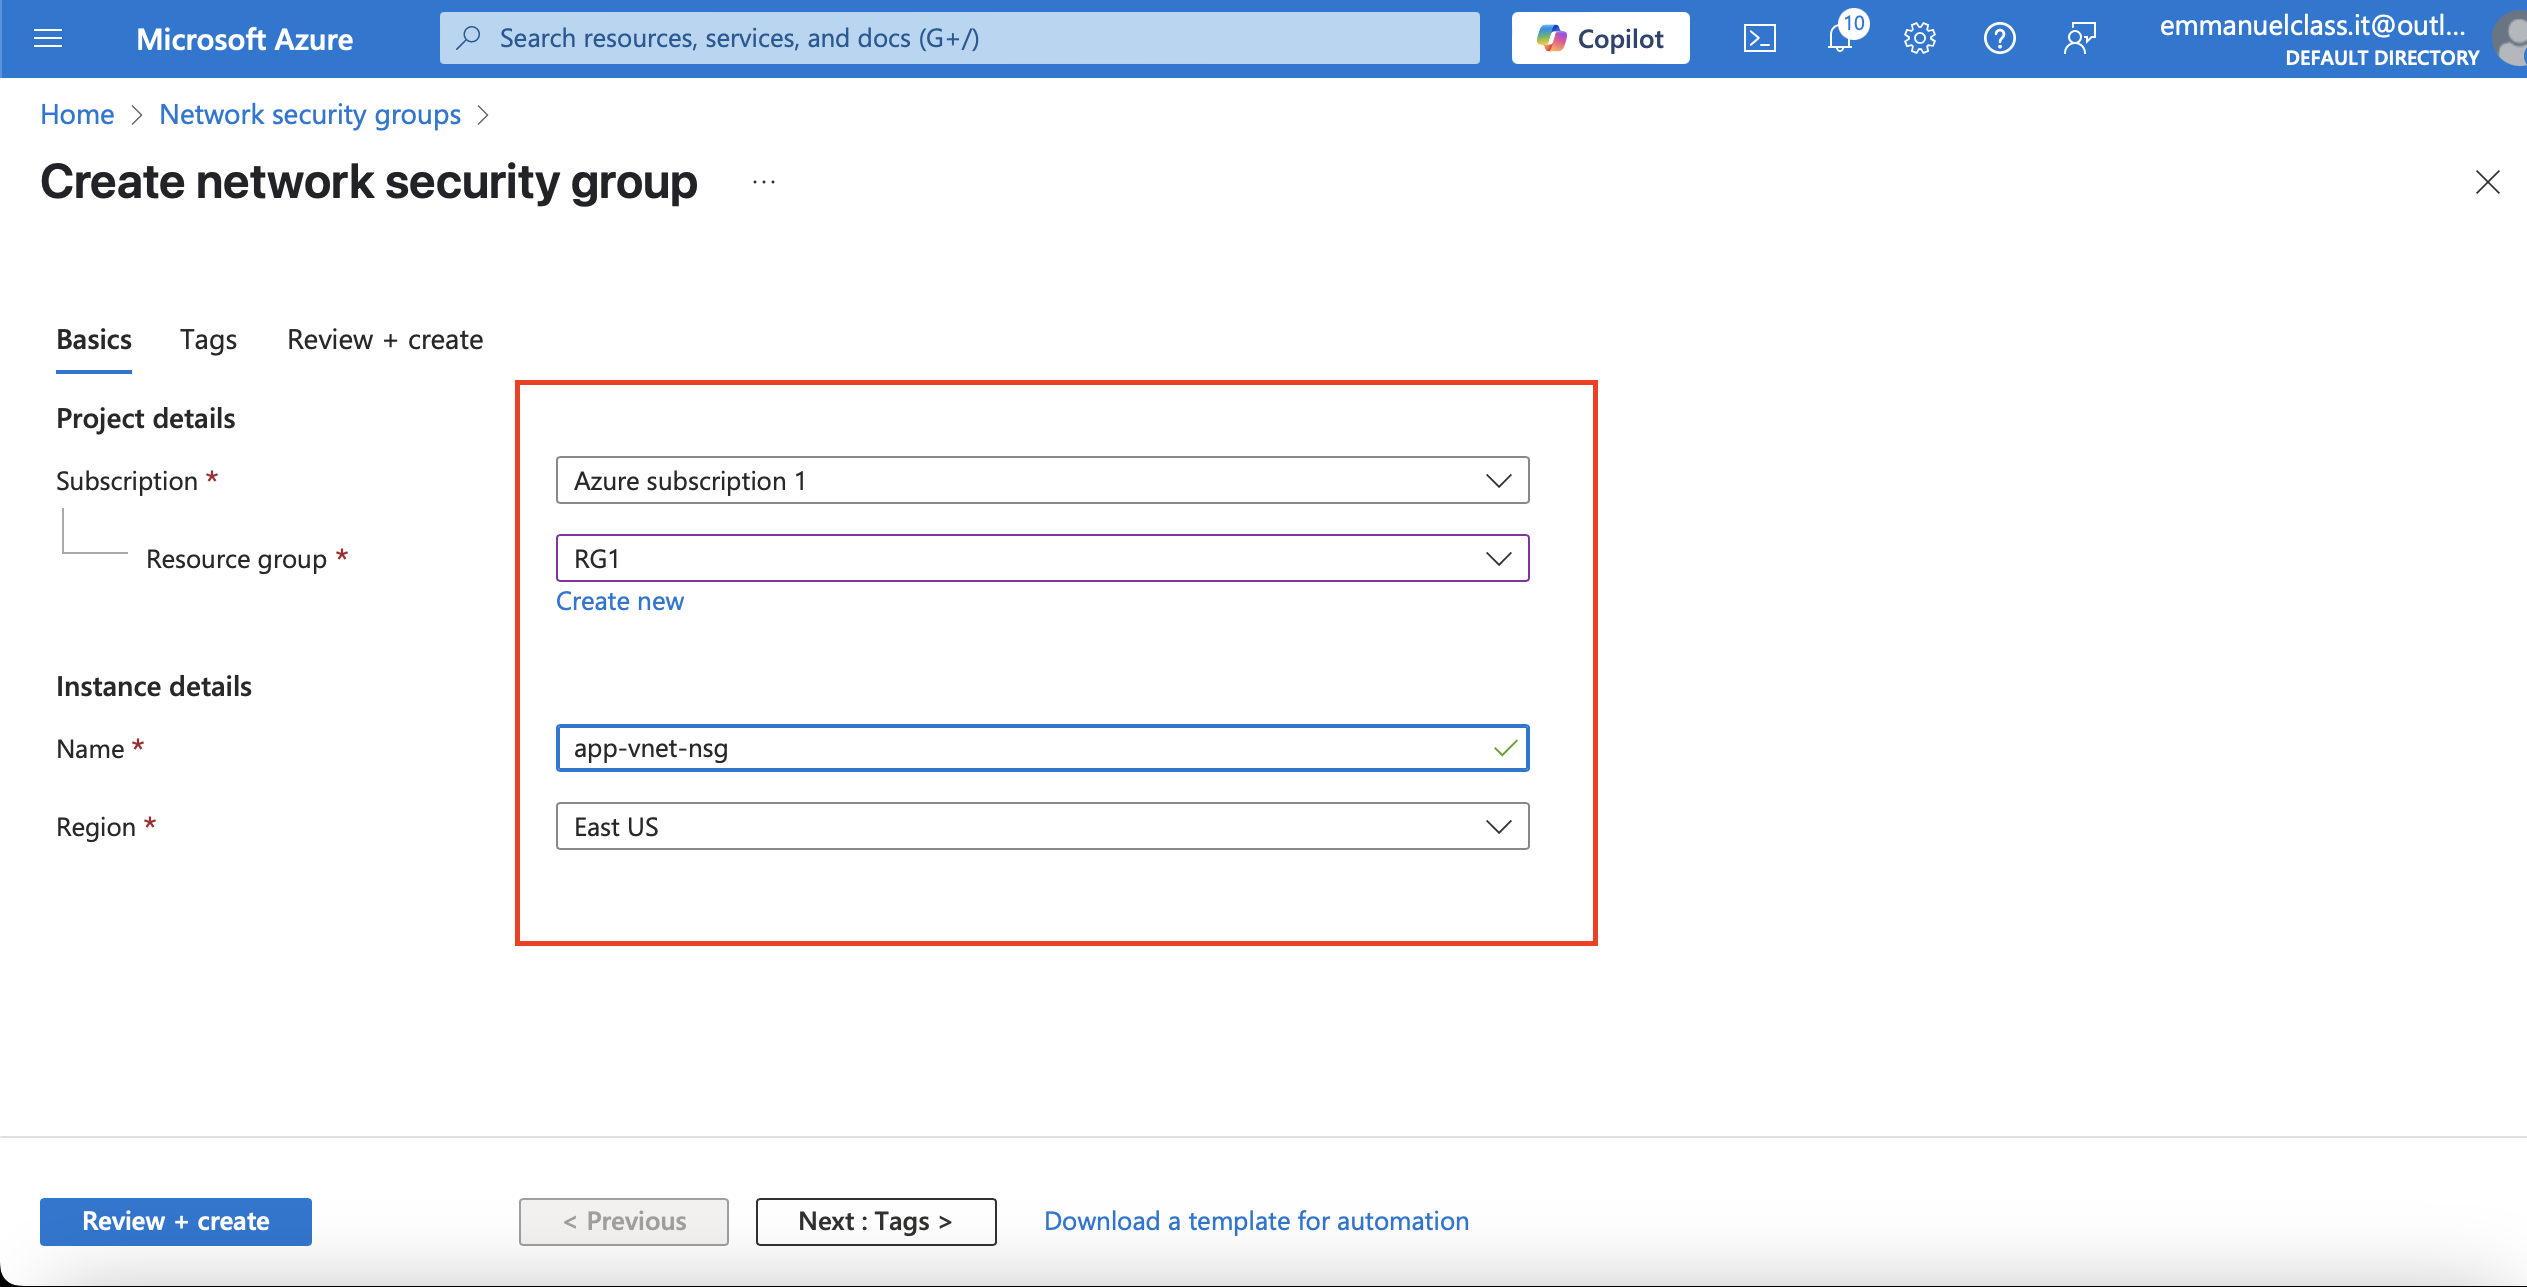
2.Select + Create and configure the network security group.
Property Value
Subscription = Select your subscription
Resource group = RG1
Name = app-vnet-nsg
Region = East US
Property and values
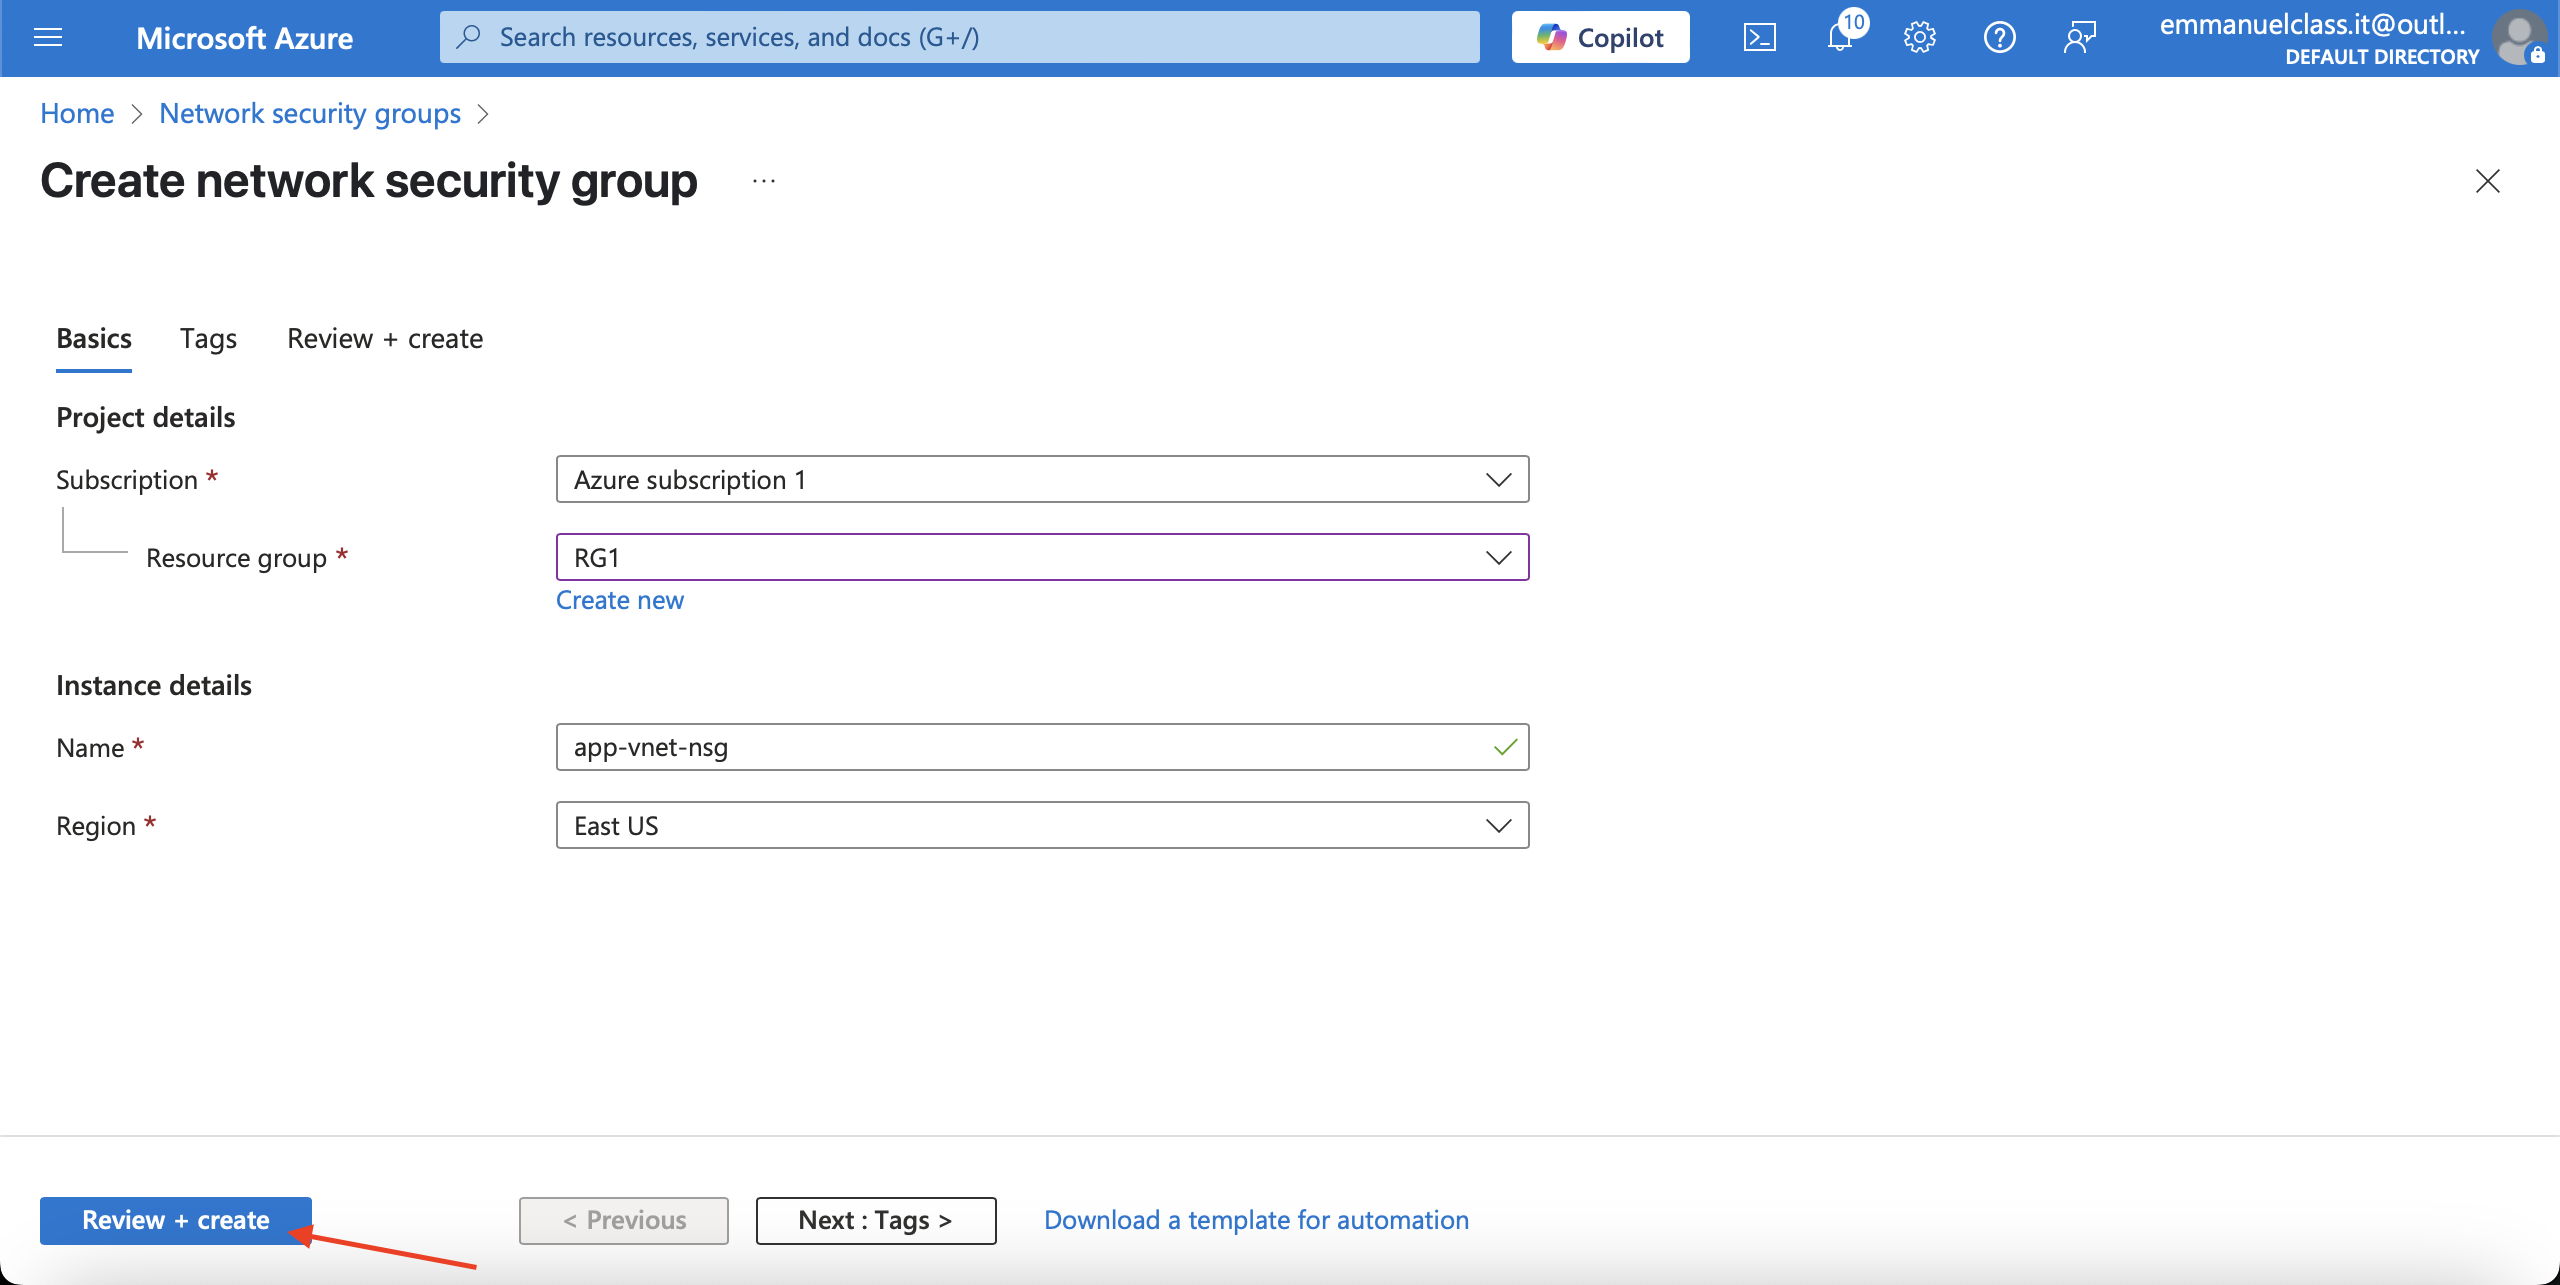
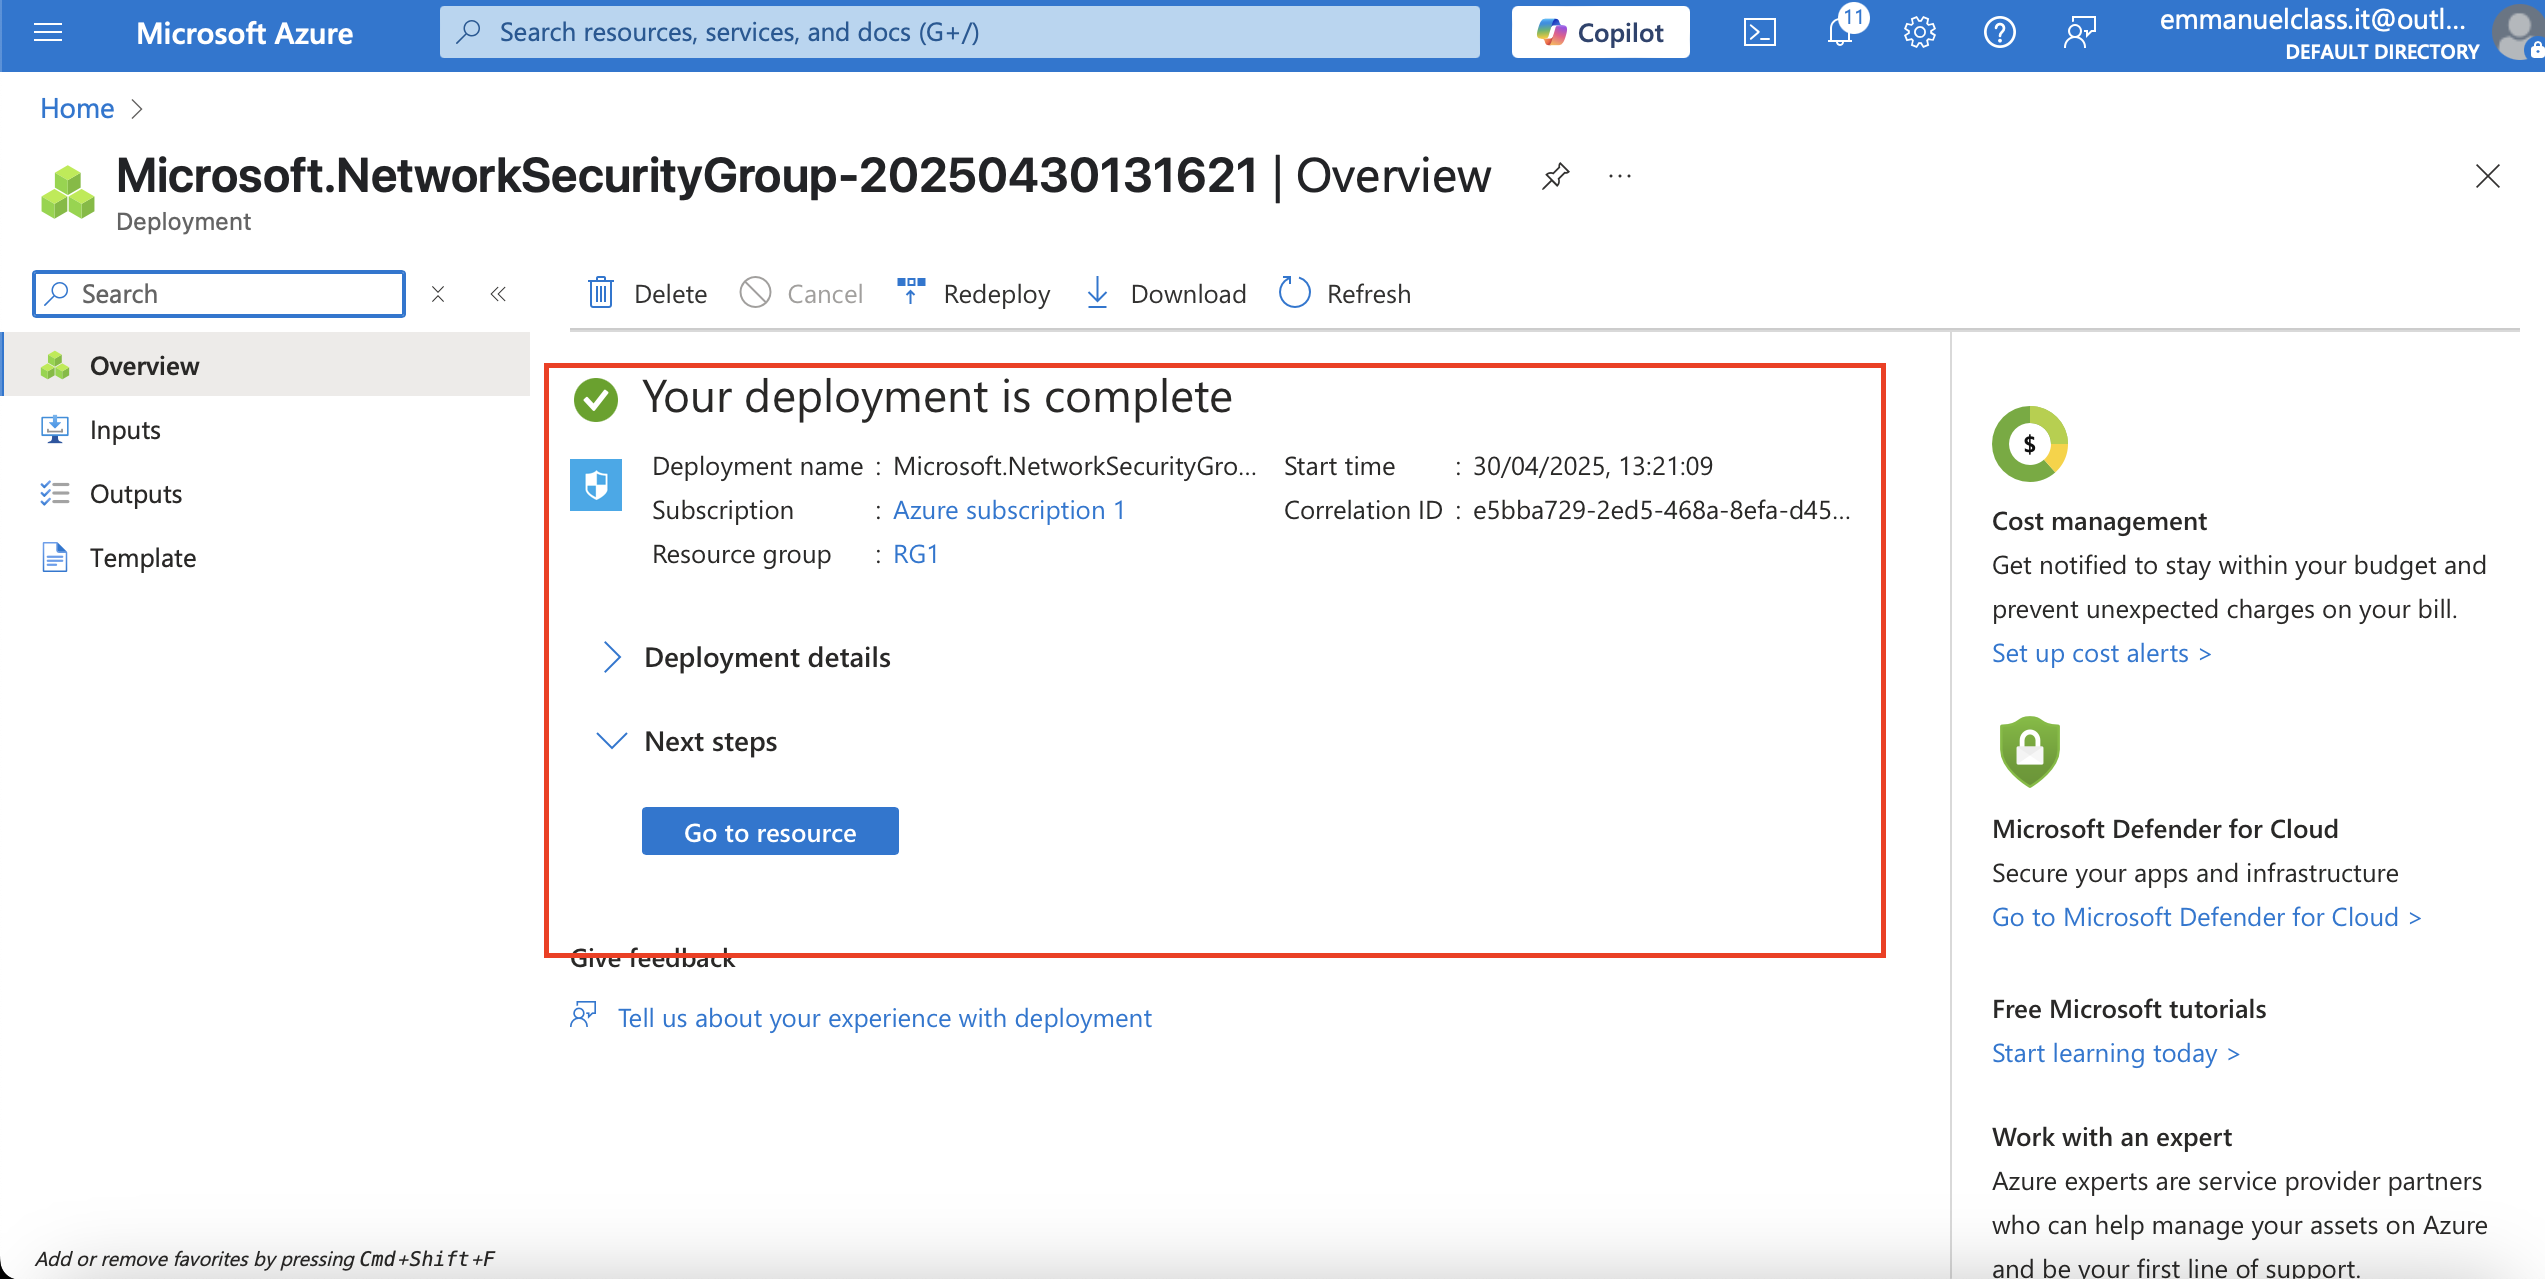
3.Select Review + create and then select Create.
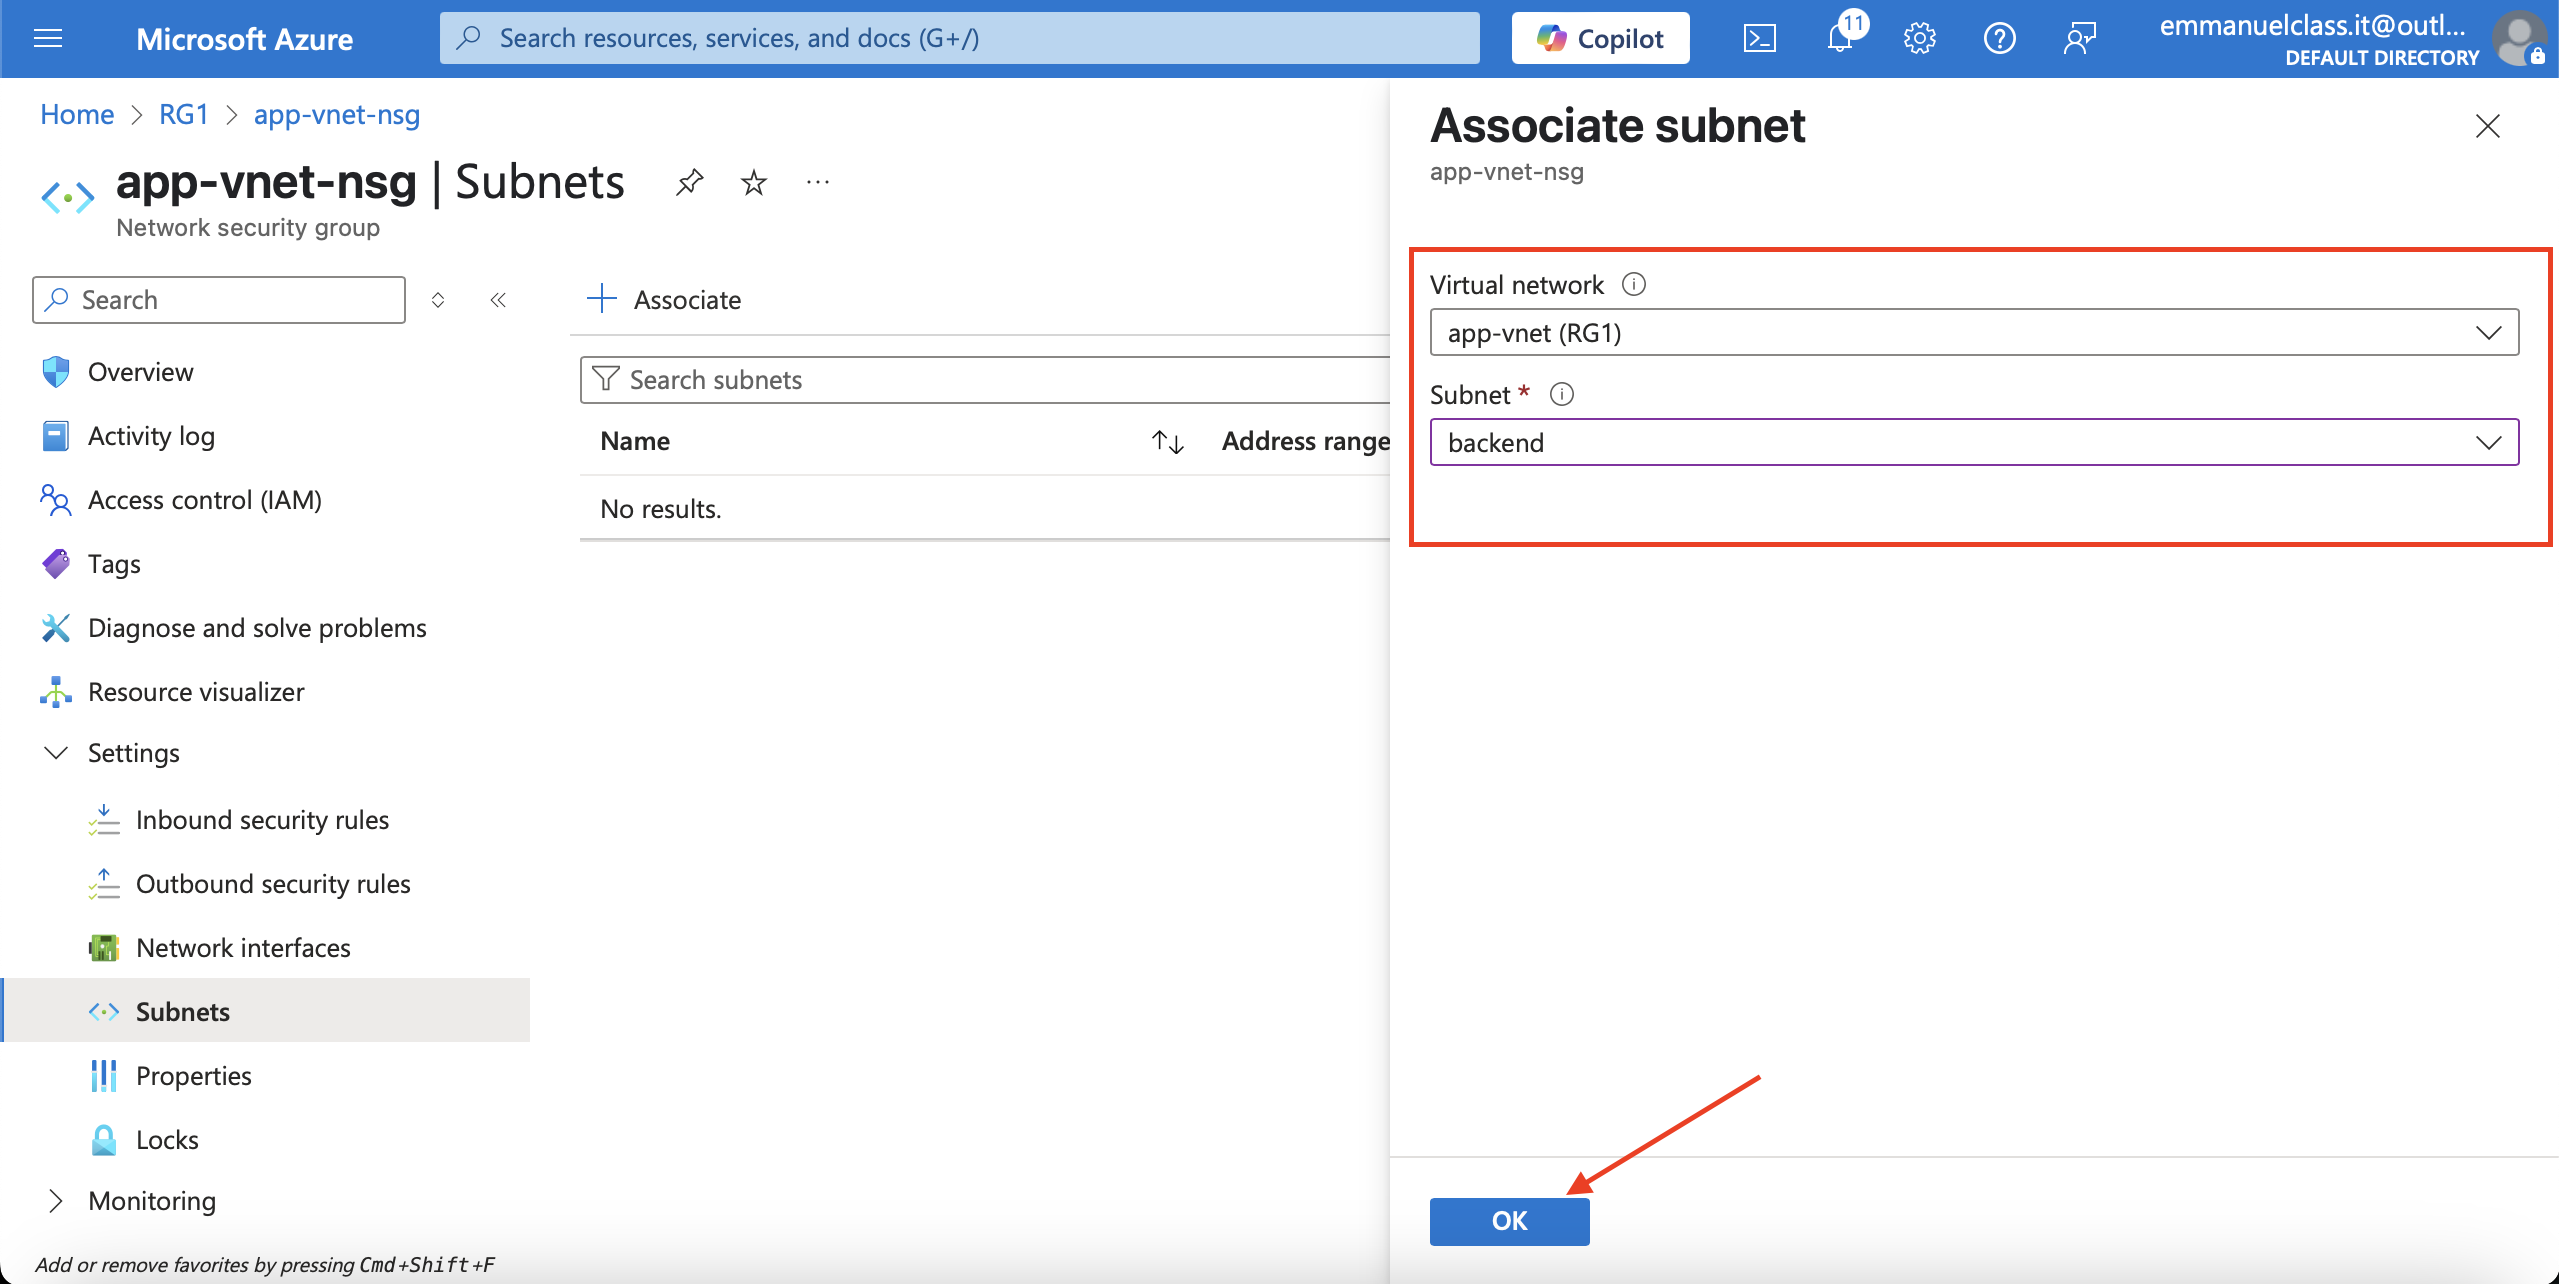
Associate the NSG with the app-vnet backend subnet.
Steps
1.Select Go to resource or navigate to the app-vnet-nsg resource.
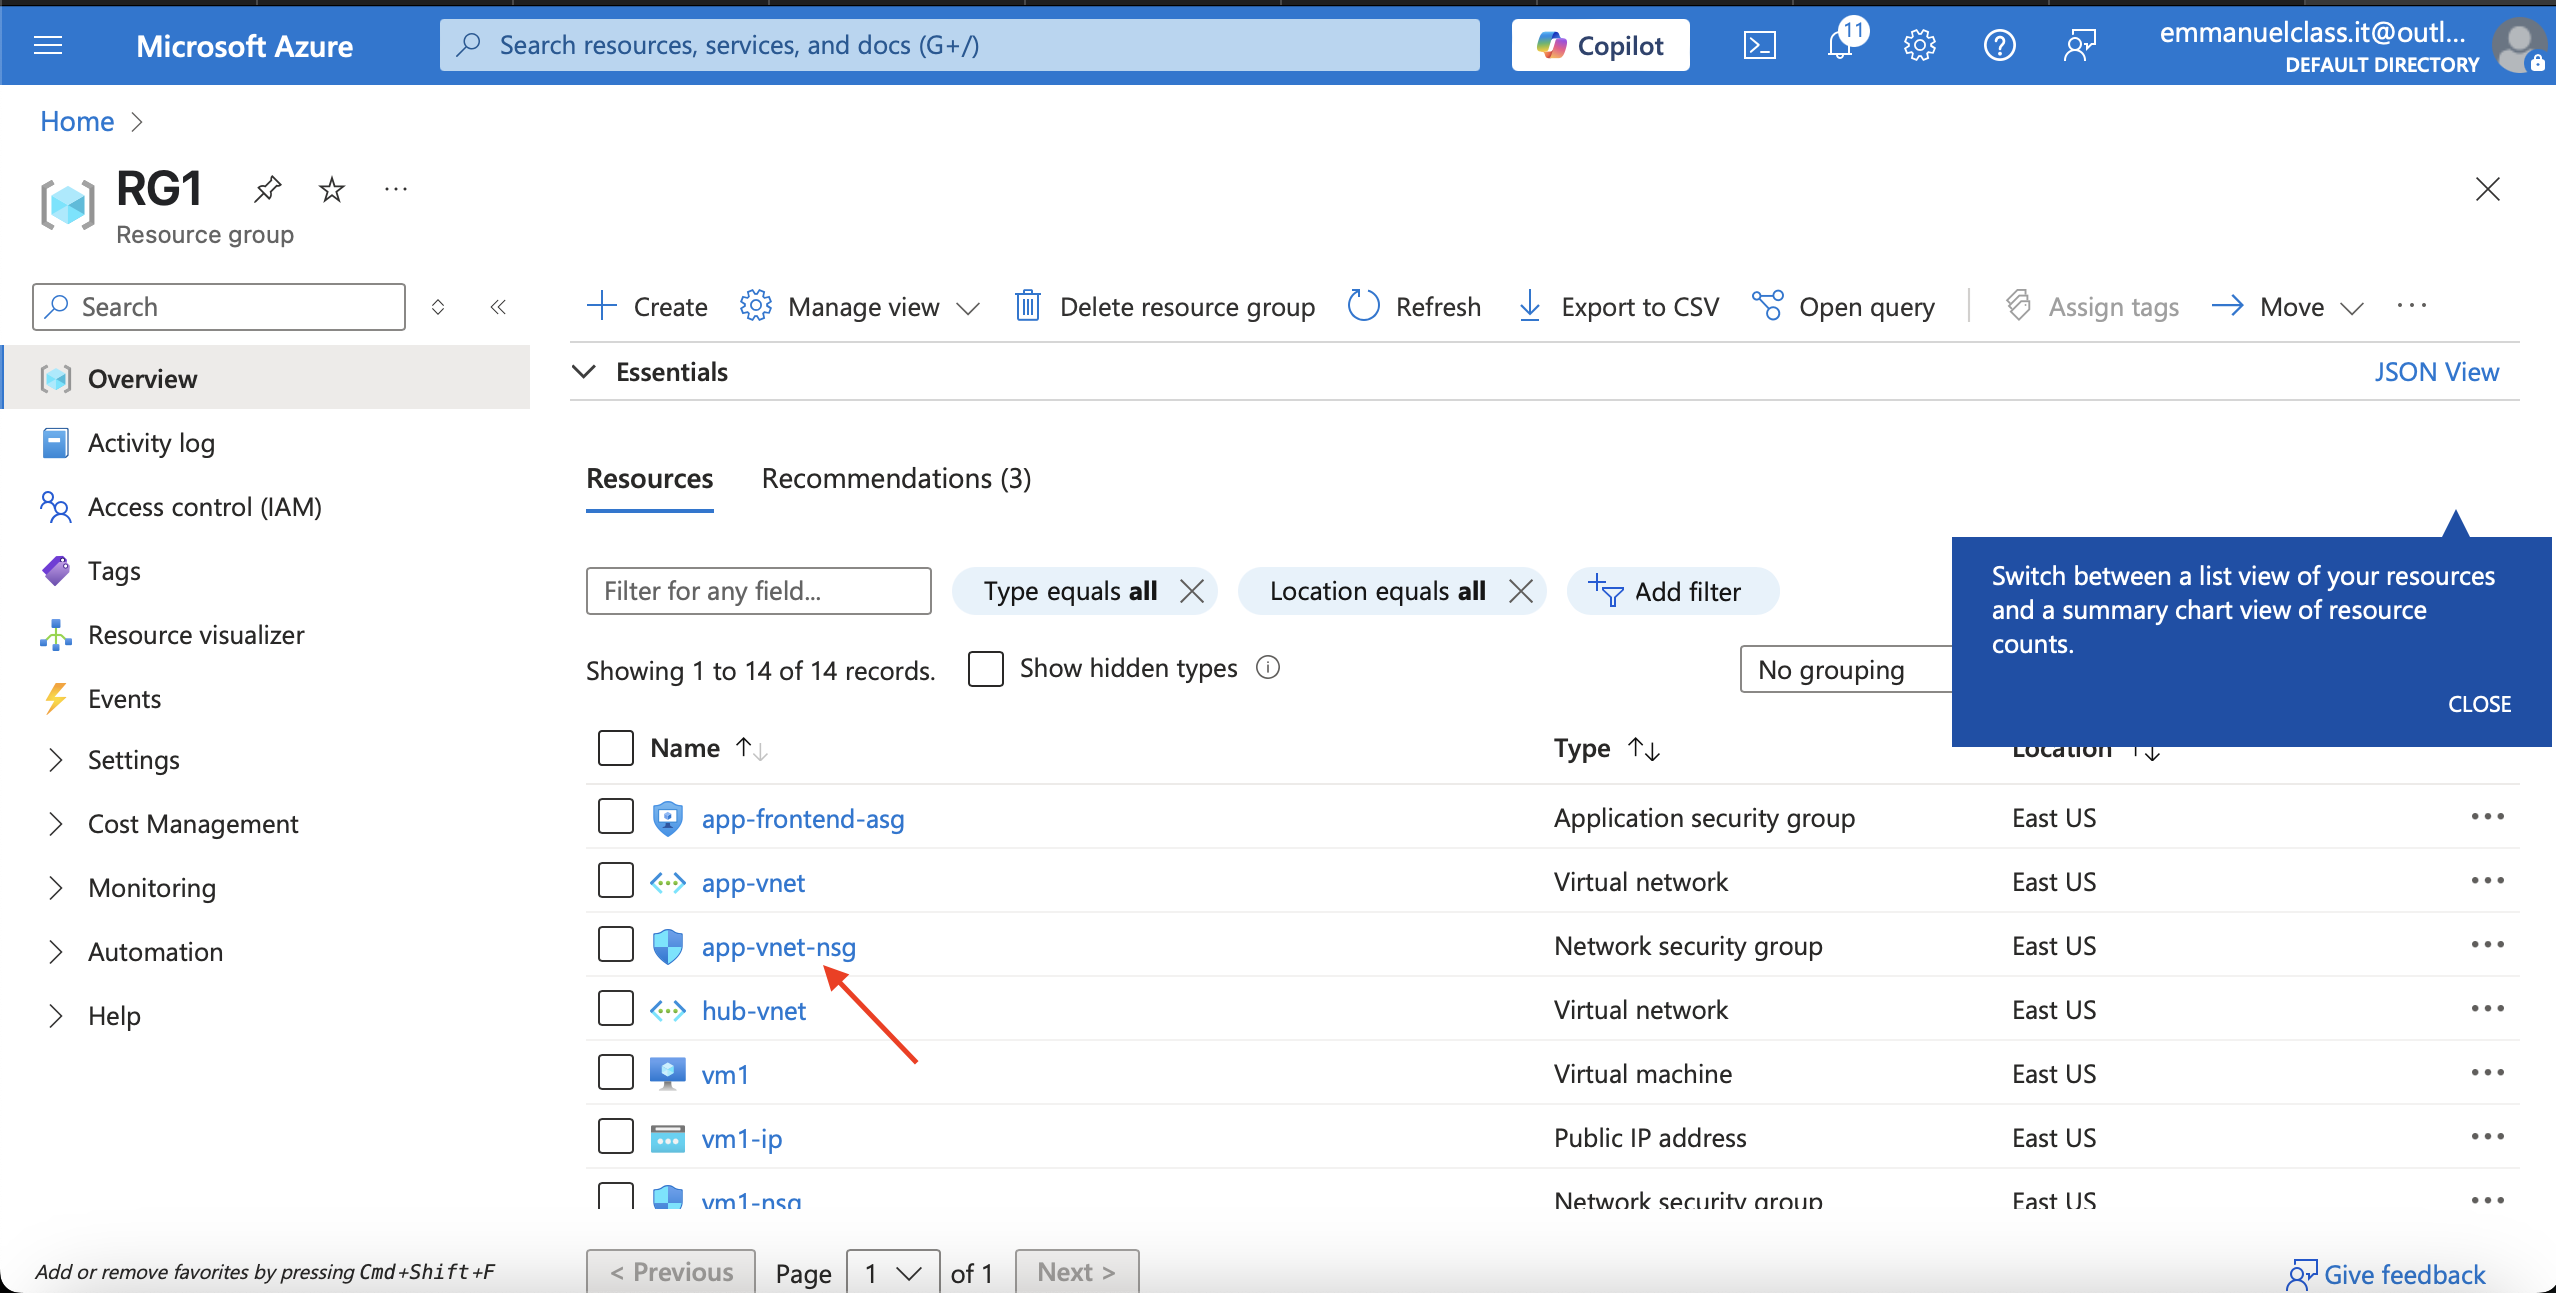
2.In the Settings blade select Subnets.
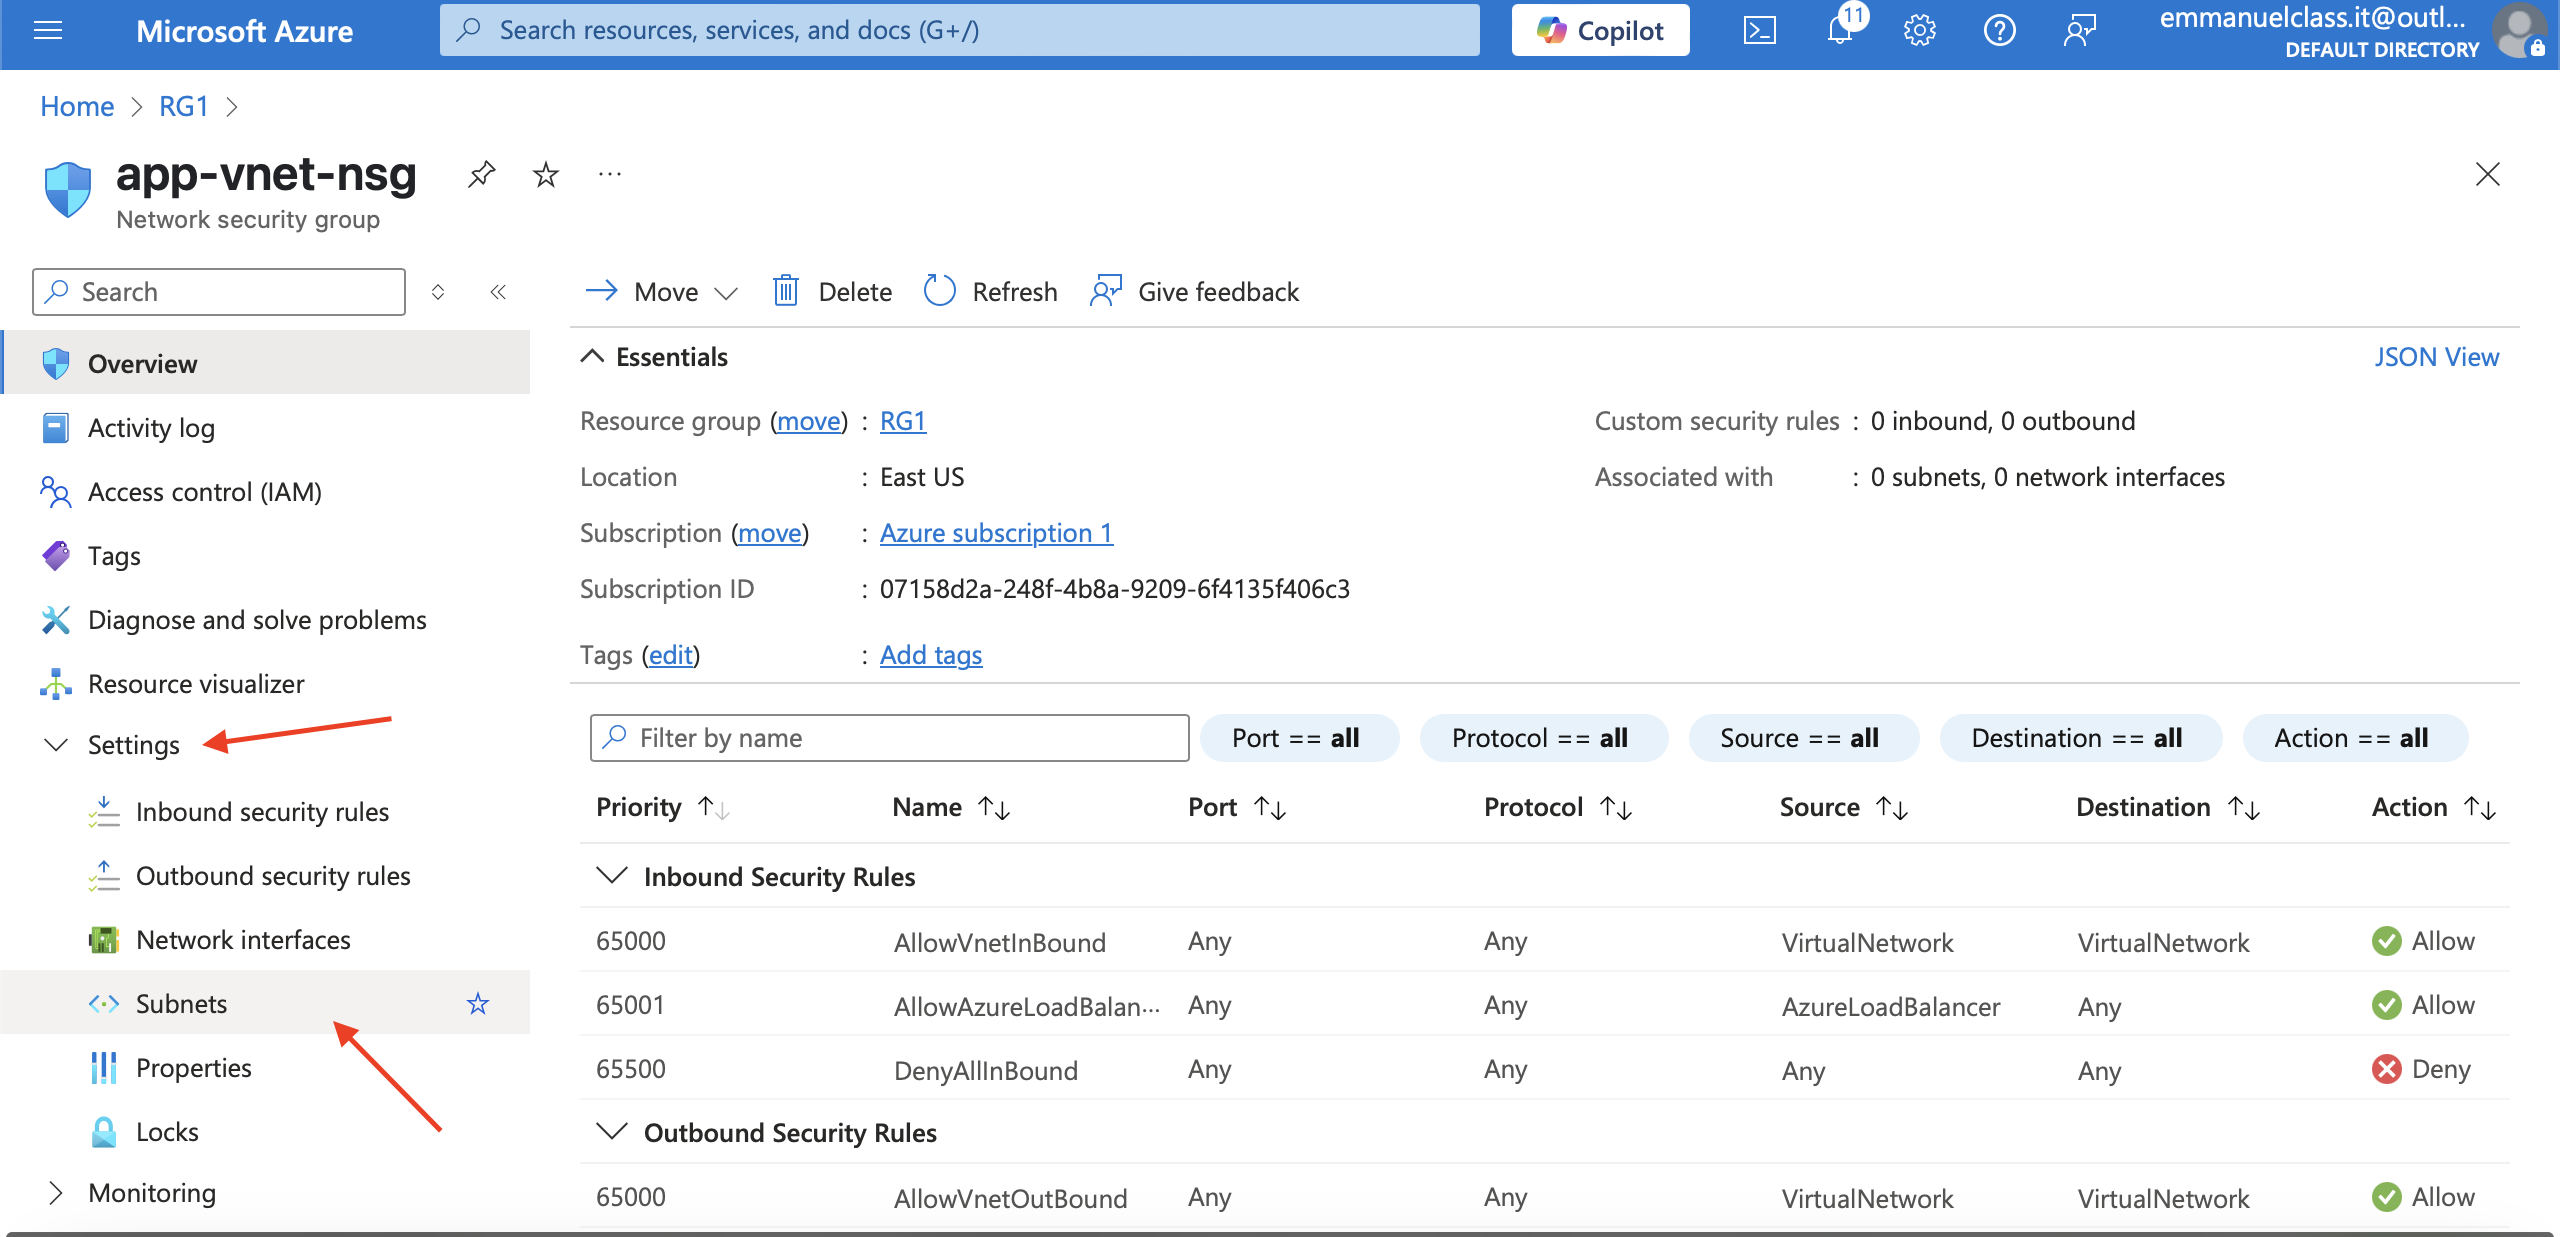
3.Select + Associate
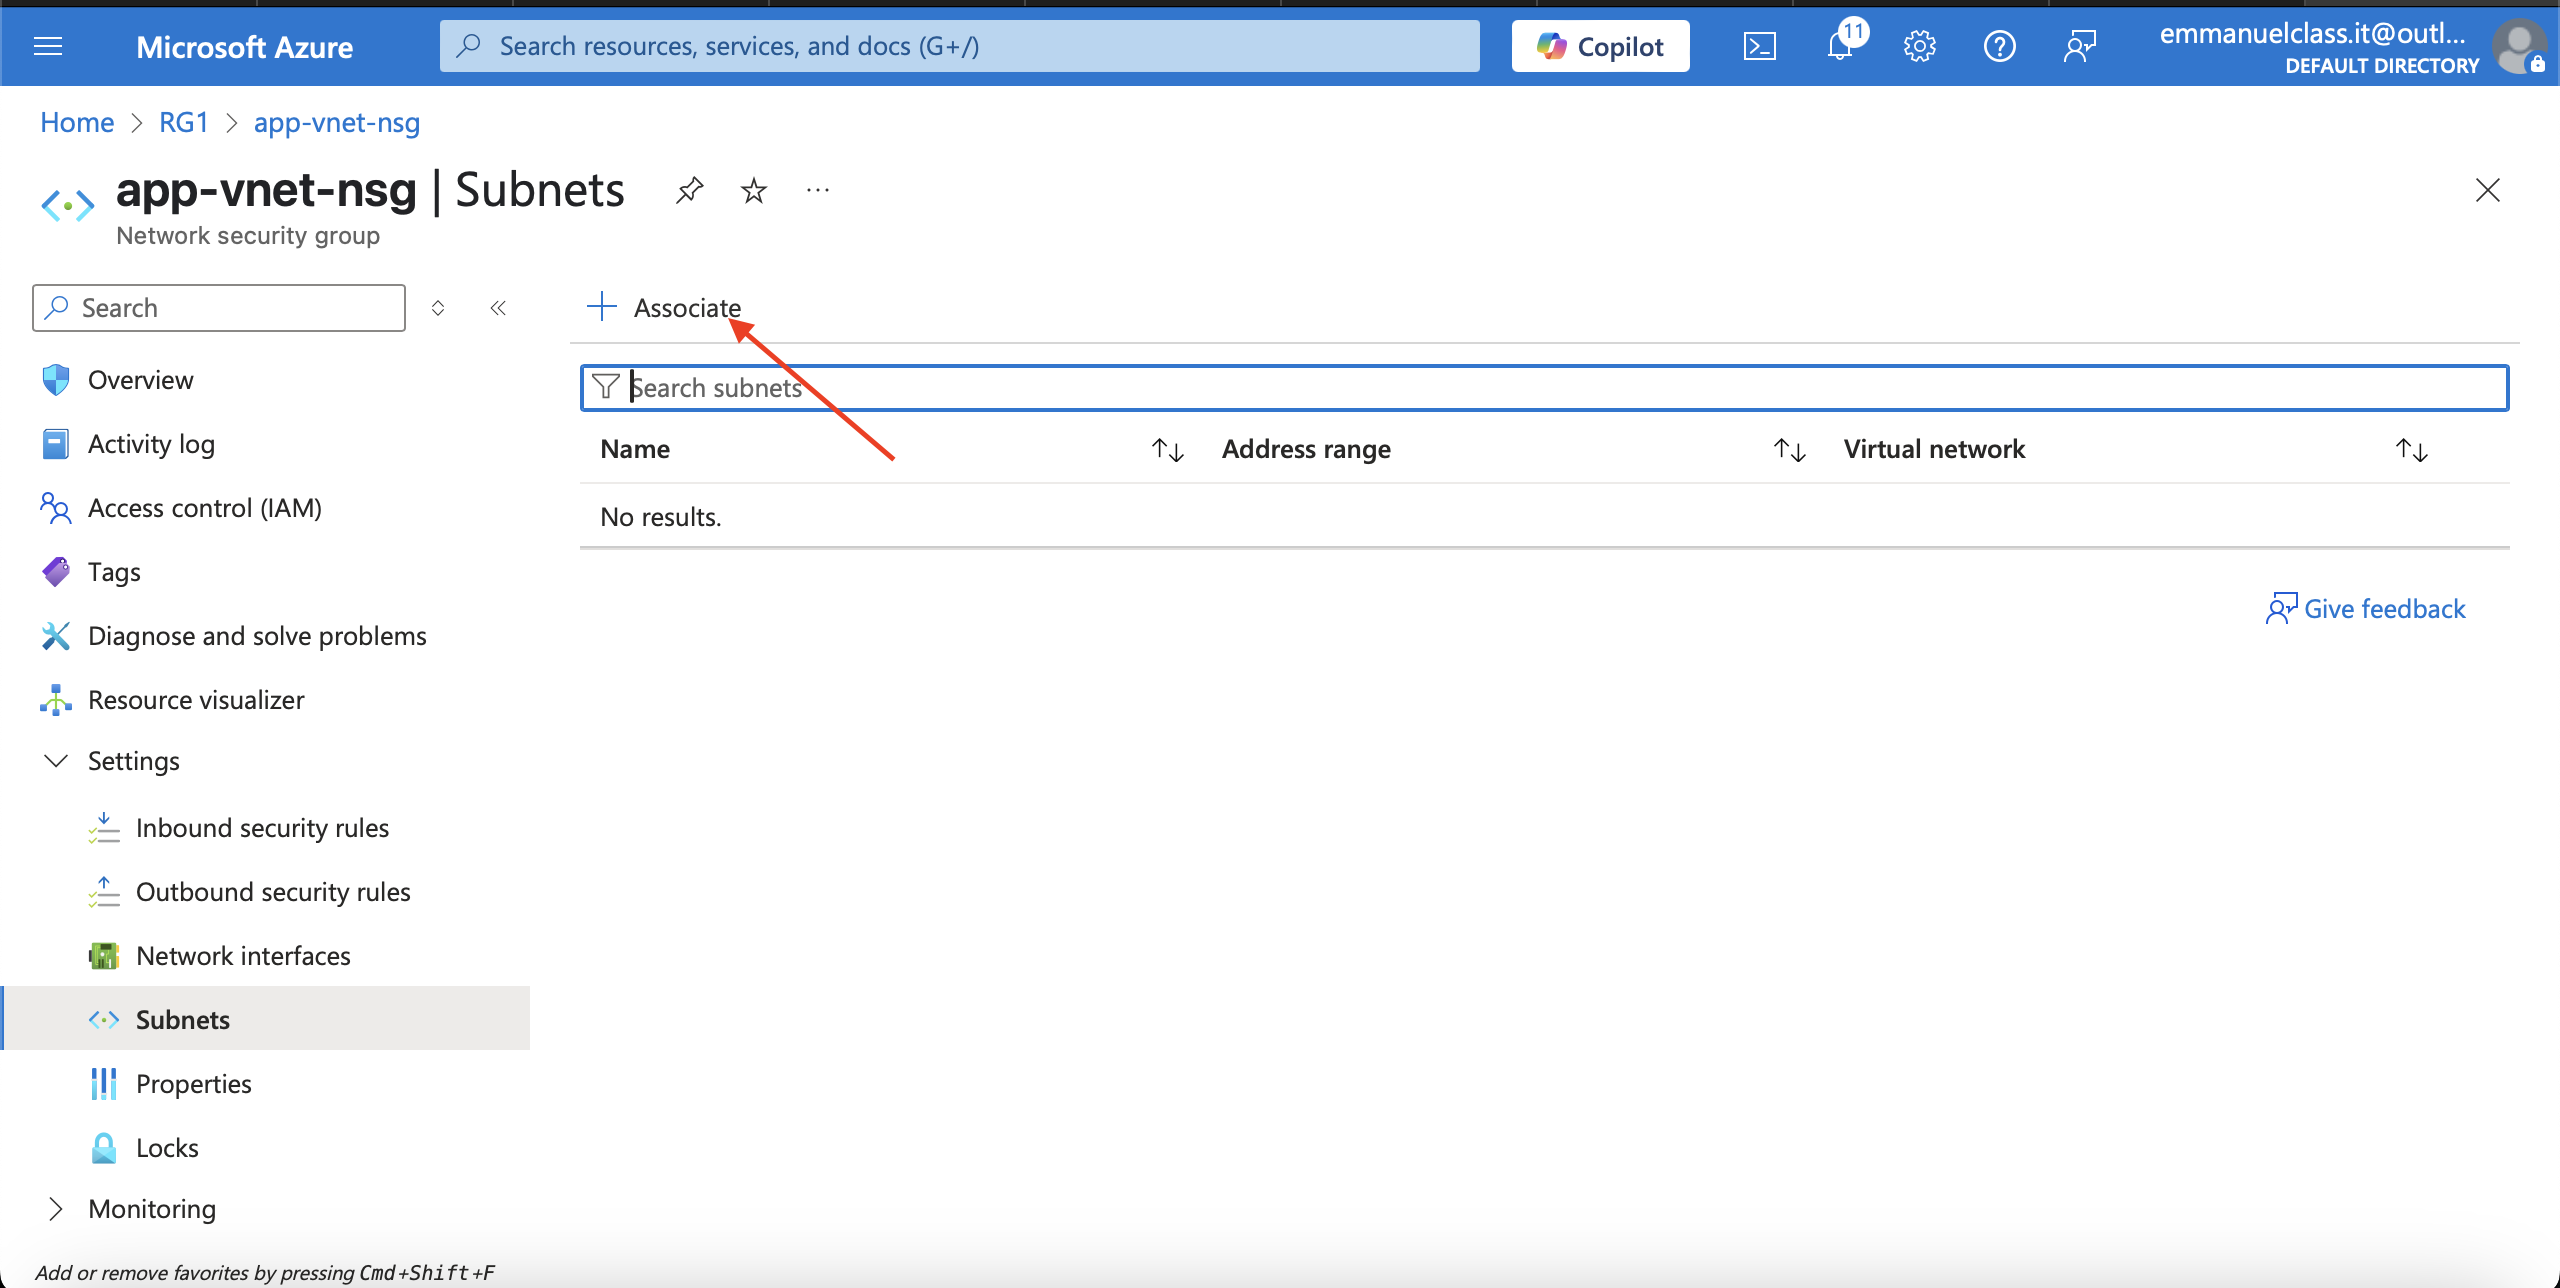
4.Select app-vnet (RG1) and then the Backend subnet. Select OK.
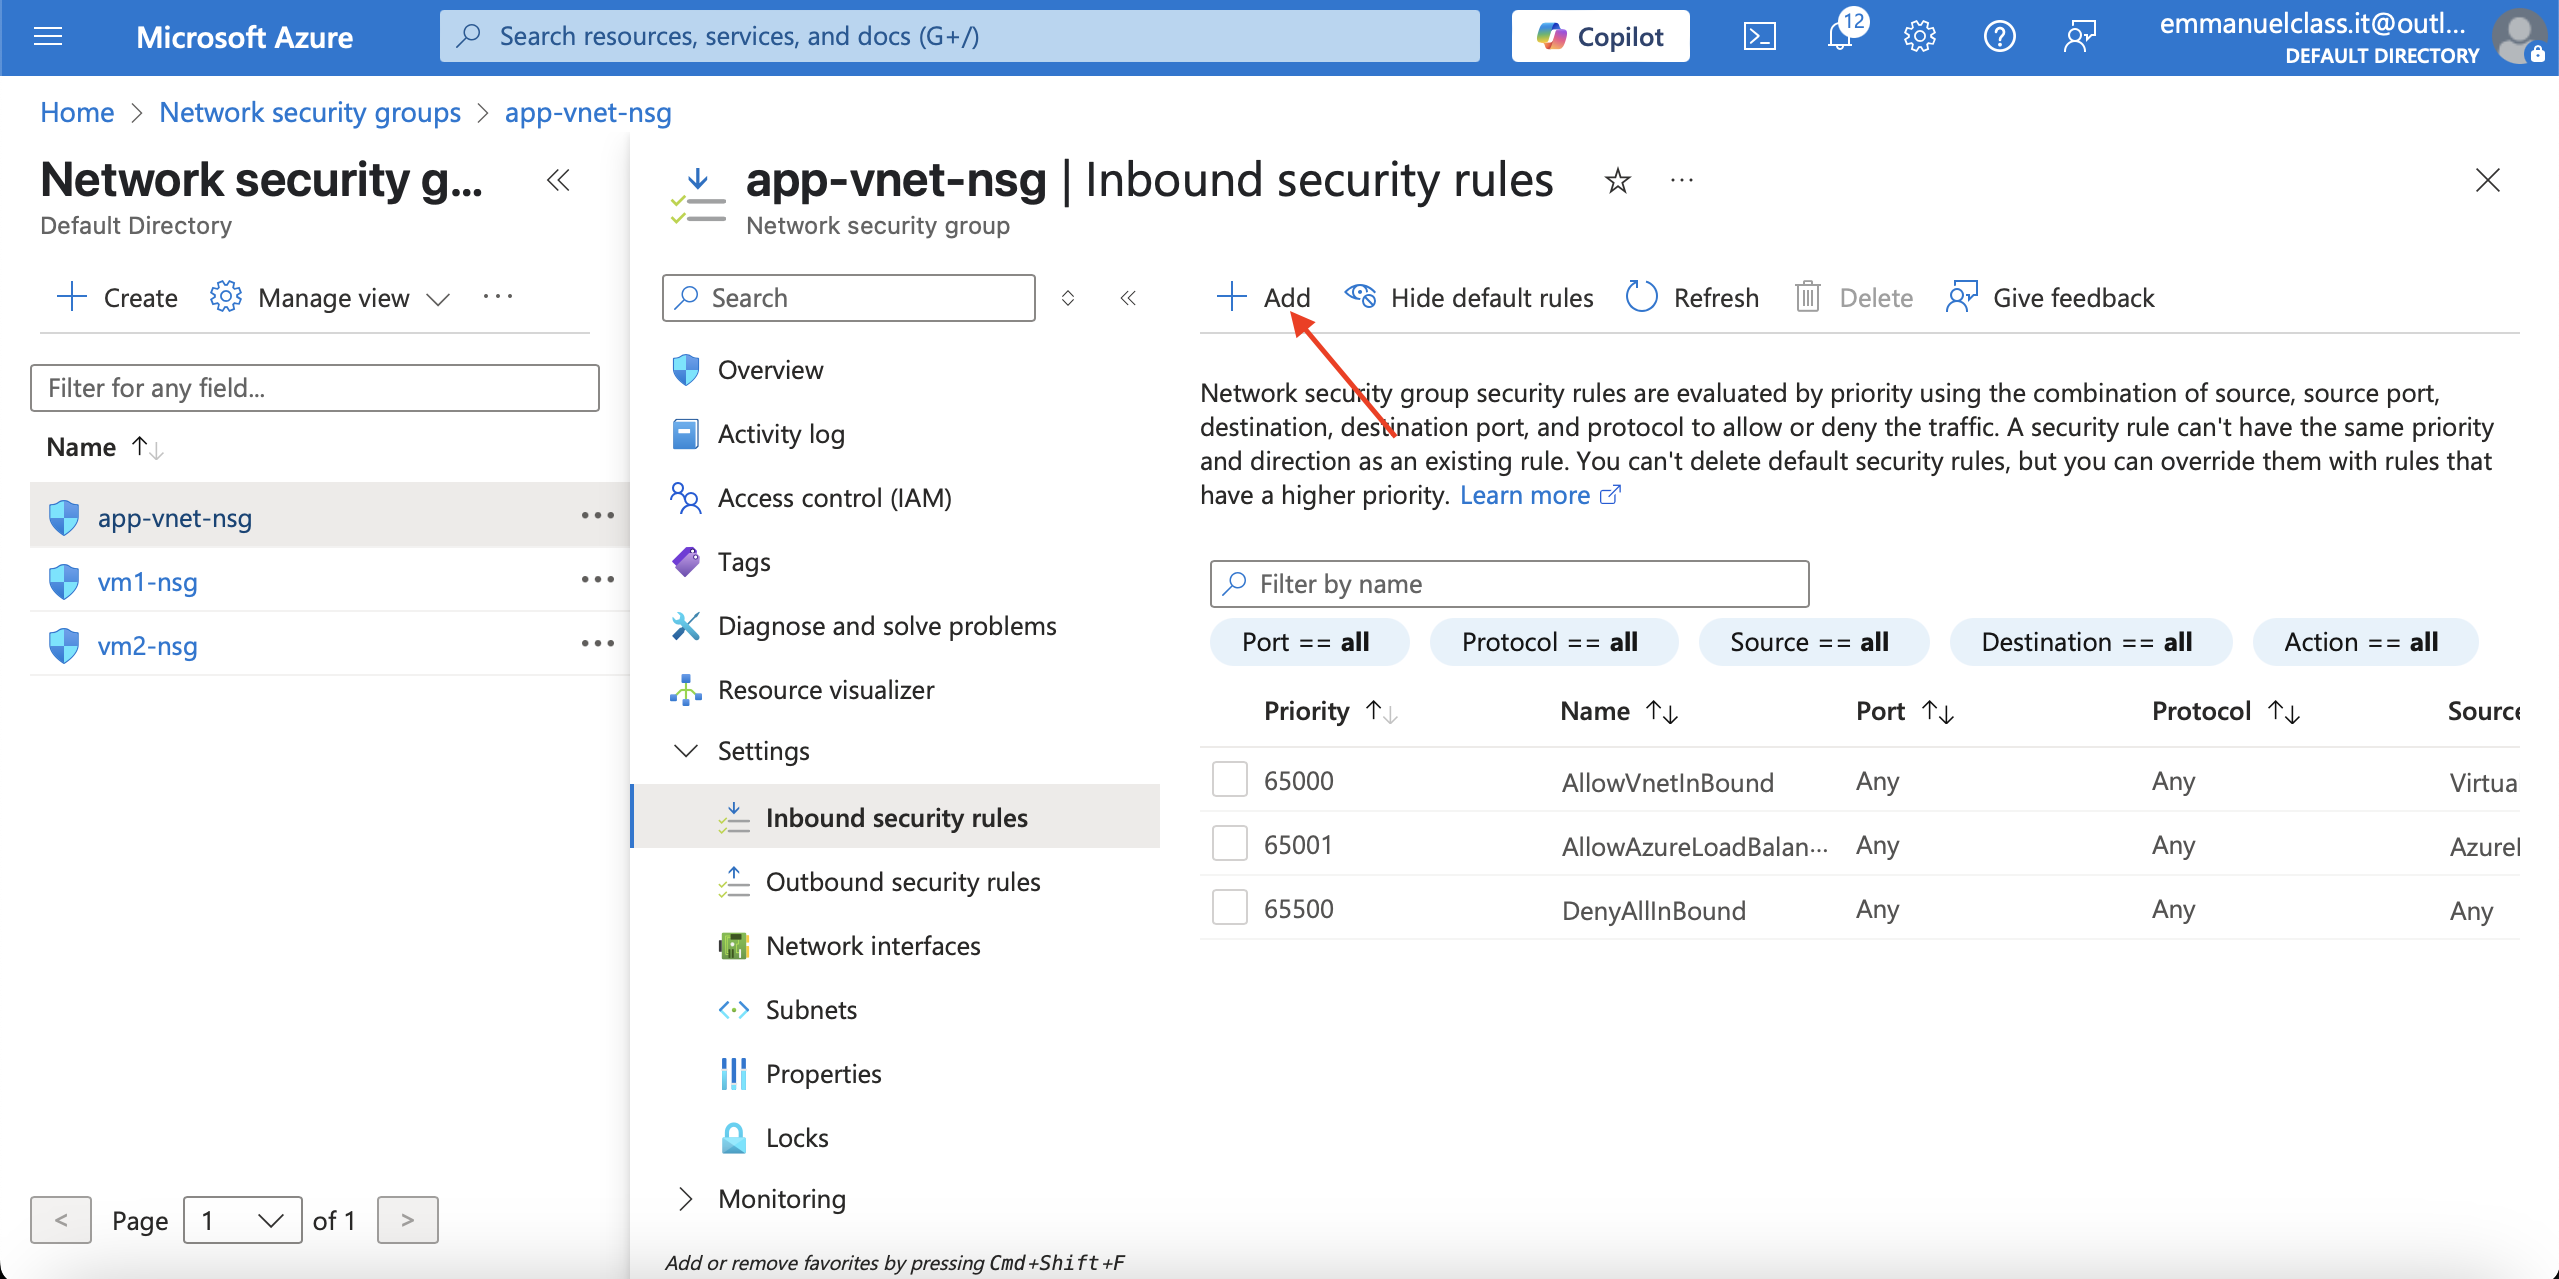
Create Network Security Group rules
An NSG use security rules to filter inbound and outbound network traffic.
Steps
1.In the search box at the top of the portal, enter Network security groups. Select Network security groups in the search results.

2.Select app-vnet-nsg from the list of network security groups.

3.In the Settings blade, select Inbound security rules.
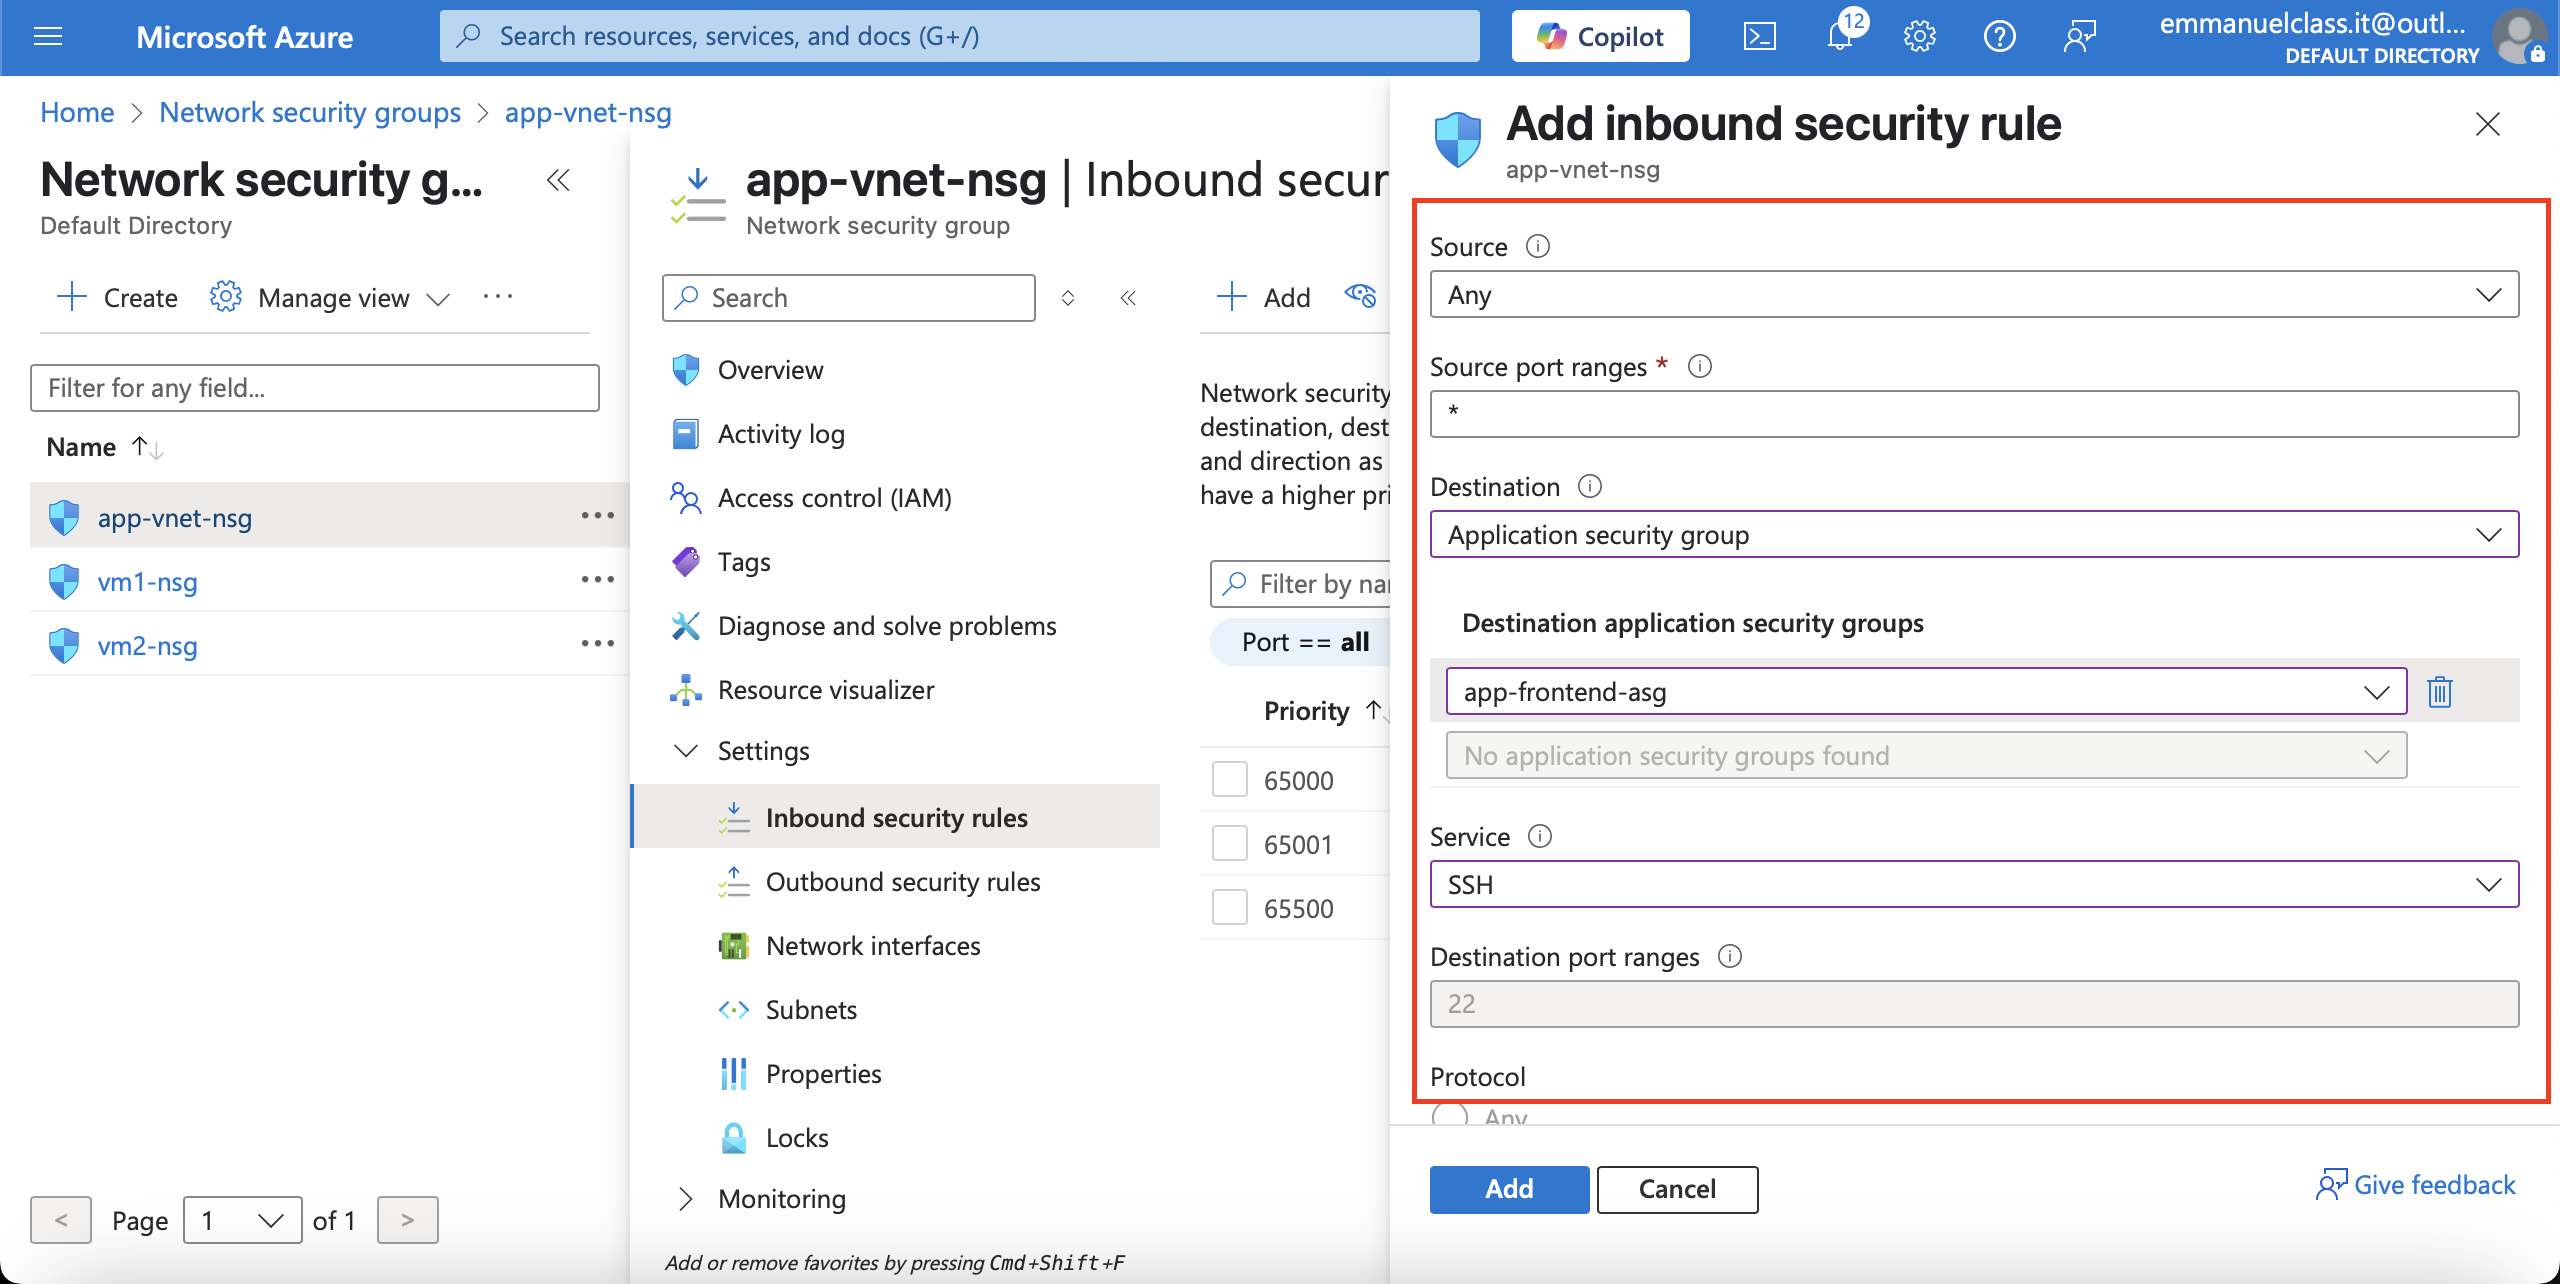
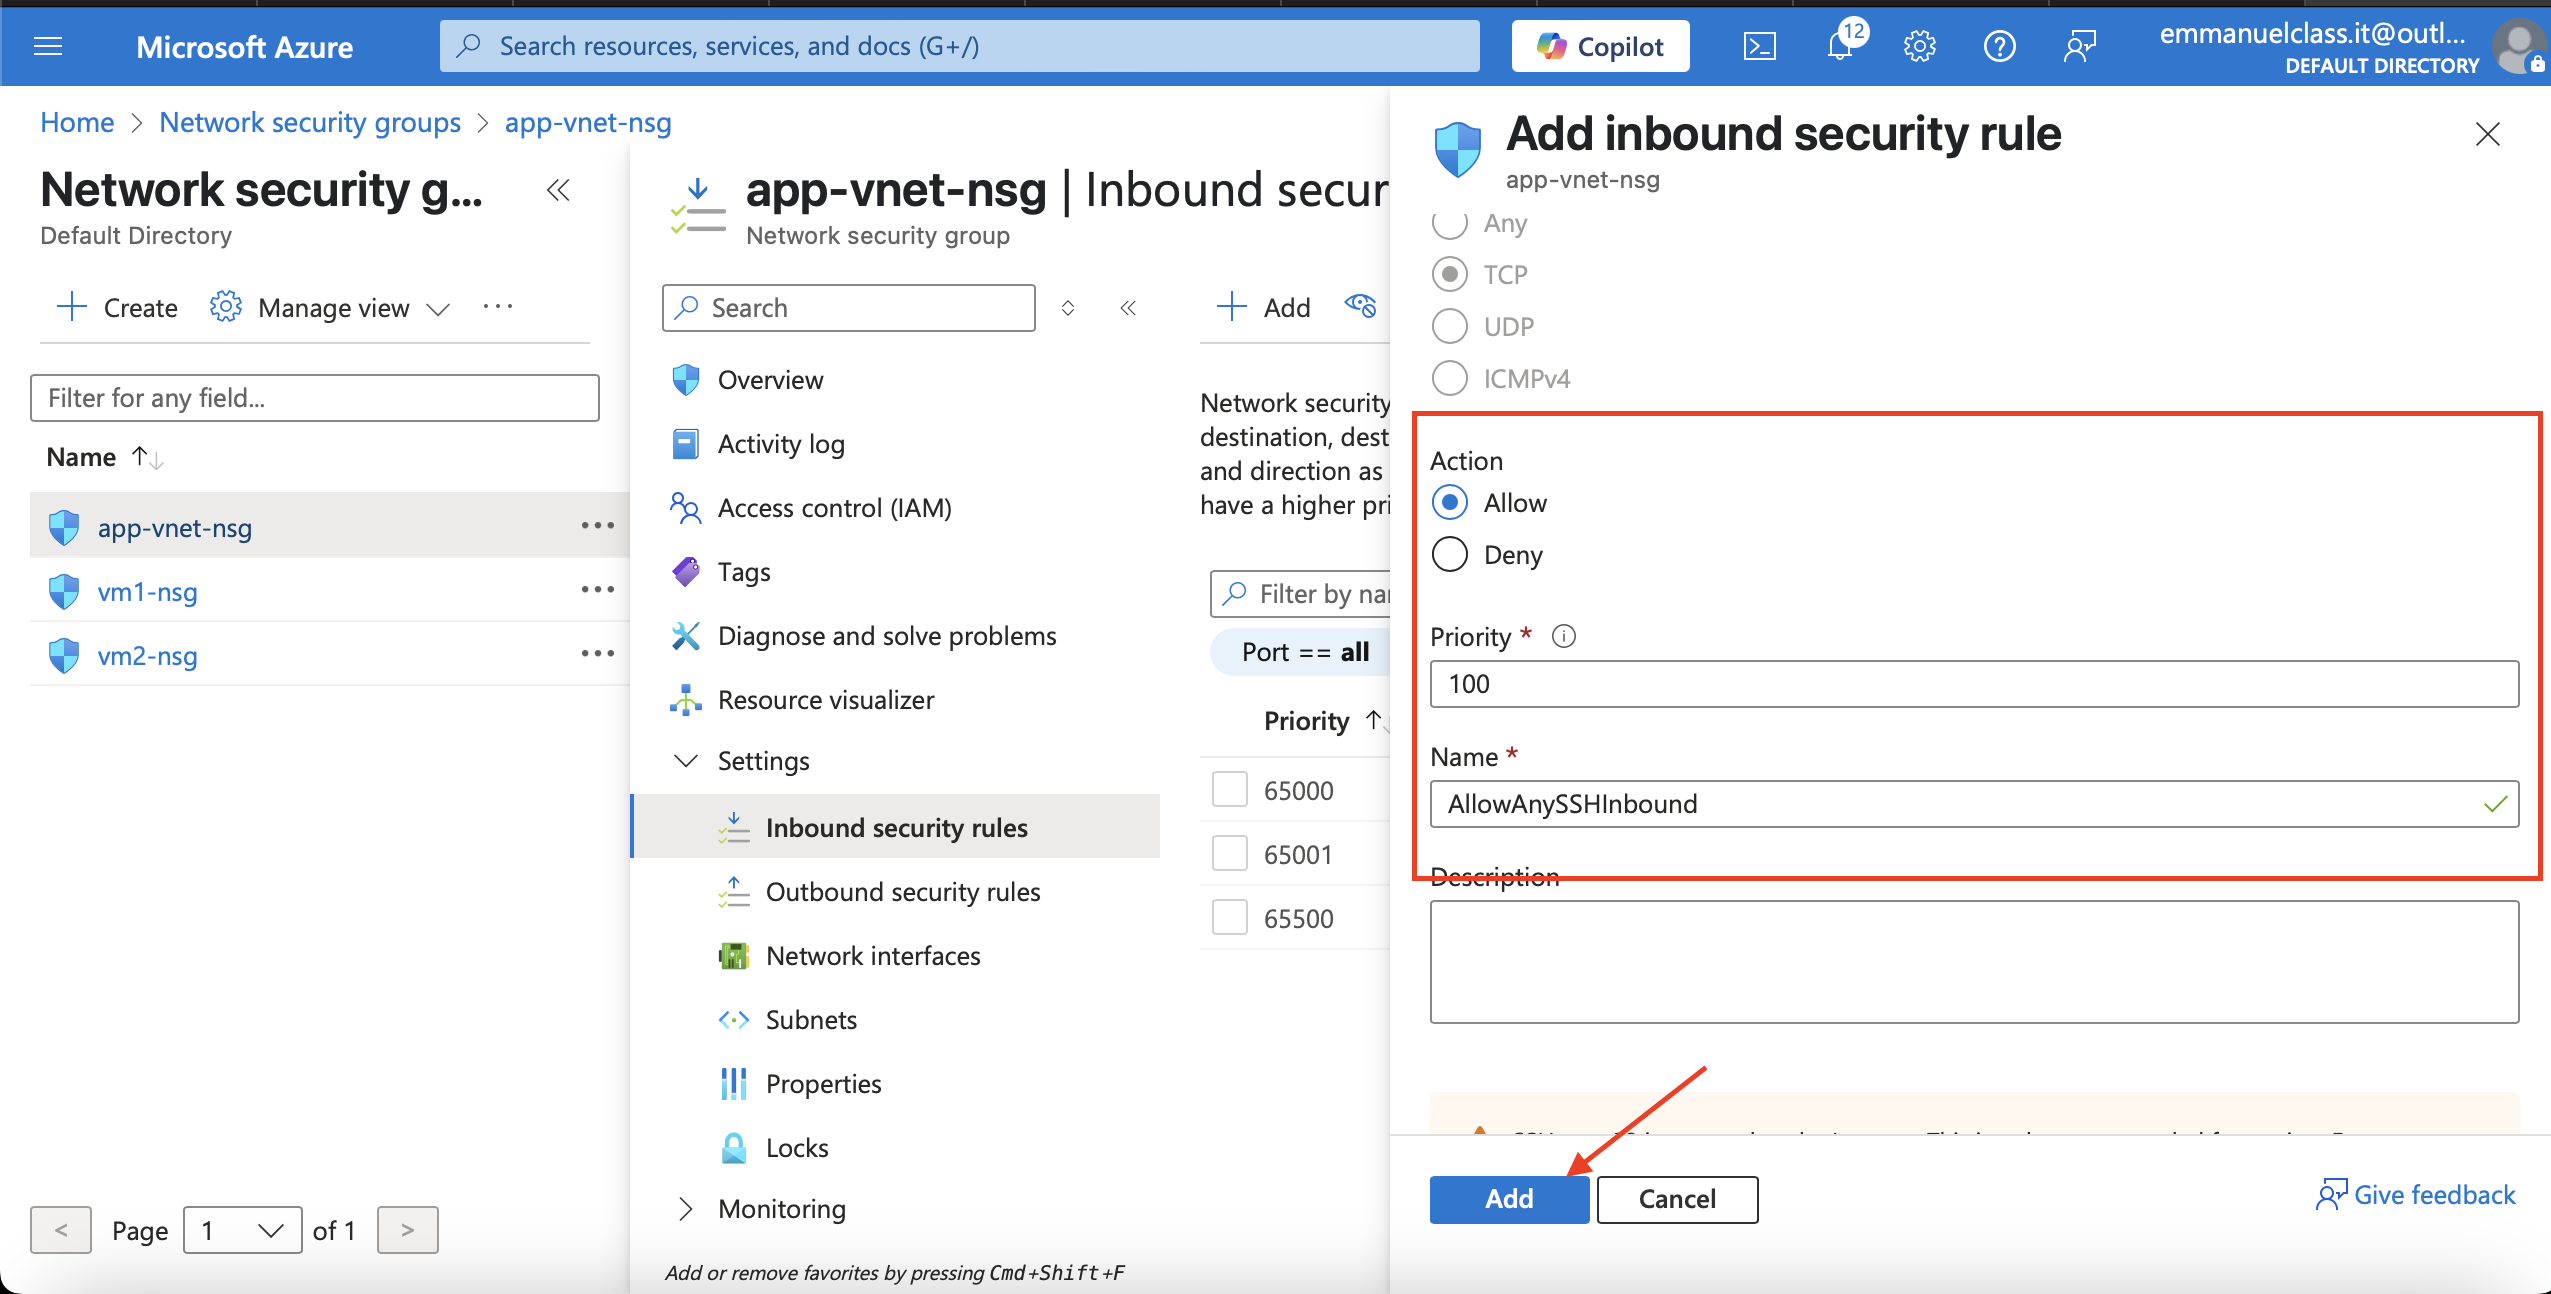
4.Select + Add and configure an inbound security rule.
Property Value
Source = Any
Source port ranges = *
Destination = Application Security group
Destination application security group =app-frontend-asg
Service = SSH
Action = Allow
Priority = 100
Name = AllowSSH