Azure Compute Gallery (formerly known as Shared Image Gallery) is a service in Microsoft Azure that helps users manage, share, and distribute custom virtual machine (VM) images at scale. It allows organizations to create, store, and replicate VM images across multiple Azure regions for better availability and faster deployment.
Steps on how create Azure compute gallery and save image in it:
Step 1
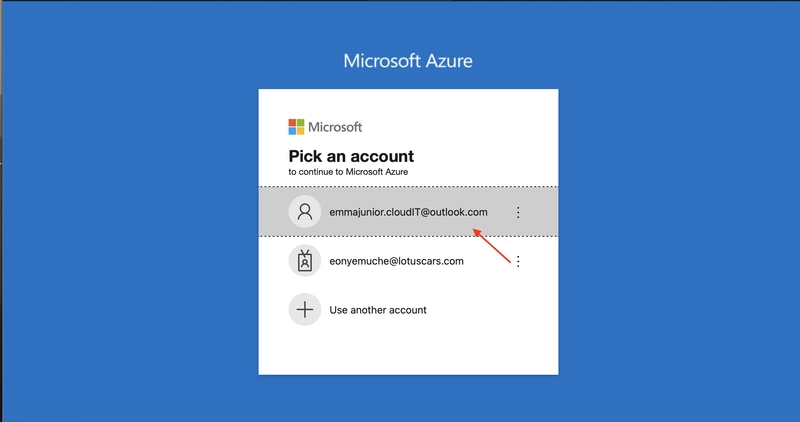
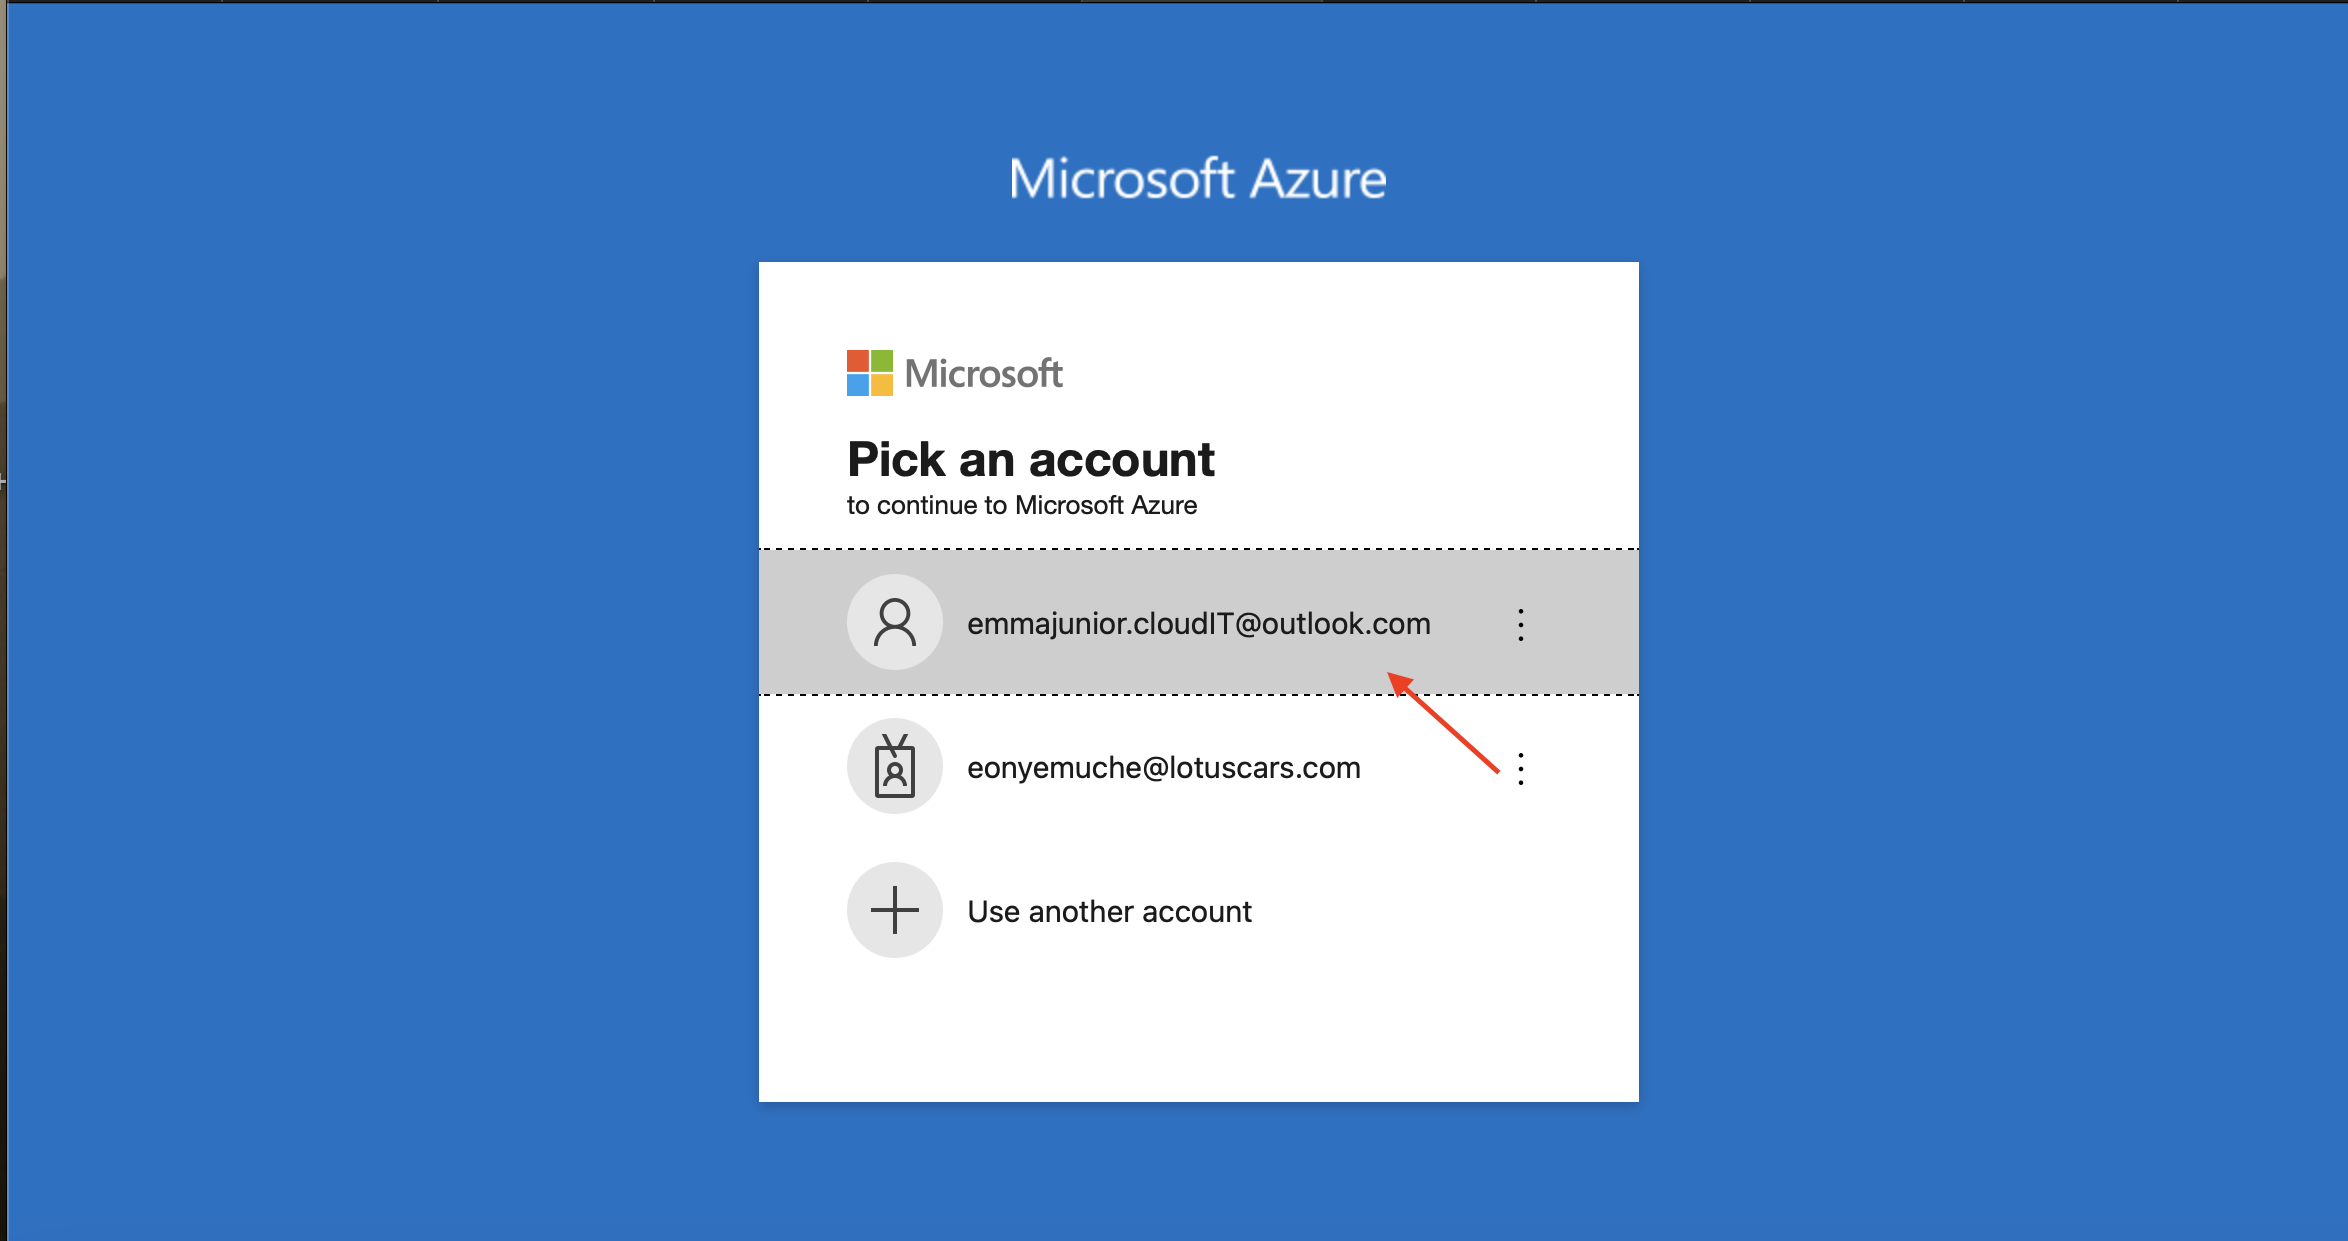
Login to Azure portal.
Step 2
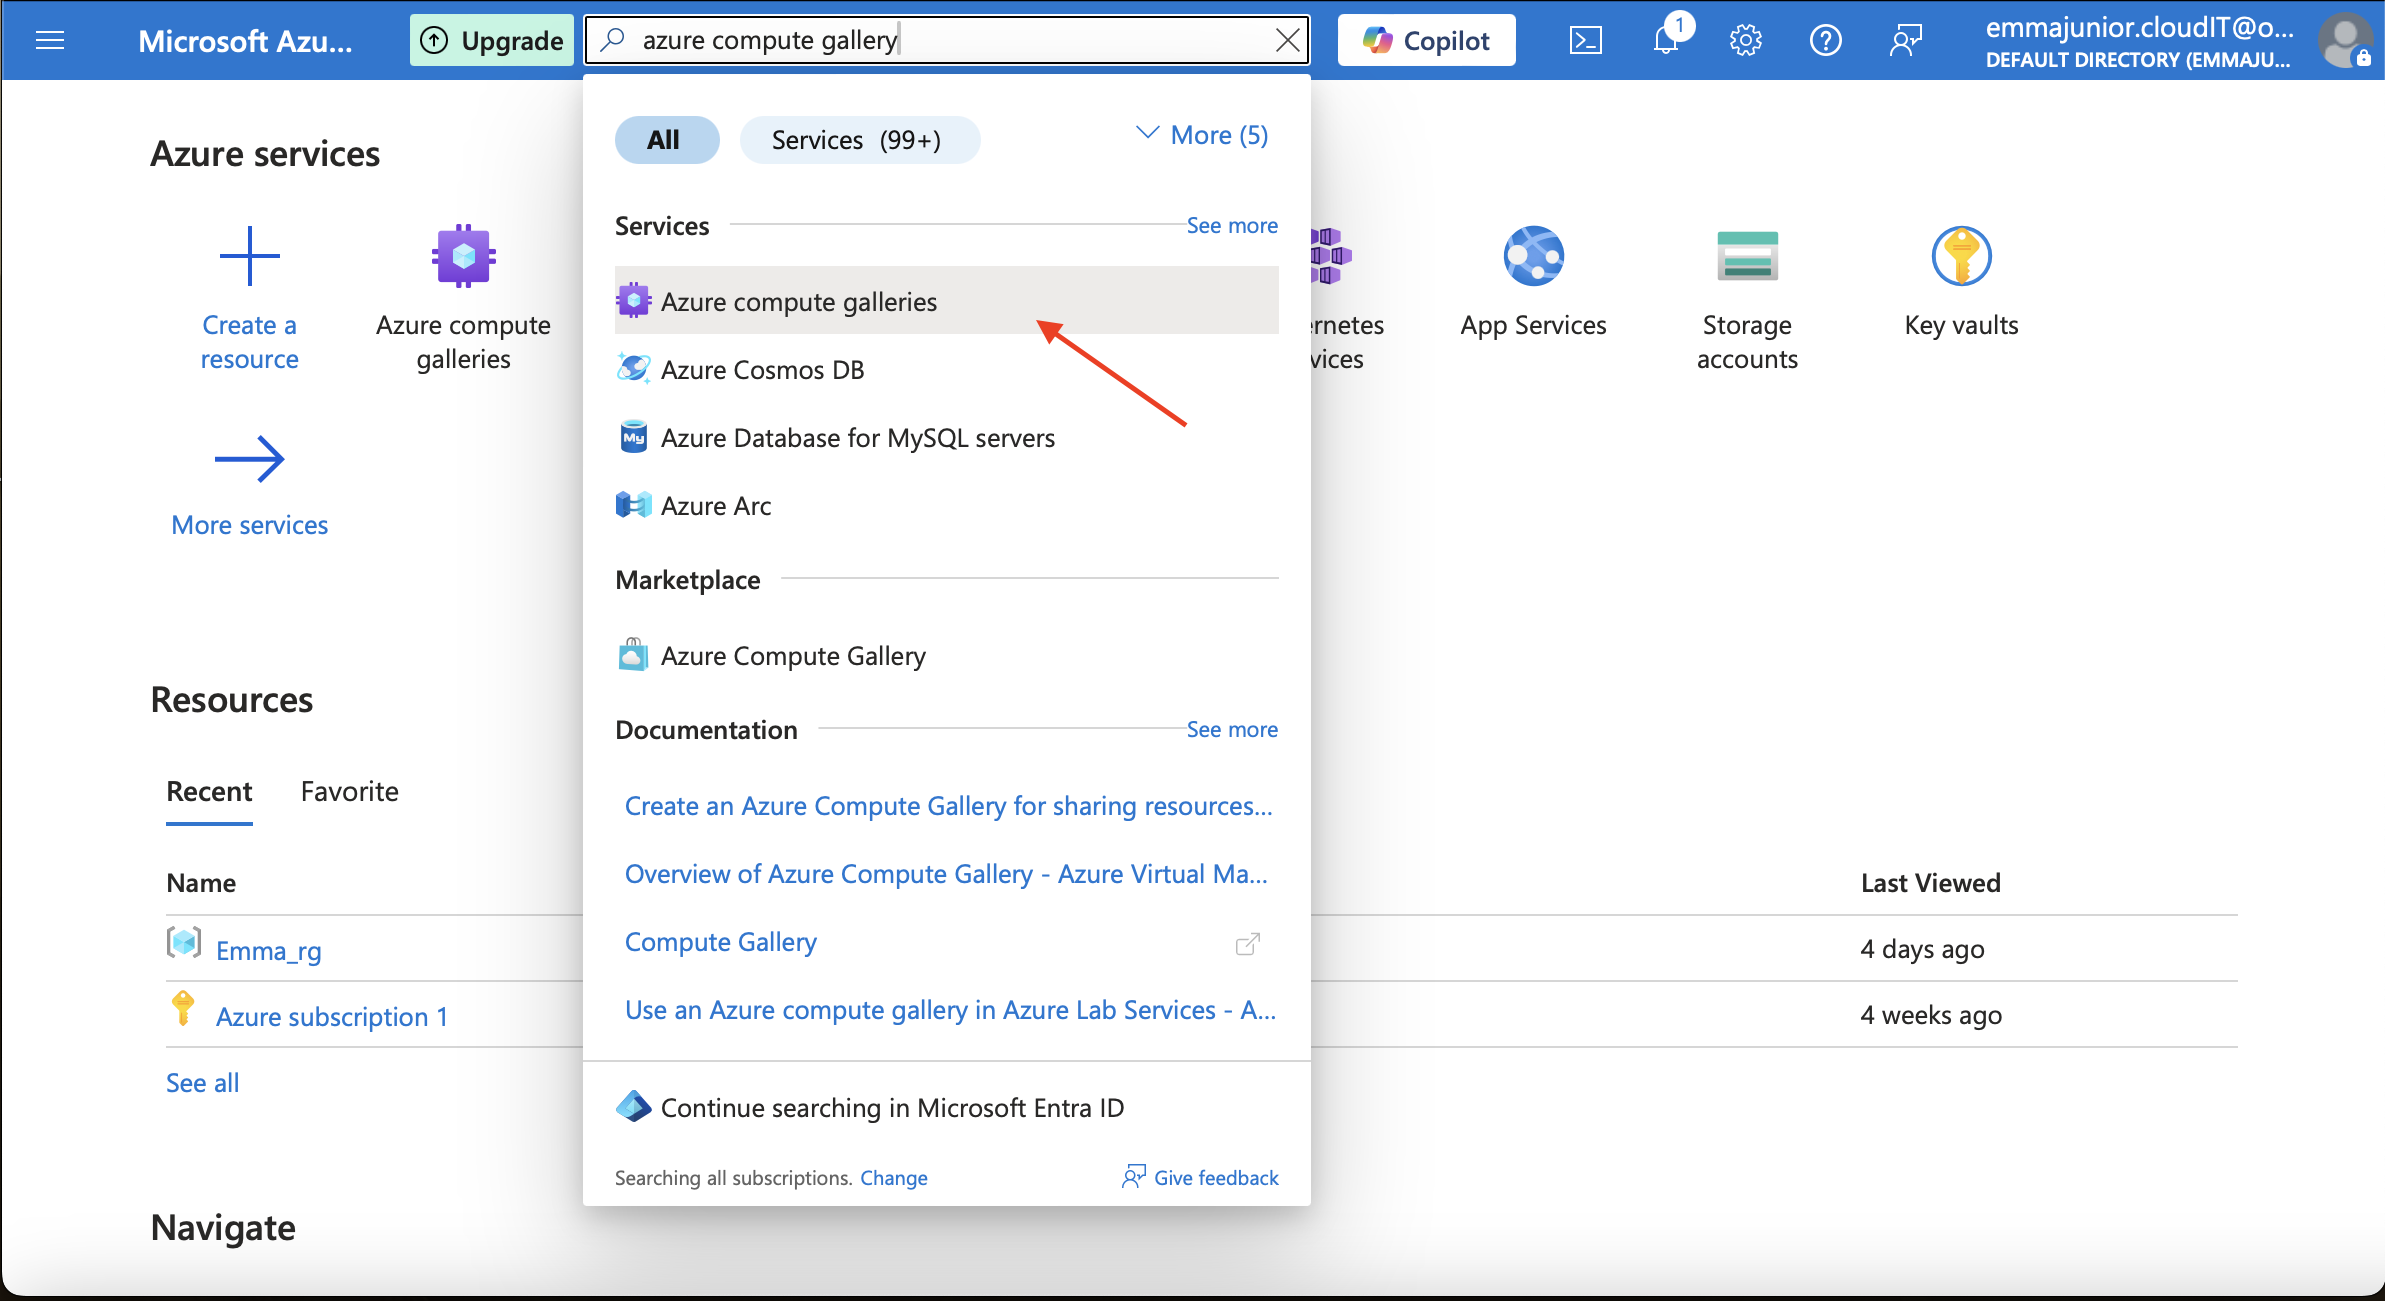
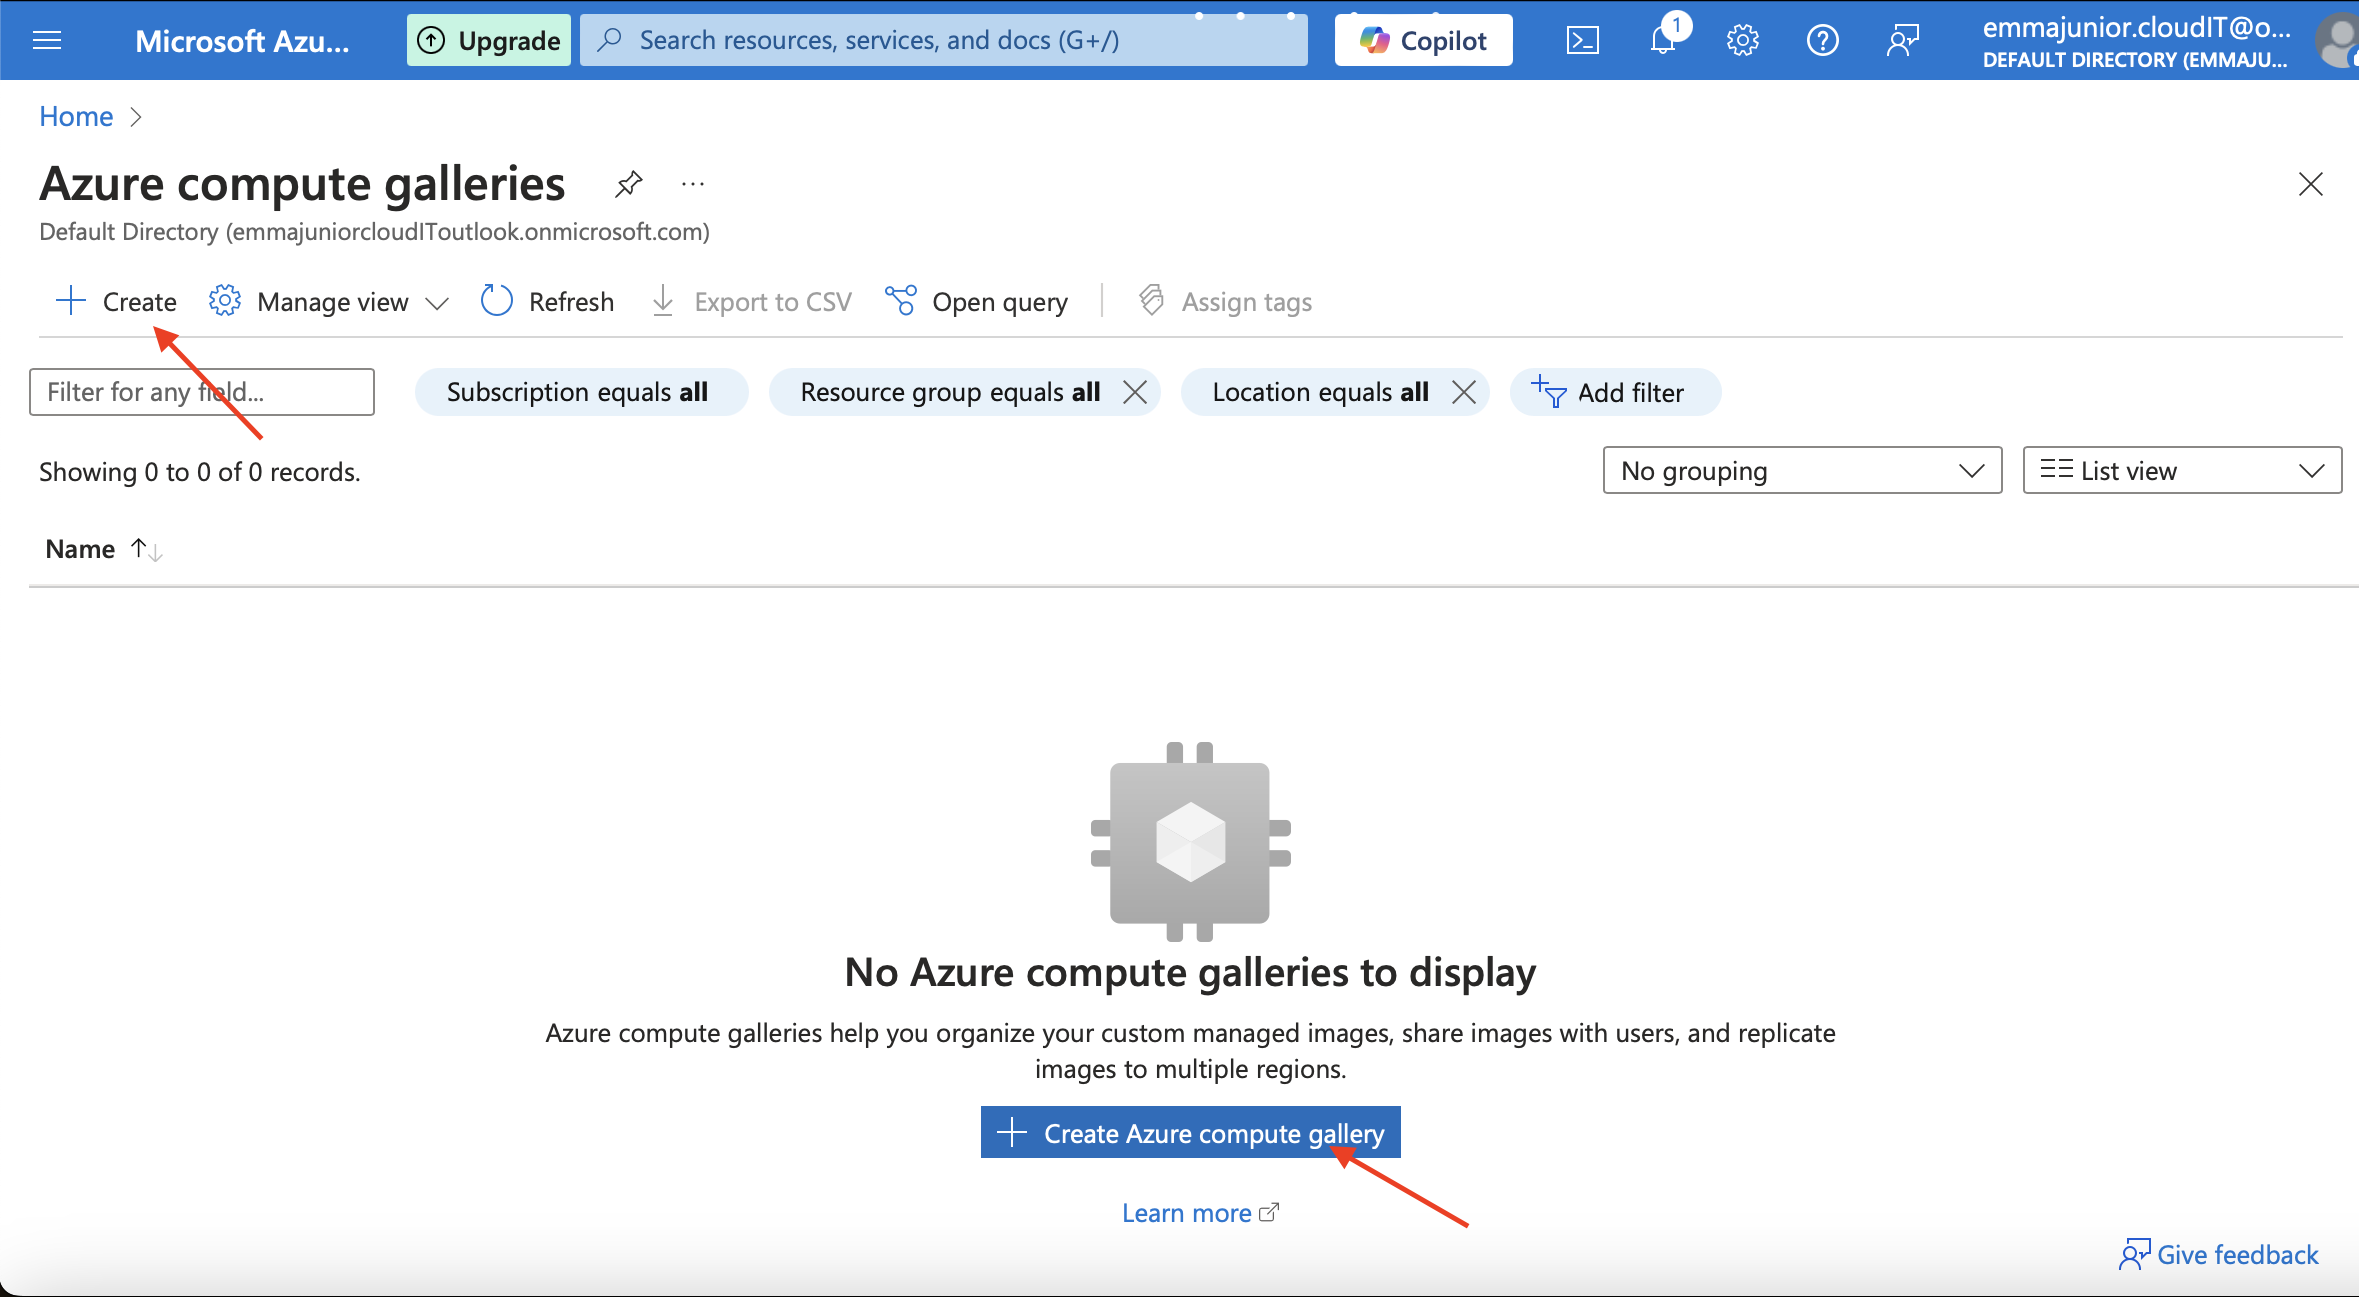
In the 'Search resources',type in, azure compute gallery and press 'Enter',then click on the grayed/highlighted Azure compute gallery.
Step 3
There are two 'Create' button, click on either of them.
Step 4
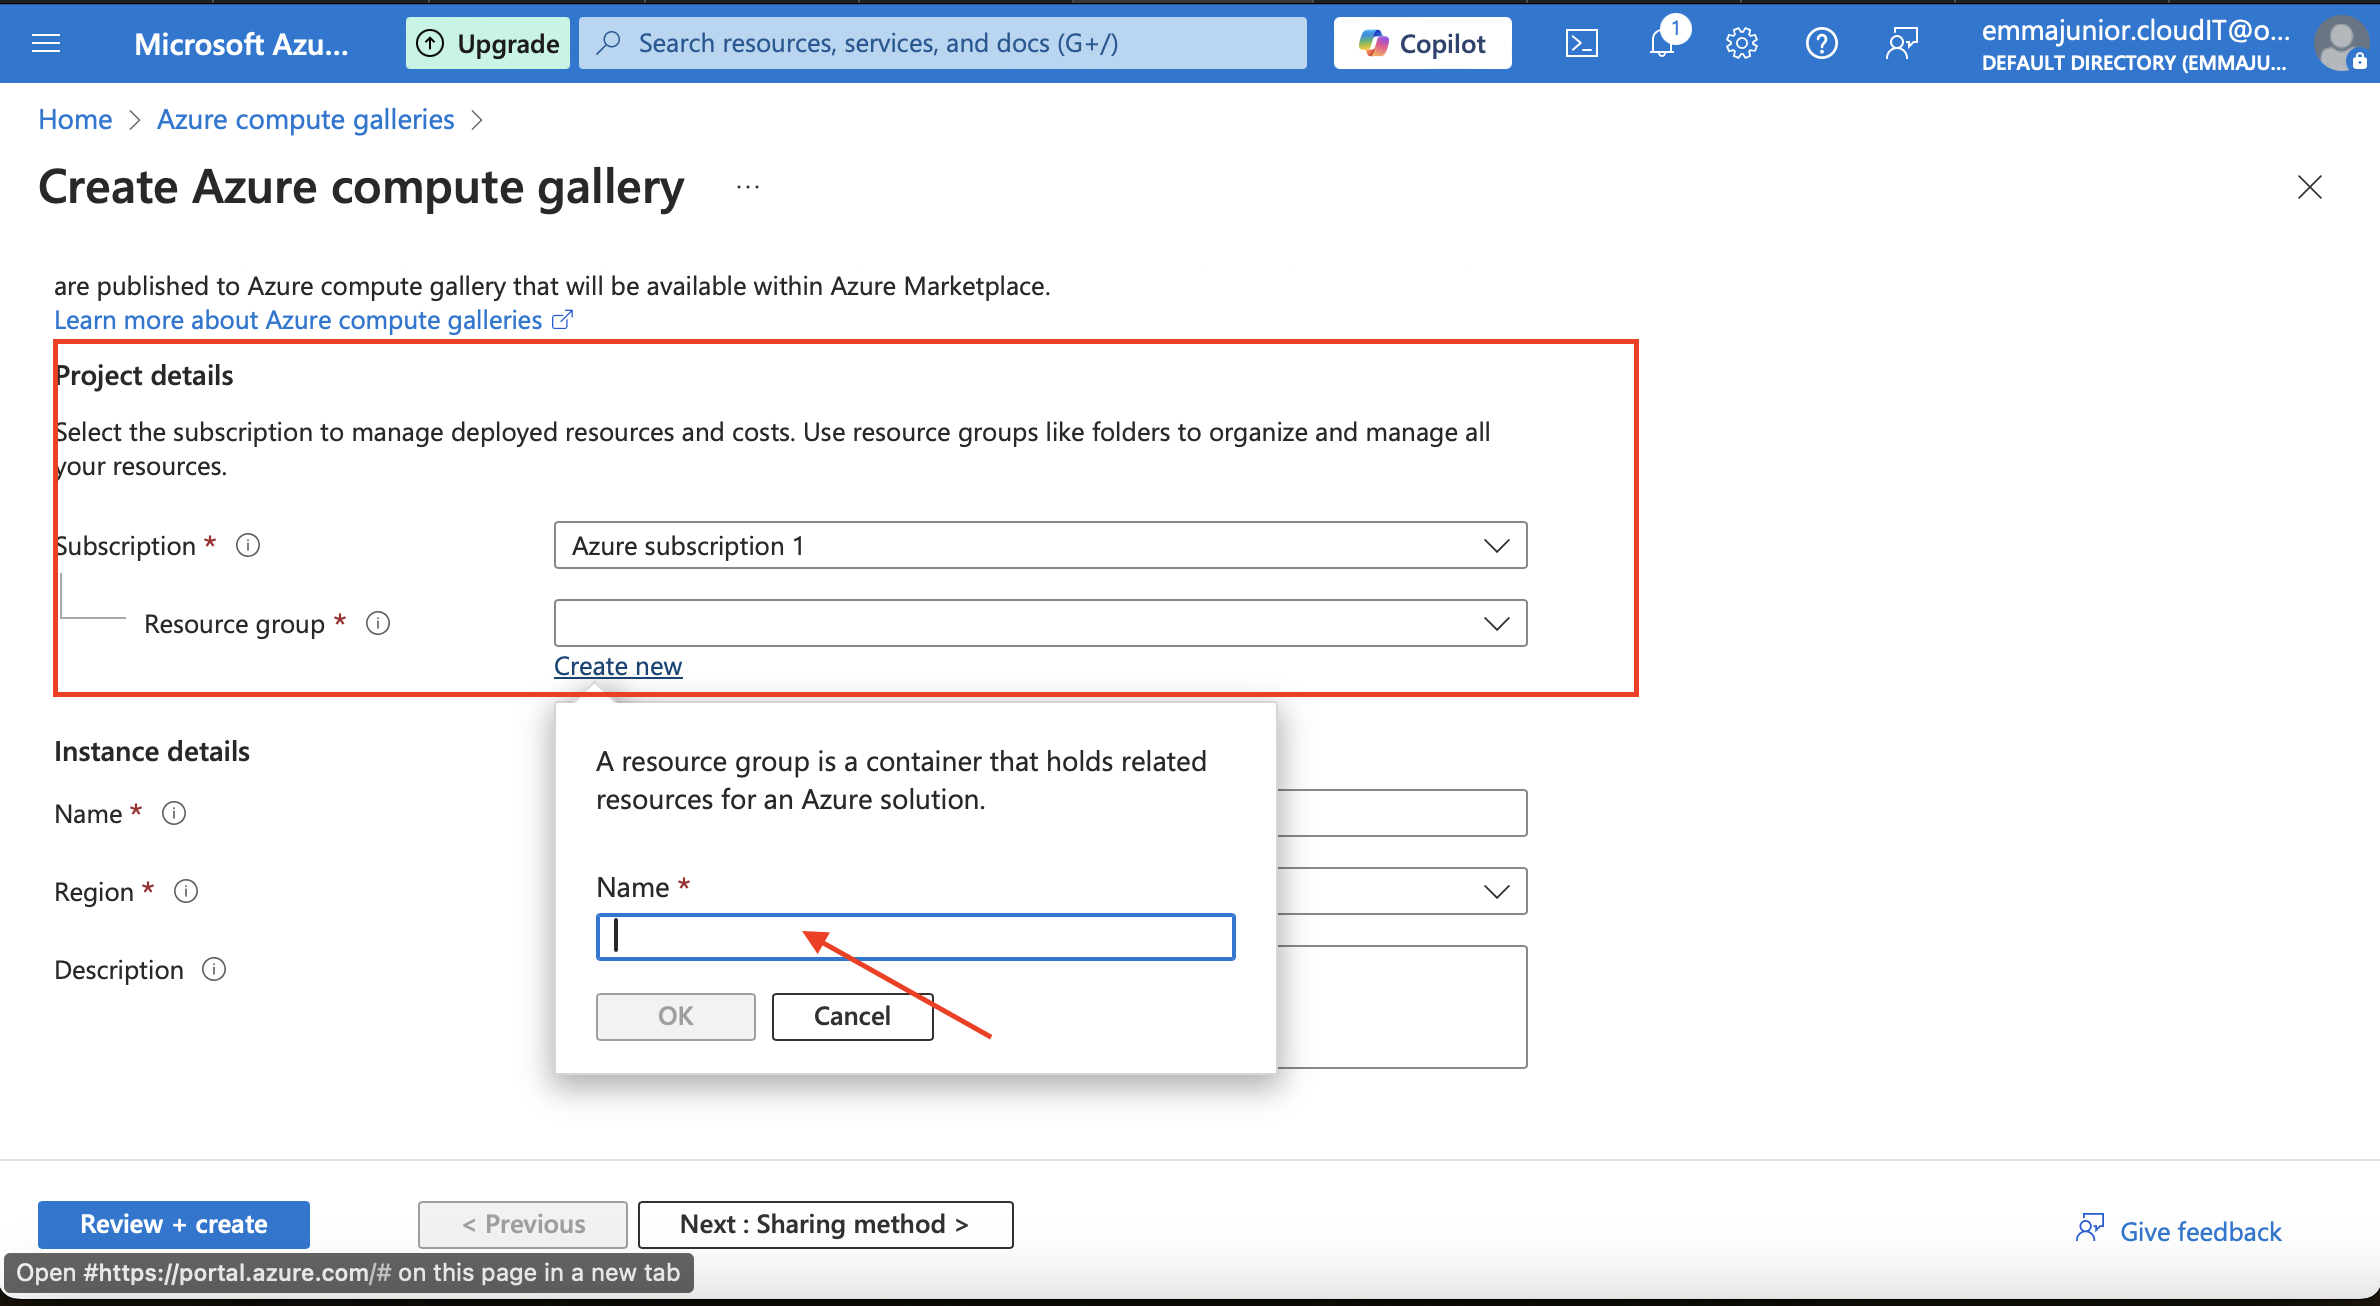
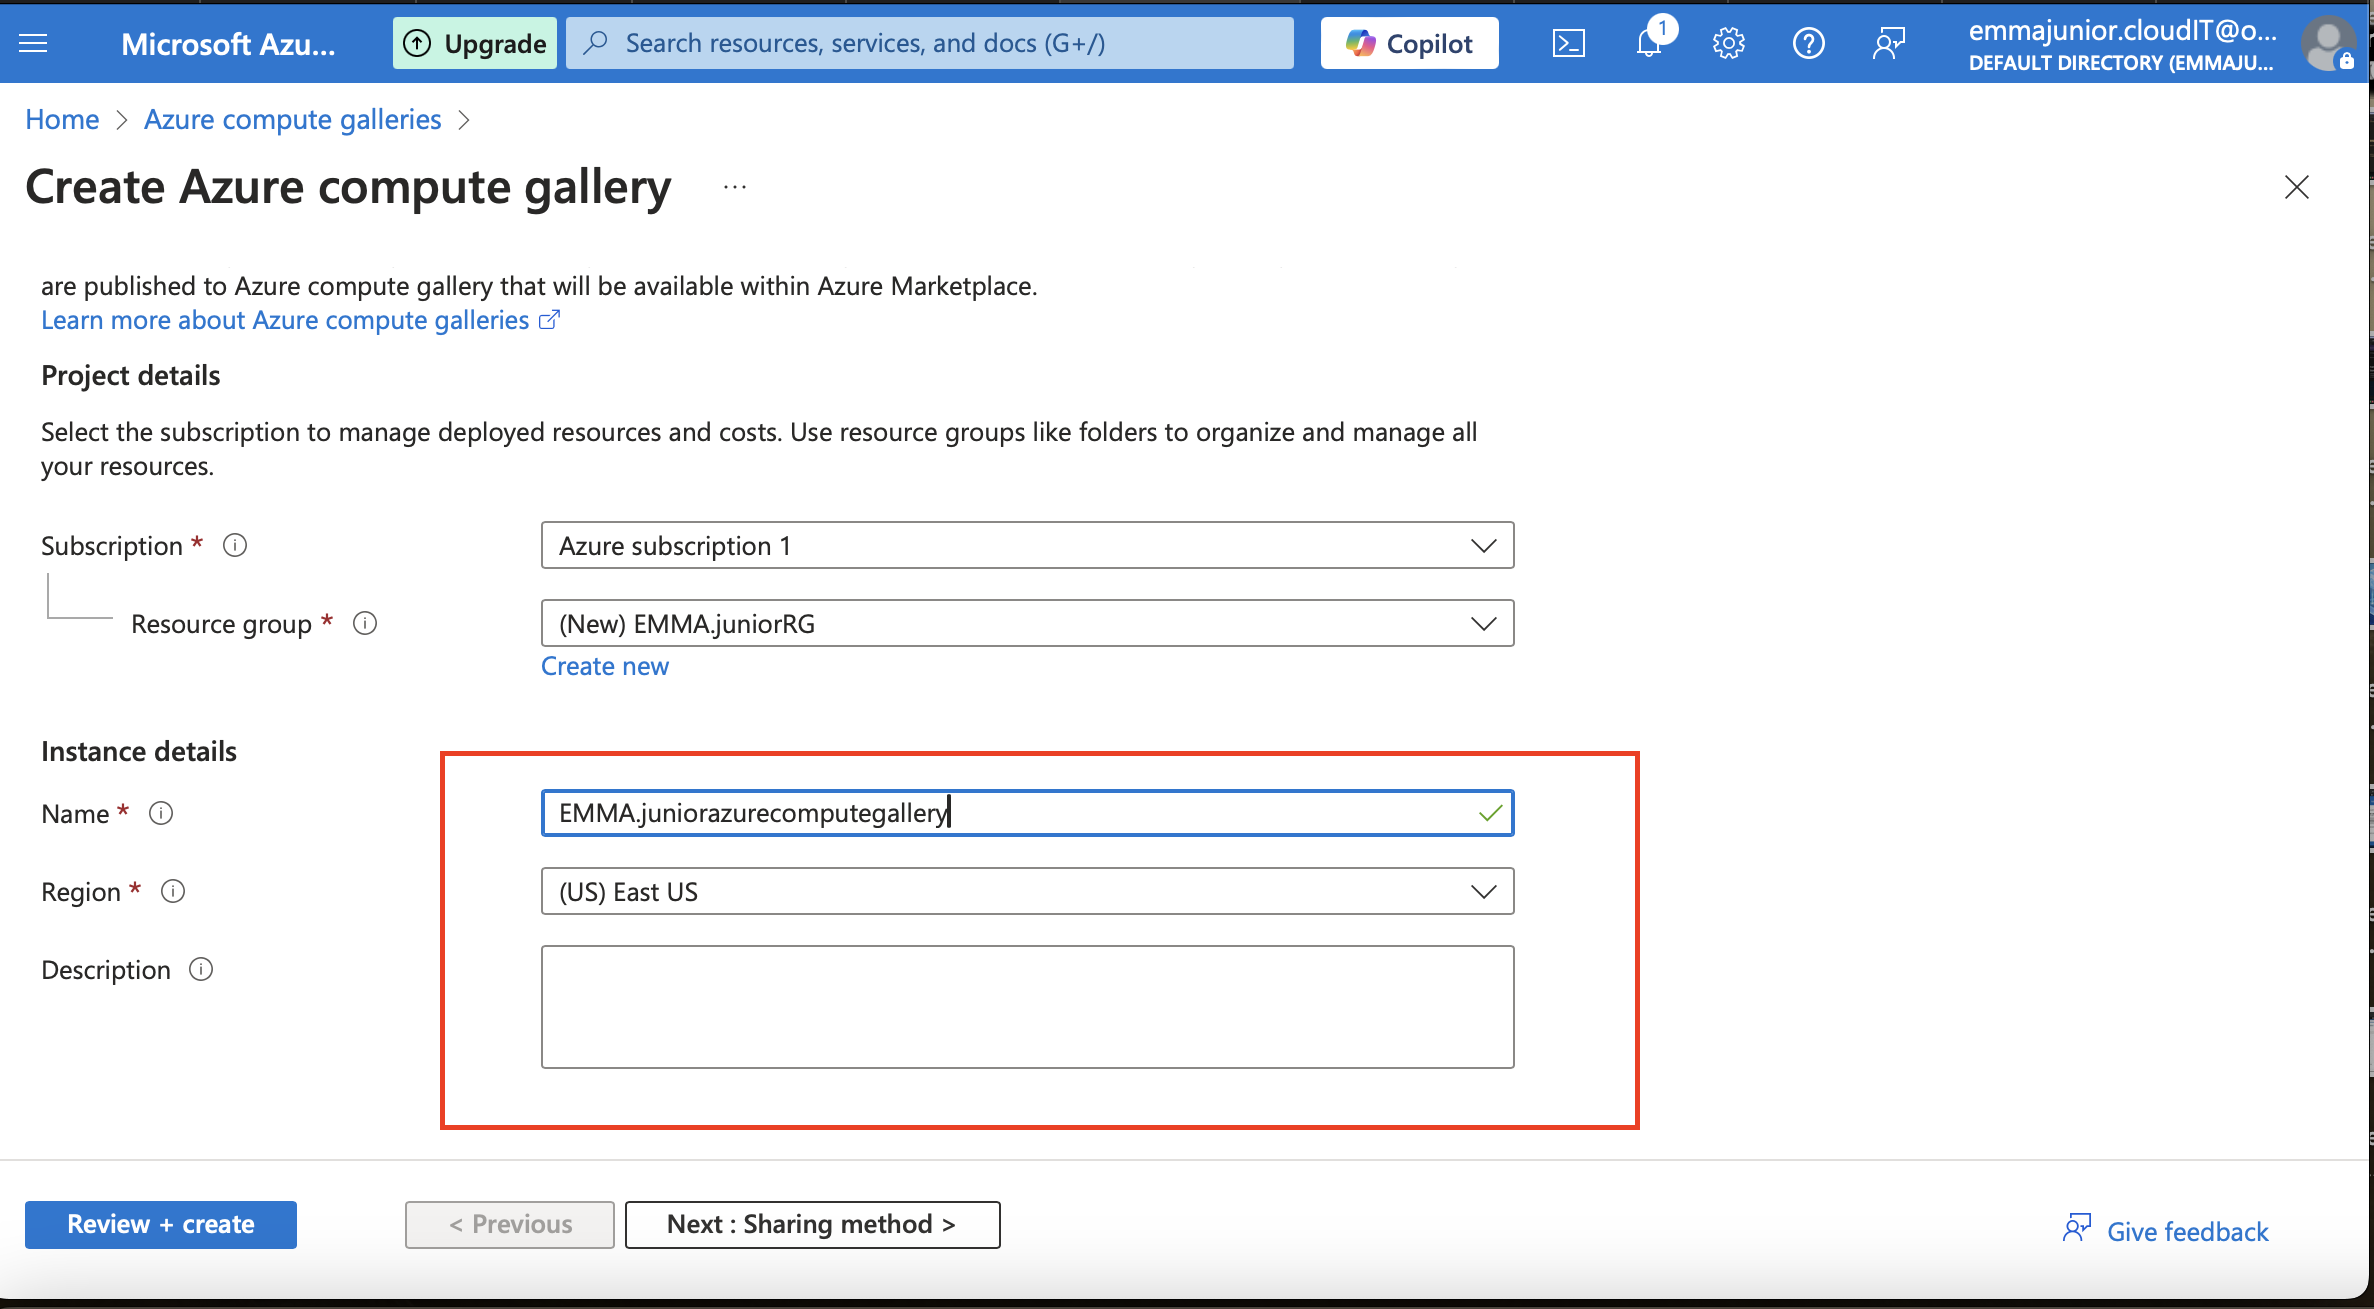
Create or choose a 'Resource group' in 'project details' tab which is under the basic, then in 'Instance detail' choose your the name of the compute gallery and the region.
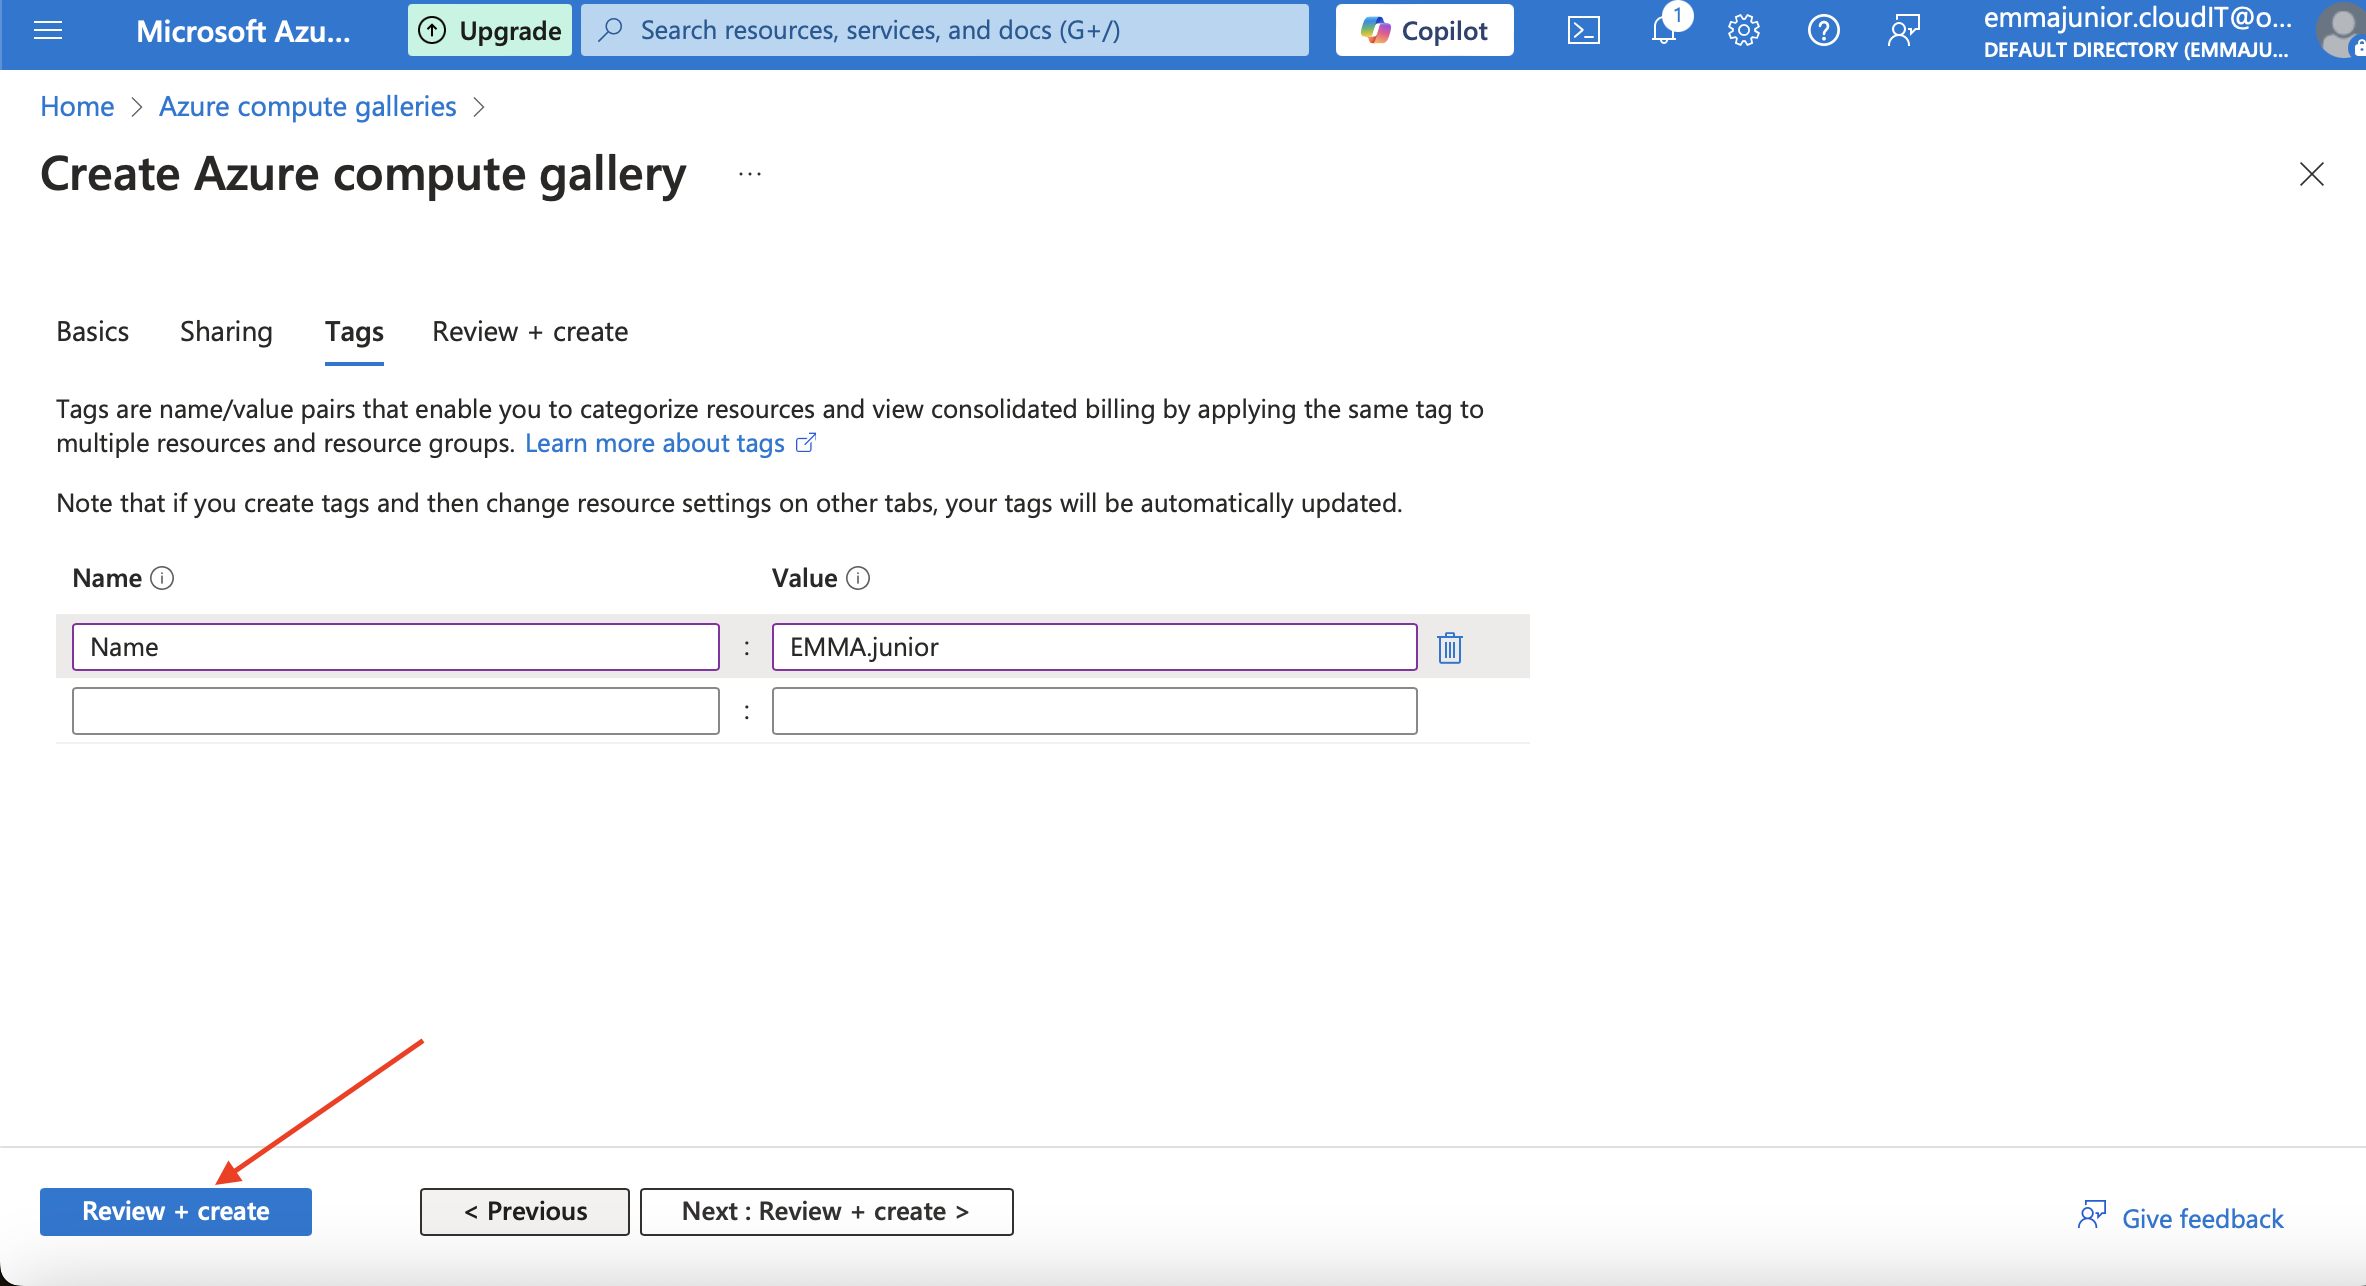
Step 5
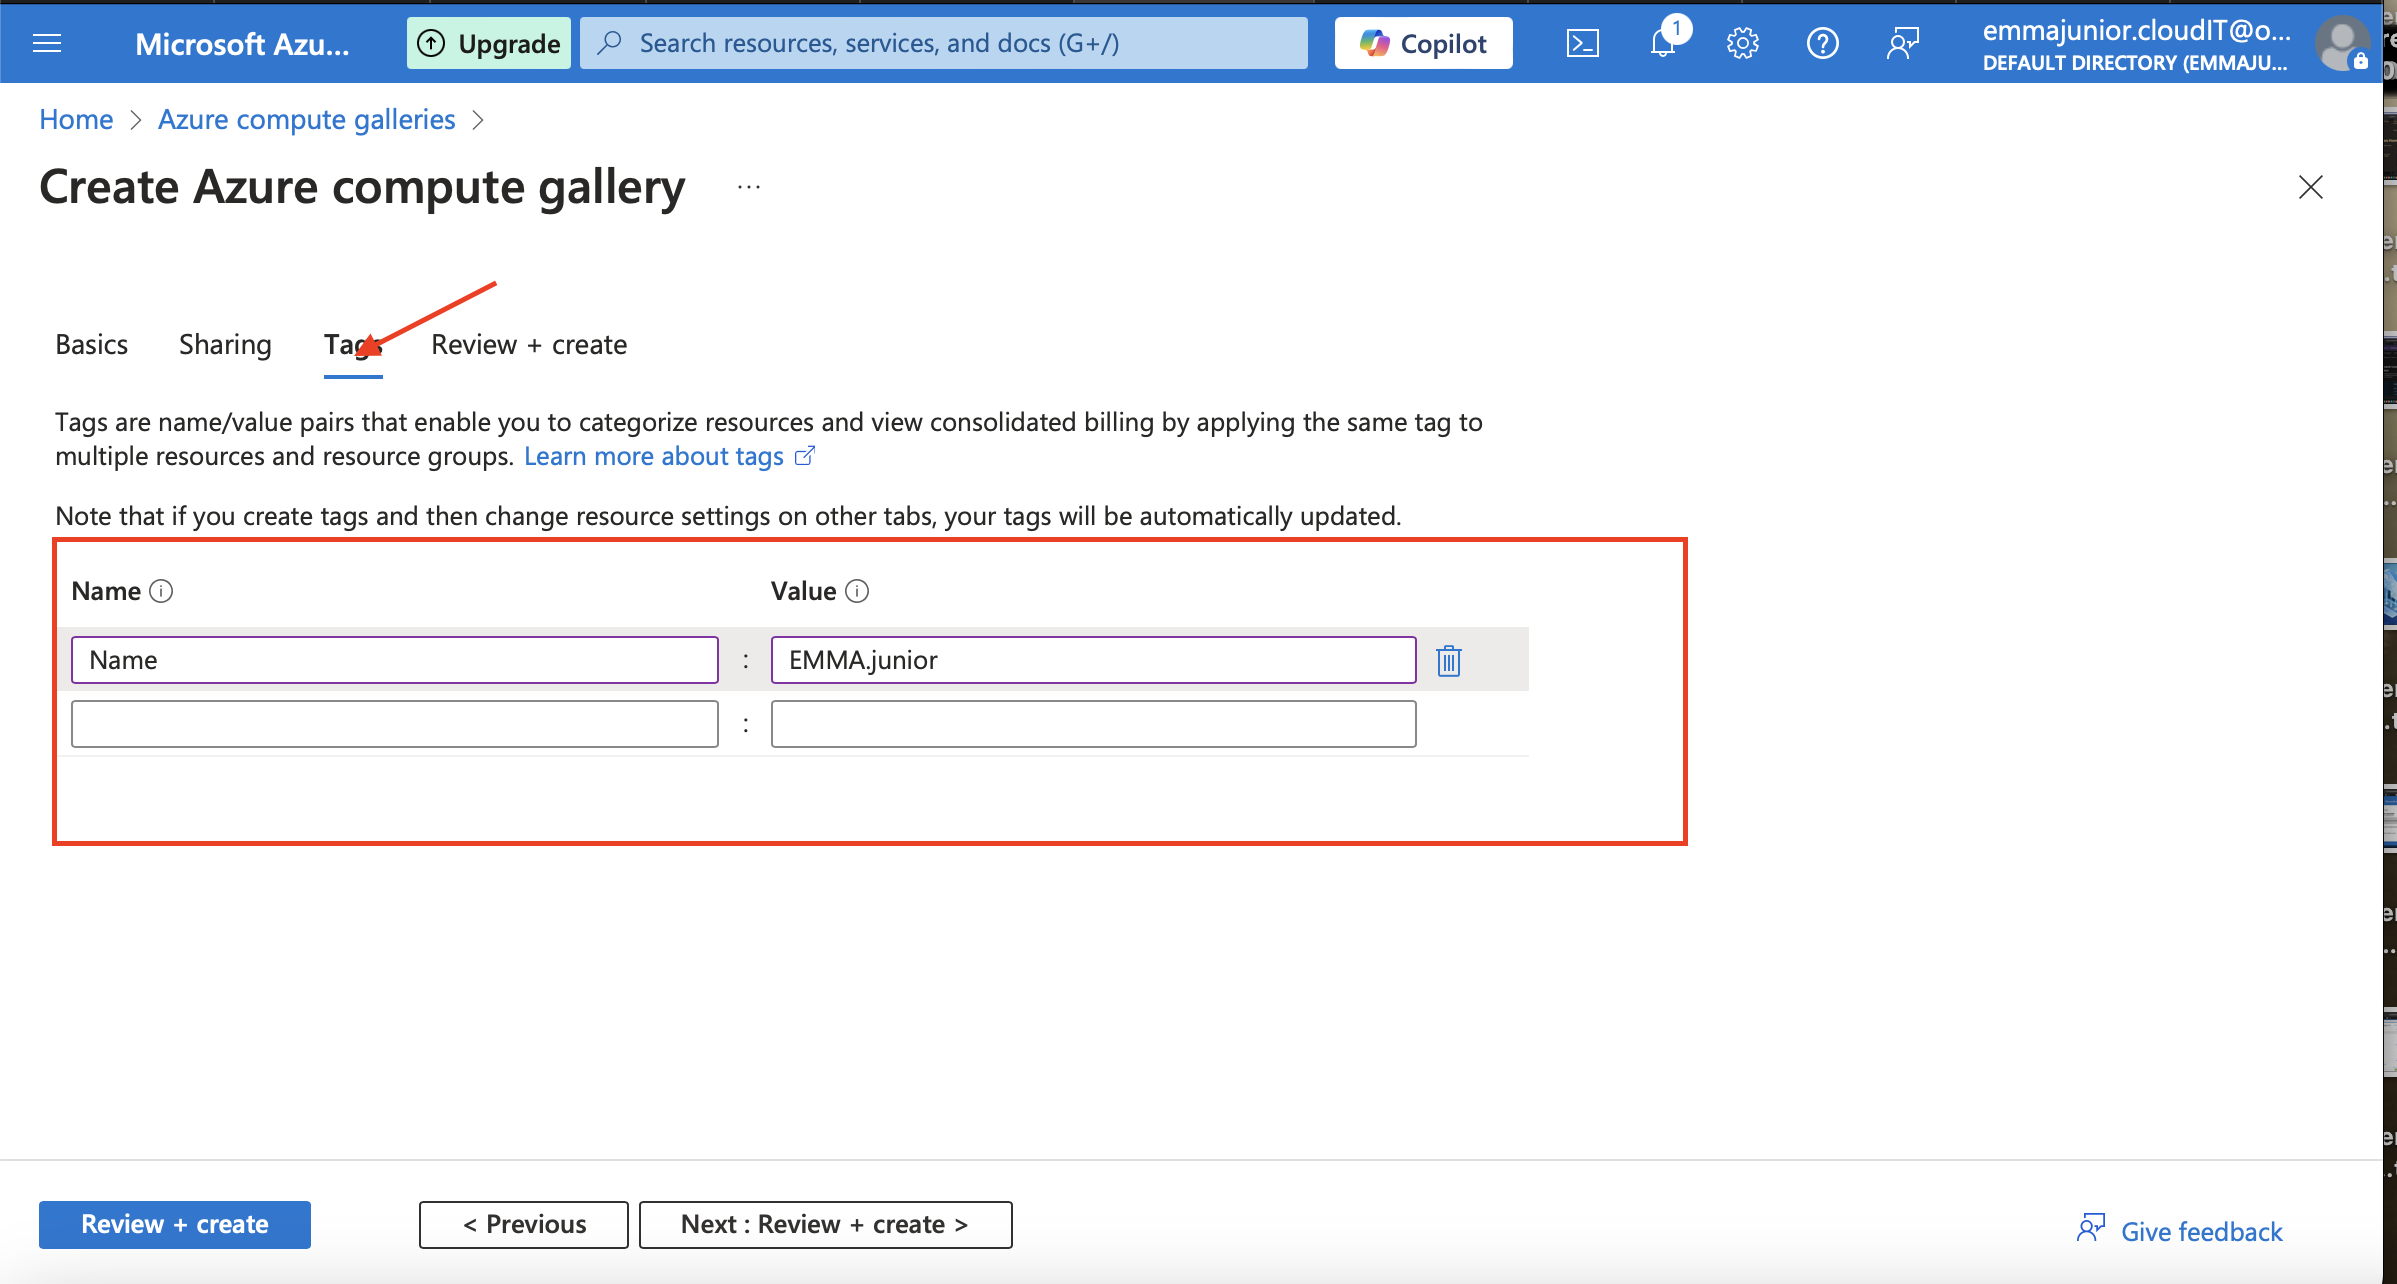
Click on 'Tag' and fill the name and the value.Then click on 'Review and create'.
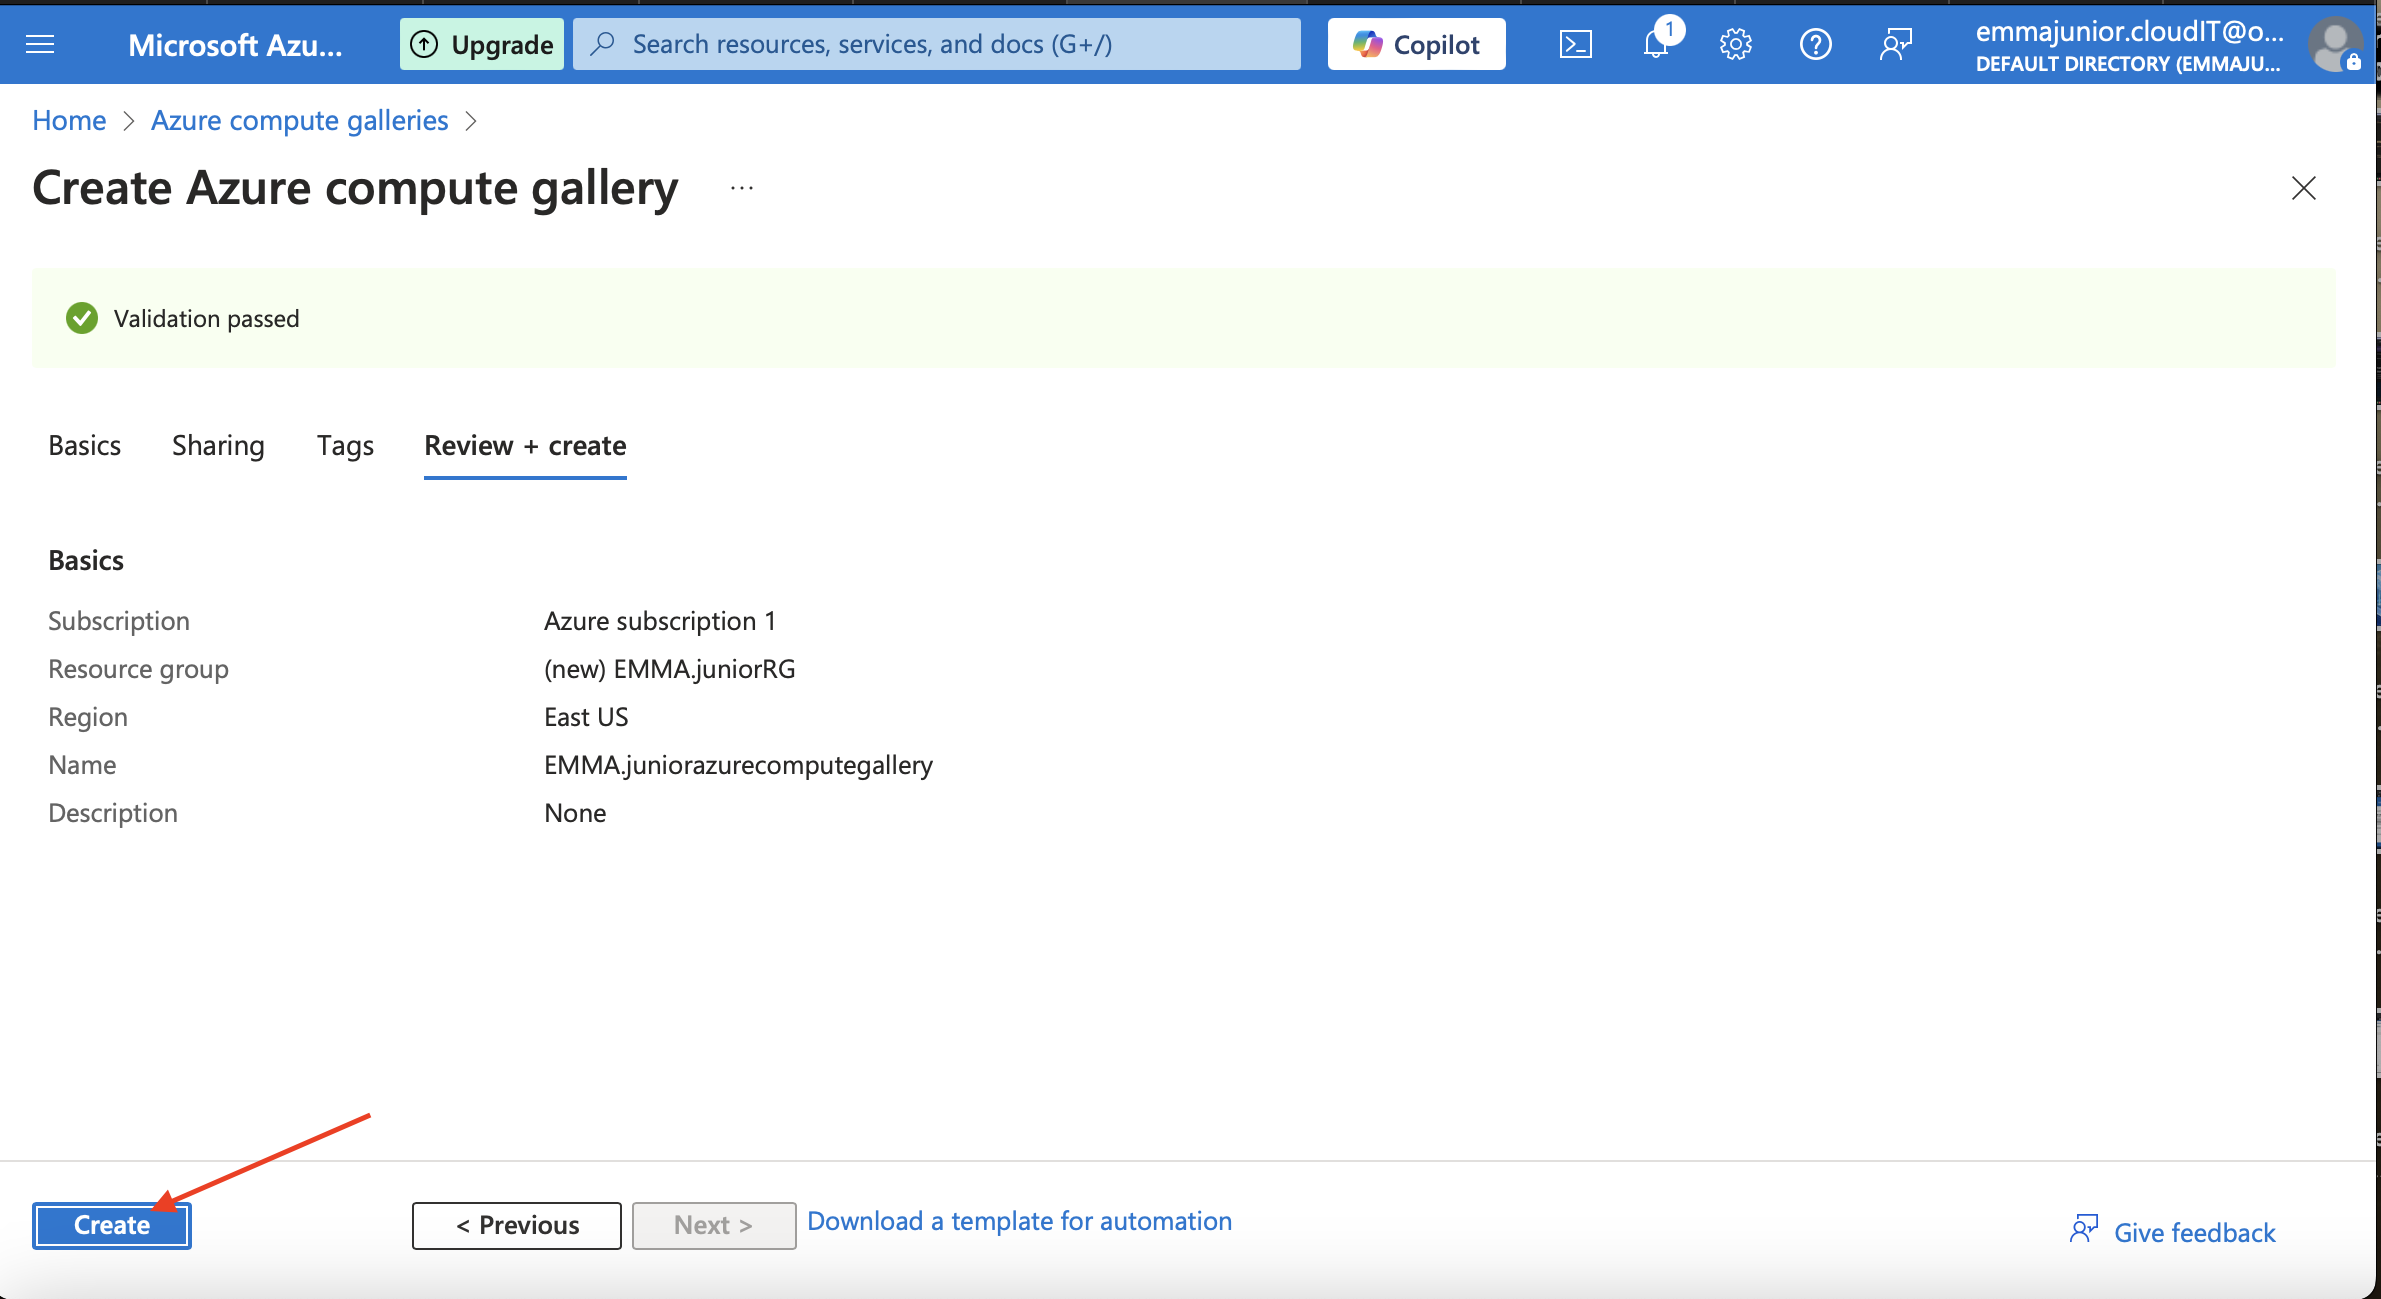
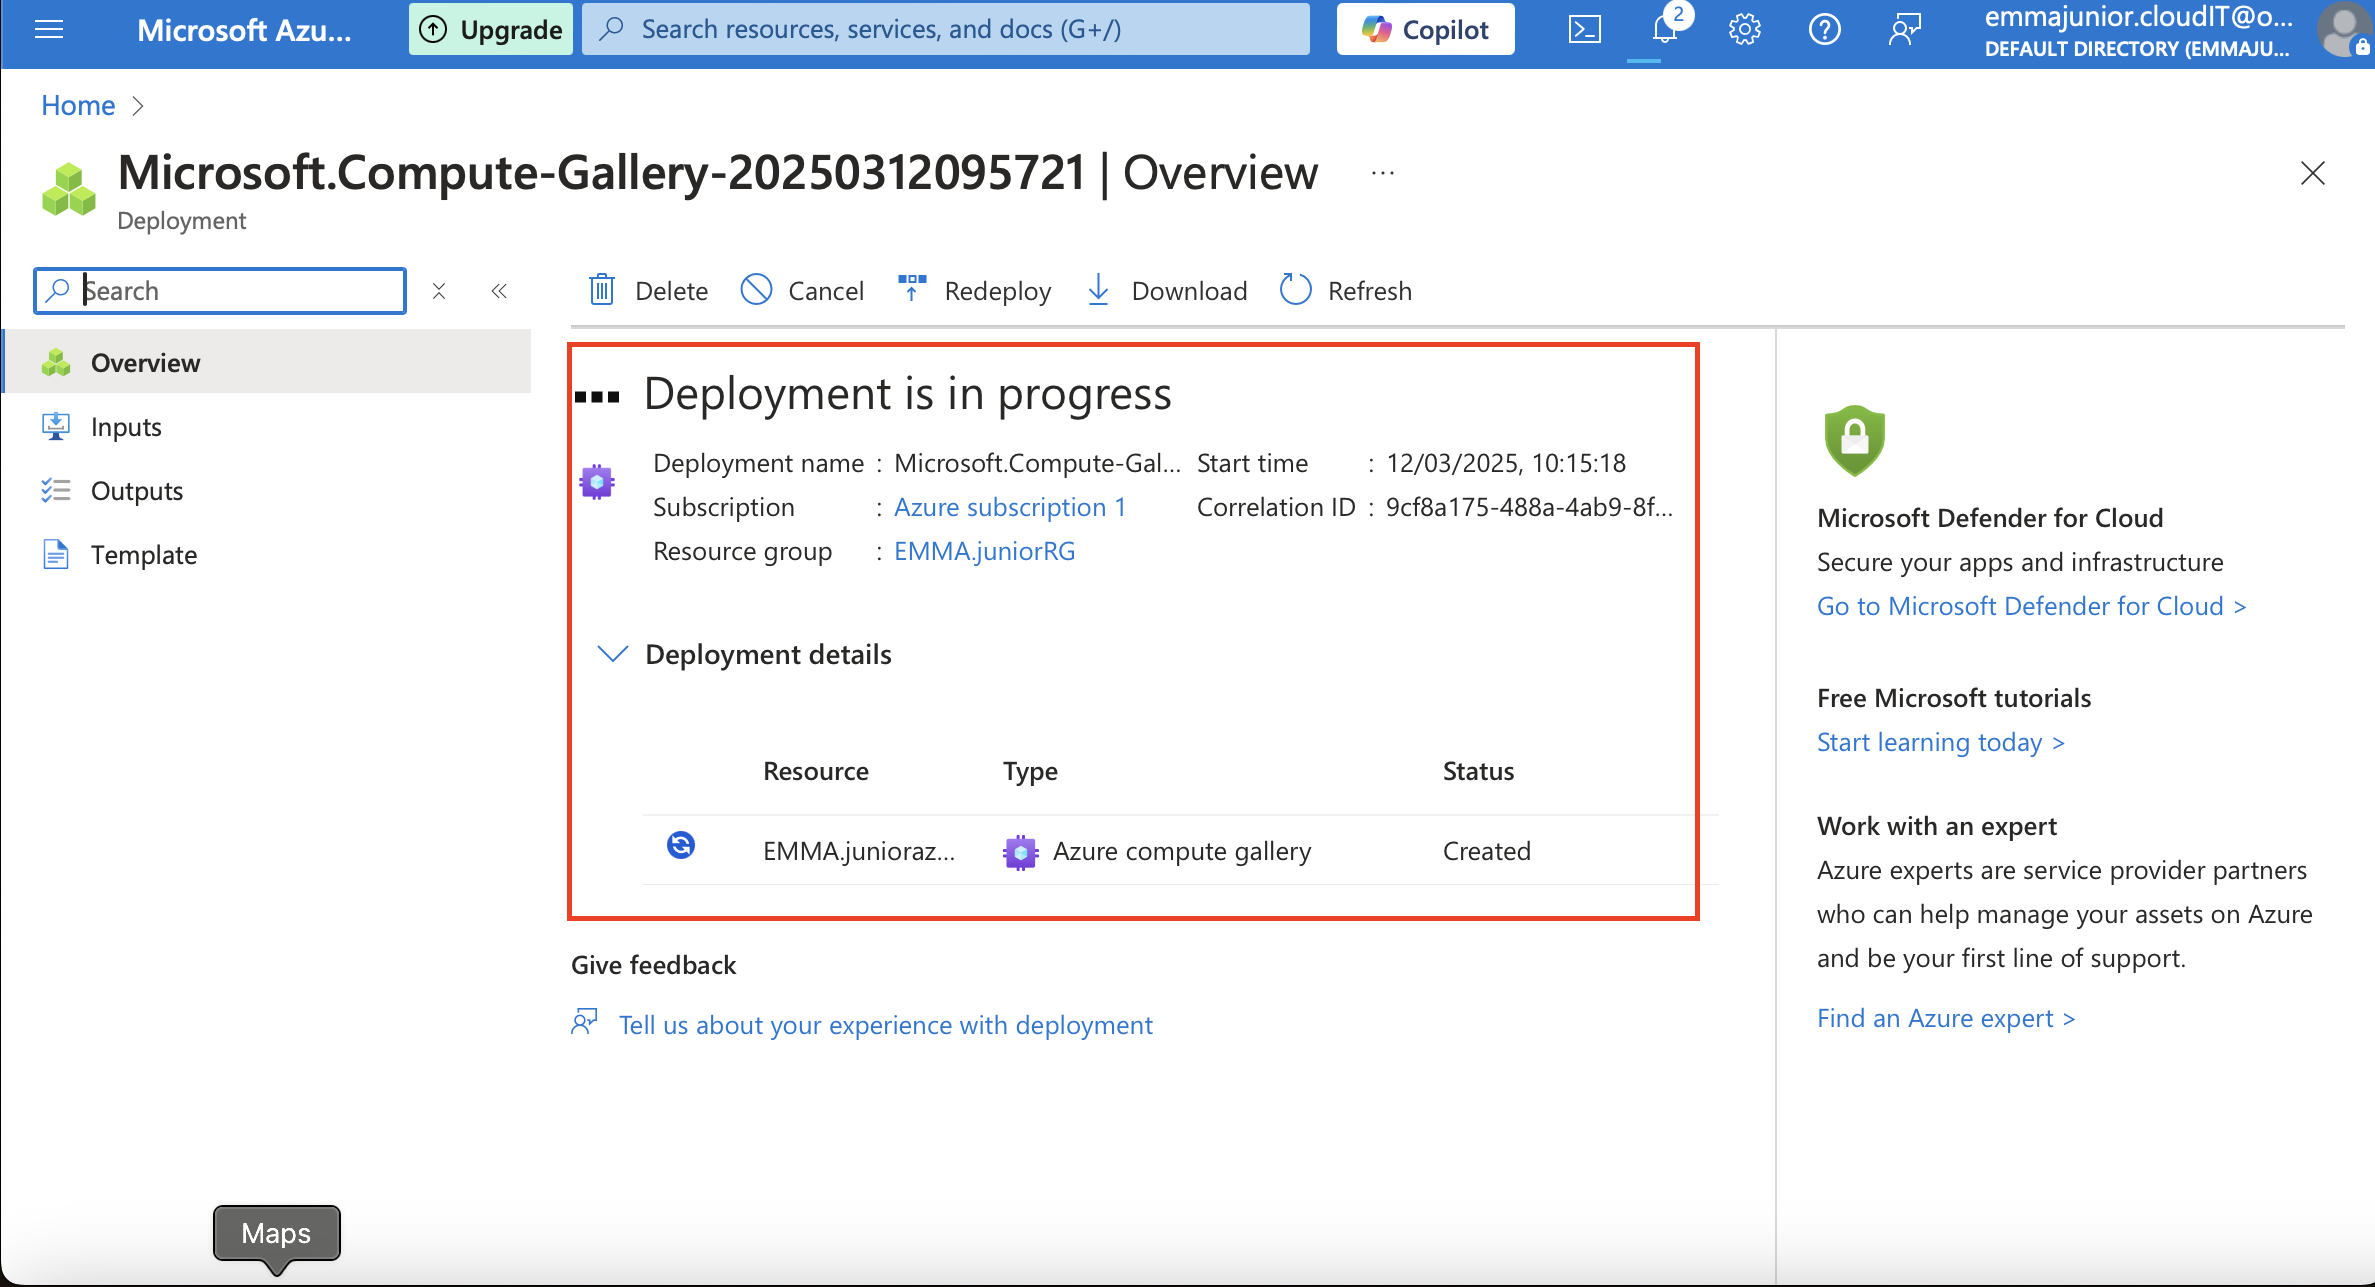
Step 6
Click on 'Create' and wait for the initialisation and the deployment to complete.
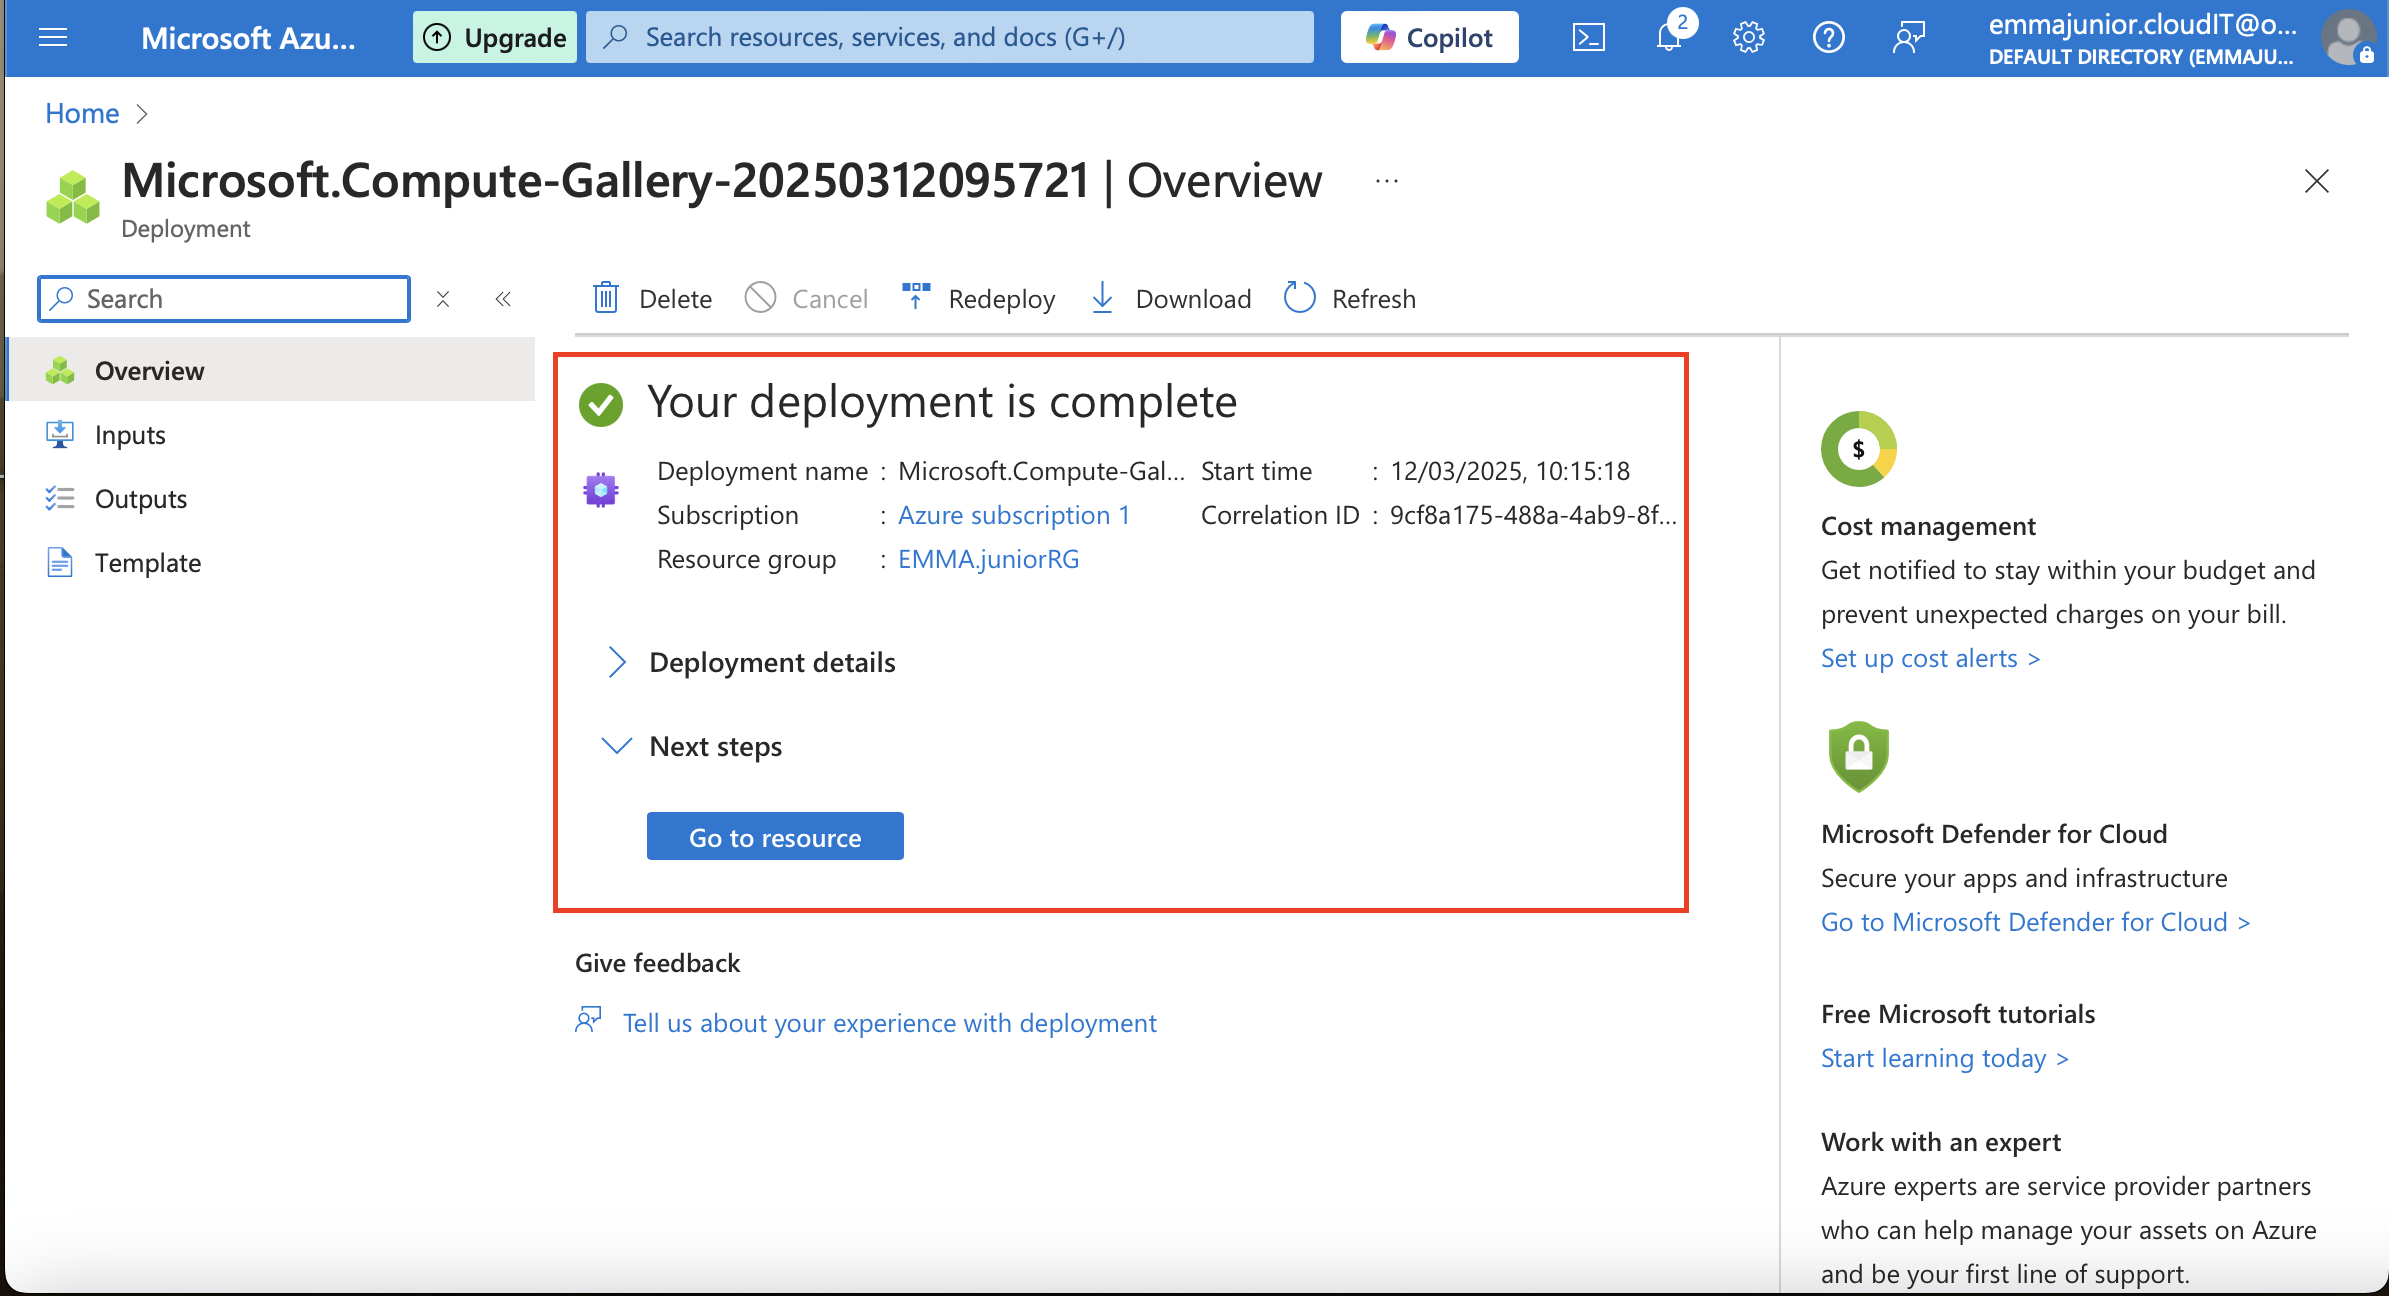
Step 7
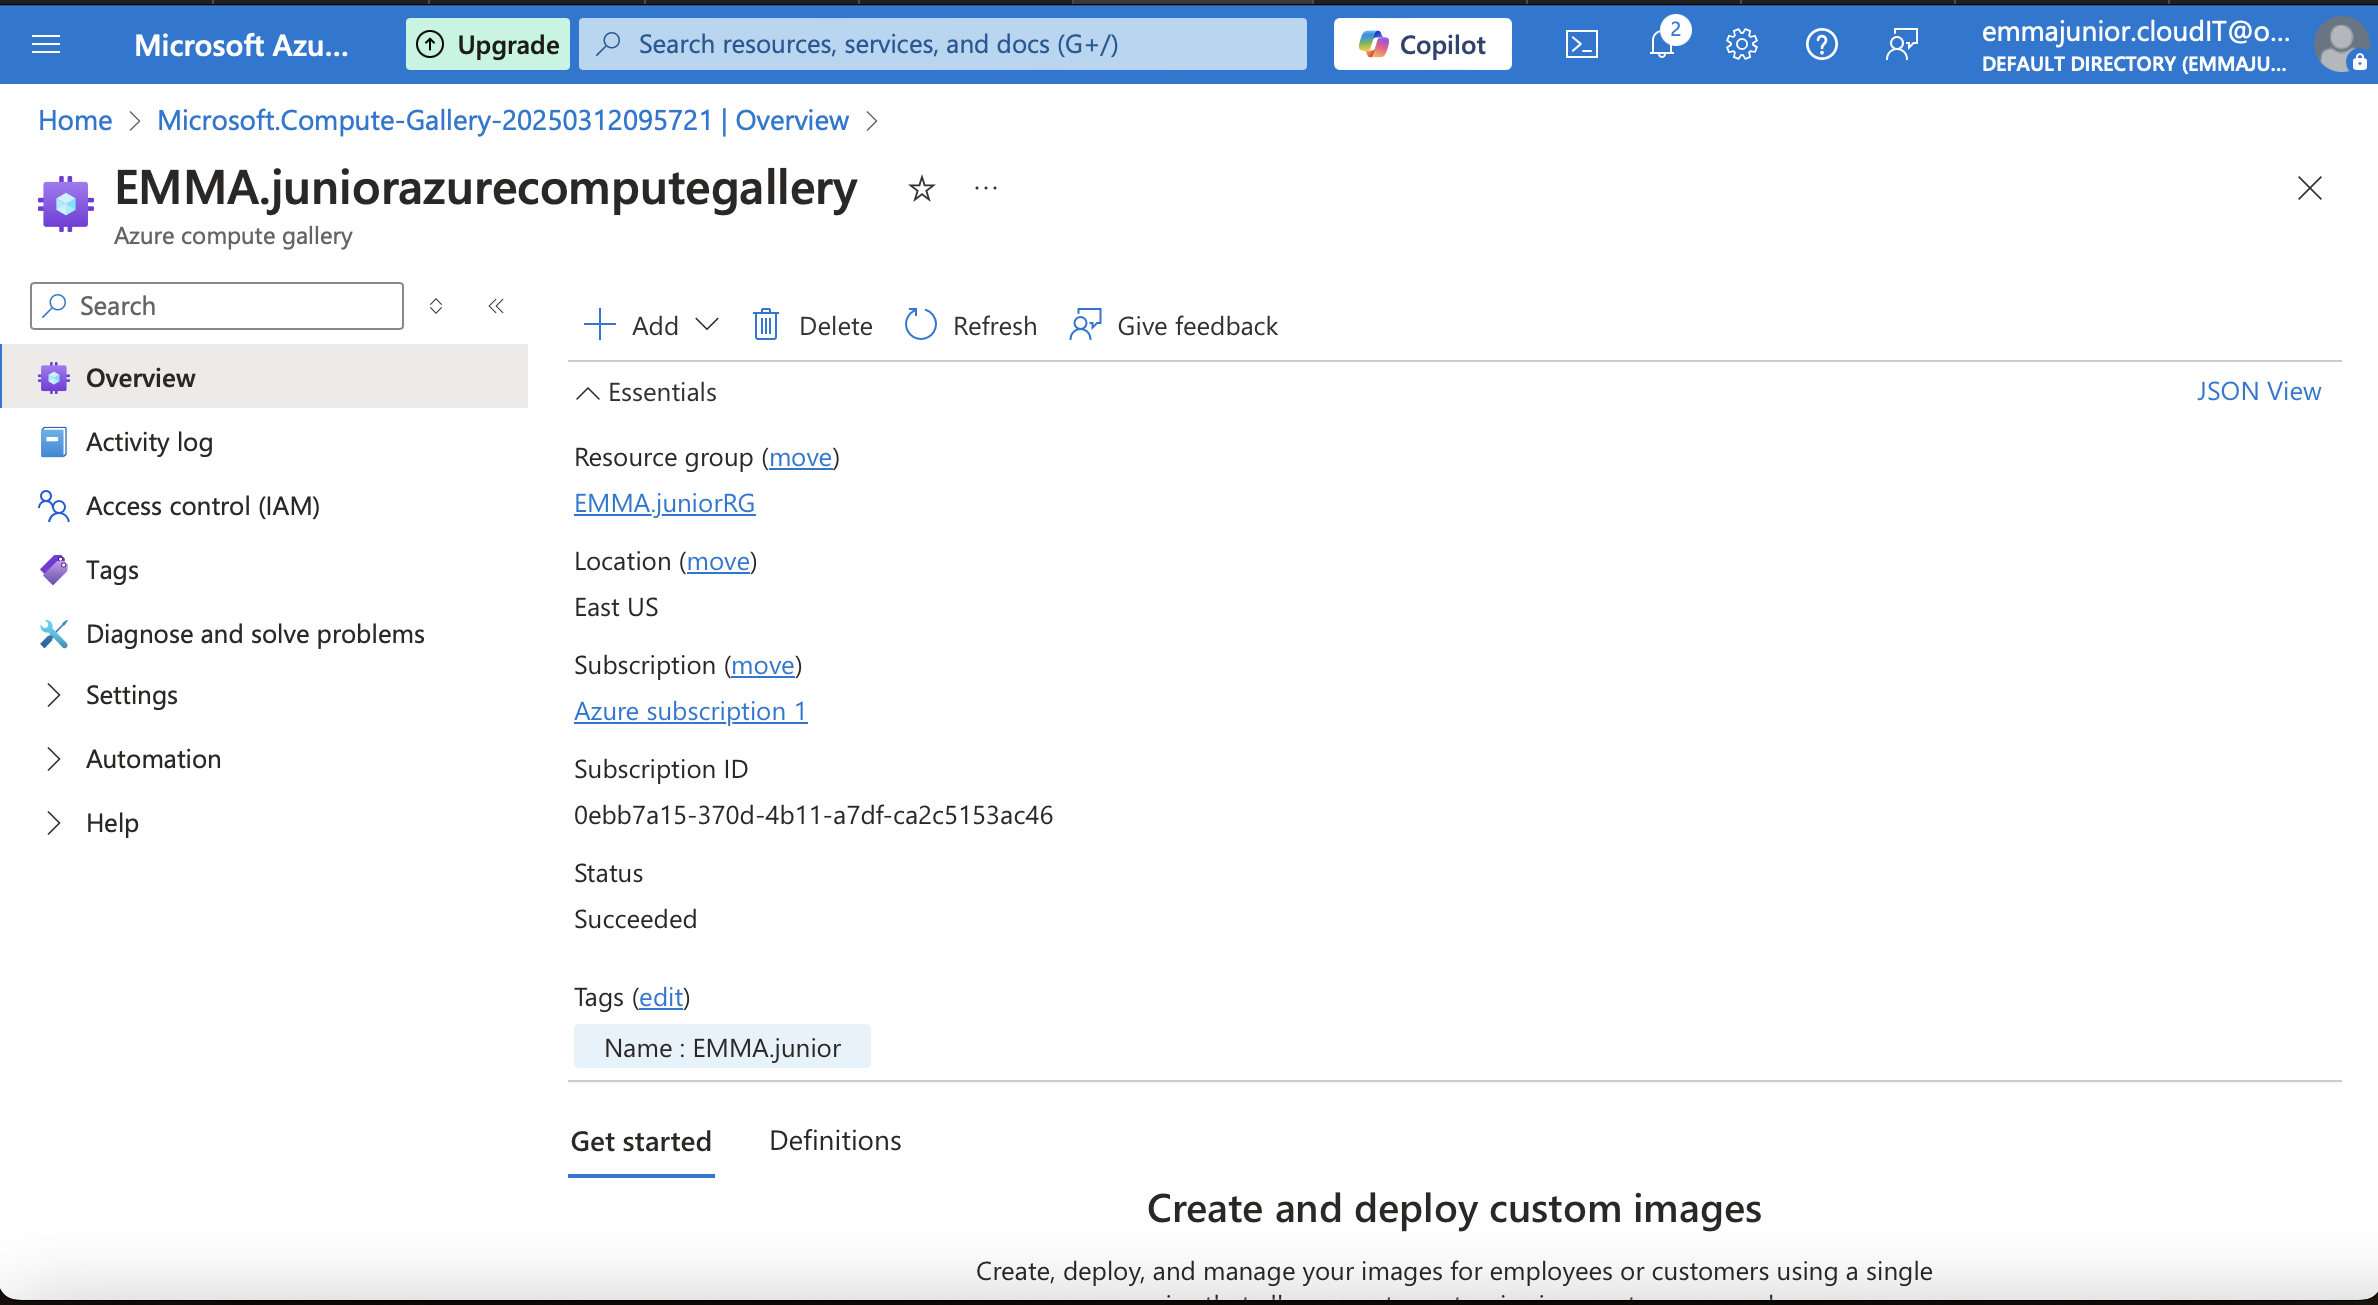
Click on 'Go to Resource' and we can now a place we can store custom image.
Step 8
Create a virtual machine, capture the OS and save the image in the azure compute gallery we just created.

Step 9
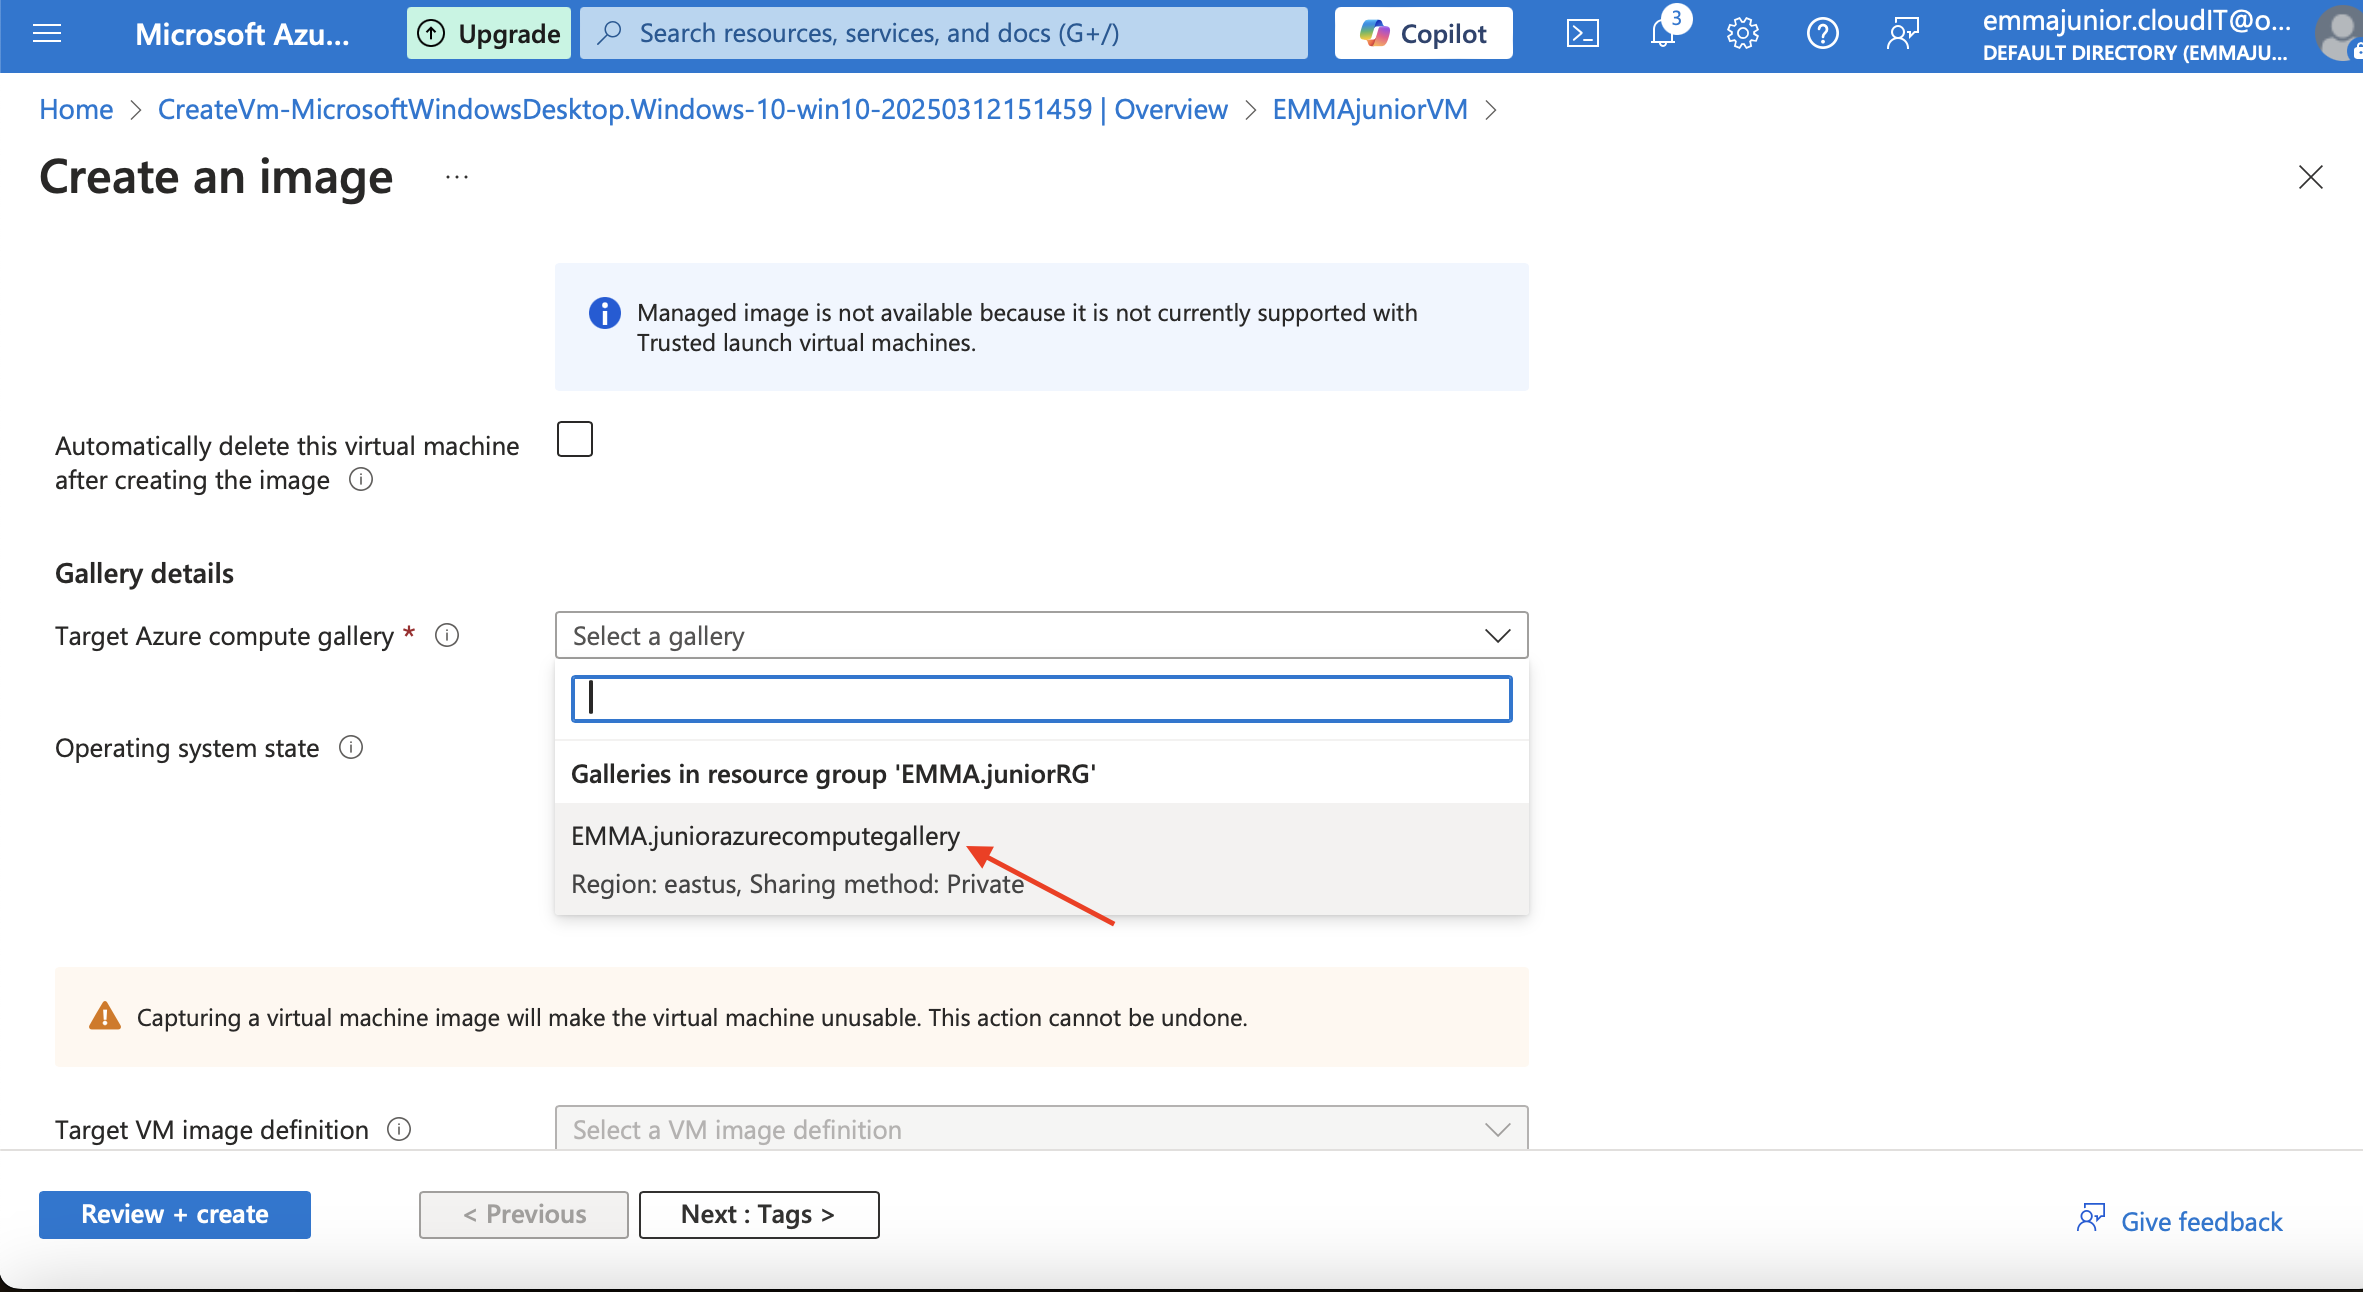
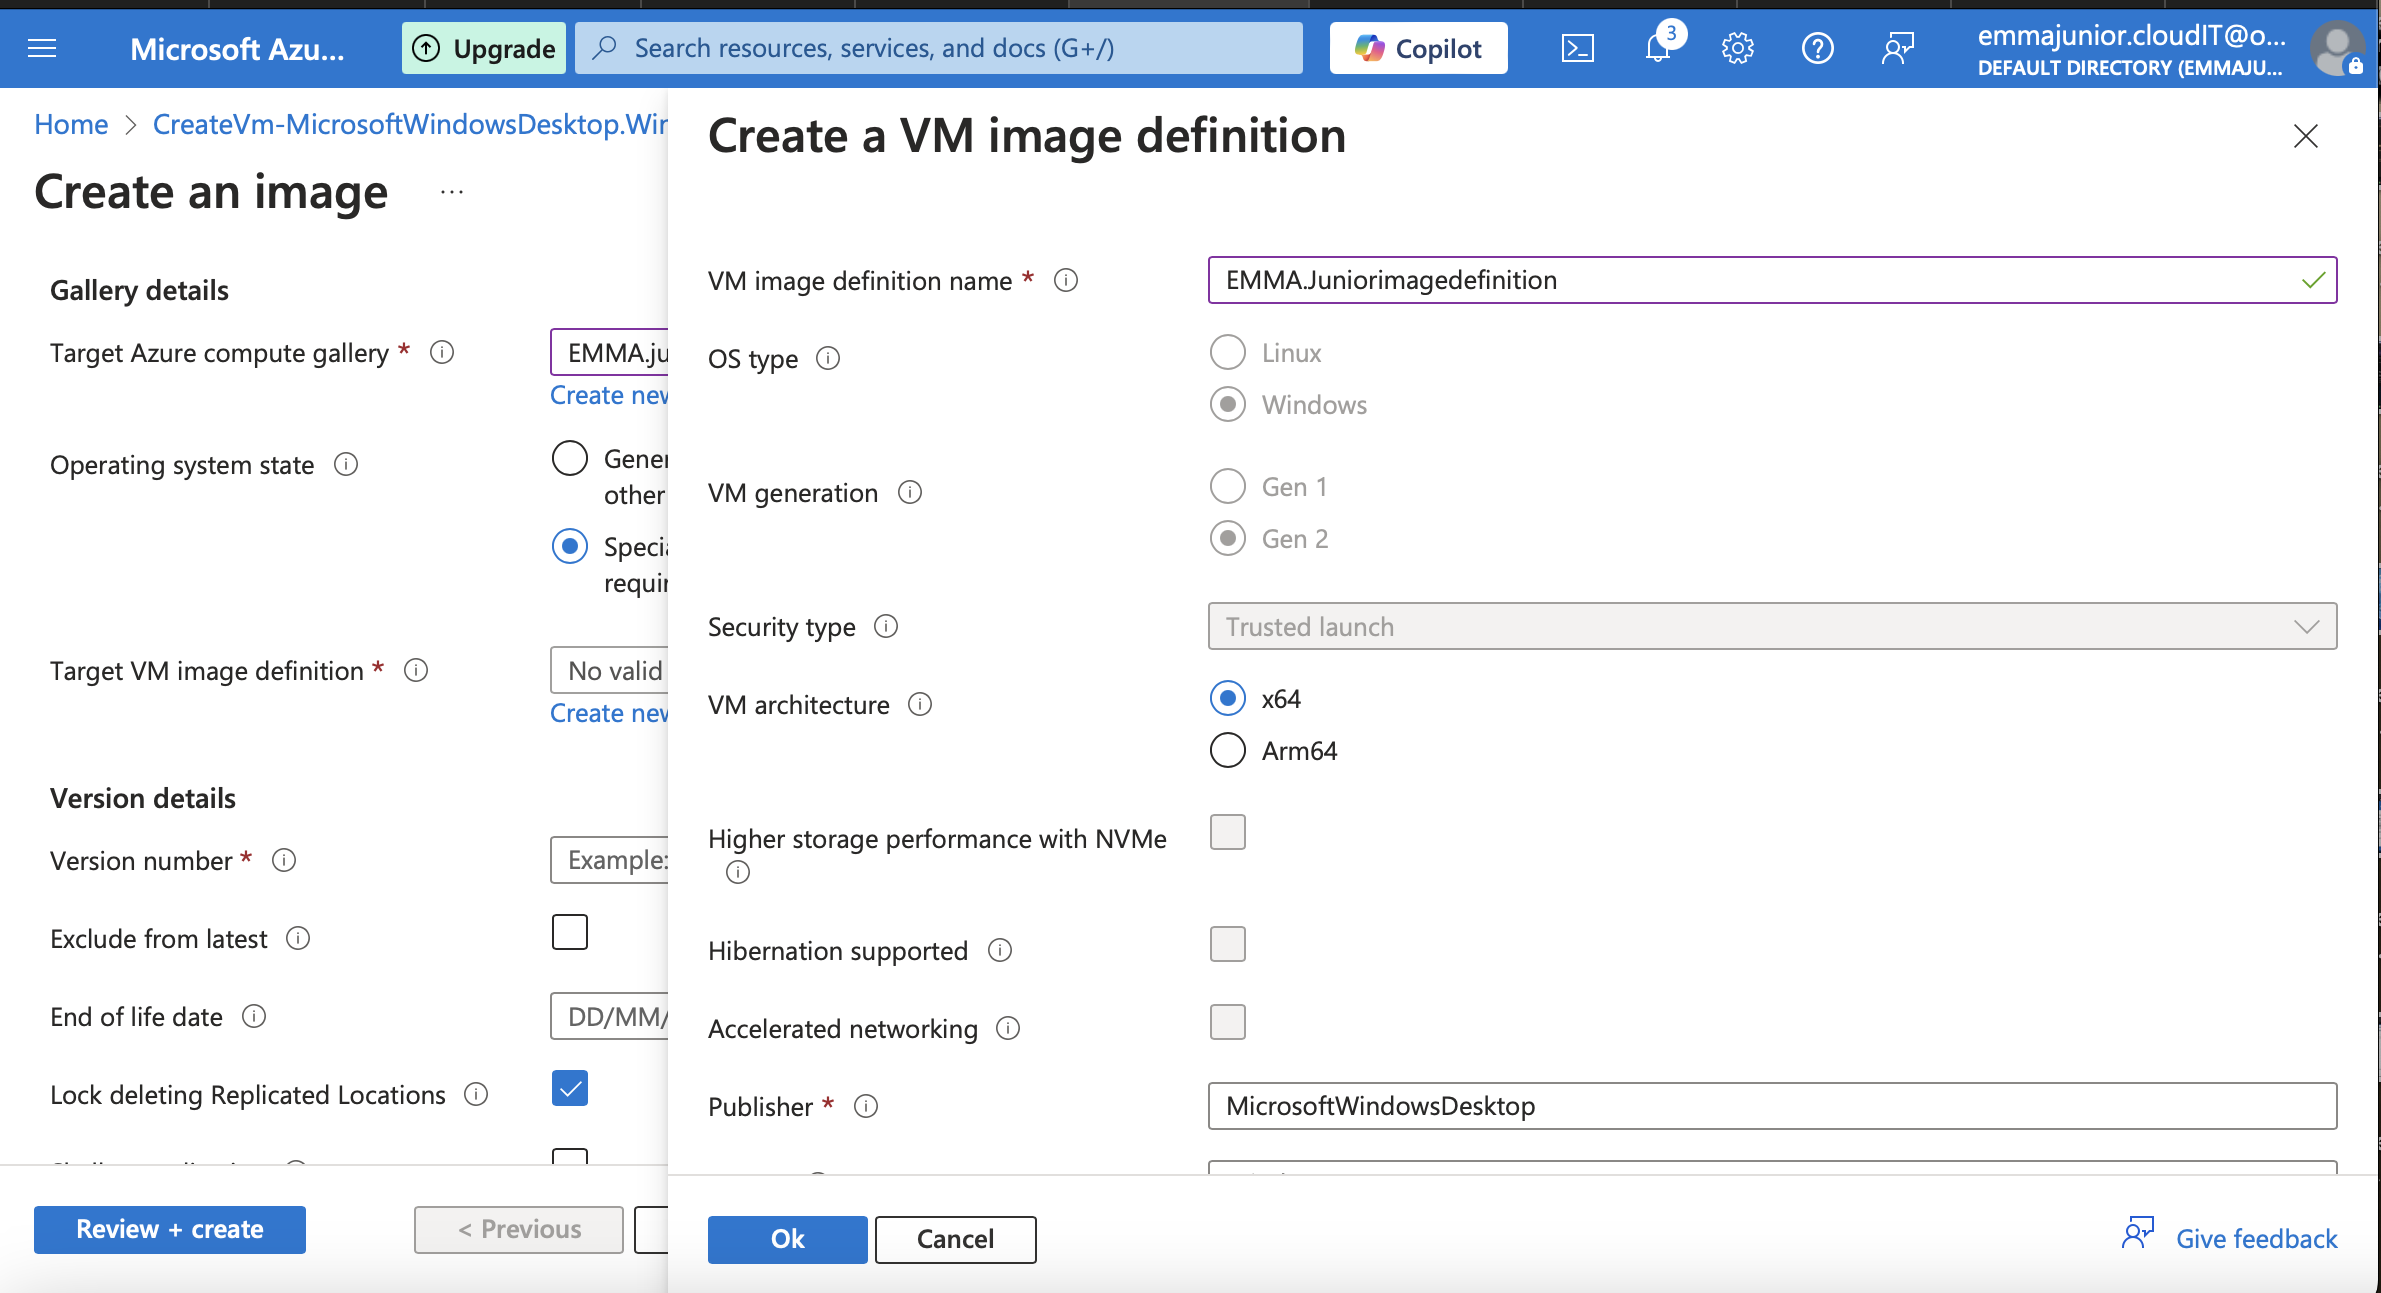
To ,create an image, choose the resource group, under 'project details',go to 'Gallery details',choose the 'Target Azure compute gallery',choose the compute gallery we just created . Choose the operating system state.we have generalised(ask for password) and specialised(don't ask password).Then create your 'Target VM image definition'.

Step 10
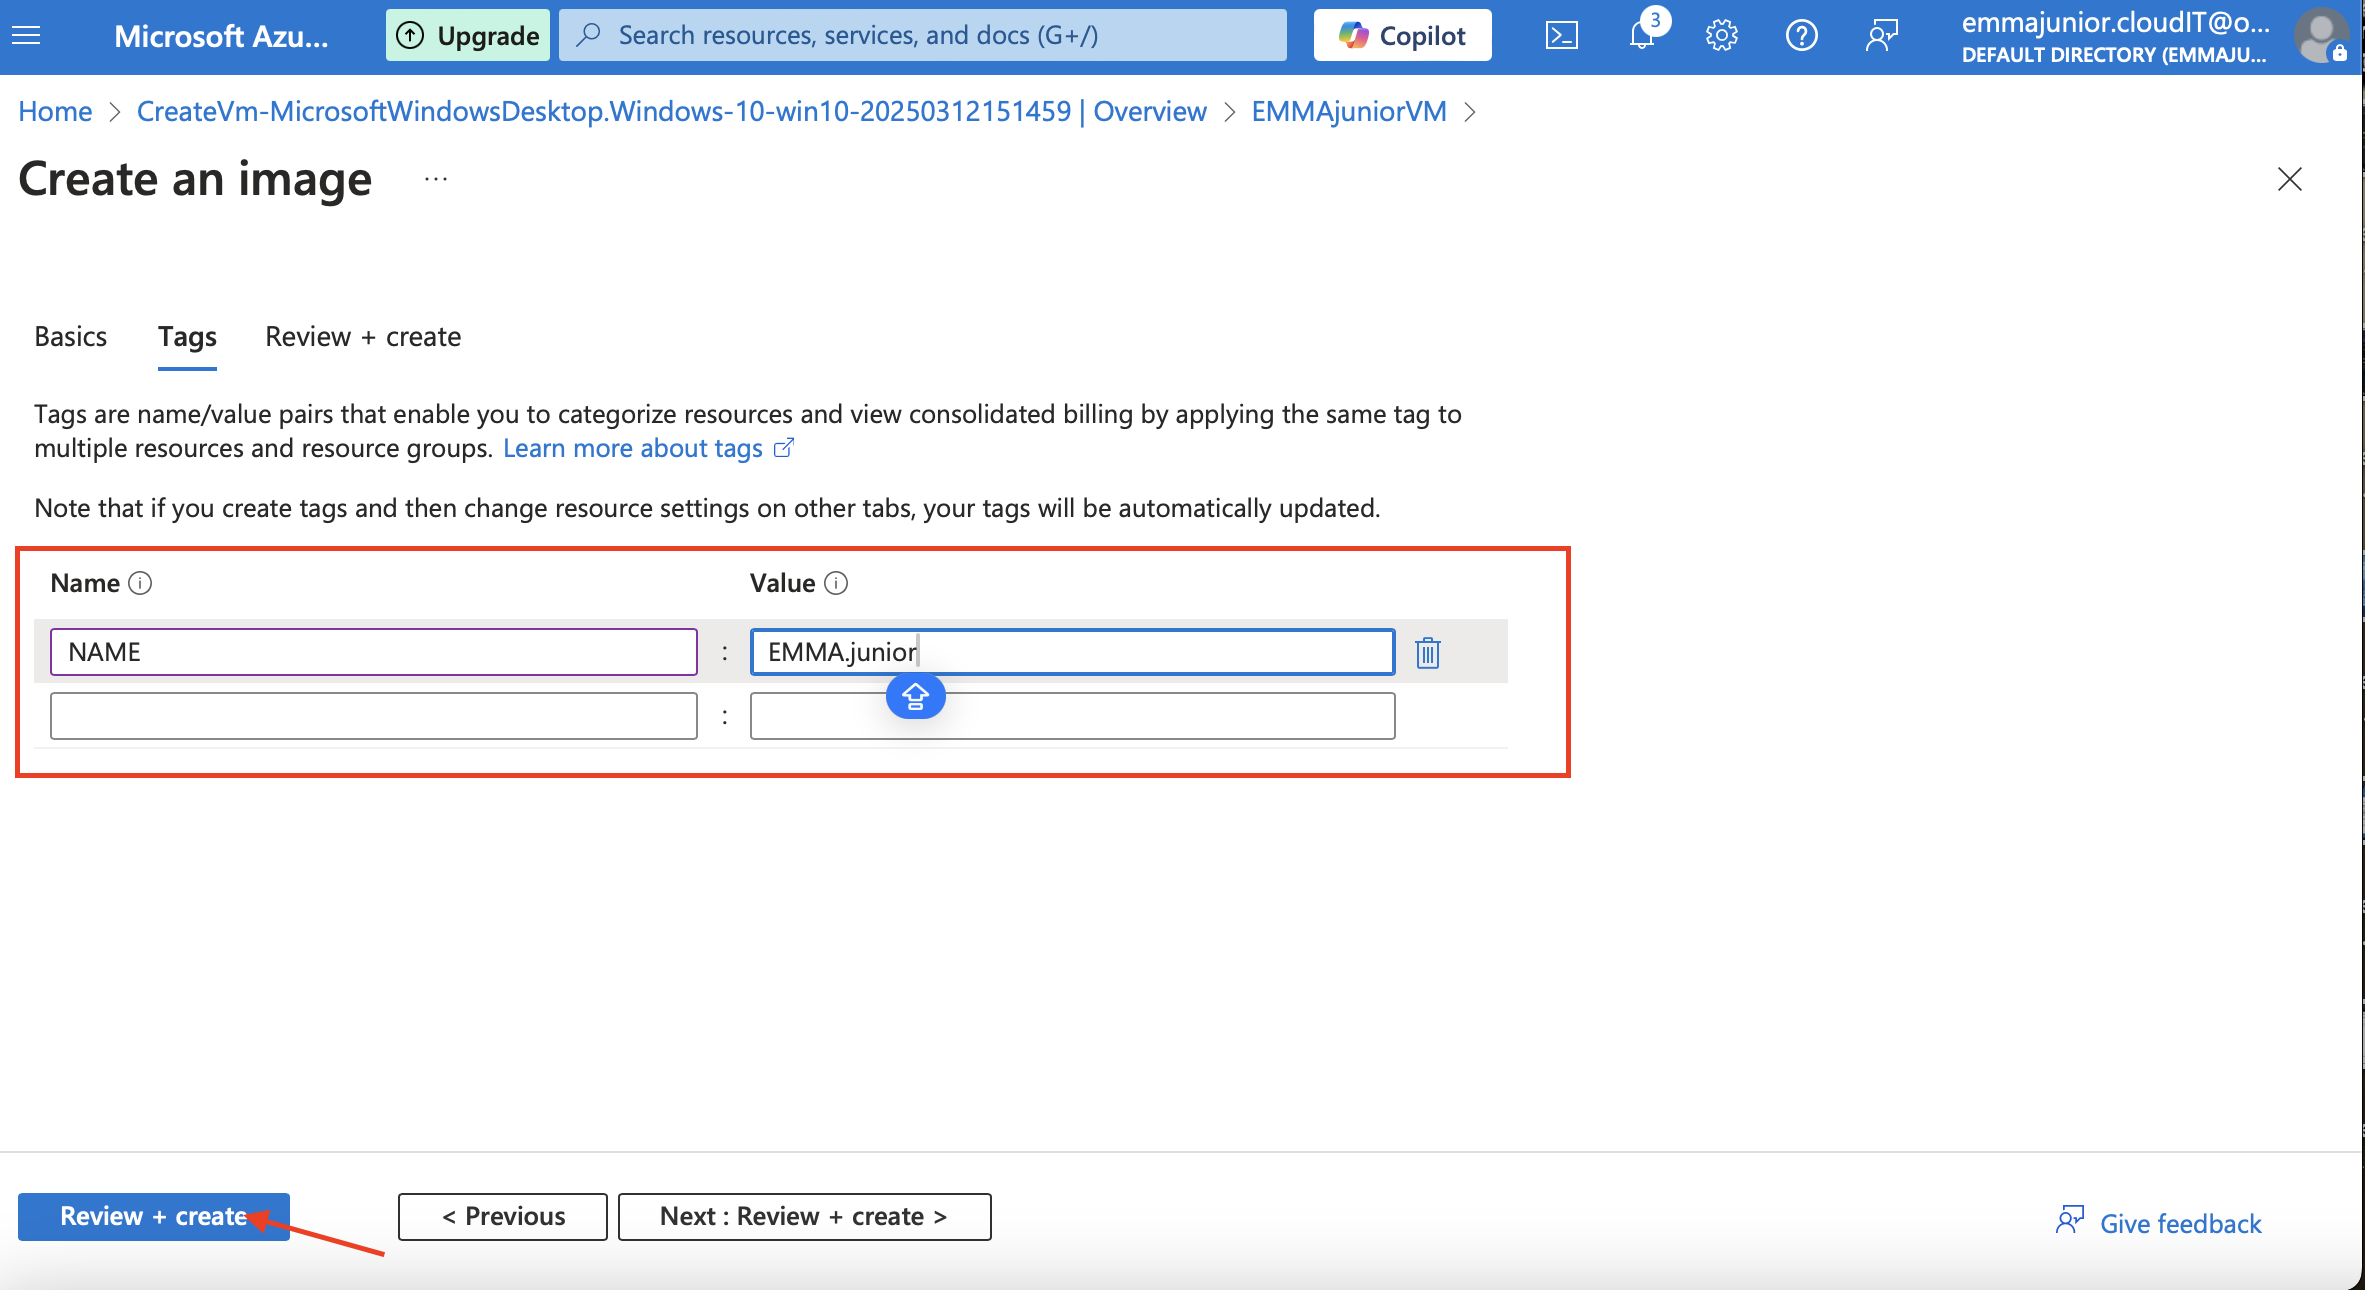
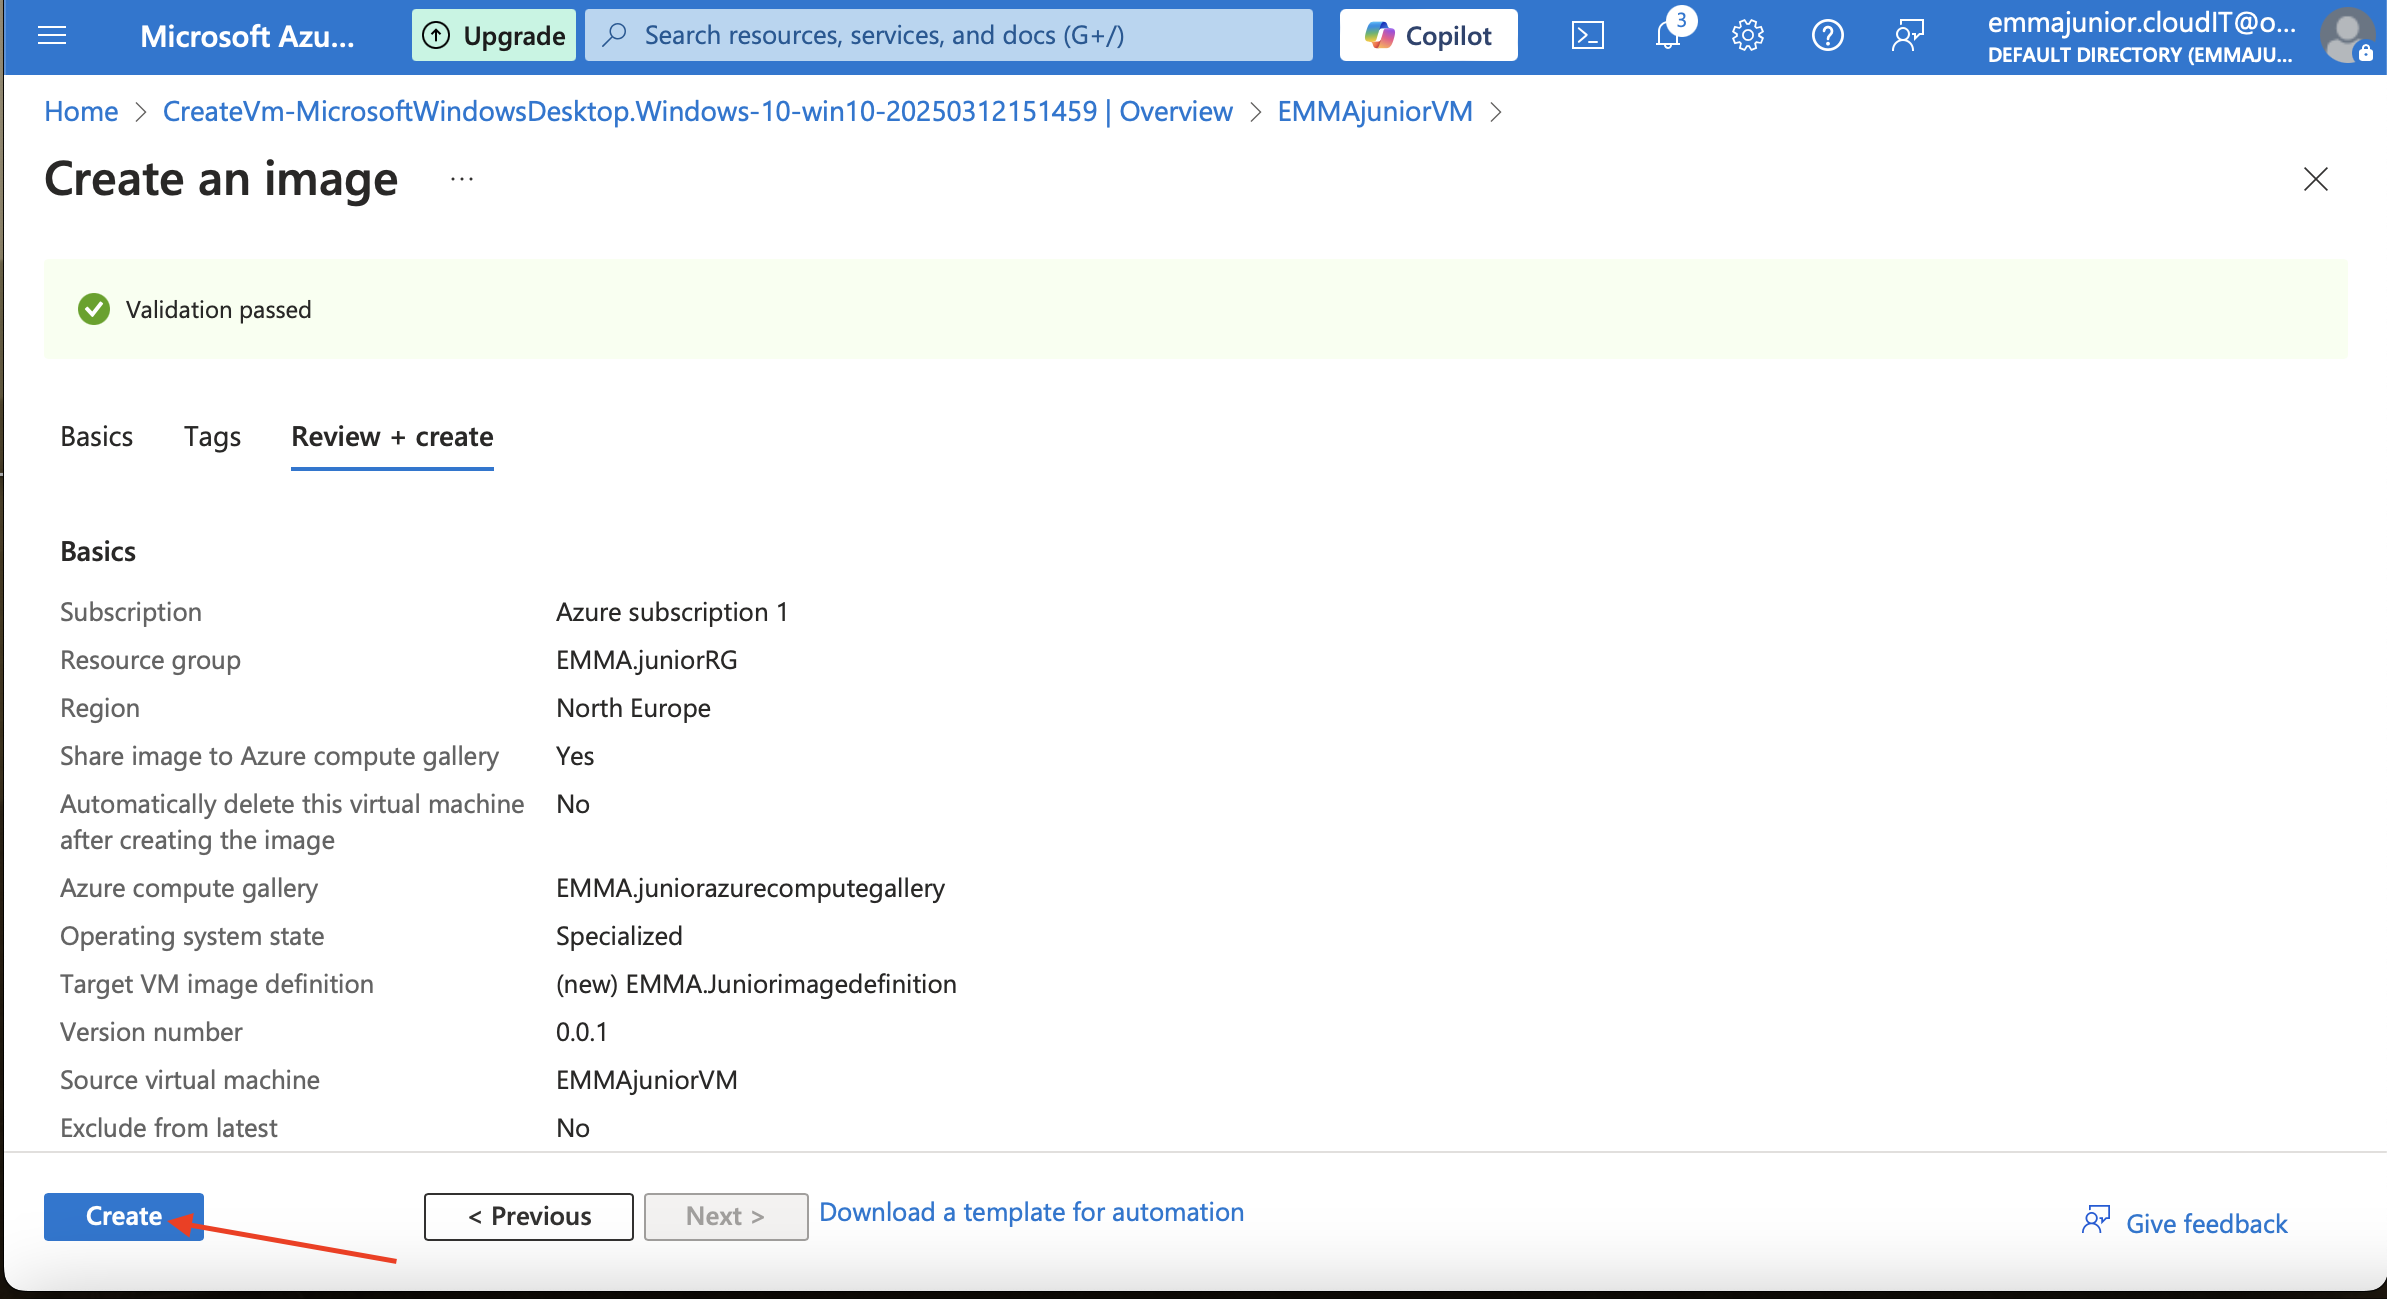
Choose your version number and expiring date under 'Version details' then go to 'Tag' and 'Review+create'.

Step 11
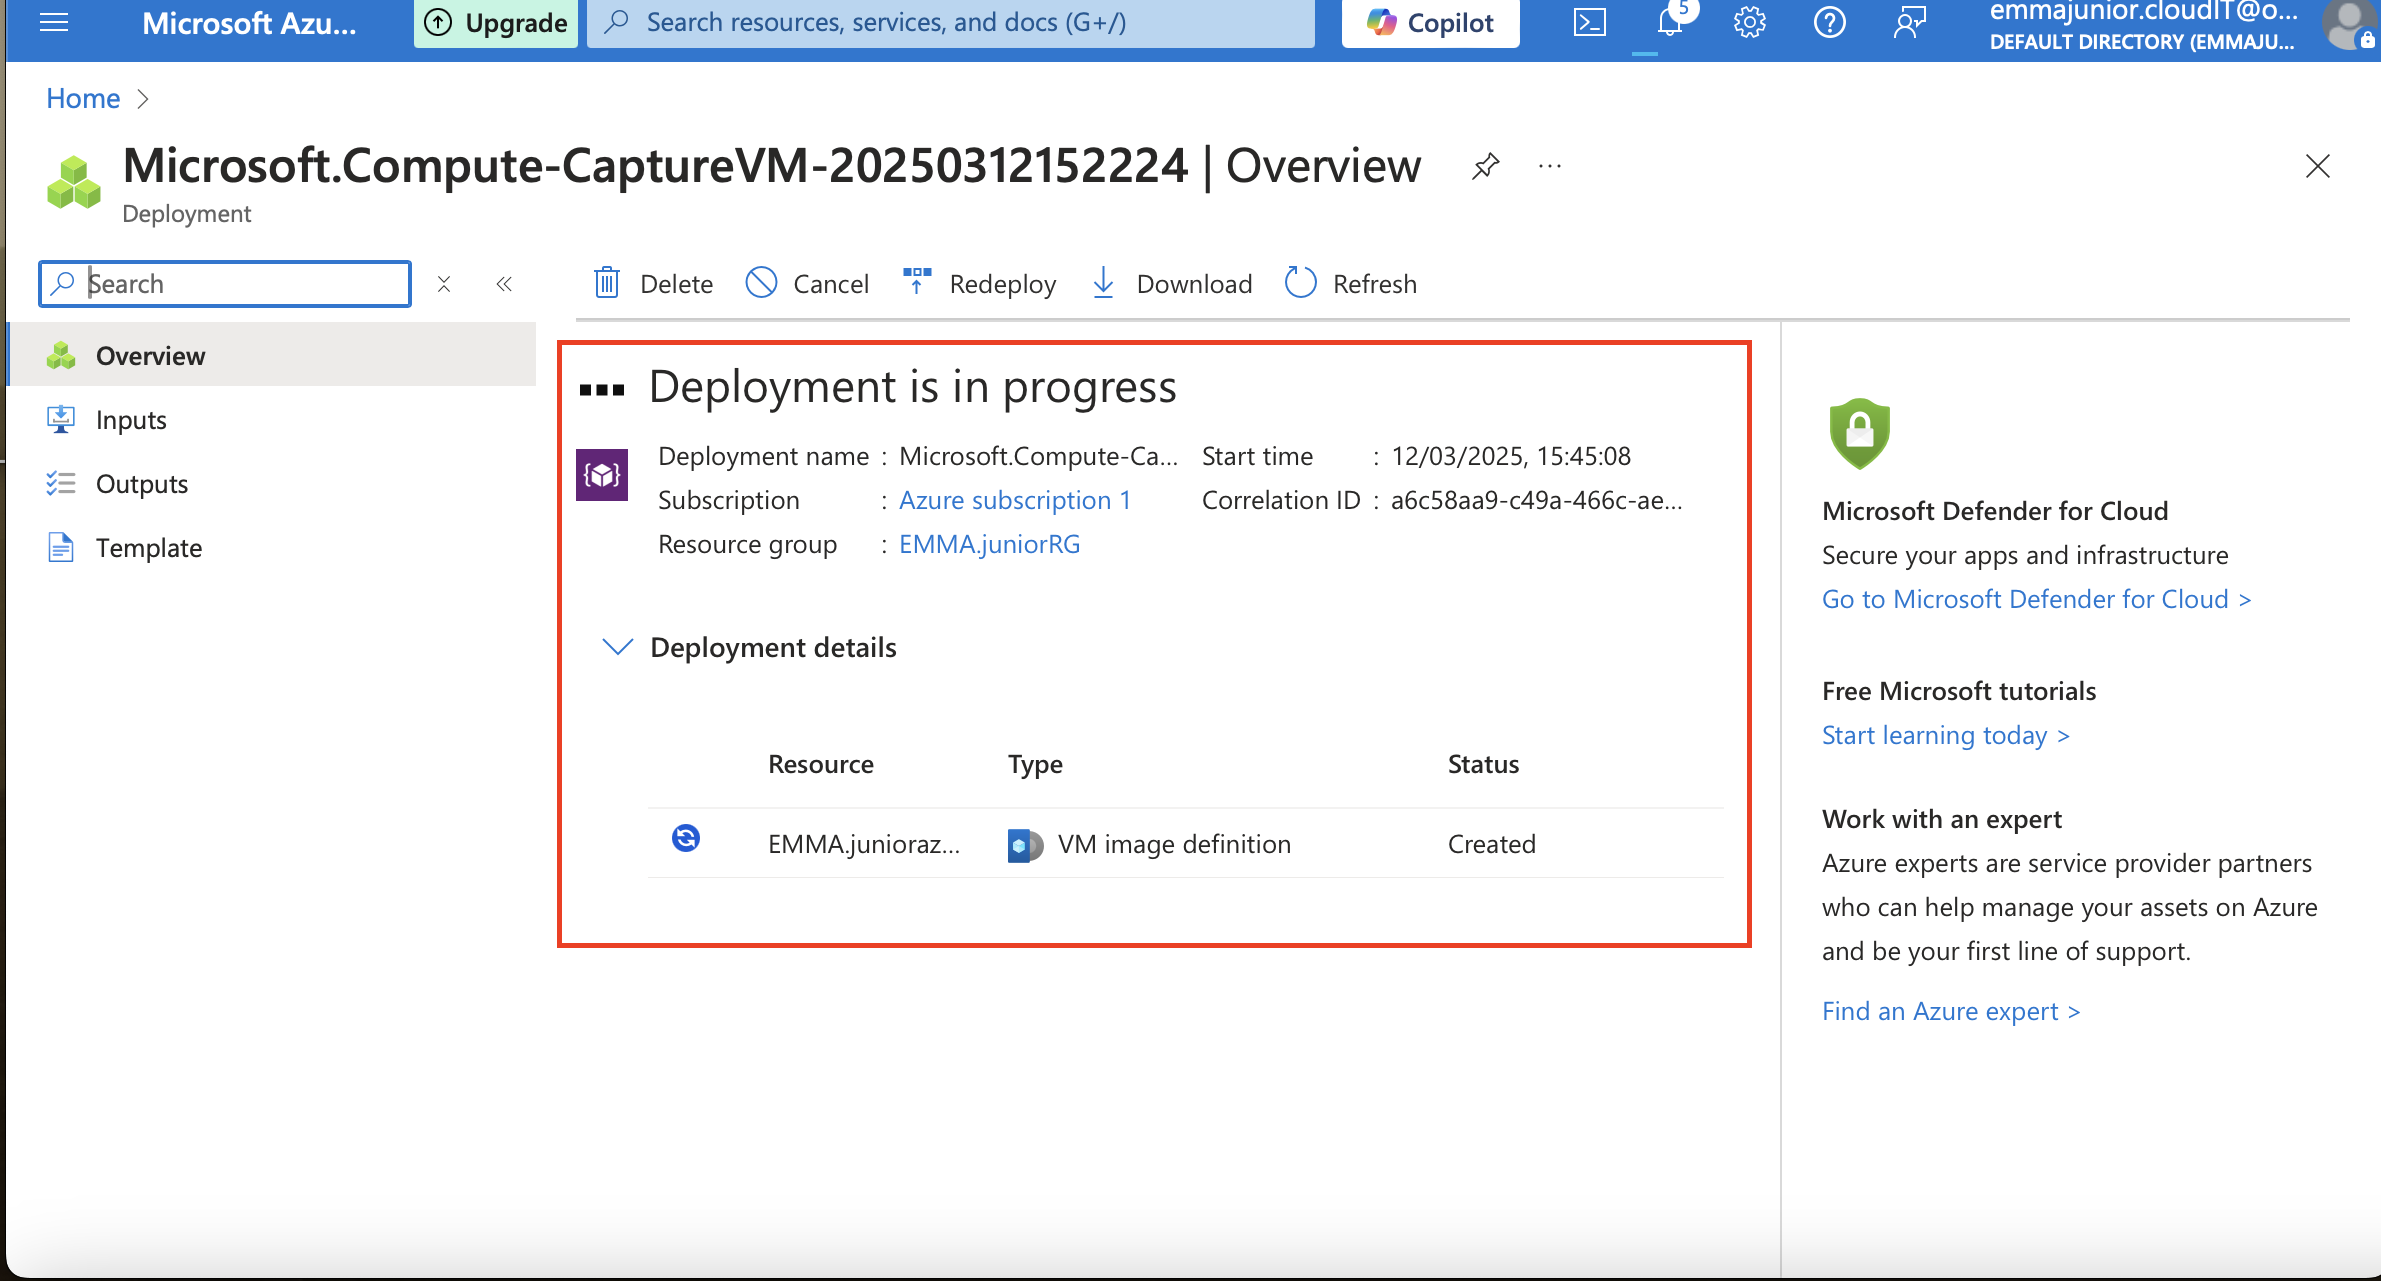
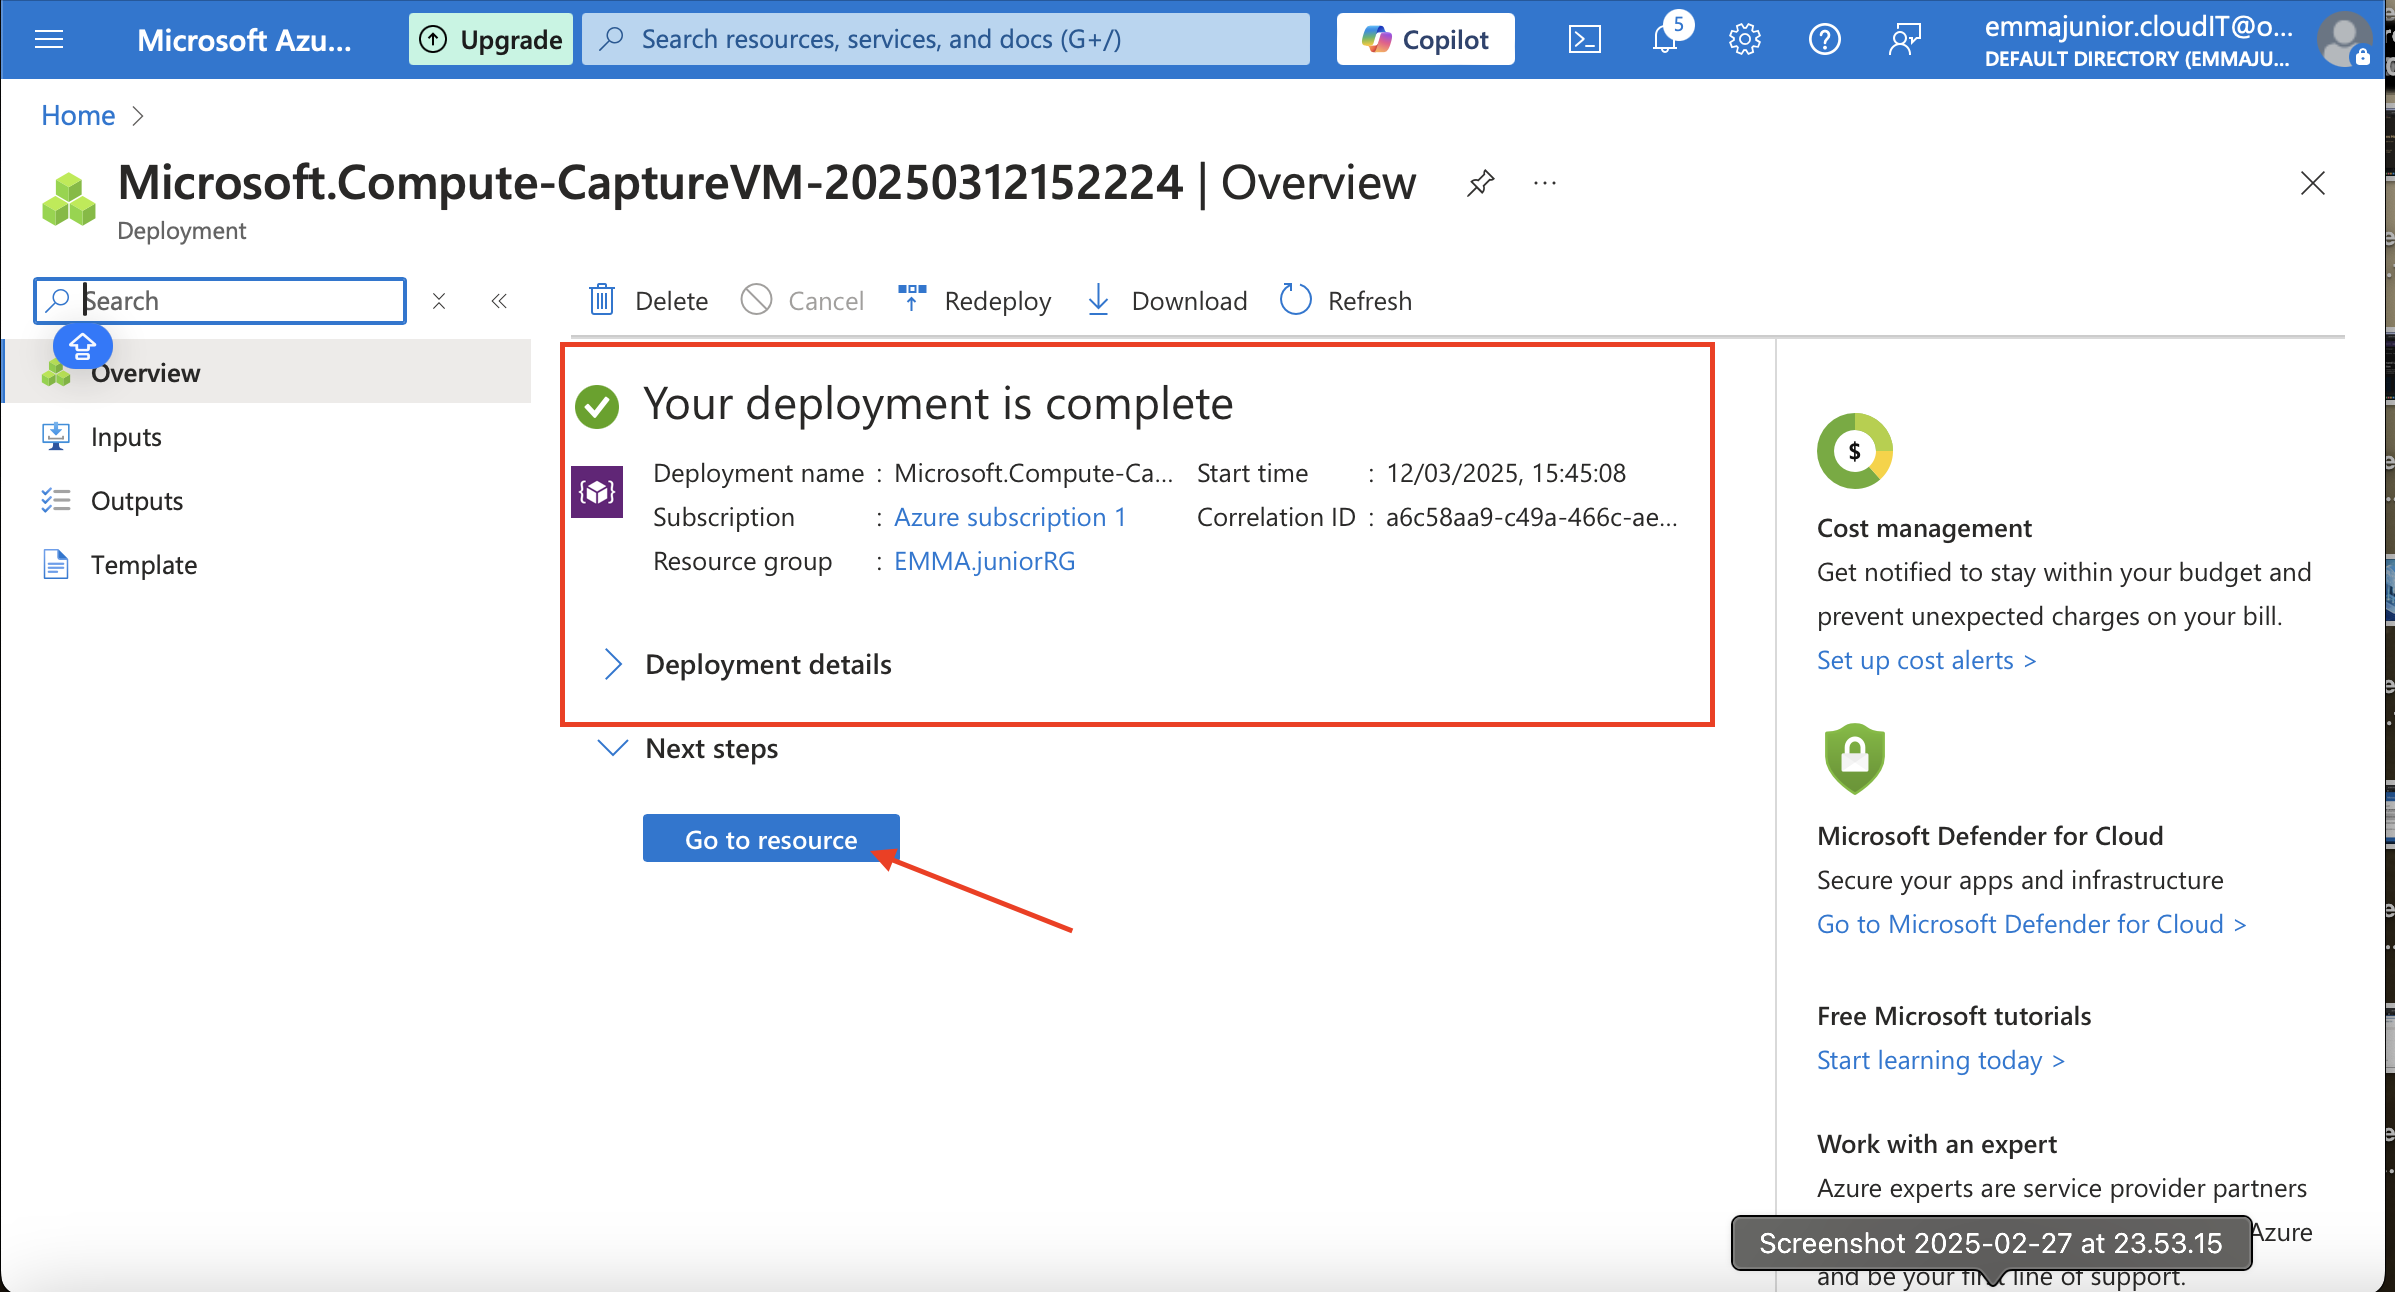
After the validation is passed, click on 'Create' and wait for deployment.it takes a some minutes, because the virtual machine will be stopped before deployment.Click on 'Go to Resource'
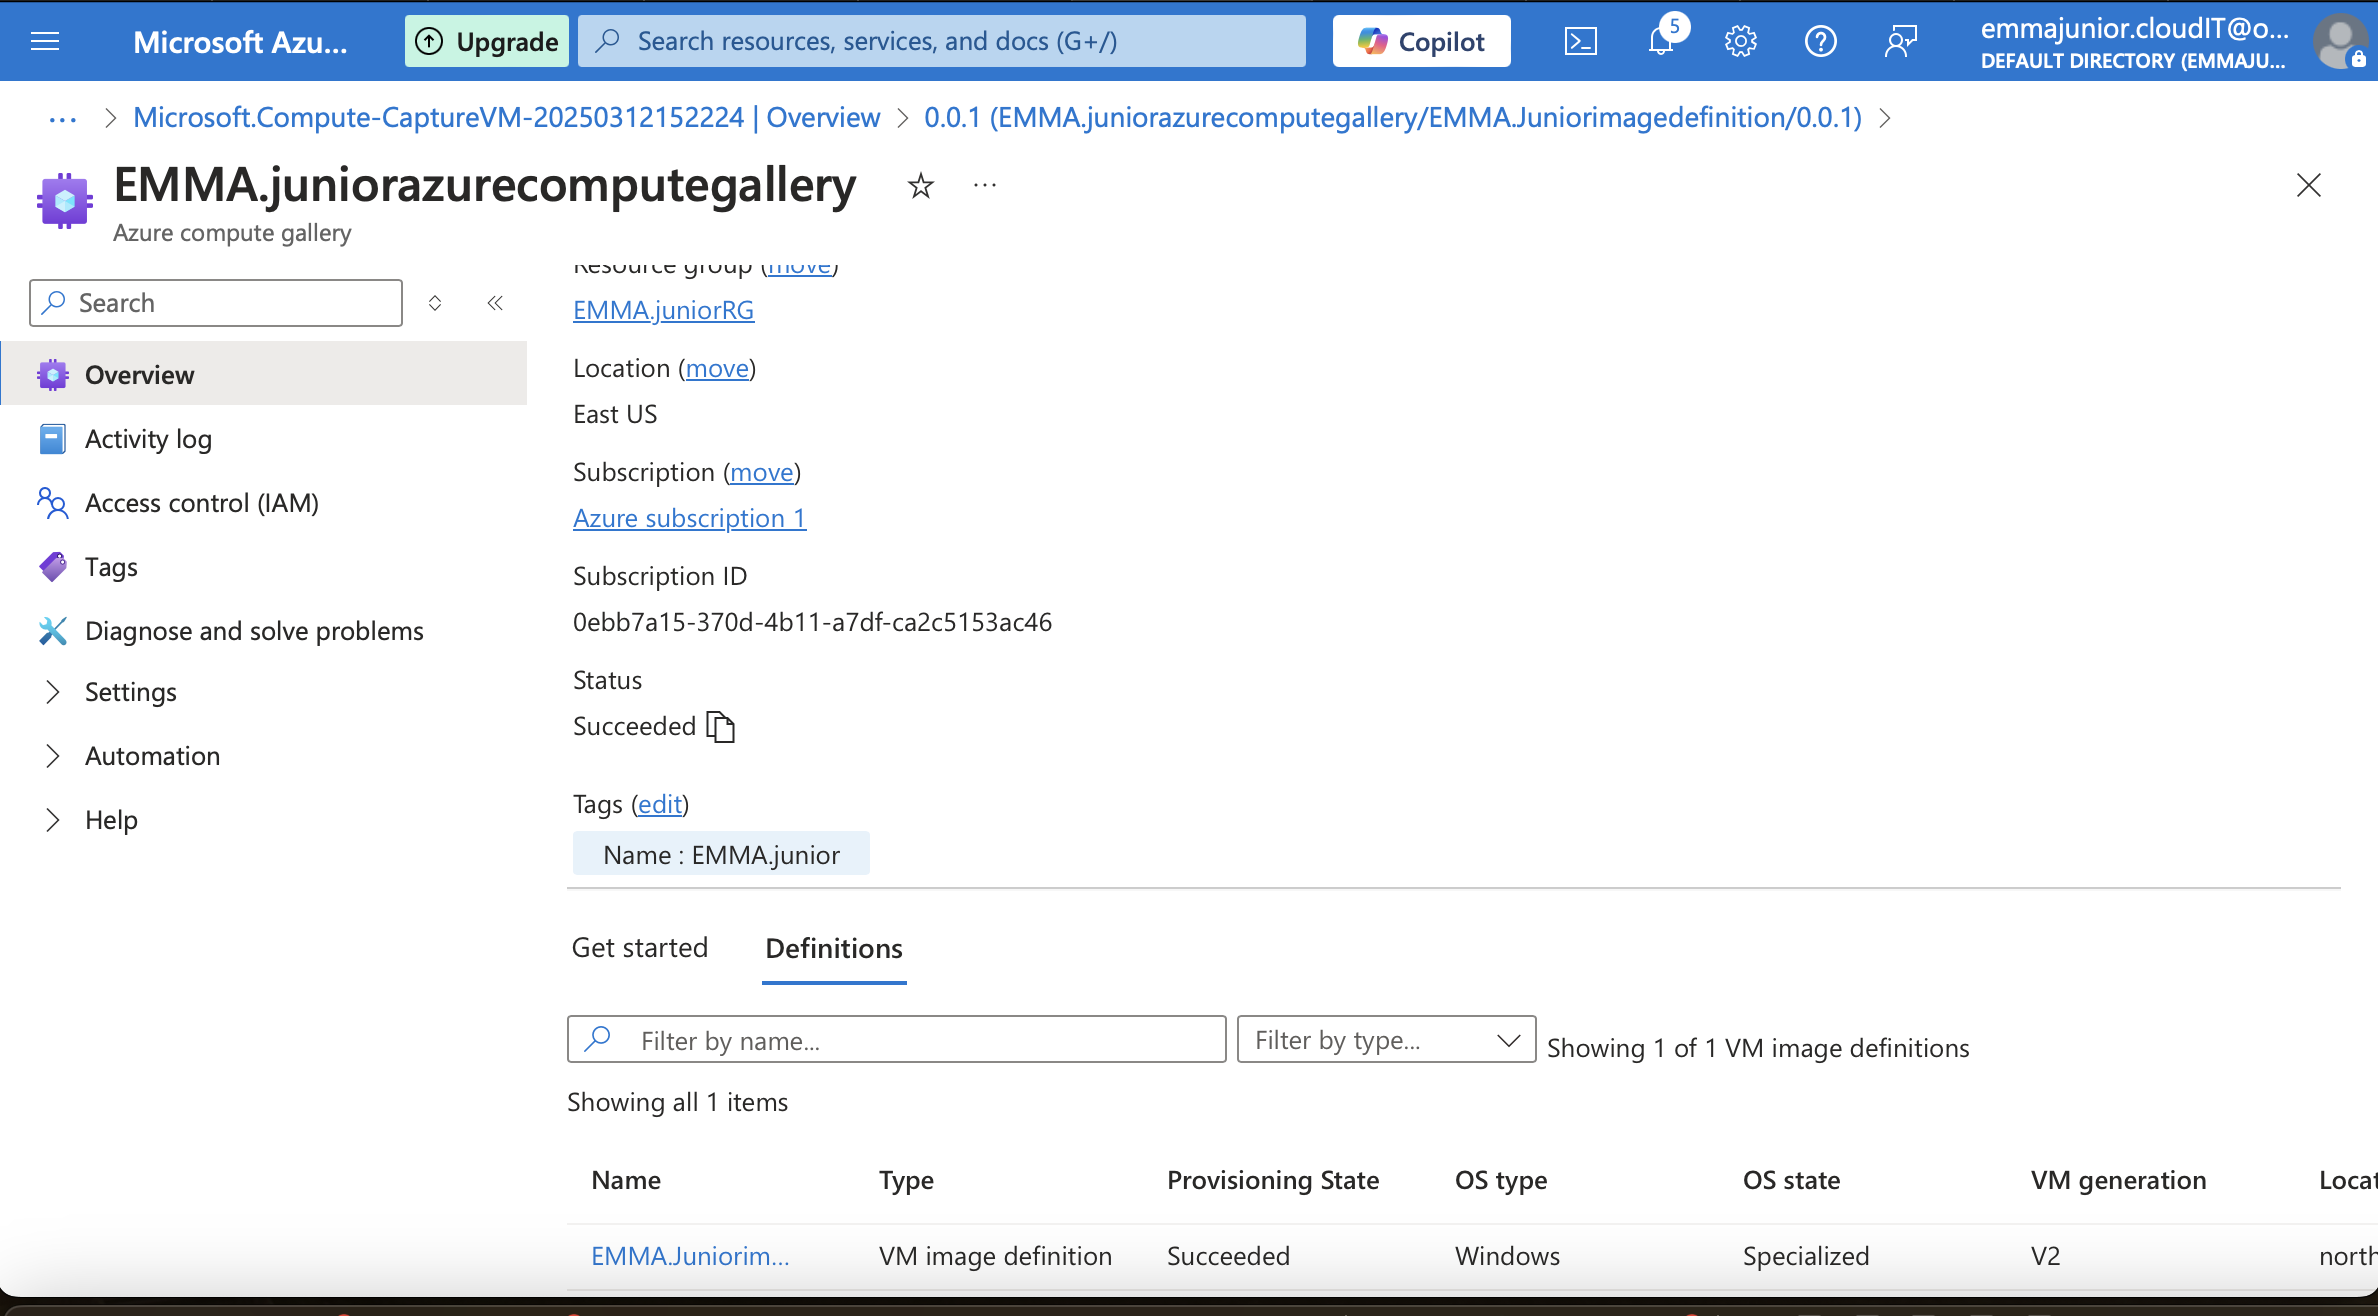
Step 15
Azure compute gallery showing saved image.