
Cloud security can be one of the biggest challenges—not just for companies, but also for learners.
In this tutorial, I’ll walk you through how I set up a secure AWS environment using some of its most common services: IAM (Identity and Access Management), EC2 (virtual servers), and S3 (cloud storage). I’ll show you how I created IAM users and groups with specific permissions, set up roles and policies to manage access, and applied security rules to my virtual machine.
By the end, you’ll see how I secured my infrastructure, and I hope it helps you feel more confident securing yours too.
Why I Chose This Project
As someone learning cloud computing, I realized early on that understanding how to use AWS isn’t just about launching servers or storing files—it’s also about keeping everything secure. I wanted to go beyond the basics and learn how real-world cloud environments are protected. That’s why I chose to focus on IAM, EC2, and S3. These are popular services in AWS, and learning how to secure them gave me hands-on experience with access control, roles, policies, and firewall rules. This project helped me build a stronger foundation in cloud security, and I hope sharing it will help others who are just starting out too.
Prerequisite
- Basic knowledge of AWS and its services (IAM, EC2, S3).
- AWS account set up.
- AWS CLI installed and configured on your local machine.

Step 1: Creating the User, IAM Policy and Roles
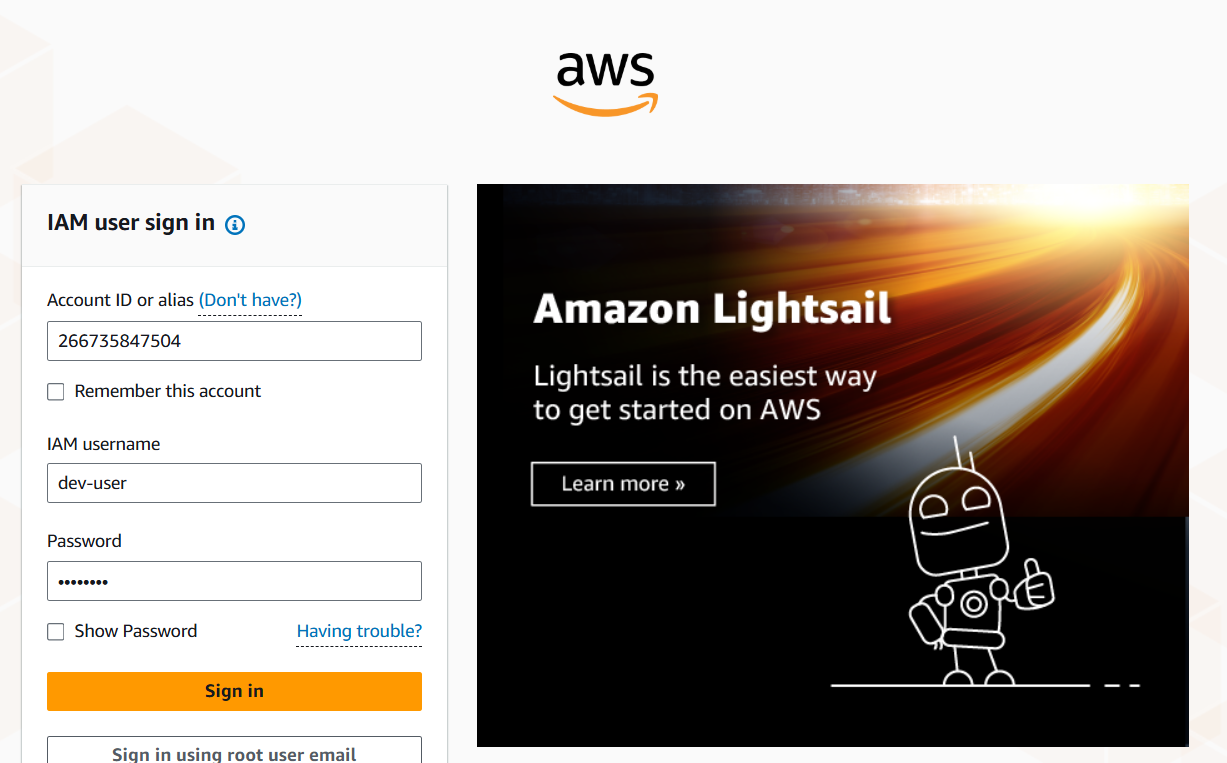
1. Create IAM Users
- Go to IAM Dashboard → Users → Add Users
- Set a name (e.g.,
dev-user) - Enable programmatic access and/or AWS Management Console access
- Click Next
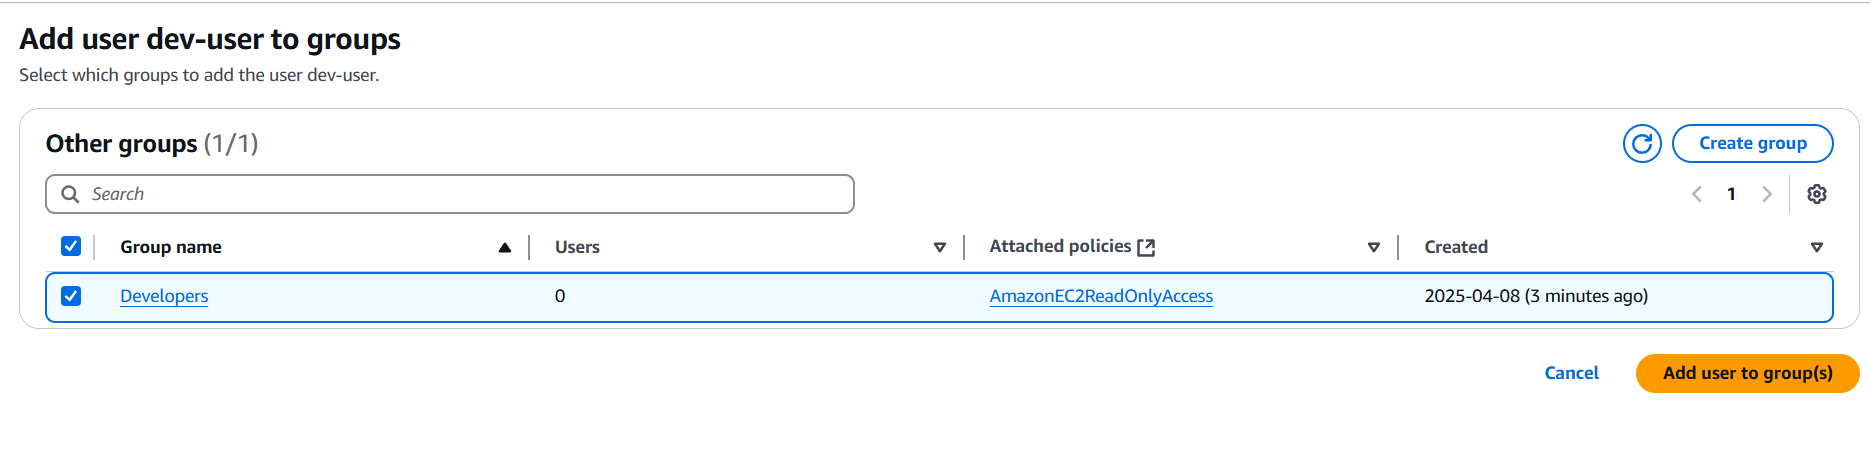
2.Create IAM Groups and Attach Policies
- In the same IAM dashboard, click Create Group
- Name it (e.g.,
Developers) - Attach a policy like
AmazonEC2ReadOnlyAccess - Add the user to the group
3.Create IAM Roles (Optional but good for EC2 access control)
- IAM → Roles → Create role.
- Choose AWS service → Select EC2.
- Attach policies (e.g., S3 access for the instance).
- Name and create the role.
- Attach it to an EC2 instance during configuration.
Step 2: Configuring EC2 Instances
1.Launch EC2 Instance:
In the setting up of a new EC2 instance, we need to configure the security groups.
To create a Security Group
- Go to EC2 Dashboard → Security Groups.
- Click Create Security Group.
- Name it (e.g.,
web-access). - Add inbound.
Inbound Rules
To allow traffic from known sources
- Type: SSH, Port: 22, Source: Your IP
- Type: HTTP, Port: 80, Source: 0.0.0.0/0
- Type: RDP, Port: 3389, Source: Your IP (if using Windows)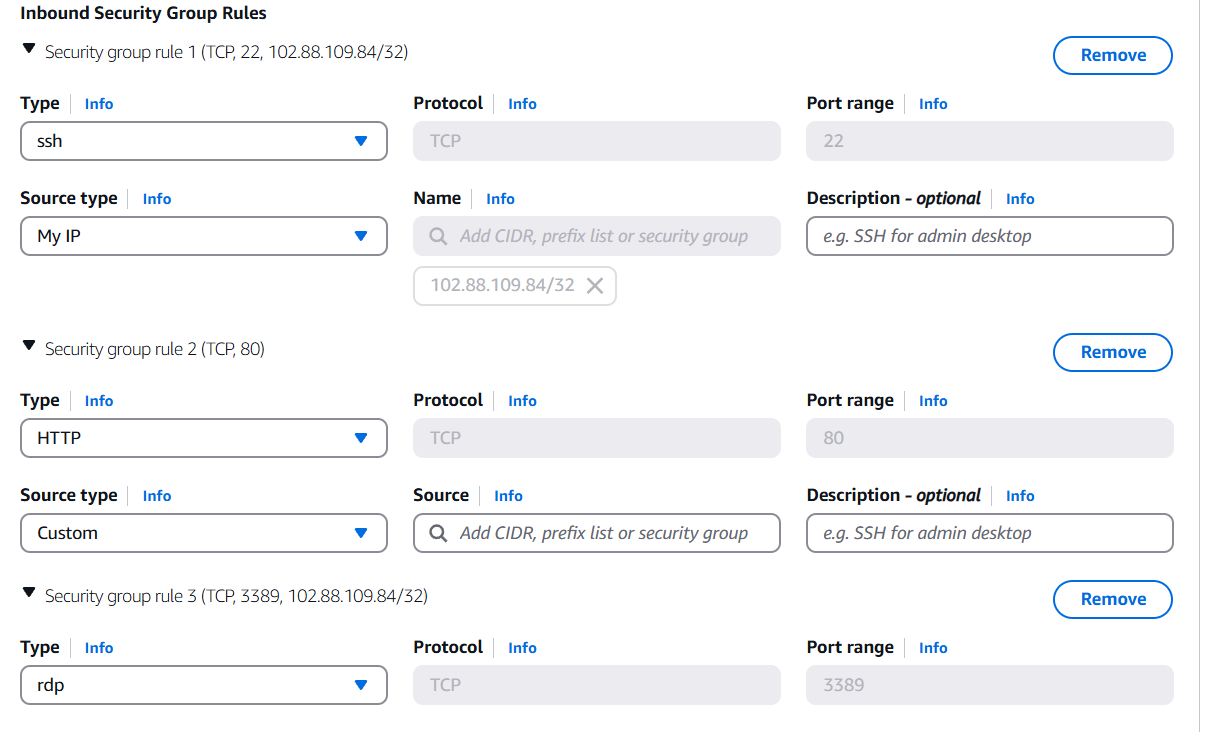
Step 3. Attach Security Group to EC2 Instance
- While launching an EC2 instance → Network settings.
- Select the security group you just created.
Or:
EC2 Dashboard → Instances → Select instance → Actions → Networking → Change Security Groups
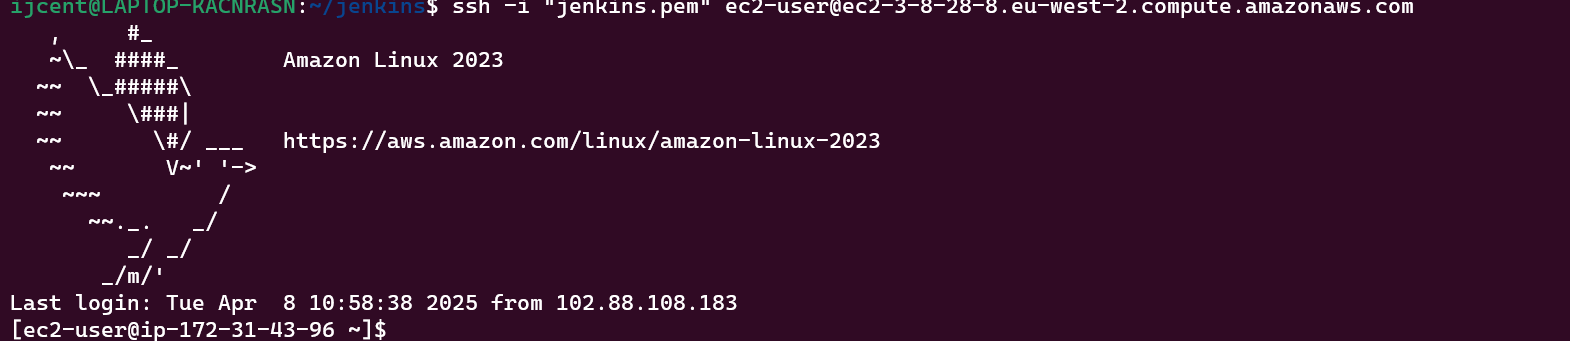
Step 4. Connect to EC2 via SSH
Open your terminal and connect:
ssh -i your-key.pem ubuntu@your-ec2-public-ipUse SSH to connect to your EC2 instance and run basic commands to ensure the instance is working correctly.
If you're not sure how I connected my EC2 instance to VS Code, check out this article where I explain everything in detail: How to Connect Your AWS EC2 Instance to VS Code
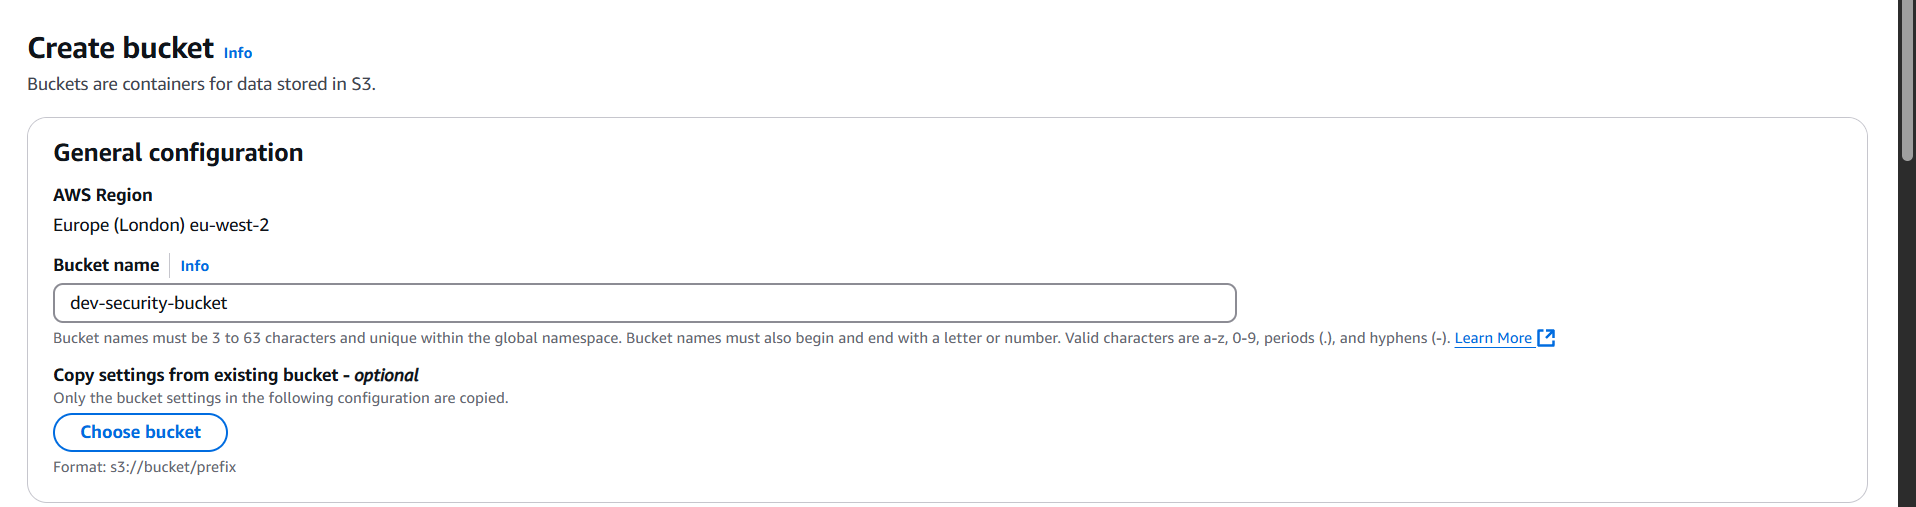
Step 5. Create an S3 Bucket and Upload a File
- Go to S3 > Create bucket.
- Name the bucket and leave other settings default or customize them.
- Upload a test file.
- Set object permissions to allow public access (optional if you want to view in browser).
If your EC2 instance is properly configured, you should be able to access your infrastructure—such as the configuration file stored in S3—from your own IP address while preventing access from others. This is because:
- Port 22 is open
- You're using the correct key
- Your IP address is allowed in the security group rules
Step 6: Test From Restricted IP
- Try connecting via a VPN or ask a friend to test from their IP
- Connection should be blocked if their IP isn’t in the allowed list
The main core of this project is being able to restrict a user from accessing your infrastructure. By using a policy, you can access it, but others can't.
Conclusion
Keeping your AWS environment secure is very important. In this guide, we showed how to create users and groups with the right permissions, set up an EC2 server safely, and control access to files in an S3 bucket. By doing all this, you can make sure that only the right people can use your resources and protect your setup from unwanted access.
If you found this article helpful, share it with others who may find it interesting.
Stay updated with my projects by following me on Twitter, LinkedIn, and GitHub.
Resources & Further Reading
How Can AWS Amplify Improve Your Development Process?
What is Backend as a Service (BaaS)? A Beginner's Guide
How to Build an Application with AWS Lambda
What is cloud computing? A Guide for Beginners
Thank you for reading.