TL;DR
Start on your data engineering journey by installing WSL2 with Ubuntu on Windows 11 and setting up Postgresql in the Linux environment. The Postgresql set-up will accept both internal and external connections. Just this setup is enough to get started with data engineering
Introduction
Modern data engineering stacks use PostgreSQL as the standard for relational databases. PostgreSQL offers direct installation on Windows, Linux, MacOS, BSD, and Solaris Operating systems. However most professional data engineers often prefer running it in Linux for better performance, and similarity with production environments, and less compatibility issues.
70% of computer users around the world are using the Windows Operating system. While this is the case, 80% of production servers (Computers that power the apps and websites you use every day) are running on Linux. Naturally as humans love visually appealing systems which is why our number one choice for Operating system will be windows. Linux on the other end is mostly used through the Command Line Interface (CLI) which might not be visually appealing. With the CLI, you run a series of commands to get stuff done on your computer. However recent developments in the Linux Operating System have seen the introduction of the Graphical User Interface (GUI) to enable users not bother with the command line and instead adopt the approach to tap and click icons just like in Windows. But since 80% of the production servers is powered by Linux, and without GUIs, we are somehow left with no choice but to figure out a way of learning commands behind the GUIs. The challenge presents itself to developers, data engineers, analysts as to whether they need to get another computer that can run separately with Linux. Or even consider Dual Booting (While computer boots, you chose the OS you want to use ). The quick win without breaking the bank is using the Windows Subsystem for Linux (WSL2).
WLS2 gives us the best of both worlds: Windows' user-friendly interface with Linux's robust developer environment. By the end of this guide, you'll have:
- A fully functional PostgreSQL server running in WSL2
- External connectivity configured for Windows tools
- A production-like environment for local development and testing
Let's turn your Windows 11 machine into a professional-grade PostgreSQL development environment!
Prerequisites ( What we actually Need to get up and running )
Before starting, ensure you have:
- Windows 11 Home or Pro edition (Home is sufficient)
- Virtualization enabled in your BIOS/UEFI settings
- Administrative access to your Windows machine
- Internet connection for downloading packages
- 15-20 minutes of your time
The Definite Step by Step Guide
Step 1: Enable WSL2 & Install Ubuntu-22.04
To install WSL2, simply open Powershell on your Windows 11 device as Administrator and run the following command to install a specific Linux distribution like Ubuntu-22.04
wsl --install -d Ubuntu-22.04If you want to install any other Linux distributions available in WSL2, you can consider checking them out by running this command in Powershell
wsl --list --onlineor wsl -l -o
A full detailed guide on setting up WSL2 and Ubuntu-22.04 is available at Install WSL | Microsoft Learn
Step 2: Download PostgreSQL Installer for Windows
Download website
Navigate to https://www.postgresql.org/download/windows/ and install Postgresql for windows
- Click on "Download the installer" (it redirects to EnterpriseDB).
- Choose the latest stable version (e.g., PostgreSQL 16 or 15) for your Windows.
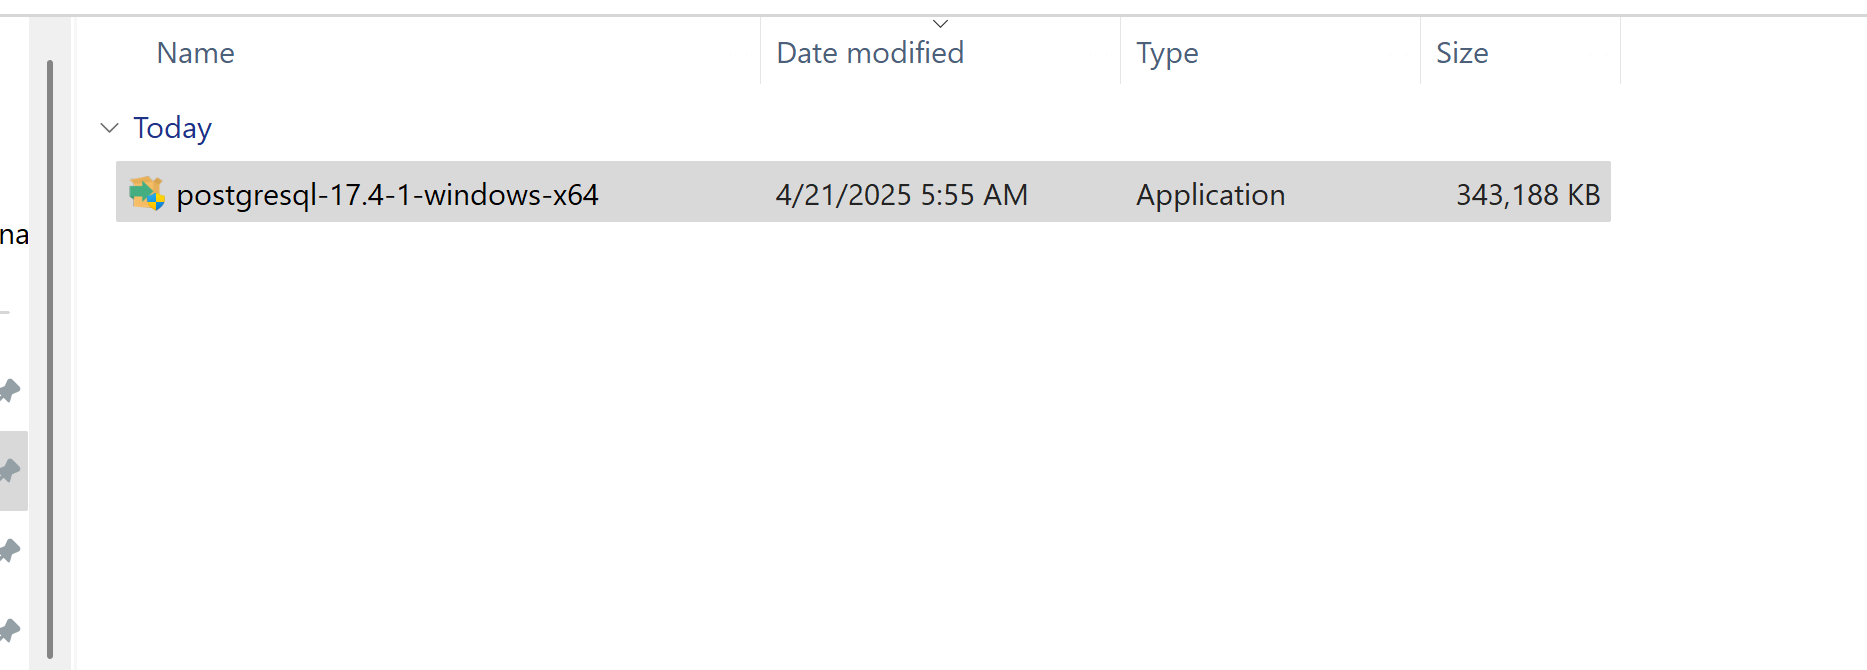
- Download the installer .exe file.
Install PostgreSQL on Windows
Run the installer:
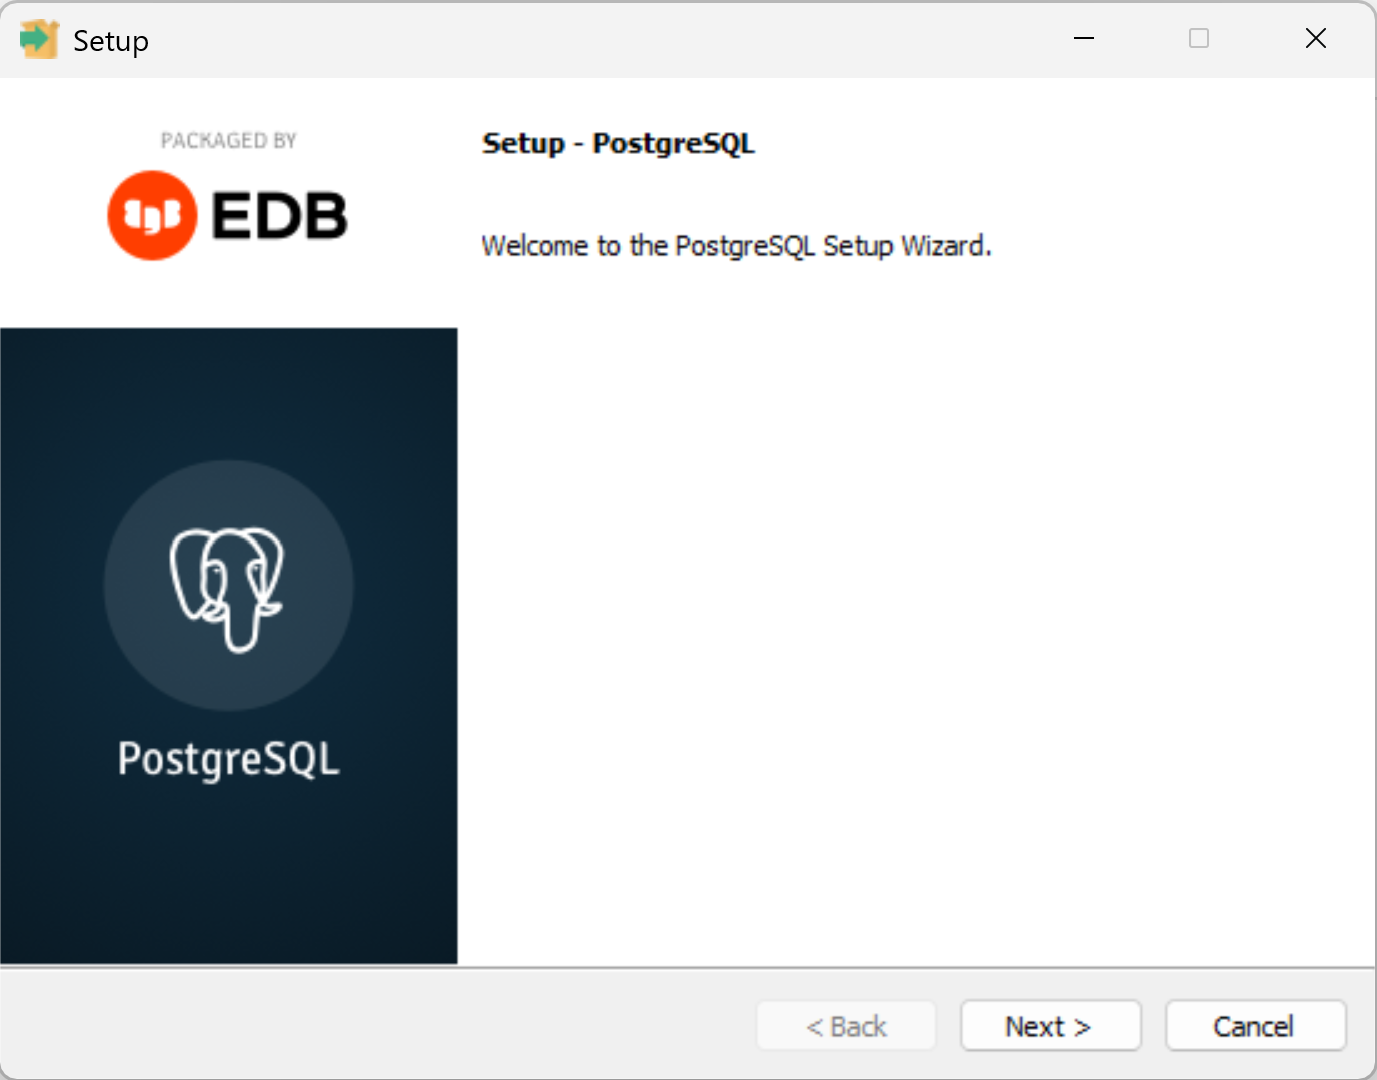
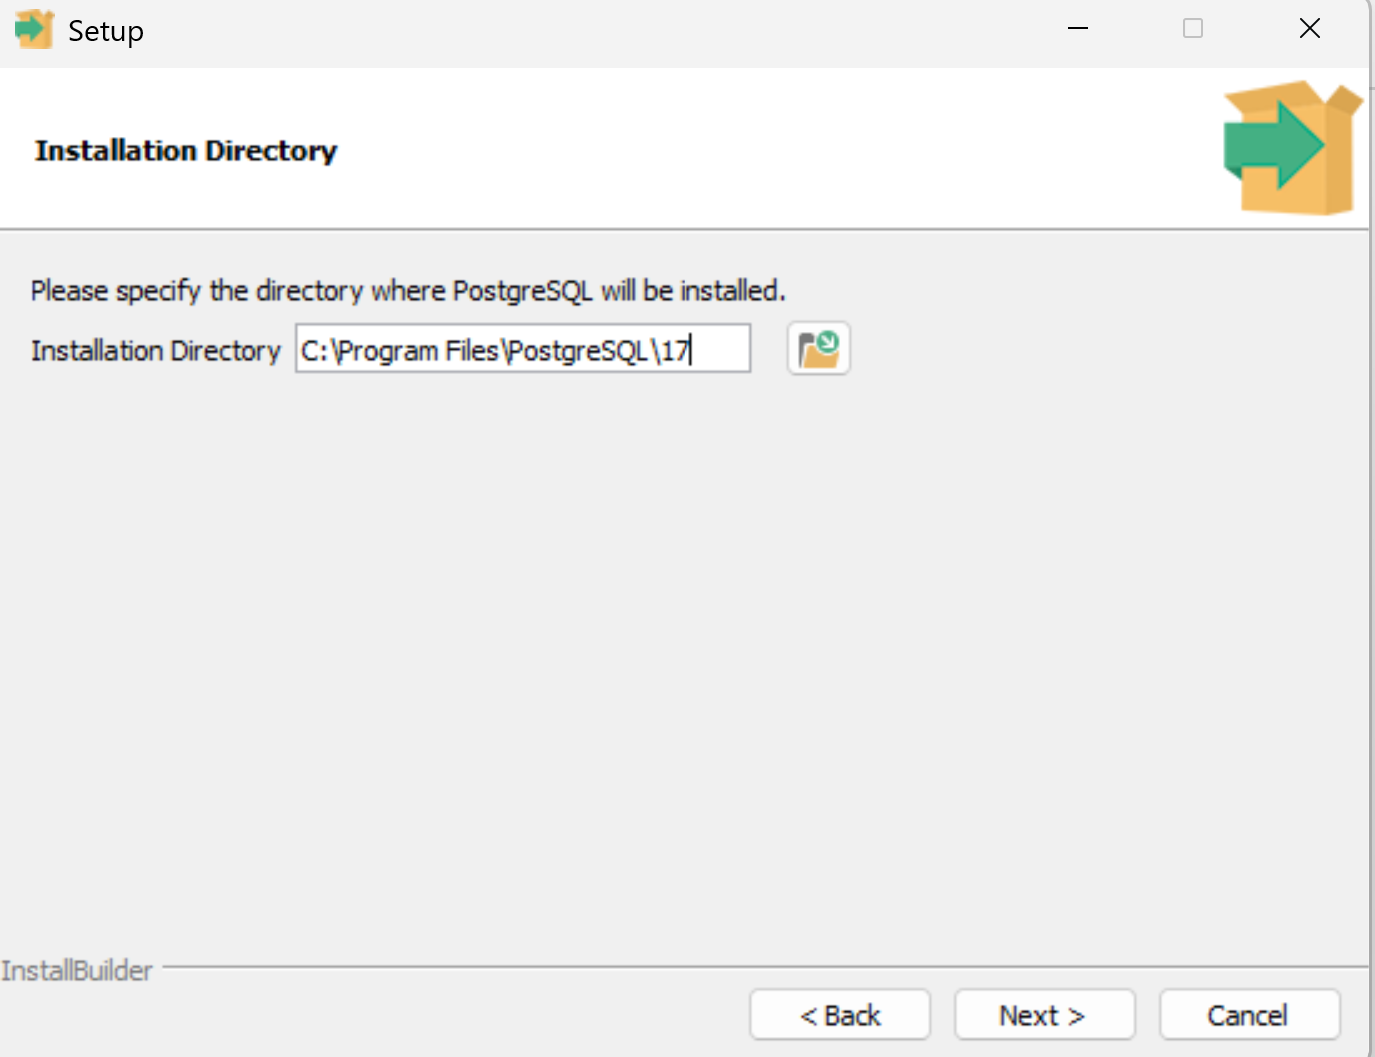
Click Next → Choose an installation directory (default is OK).
Select Components (keep defaults: PostgreSQL Server, pgAdmin, StackBuilder, Command Line Tools).

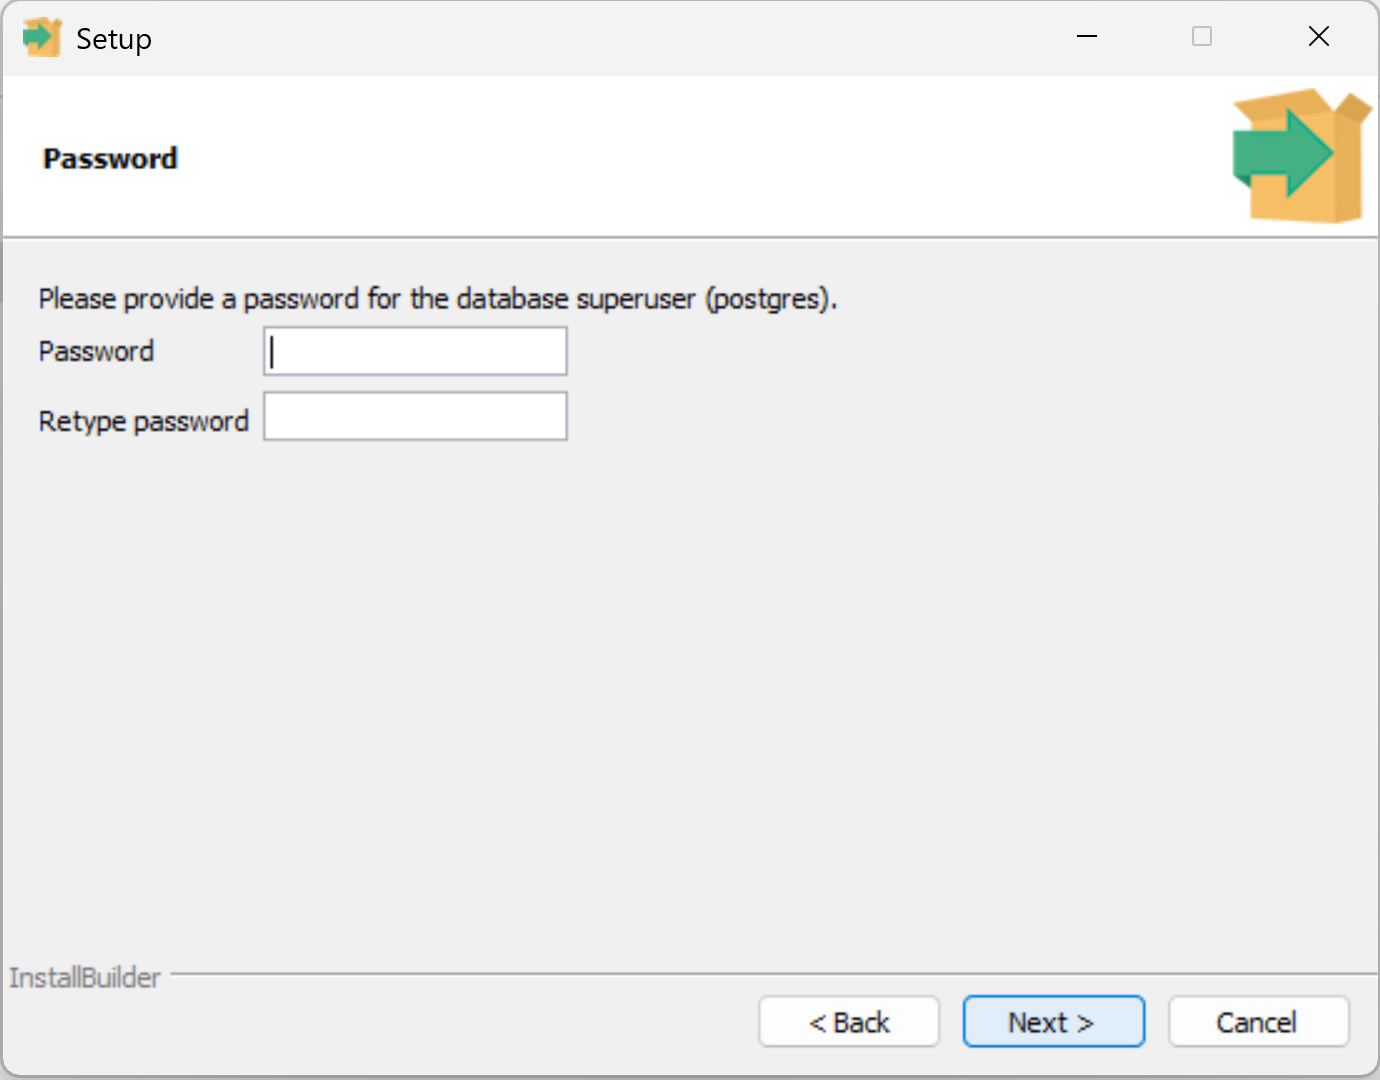
Set a Password for the PostgreSQL superuser (postgres). (Important! Remember this password.)
Set Port Number: default is 5432.
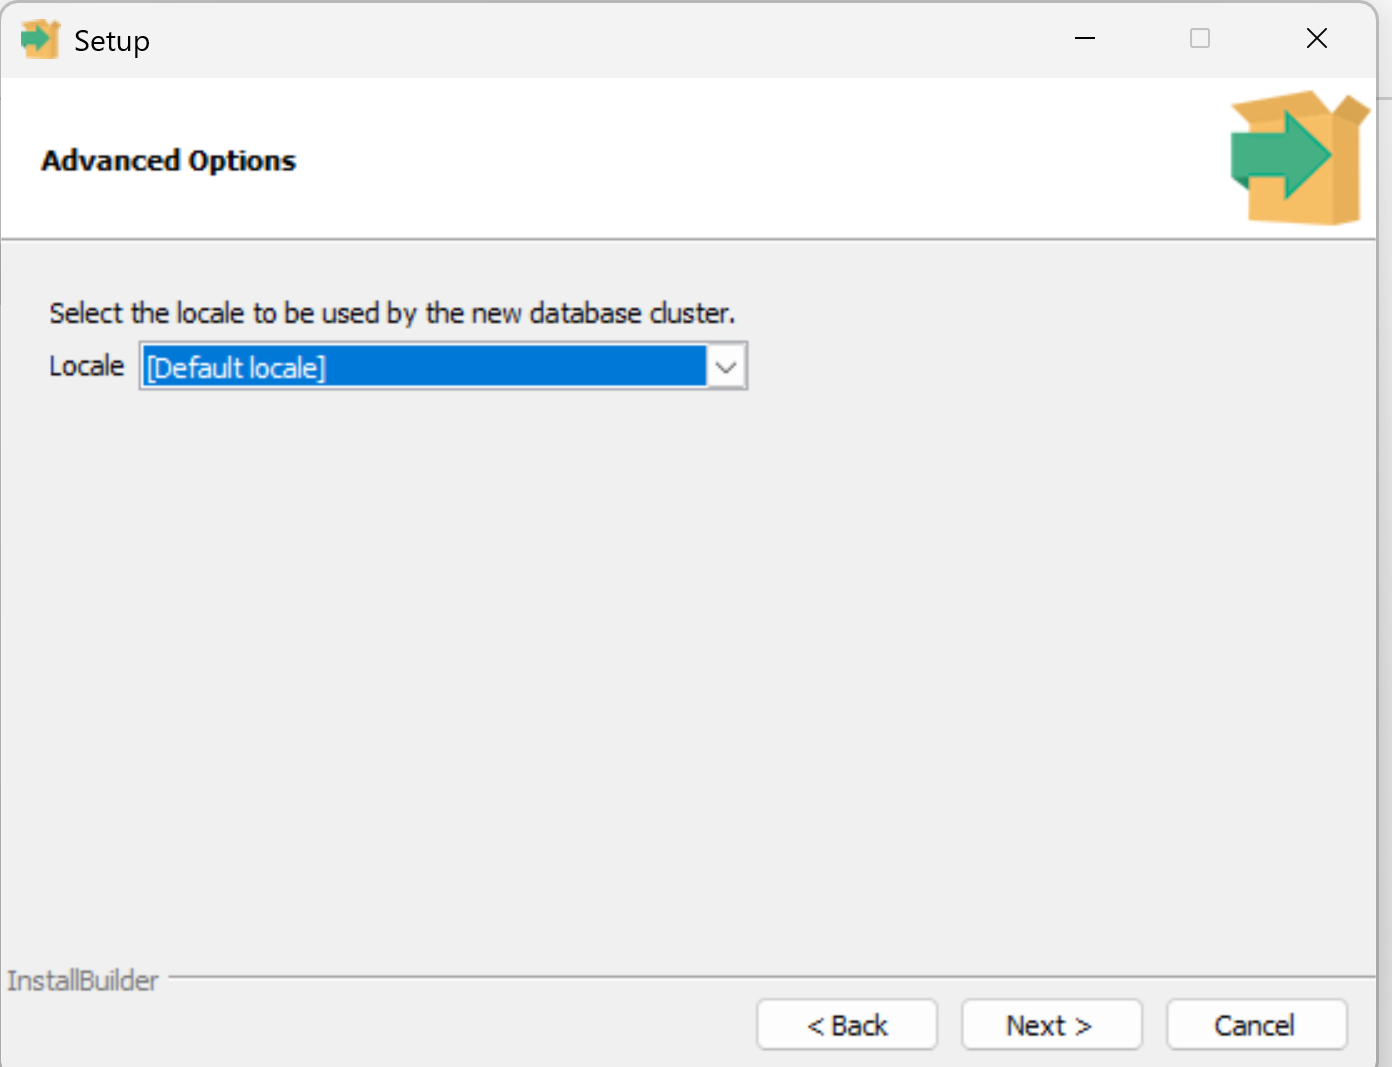
Set Locale: default is OK.
Install.
✅ After installation, it starts Postgresql as a Windows service automatically.
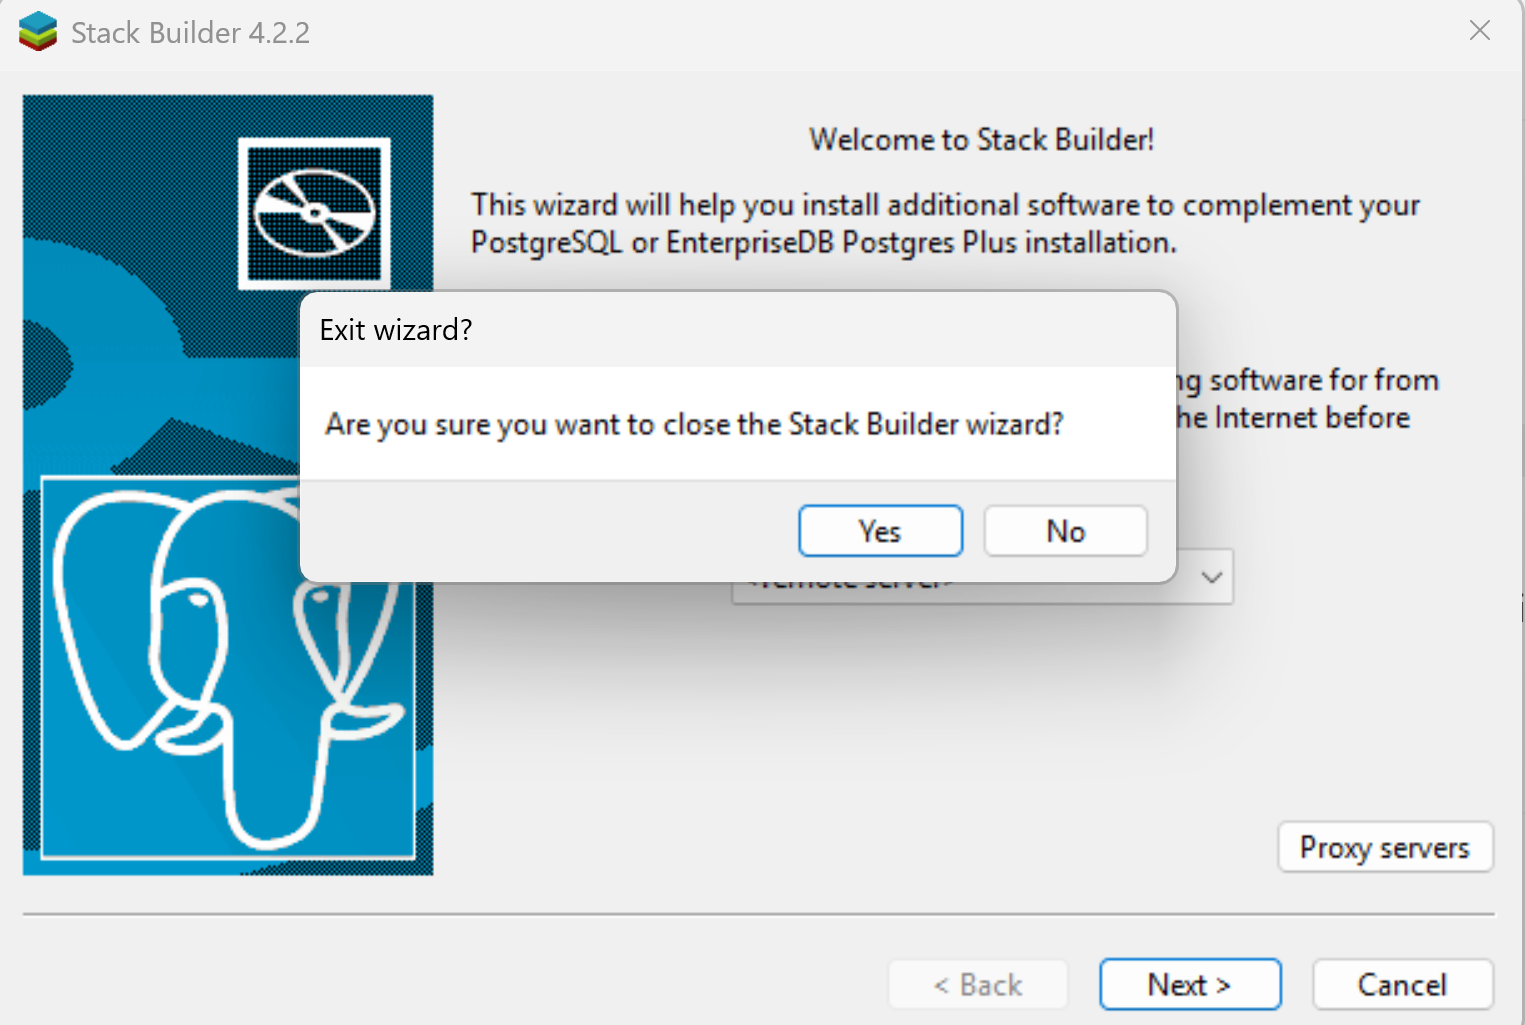
You can ignore the StackBuilder Wizard
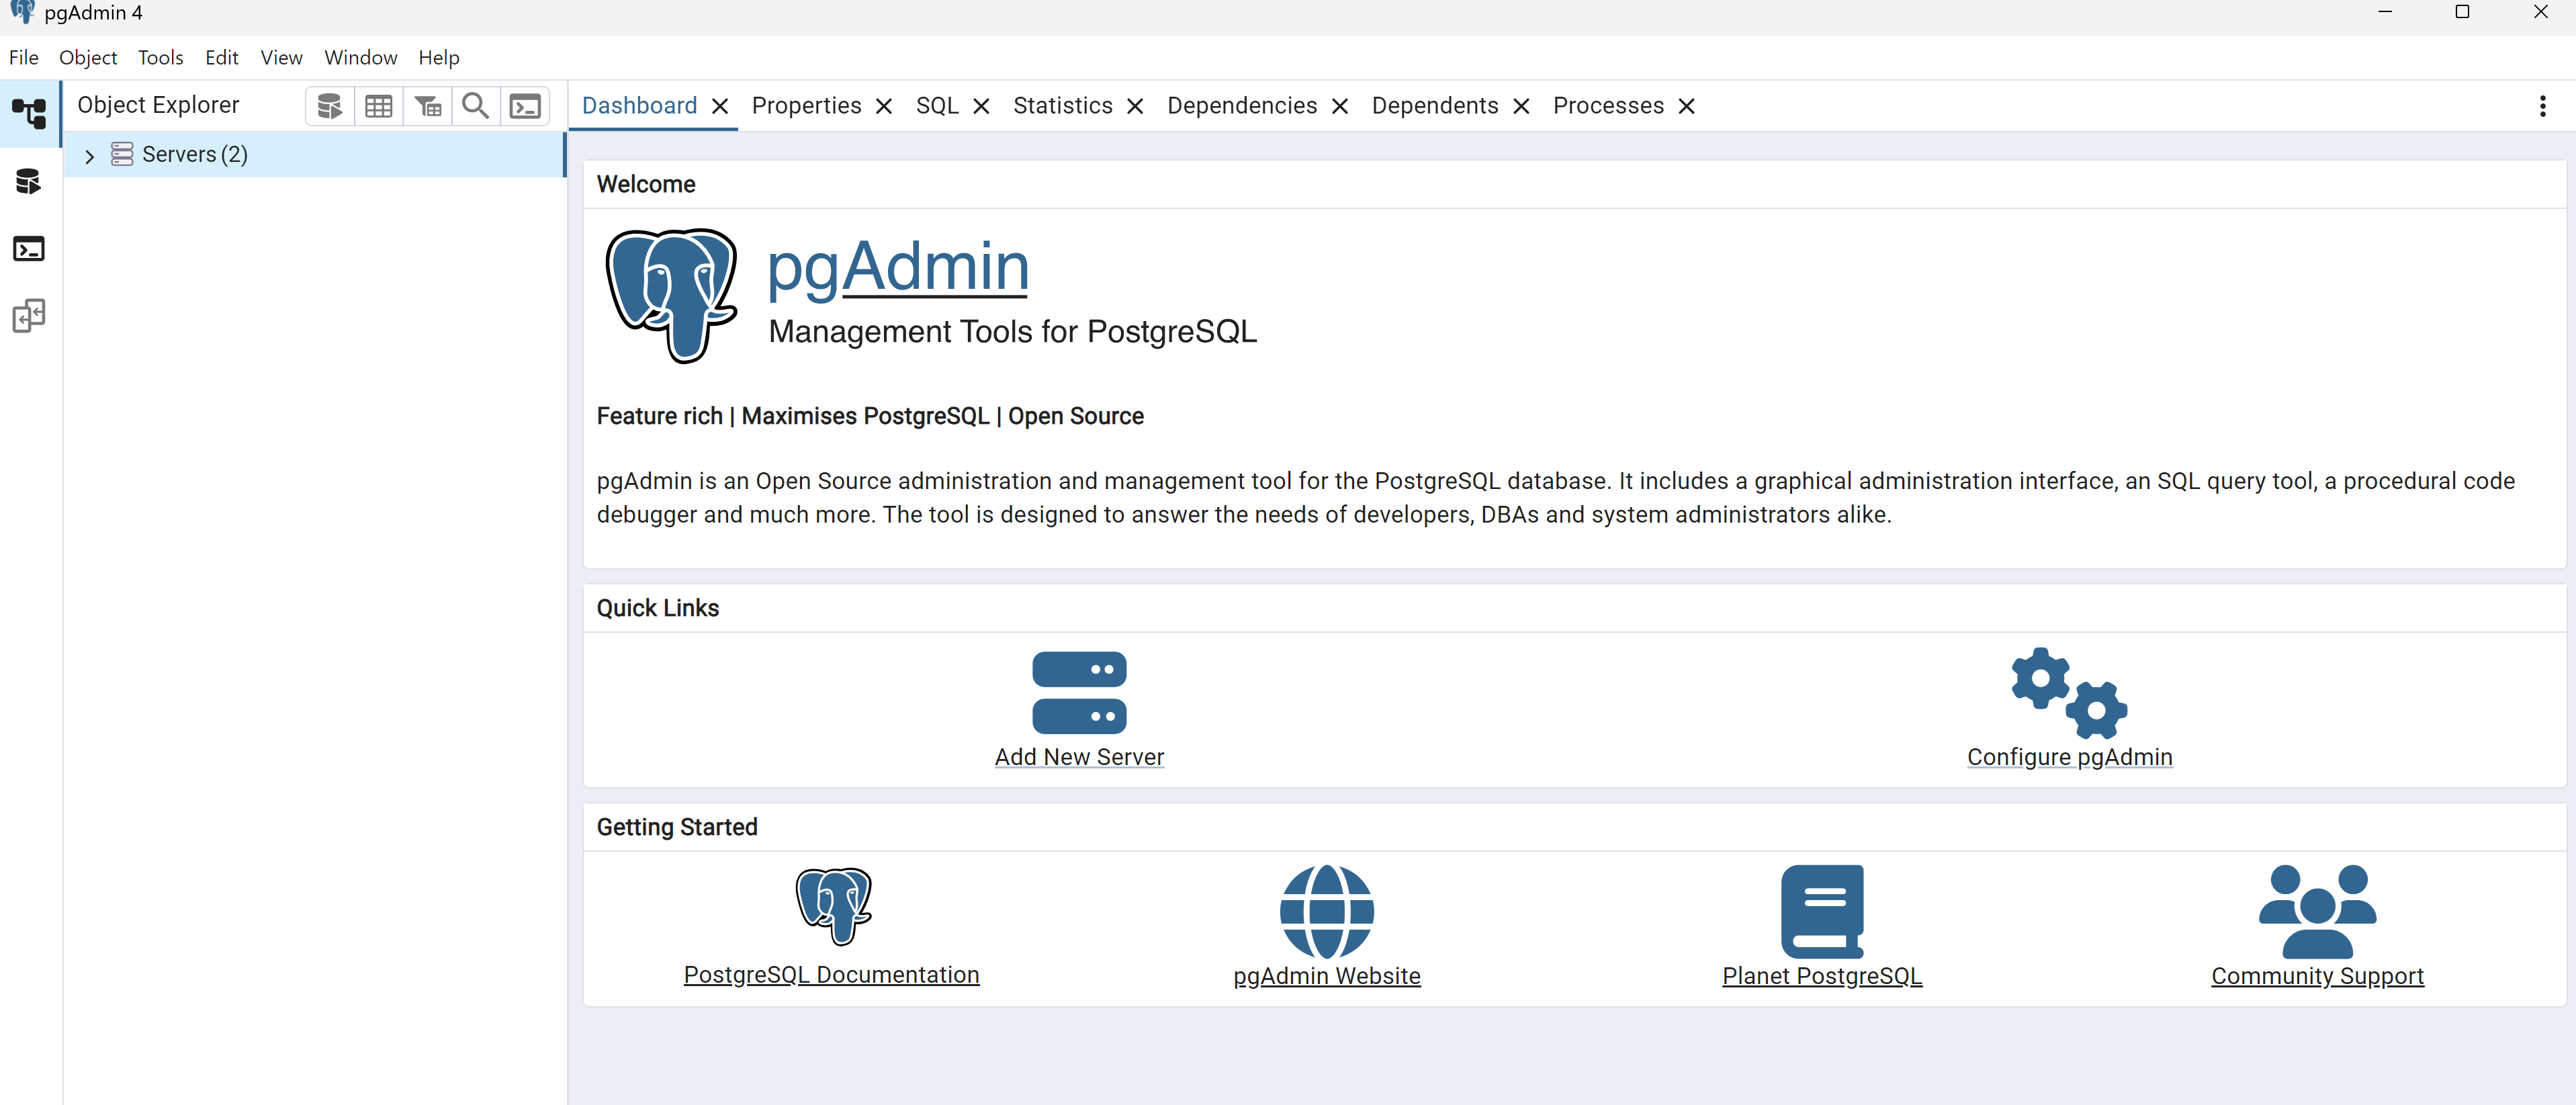
pgAdmin Setup
After installation, you also get pgAdmin installed.
Open pgAdmin → set a Master Password → login to your server using:
Username: postgres
Password: (the one you set during install)
Well done, you have successfully installed Postgresql on your Windows 11 Computer
Step 3: Install PostgreSQL on WSL Ubuntu
Now that Postgress is installed and running on Windows we can also set it up for our wsl environment. This assumes that you have completed step number 1: Enabling WSL2 and installation of Ubuntu-22.04,
Now let's install PostgreSQL:
Update your package lists:
sudo apt update && sudo apt upgrade -yInstall PostgreSQL and its extensions:
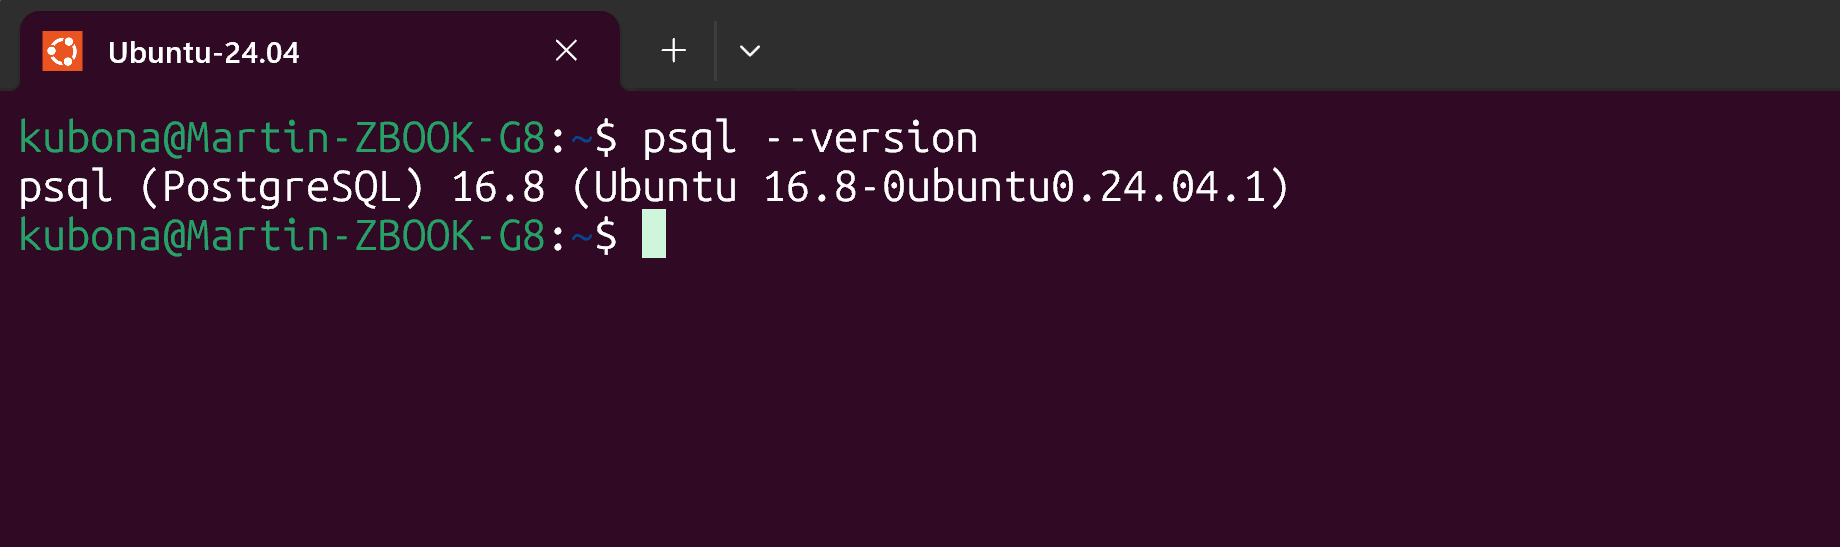
sudo apt install postgresql postgresql-contrib -yVerify installation:
psql --versionYou should see output like psql (PostgreSQL) 16.8 (version may vary).
Start PostgreSQL service:
sudo service postgresql startCheck status:
sudo service postgresql status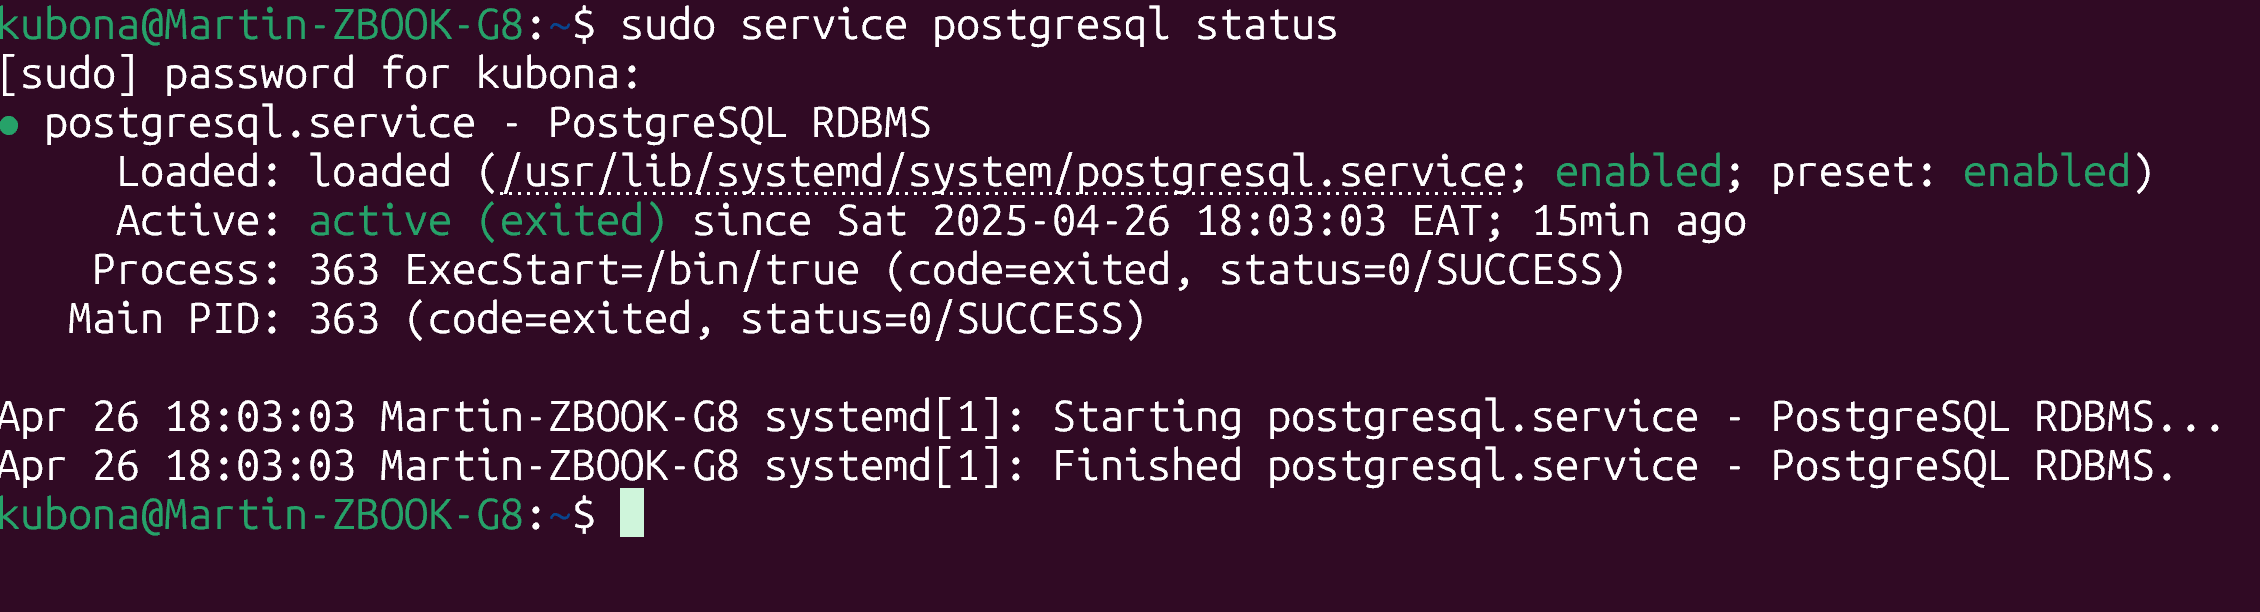
Create a PostgreSQL User Matching Your WSL Username
Get your WSL username:
Whoami

sudo -u postgres createuser --interactive

# Enter username: kubona

# Shall the new role be a superuser? (y/n): y

Set a password (optional):
Setup .bashrc to Default to postgres DB with Your User
Open up the .bashrc using the nano editor
nano ~/.bashrcAdd the following at the bottom:
export PGUSER=kubona

export PGDATABASE=postgres
Apply changes by exiting the nano editor( Ctrl +X , Y, Enter ) then run
source ~/.bashrcNow you can run the psql command on the terminal to access the postgres CLI interface
psqlEdit postgresql.conf to Allow External Connections (for pgAdmin)
Edit the config file:
sudo nano /etc/postgresql/16/main/postgresql.confFind and set the line starting with # listen_addresses = ‘localhost’ and then change it to ( Remove the # at the beginning;
listen_addresses = '*'Update pg_hba.conf to Allow External Authentication
Edit pg_hba.conf:
sudo nano /etc/postgresql/16/main/pg_hba.confAdd this line at the bottom:
host all all 0.0.0.0/0 md5Restart PostgreSQL to Apply Changes
sudo service postgresql restartFind WSL IP Address to Use in pgAdmin
Get WSL's IP address (from Windows PowerShell or CMD):
wsl hostname -IThis might return something like 172.27.94.100. Use this as the host in pgAdmin.
Step 4: Add Connection in pgAdmin on Windows
Open pgAdmin
- Go to Add New Server
- In the General tab:
- Name: WSL PostgreSQL
- In the Connection tab:
- Host: (e.g., 172.27.94.100)
- Port: 5432
- Maintenance DB: postgres
- Username: kubona
- Password: yourpassword
- ✅ Save Password
Click Save — it should connect
Step 5: Connect from WSL and Prepare for Windows Tools
Let's verify everything works within WSL first:
Connect to PostgreSQL as the postgres user:
sudo -u postgres psqlCreate a test database:
sql

CREATE DATABASE testdb;

\c testdb

CREATE TABLE test (id serial PRIMARY KEY, name varchar(50));

INSERT INTO test (name) VALUES ('Test connection successful!');

SELECT * FROM test;

\q
You should see your test data displayed.
Conclusion
A pat on the back for making it till this far, Kudos!!
You've successfully set up a professional PostgreSQL environment on Windows 11 using WSL2. This hybrid approach gives you the development environment used by data engineers while keeping the Windows features you enjoy.
Next in Our Data Engineering Foundations Series
Now that you have PostgreSQL running on WSL2, our next article will show you how to:
- Configure DBeaver as your PostgreSQL GUI client
- Set up database users and permissions
- Create your first data engineering project schema
Timing will never be perfect for you to start, today is here just get started!
Do you have any questions, challenges or recommendations, feel free to engage in the comments section below.


