
This article was co-authored by @carlosdon
Article Guide
Smooth is Money.
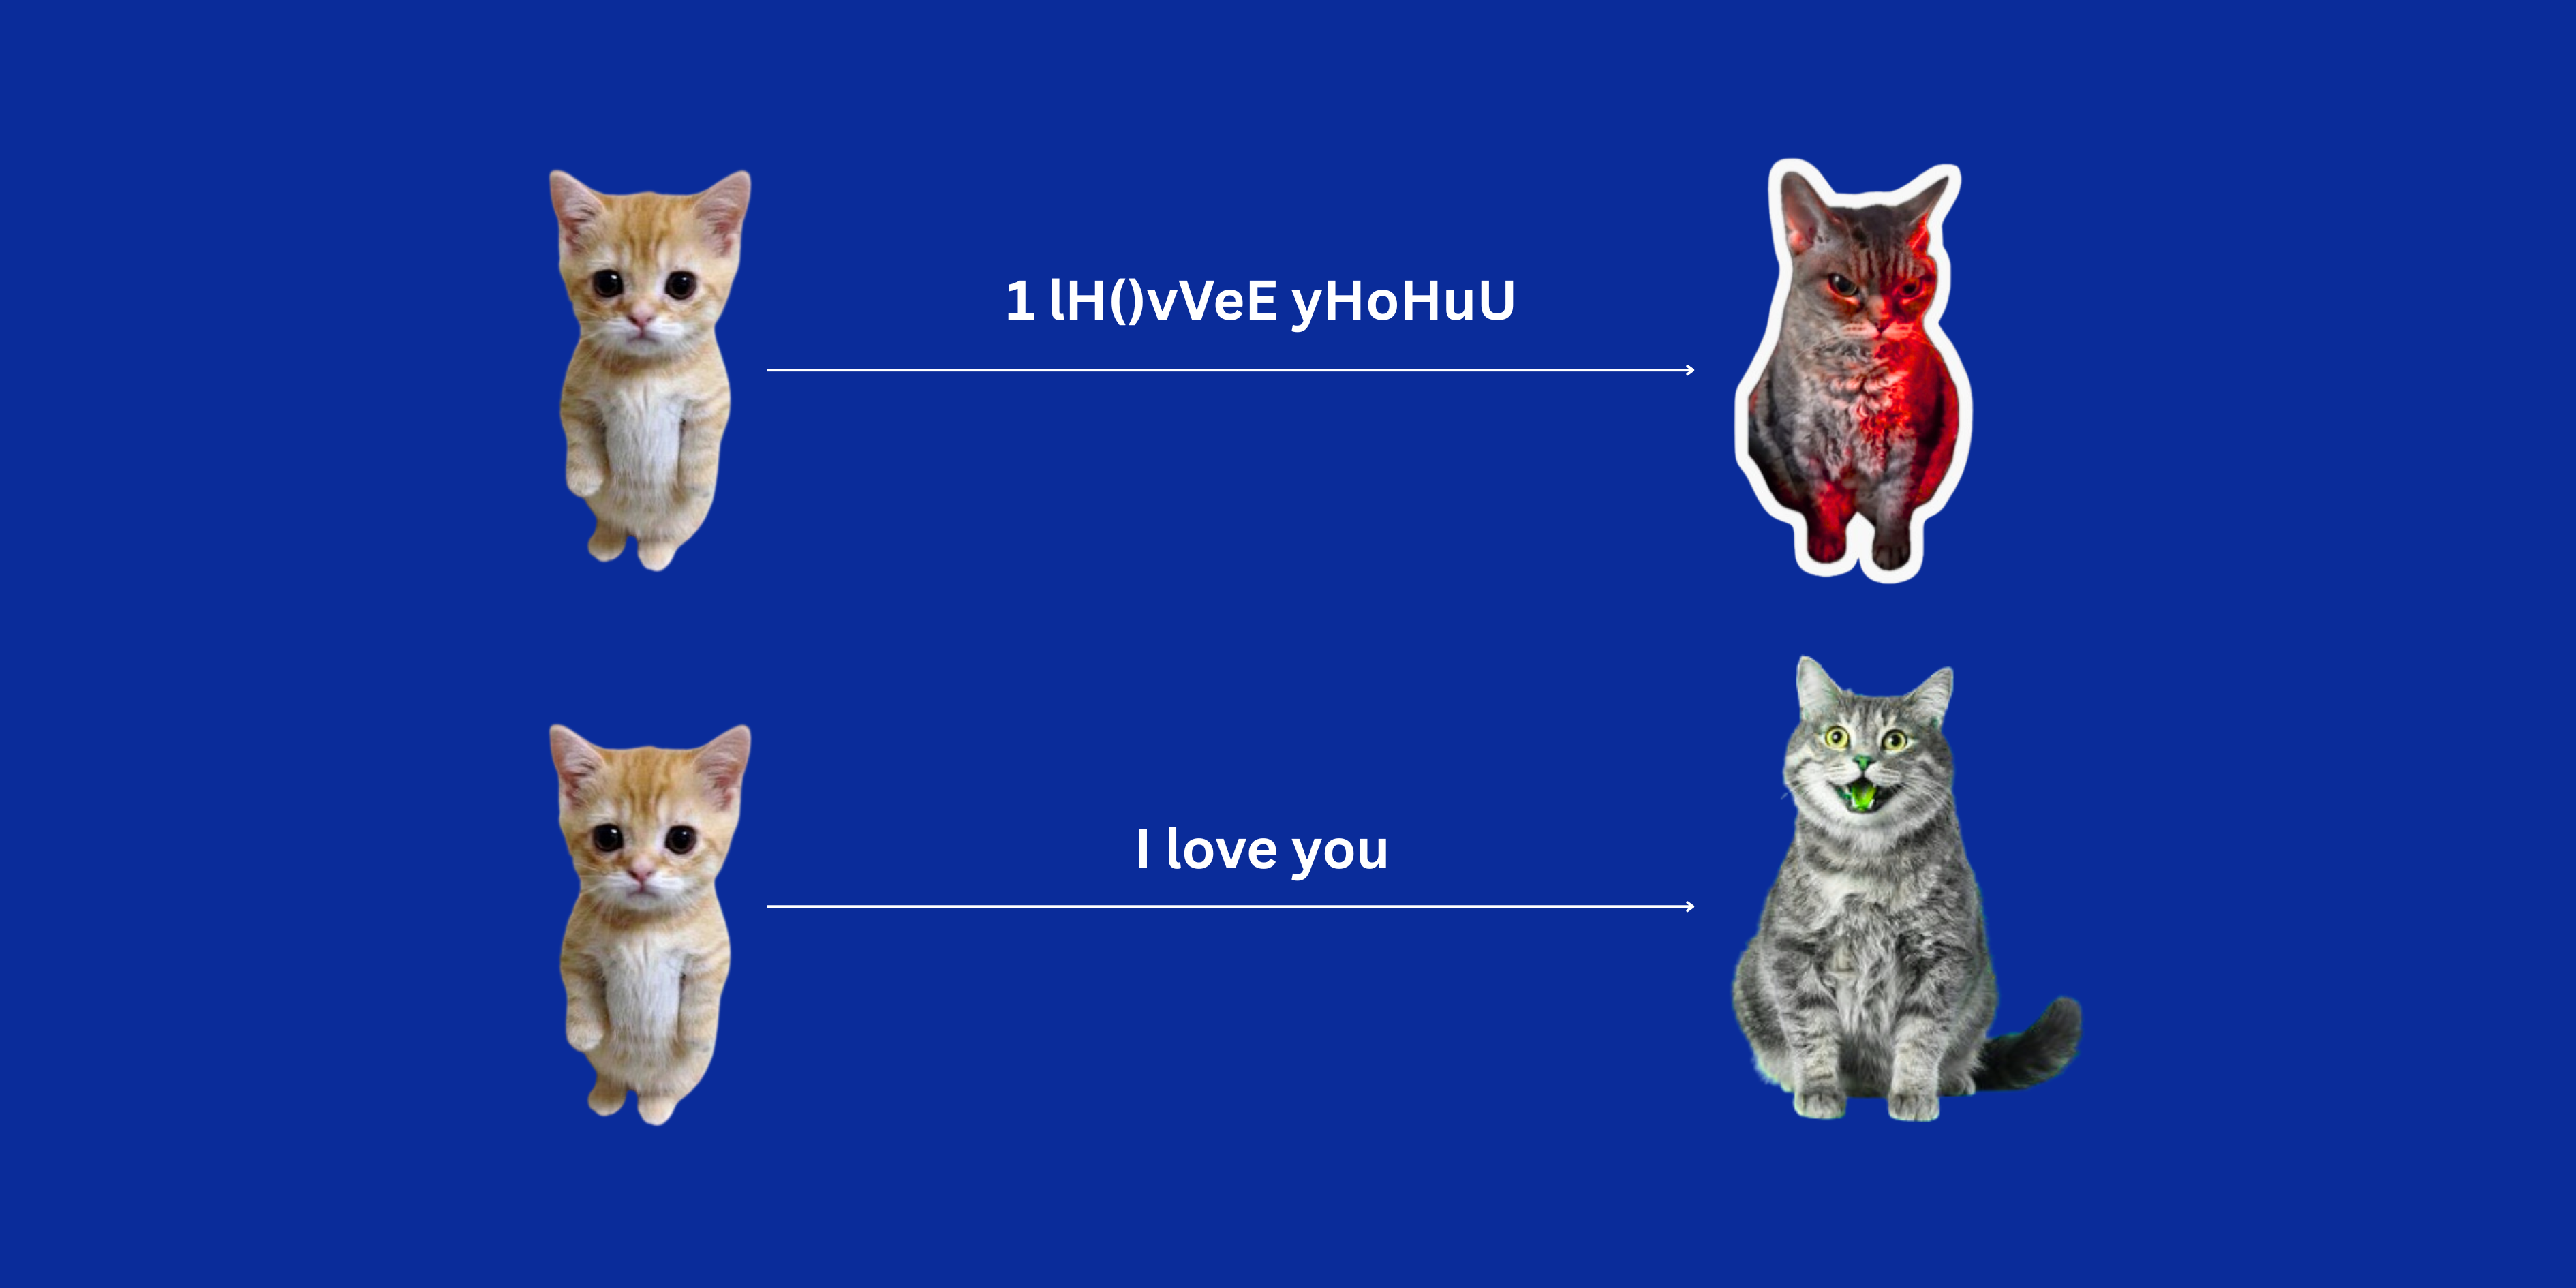
In an ageu whe we epect muc t plae2y – see? That glitchy, jumbled mess is exactly how it feels when audio or video doesn’t stream smoothly. Whether it’s music, video, or even just scrolling text, lack of clarity disrupts the experience—and our comfort. That’s why, in the world of streaming, smooth is money.
Streaming platforms like Spotify, Netflix, and YouTube have mastered the art of delivering seamless experiences through one powerful, carefully engineered secret: efficient media processing.
The neat part? You don’t need massive infrastructure or a team of engineers to tap into that secret.
This article guides you through the same tools they use—starting with FFmpeg, an open-source multimedia powerhouse that makes high-quality streaming possible. We’ll show how it handles bitrate, compression, and real-world streaming issues—so by the end, you won’t just understand the what, but actually see the how in action.
Whether you're a developer, creator, or tech enthusiast—this is your roadmap to unlocking smooth, professional-grade streaming.
Prerequisites: Installation of FFmpeg
FFmpeg is a free, open-source tool used to process audio and video. It lets you convert formats, compress files, extract media, and edit content—all through simple commands. It's widely used in streaming, editing, and media delivery.
Installation of FFmpeg
For Windows 🪟
Step 1: Go to FFmpeg Download
Step 2: Under the Windows icon, you can click "Windows builds from gyan.dev"
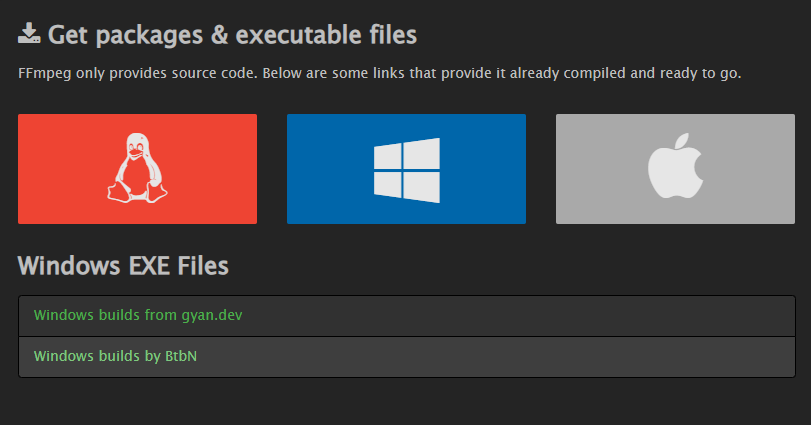
After this, you will be redirected to [CODEX FFMPEG (https://www.gyan.dev/ffmpeg/builds/).
Scroll down and download the full build release (ffmpeg-git-full.7z)

- Step 3: Extract it then copy the "bin" folder to System Environment Variables. Example: Go to the extracted folder and click "bin".
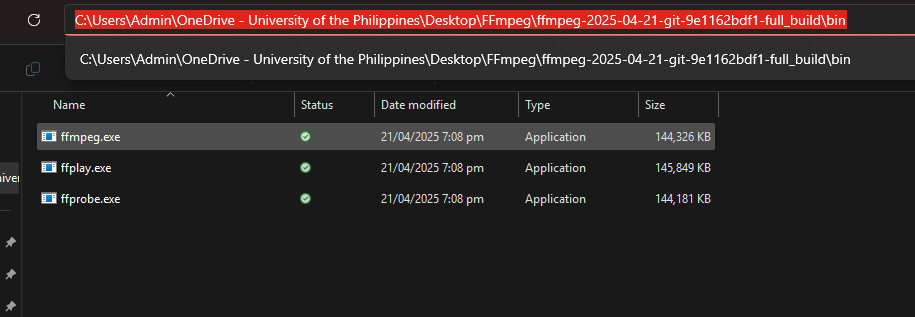
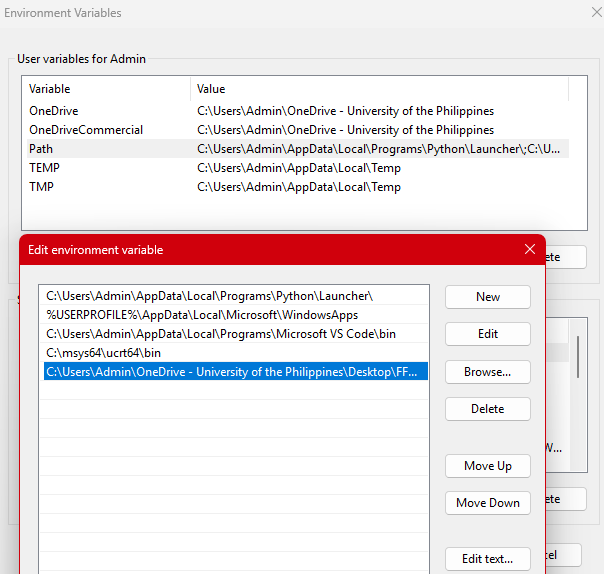
Copy it and add it to you System Environment Variables > Path (you can type to your search bar "Environment Variables" and then press "Environment Variables" button)
- Step 4: To check, you can go to your command prompt and type "ffmpeg -version" to see if it is already installed.
ffmpeg -versionFor Mac 🍎
For Mac, you can use Homebrew/brew to install ffmpeg.
brew install ffmpegFor Linux 🔗
You can use "sudo apt install ffmpeg" or update it first using "sudo apt update".
sudo apt updatesudo apt install ffmpegBonus Information 🎯
If you want to explore FFmpeg options, just run this in your terminal:
ffmpeg -helpSimple Implementation and Application using FFmpeg
Example Scenario:
Suppose you’ve recorded a file on your phone and want to send it via email. As we all know, email services typically have a maximum file size limit of around 20 to 25 MB. So how can you use FFmpeg to compress the file and make it small enough to send?
- Step 1: Go to your terminal or command prompt and quickly check the existence of FFmpeg to your machine. You can check it using the code provided below.
ffmpeg -version- Step 2: Find the folder/directory of your video and move there. In our case, the current file size is 1.29 GB.
Example:
cd C:\Users\Admin- Step 3: Now, we can use our conventional compression command using FFmpeg.
Example: You can tweak this according to your needs. There are also some strategies wherein you can target the exact file size using -vf scale.
ffmpeg -i input_video.mp4 -vcodec libx264 -crf 30 -preset veryslow -acodec aac -b:a 96k output_video.mp4Analysis:
-i input_video.mp4 - This is your input video/file.
This tells FFmpeg which video you want to compress. -i means the input and the following is your input video.
-vcodec libx264 - H.264 is a video codec type.
FFmpeg will compress the video using the H.264 codec, also called libx264. It's one of the most widely used and efficient video compression methods
-crf 30 - controls video quality & size
CRF (constant rate factor) controls the balance between file size and visual quality.
Common Standards for CRF: (in our case, we tried 30)
• Lower CRF (e.g. 18–23) = better quality, bigger file
• Higher CRF (e.g. 28–35) = smaller file, lower quality
preset veryslow - compression speed
The preset controls how hard FFmpeg works to retain the quality of the file accounting with its speed.
• The slower the preset, the smaller the output size.
• The longer it takes to process, the better the quality.
It can be categorized with ultrafast, fast, medium, slow, and veryslow.
-acodec aac -b:a 96k - audio compression
Use the AAC audio codec, which is common and efficient (used in MP4 files). Sets audio bitrate to 96 kbps—small size, decent quality for speech/music.
output_video.mp4 - output file name
This will be the name of the compressed file.

After the process, my .mp4 file was reduced to 43.6 mb. You can do the process again until we can get our desired size (which is for email is around 20 to 25 mb).
Conclusion
FFmpeg and its applications are just one powerful gateway into the world of compression and signal processing. Think of this as your stepping stone—not only into mastering media efficiency, but also into discovering the vibrant, open-source community that continues to evolve it.
This knowledge doesn’t end here. From streaming to broadcasting, from live presentations to media archiving, FFmpeg’s potential spans far beyond the basics. As you continue to explore, you'll find countless opportunities to expand its use—whether through self-study, experimentation, or collaboration with others in the field.
In short, this is only the beginning. The tools are in your hands—what you build with them is entirely up to you. Discover more with the official FFmpeg documentation.