Azure Virtual Machine Scale Sets (VMSS) provide a streamlined, scalable solution for deploying and managing groups of identical virtual machines. Ideal for hosting web applications, containerized services, or large-scale data processing, VMSS delivers built-in auto-scaling, load balancing, and high availability.
Designed for consistency and performance, VMSS automatically adjusts the number of VMs based on demand, helping you maintain application availability while optimizing costs.
This guide walks you through the process of creating and connecting to a Linux-based Virtual Machine Scale Set in Azure.
Step 1. Log In to Azure https://portal.azure.com

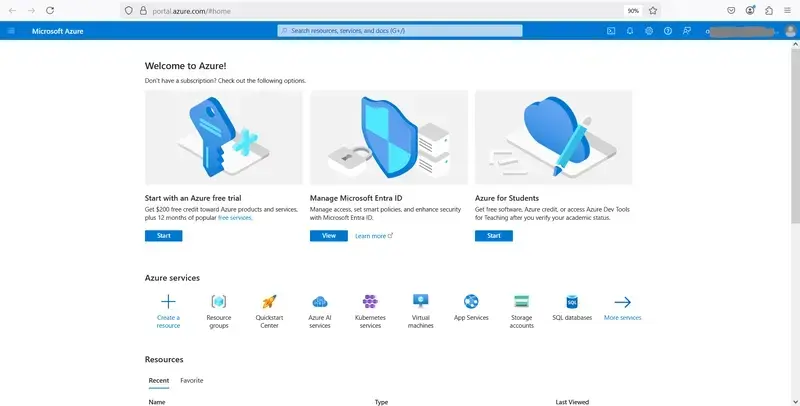
A successful login bring you to this page below,
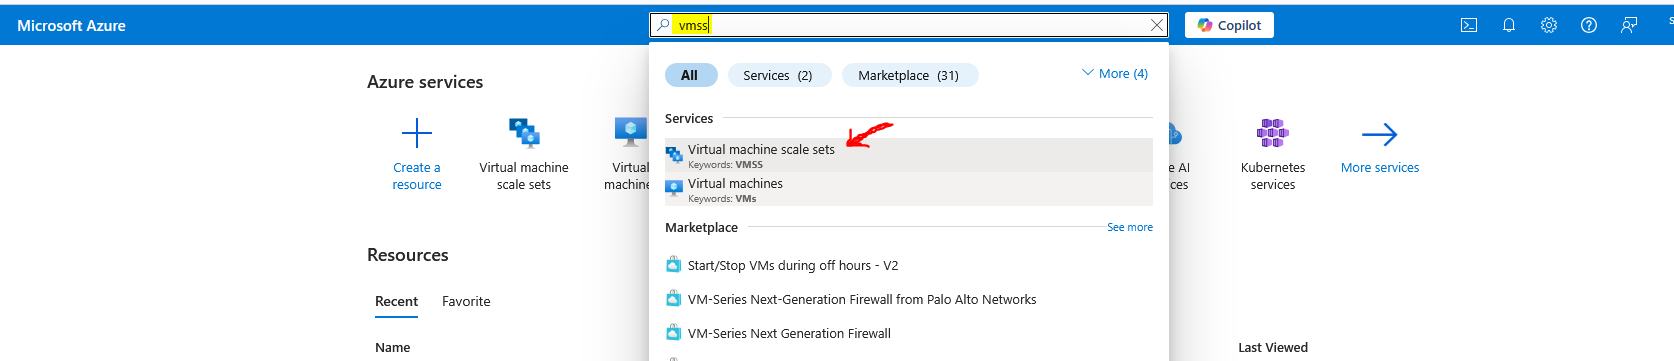
On the search bar, type vmss , then click on Virtual machine scale sets
Click on Create virtual machine scale sets

Choose your desired subscription and resource group.
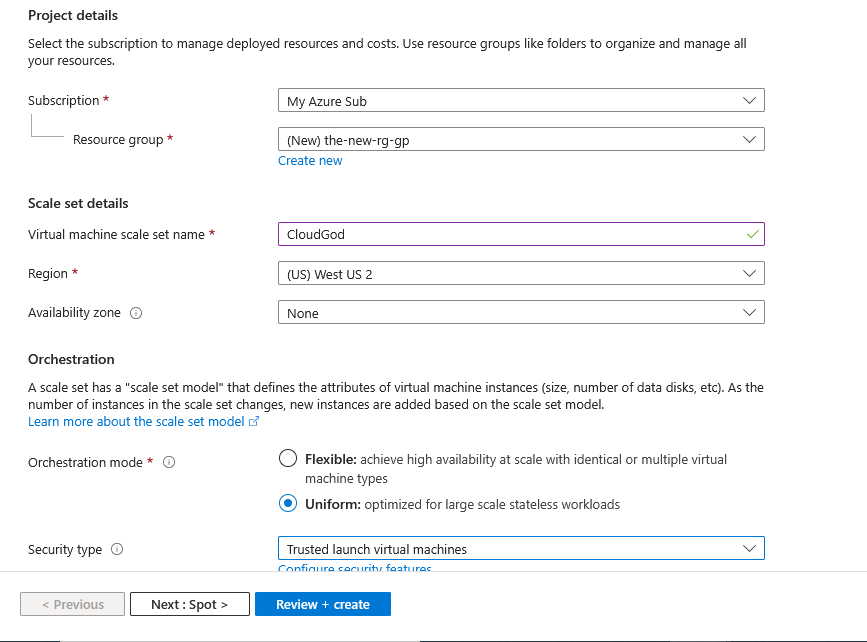
- Virtual machine scale set name: Input a desired name for your VM scale set.
- Region: Select a region close to you or your clients in order to reduce latency.
- Availability Options: Choose Availability Zones to enhance resiliency or Availability Set if required.
- Orchestration mode: Choose either Uniform or Flexible.
- Security type: Standard
Selecting an Orchestration Mode
Uniform Orchestration Mode
In Uniform mode, all virtual machines share the same configuration, enabling automatic scaling and streamlined management. This mode supports automatic instance upgrades and integrates seamlessly with load balancing and autoscaling features. It is well-suited for stateless or containerized workloads, such as web applications or batch processing.
Flexible Orchestration Mode
Flexible mode offers greater control over individual VM instances, allowing for varied configurations and advanced management capabilities. It is ideal for stateful workloads, persistent storage requirements, and complex health checks. This mode also supports Availability Zones, enhancing resiliency and fault tolerance.
Scaling mode: Enable Autoscaling to allow Azure to automatically adjust the number of VM instances based on real-time workload demands, ensuring optimal performance and cost efficiency.
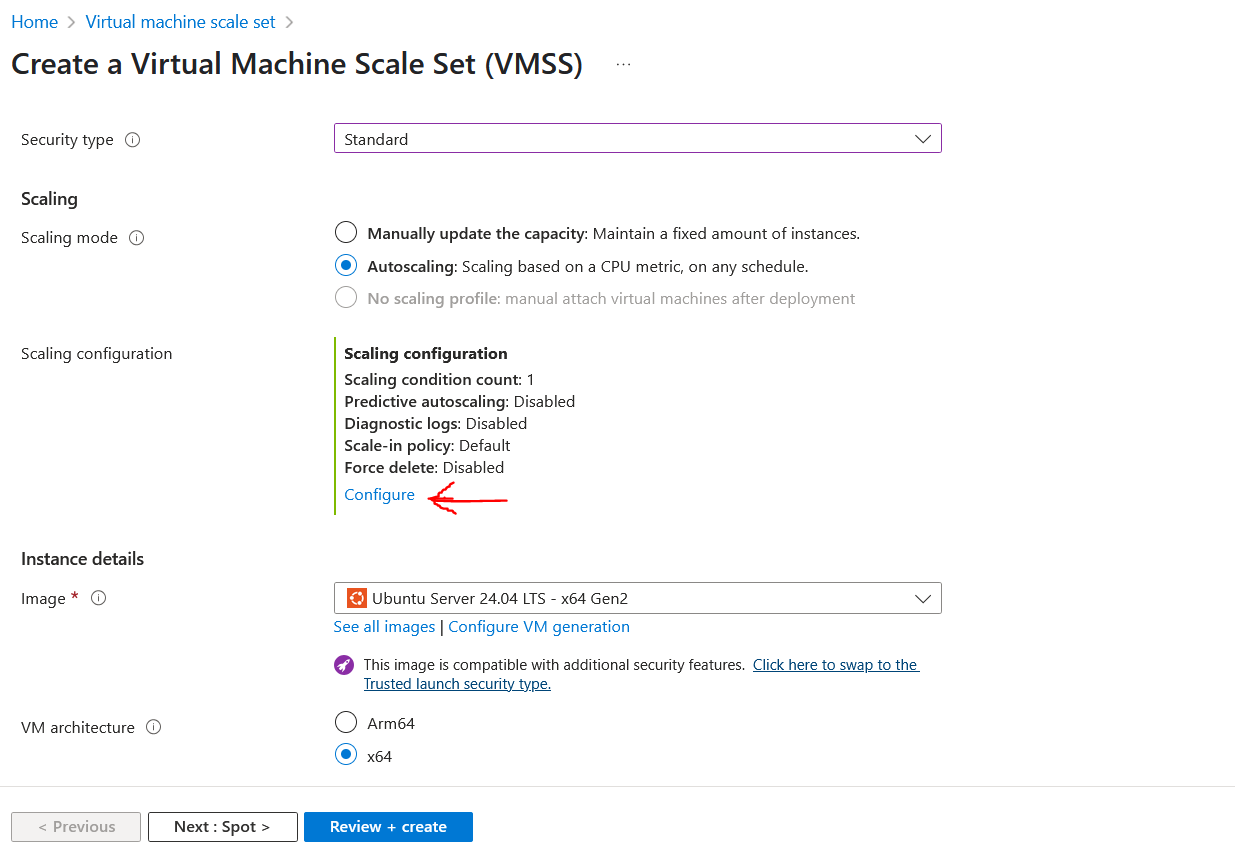
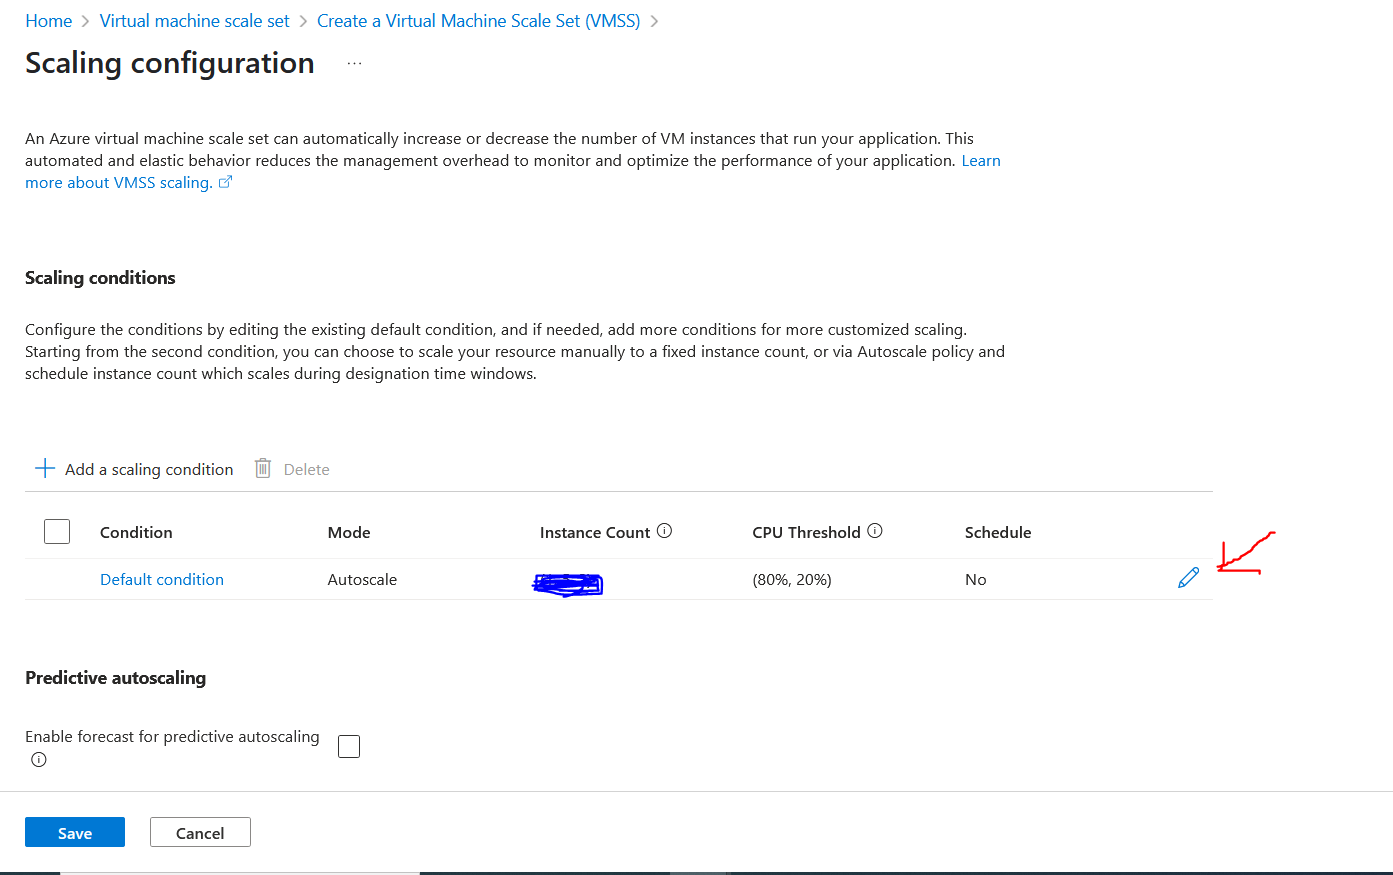
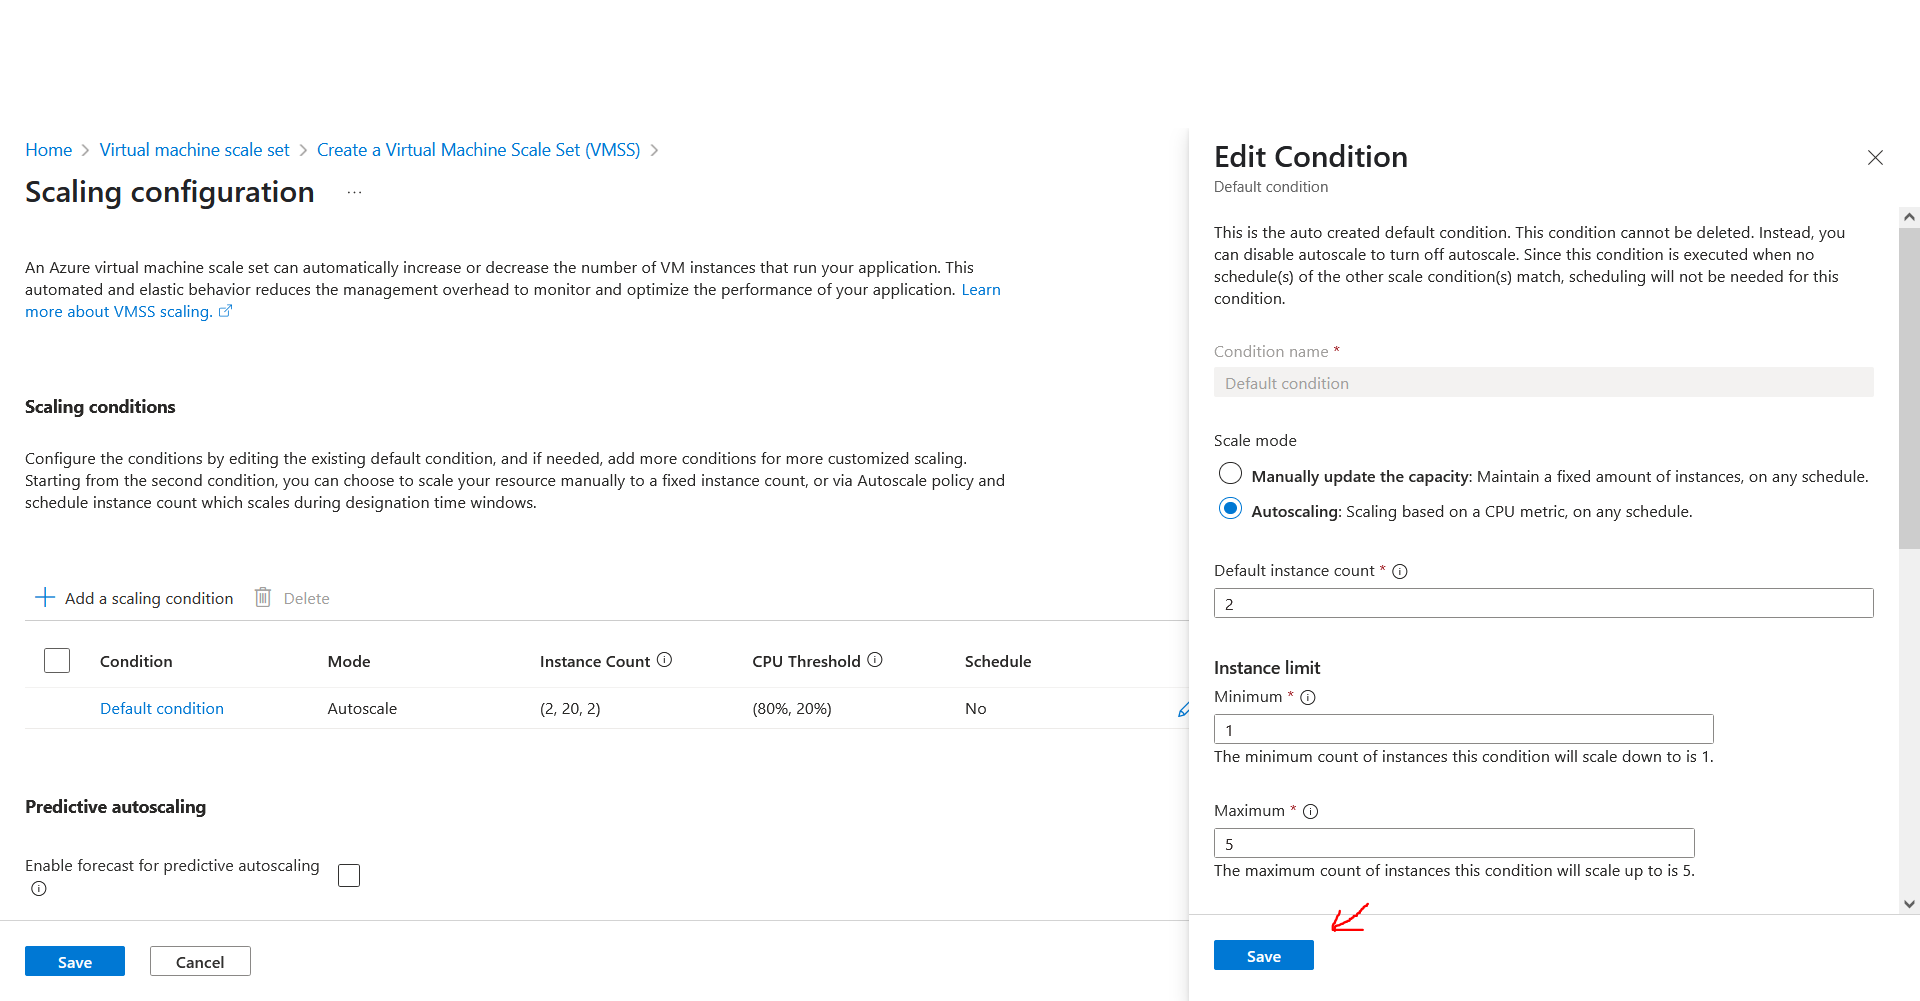
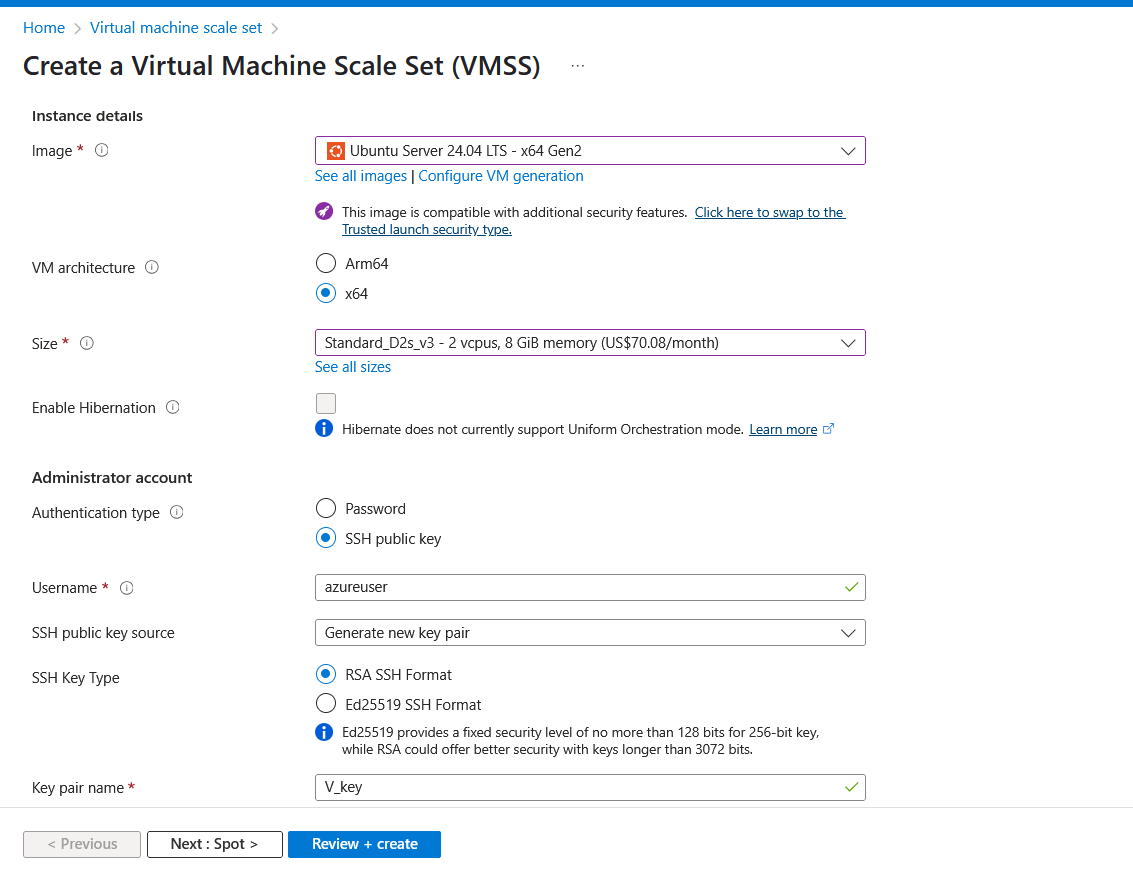
Image: Ubuntu Server 24.04 LTS - x64 Gen2
VM architecture: x64
Size: Standard_D2s_v3 - 2 vcpus, 8 GiB memory (US$70.08/month)
Authentication type: SSH public key
Username: azureuser
SSH public key source: Generate new key pair
SSH Key Type: RSA SSH Format
Key pair name: Use the default key pair name generated
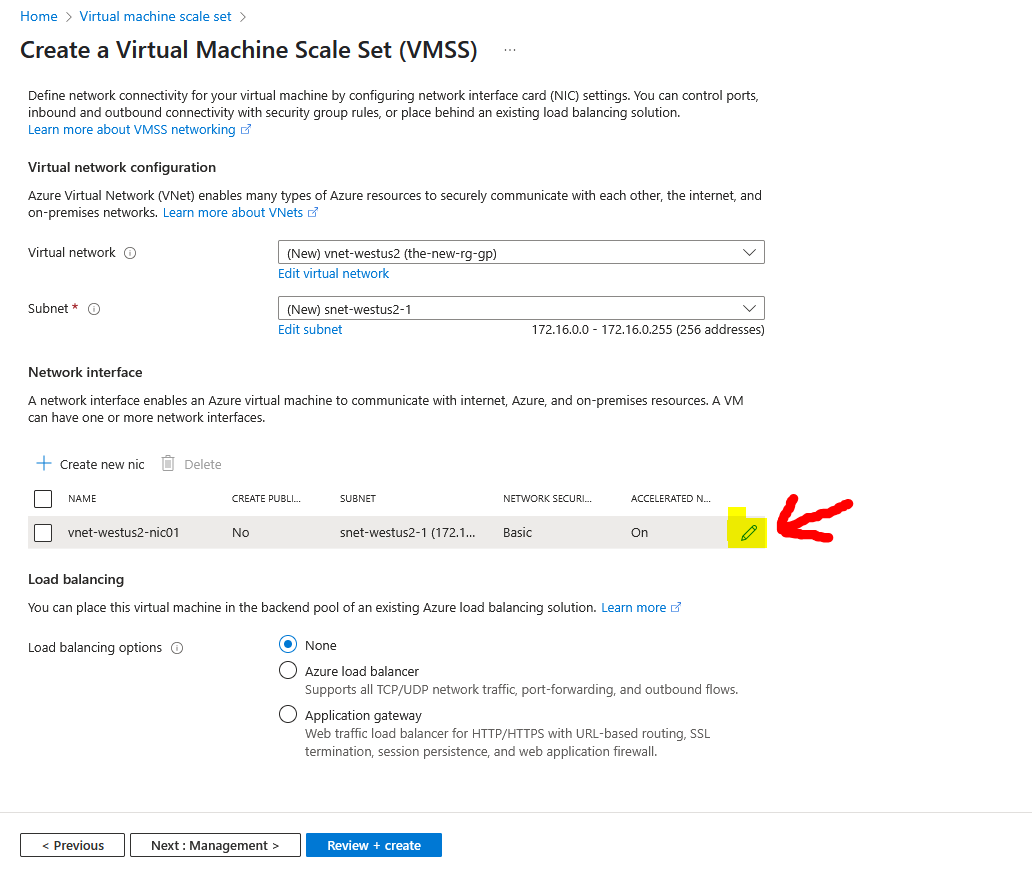
Scroll up and click on Networking to view and configure network settings for your Virtual Machine Scale Set.

Click on the pen icon as indicated with the red arrow to edit the Network interface
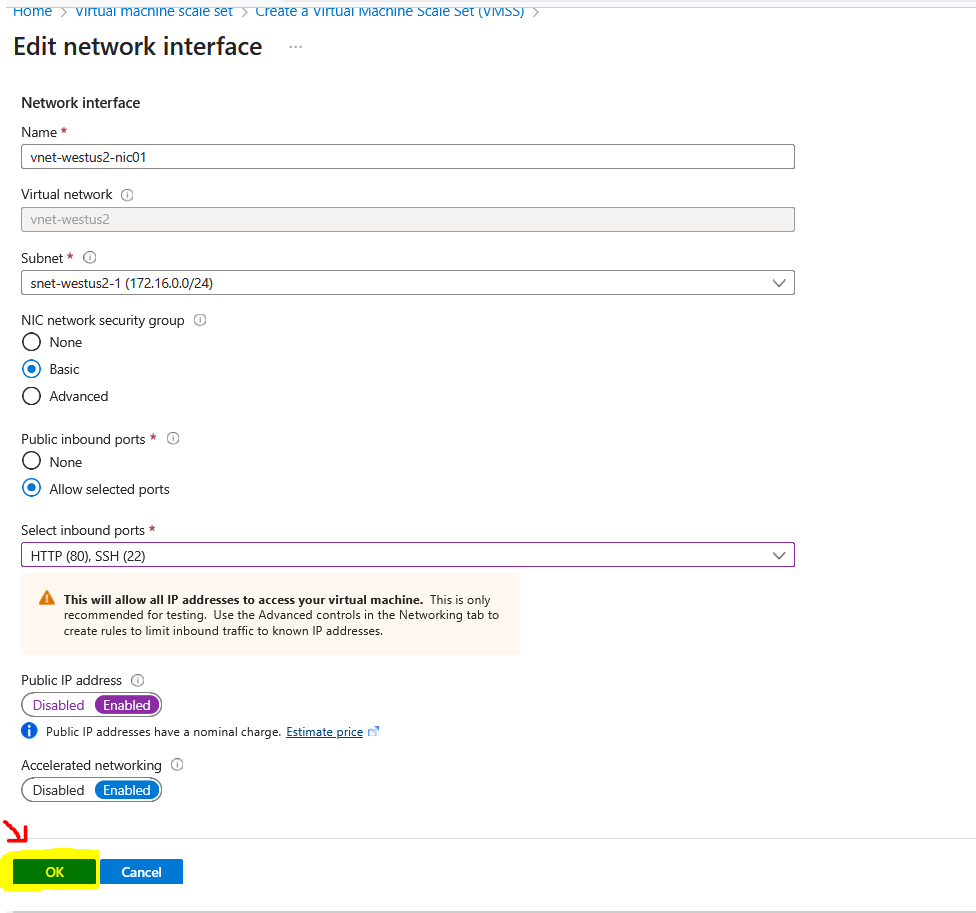
NIC network security group: Basic
Public inbound ports: Allow selected ports
Select inbound ports: HTTP (80) and SSH (22)
Public IP address: Enabled
Accelerated networking: Enabled
Click on OK
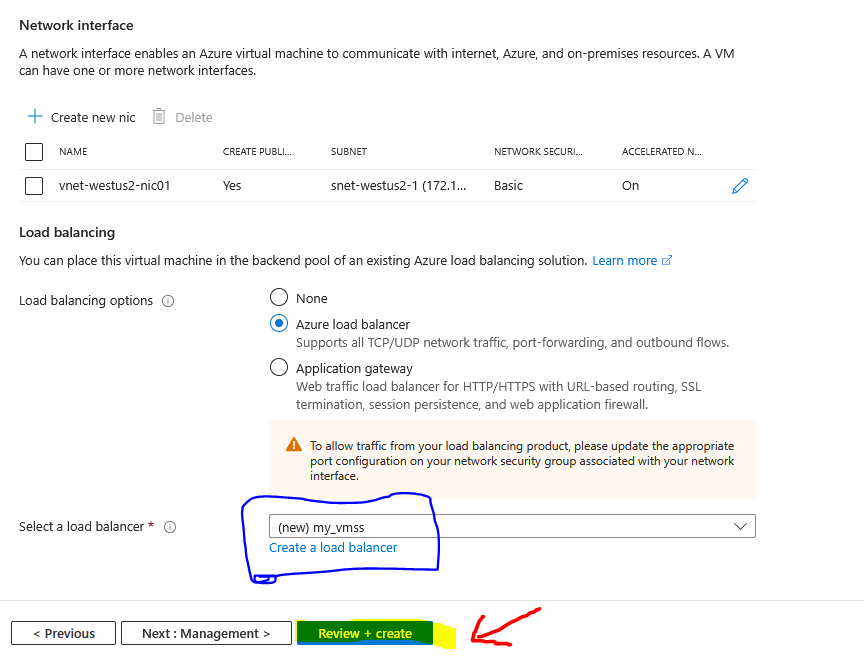
For the Load balancing options, pick Azure load balancer, then click on as indicted in the image below Create a load balancer
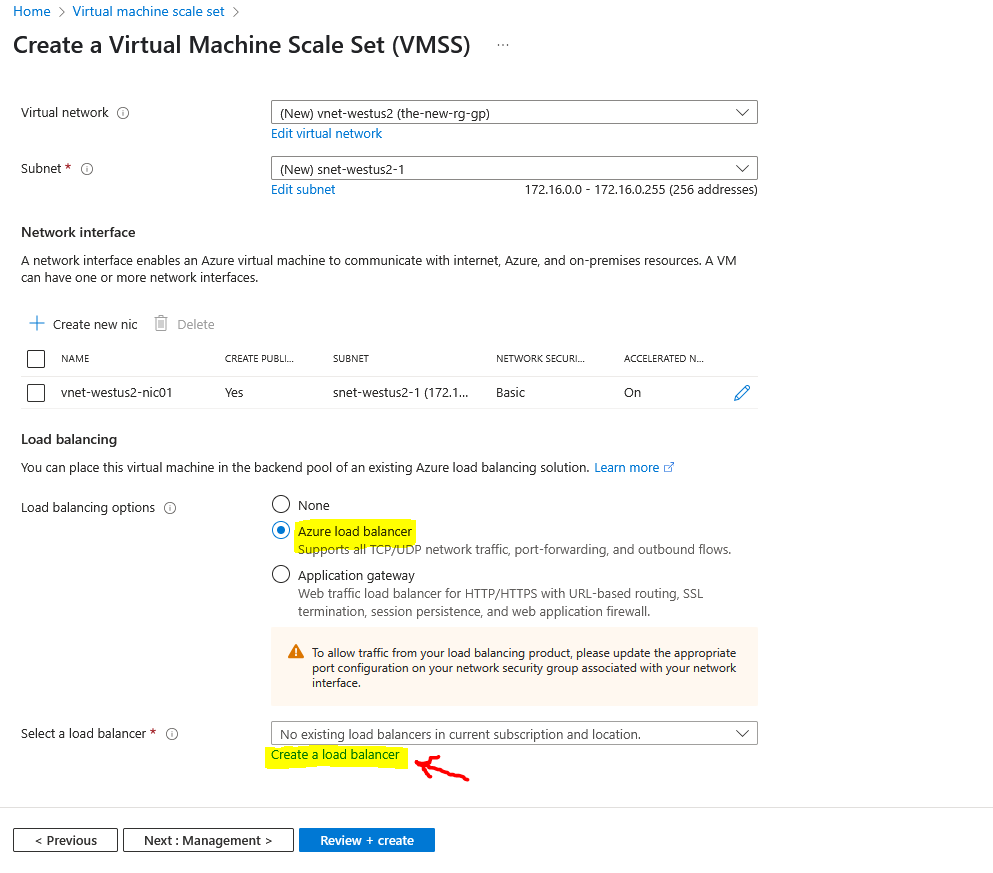
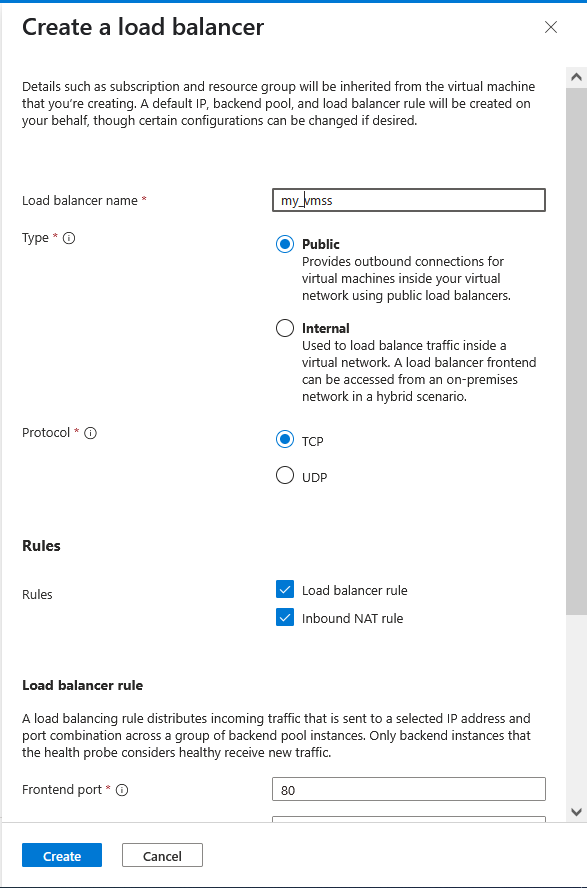
Create a unique Load Balancer name, set the Type to Public and use TCP as the Protocol then click on Create.
The newly created load balancer (my_vmss) is automatically configured and selected by default. Click on Review + create
Click on Create

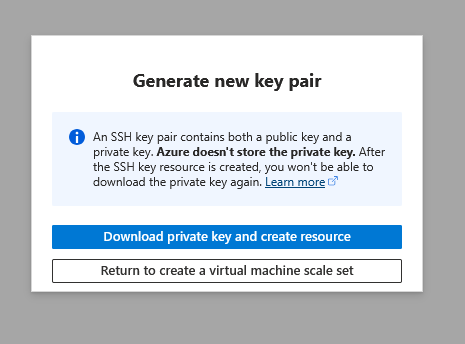
Click on Download private key and create resource

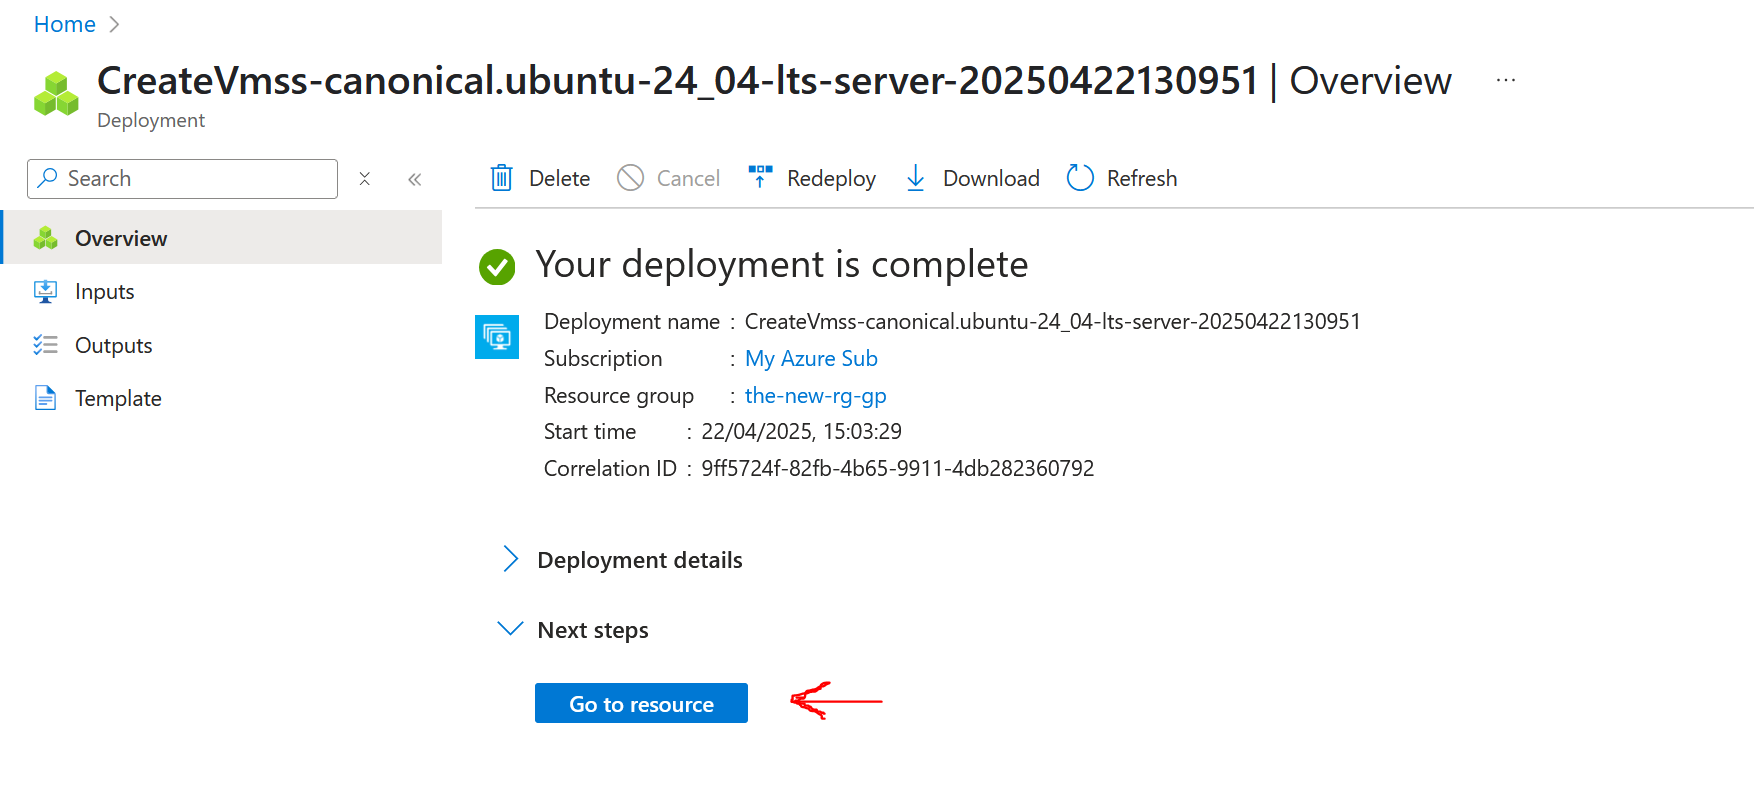
Your VMSS is deployed, click on Go to resource
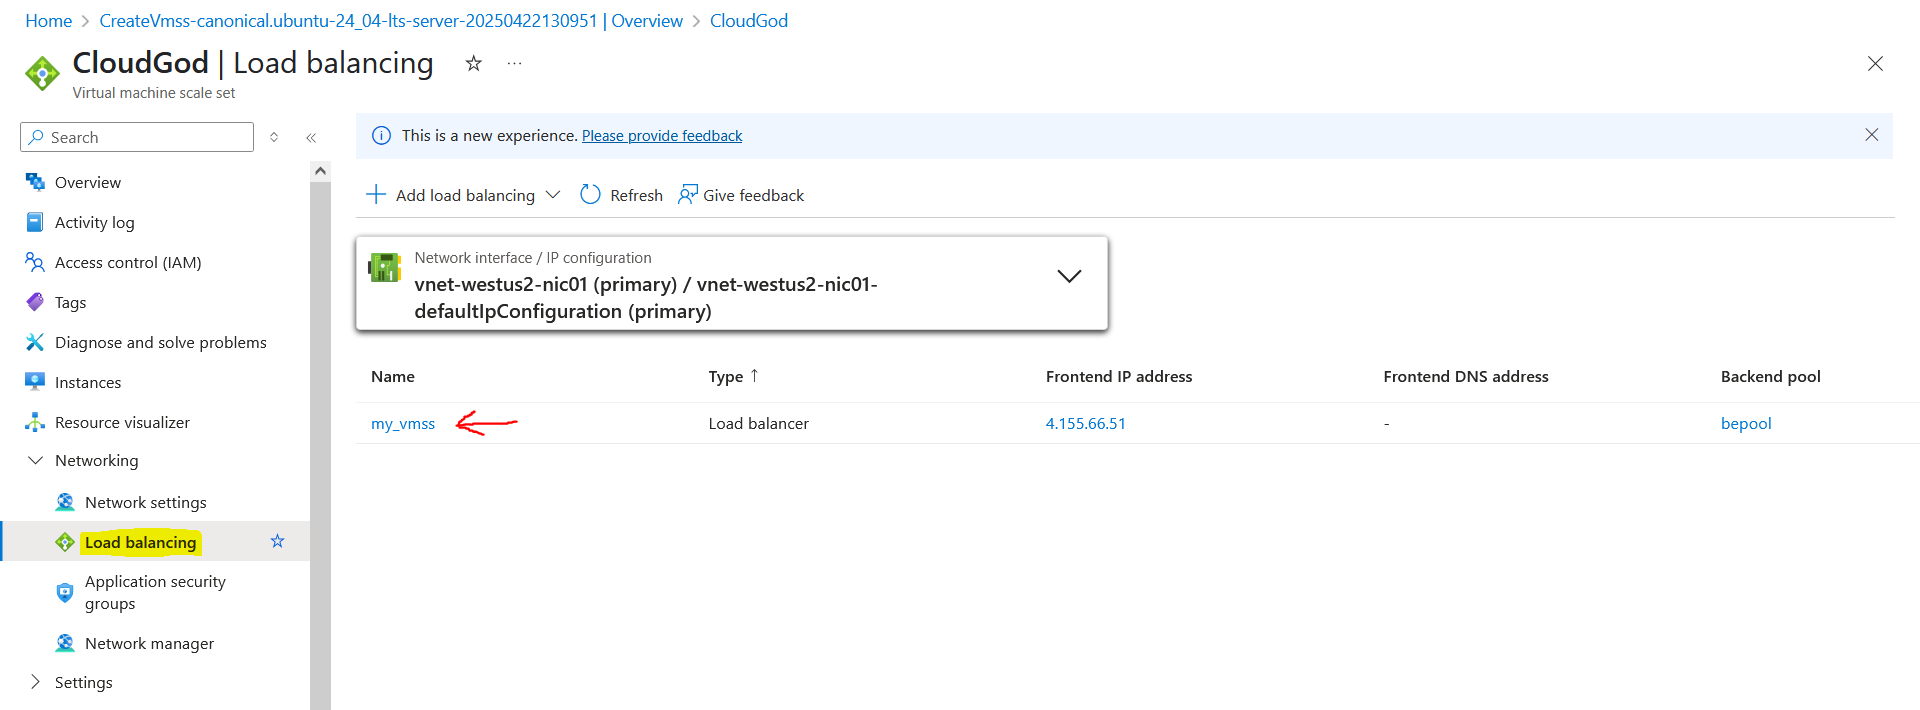
Click on Networking as indicted with the red arrow, then click on Load balancing

Click on the Load balancer (my_vmss)
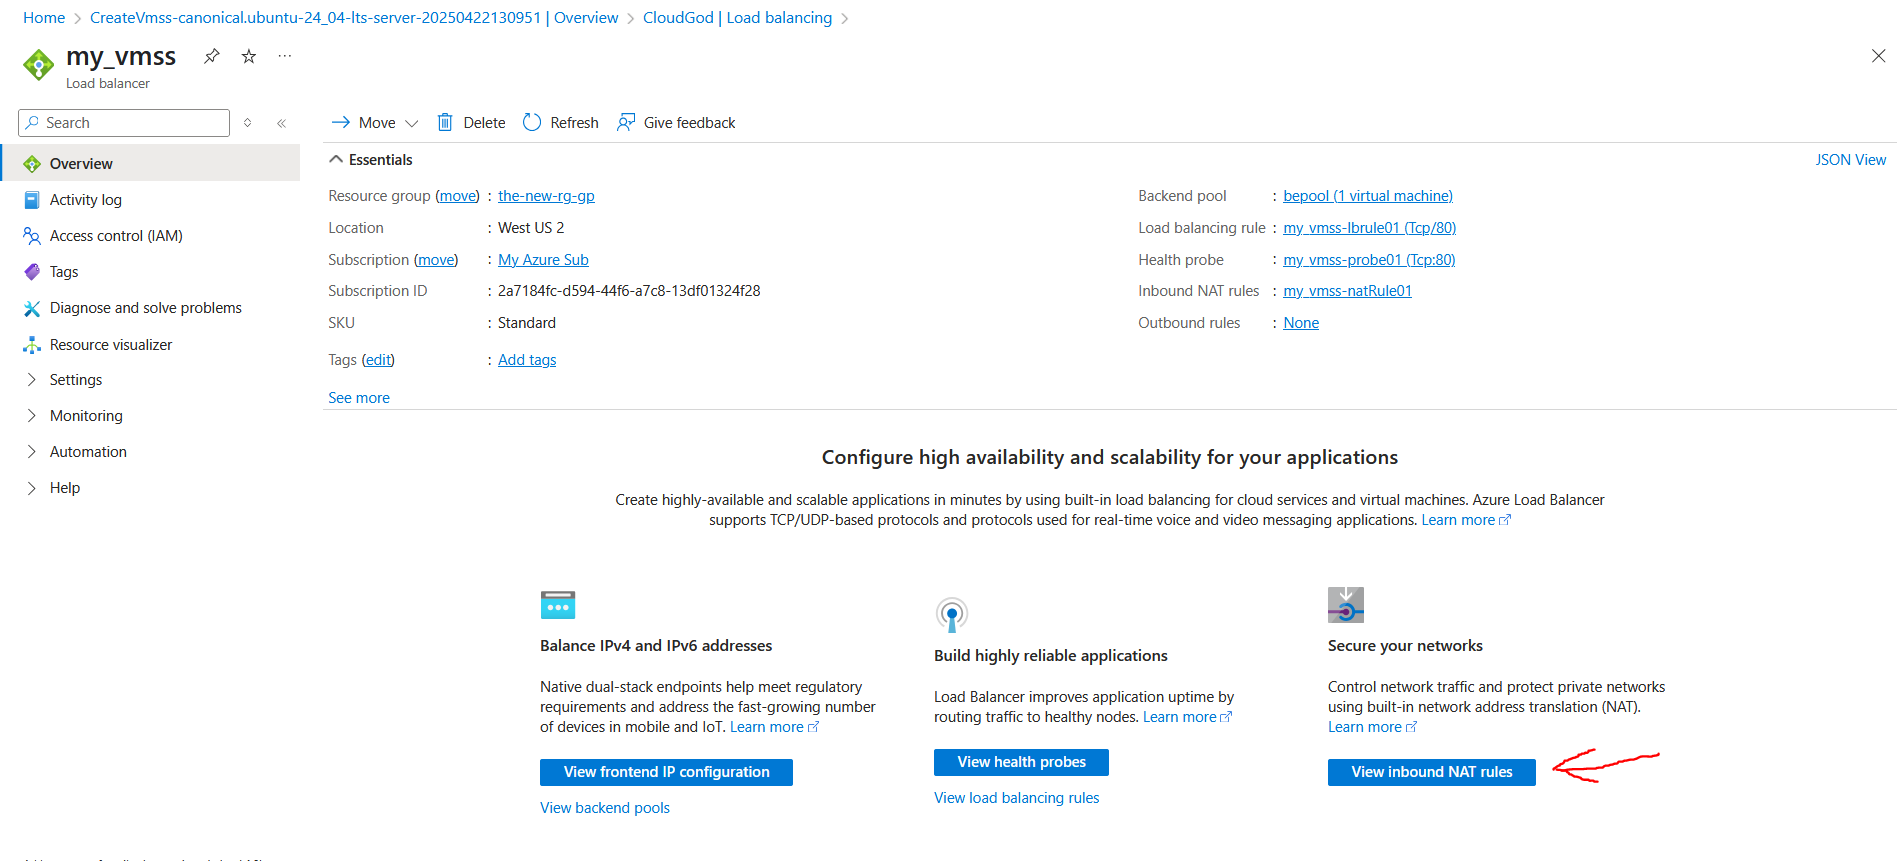
Click on View inbound NAT Rules
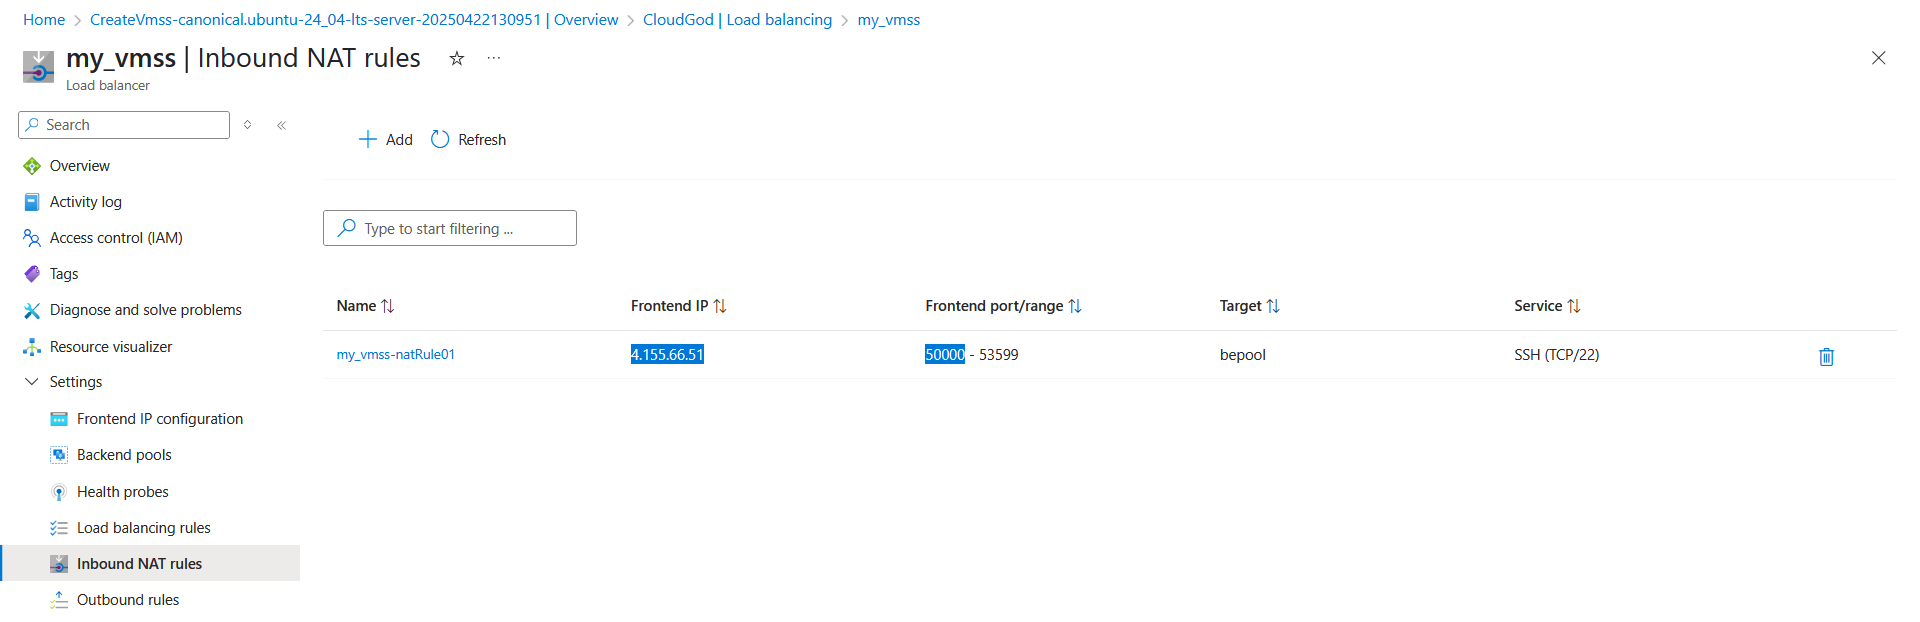
Take note or copy your Frontend IP (4.155.66.51) and Frontend port (50000) as highlighted in the image below
Run the following on your Windows PowerShell
ssh -i "/$HOME/Downloads/V_key.pem" [email protected] -p 50000
(REMEMBER TO USE YOUR PRIVATE KEY INFORMATION, MINE IS FOR REFERENCE/EDUCATIONAL PURPOSES)
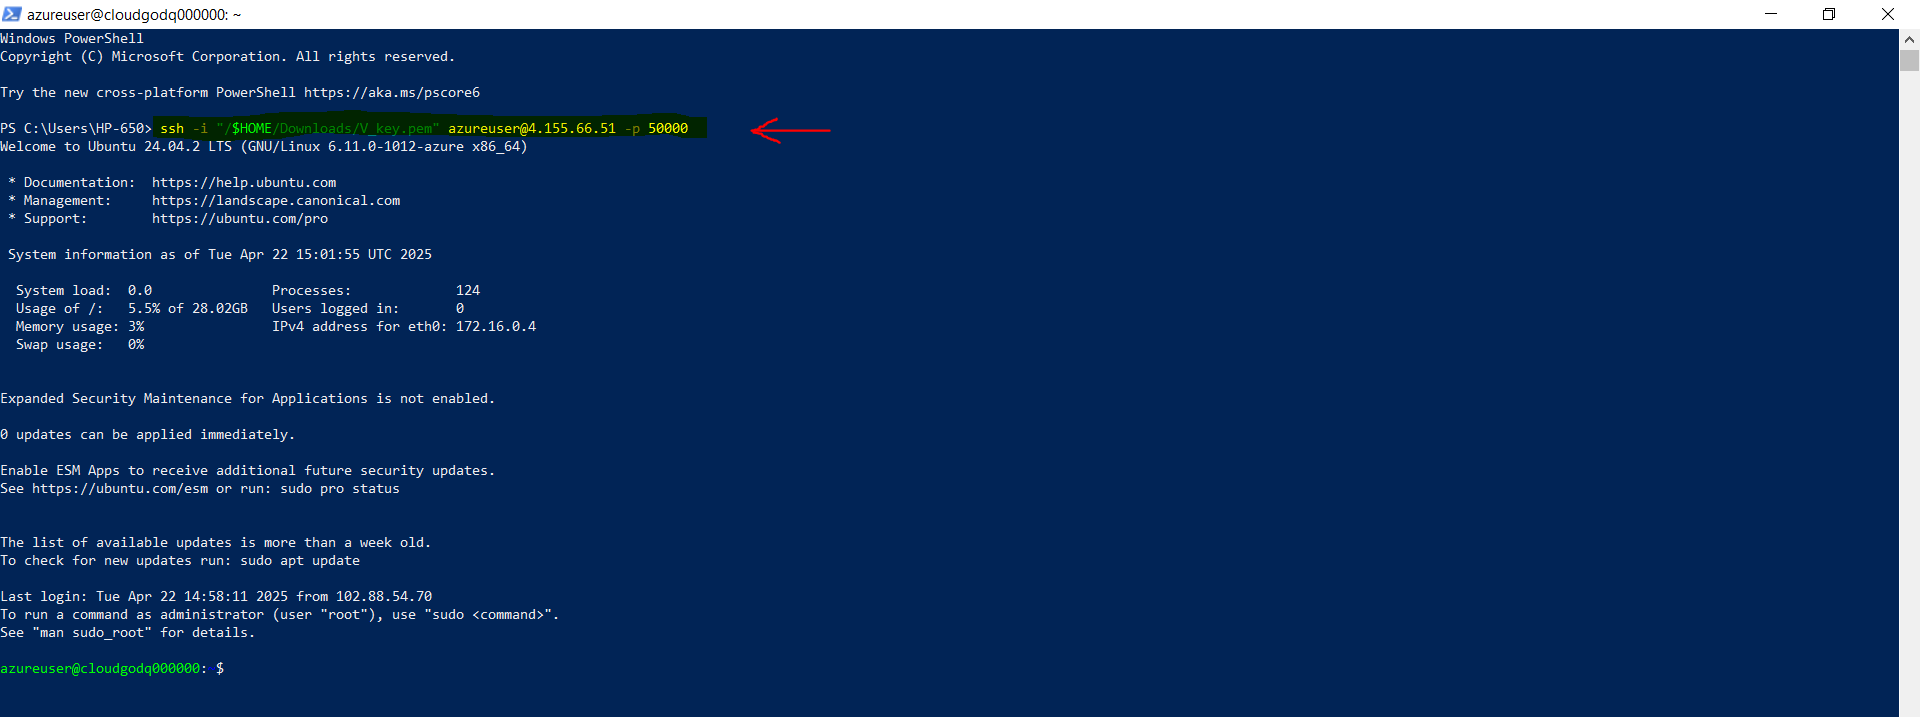
This shows VMSS has deployed and connected successfully.
Update the System Packages
To ensure your server is up to date and secure, run the following commands to update and upgrade the package list for any available system upgrades.
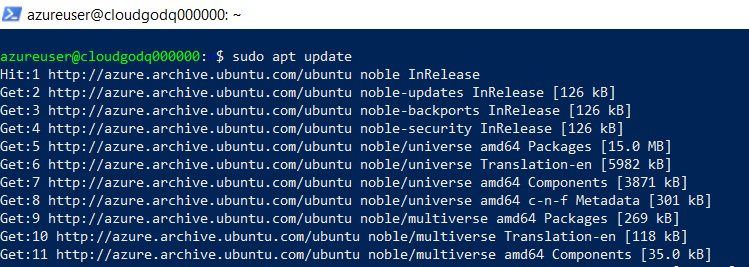
in the cmd prompt, type: sudo apt update
To update the VMSS, type: sudo apt update
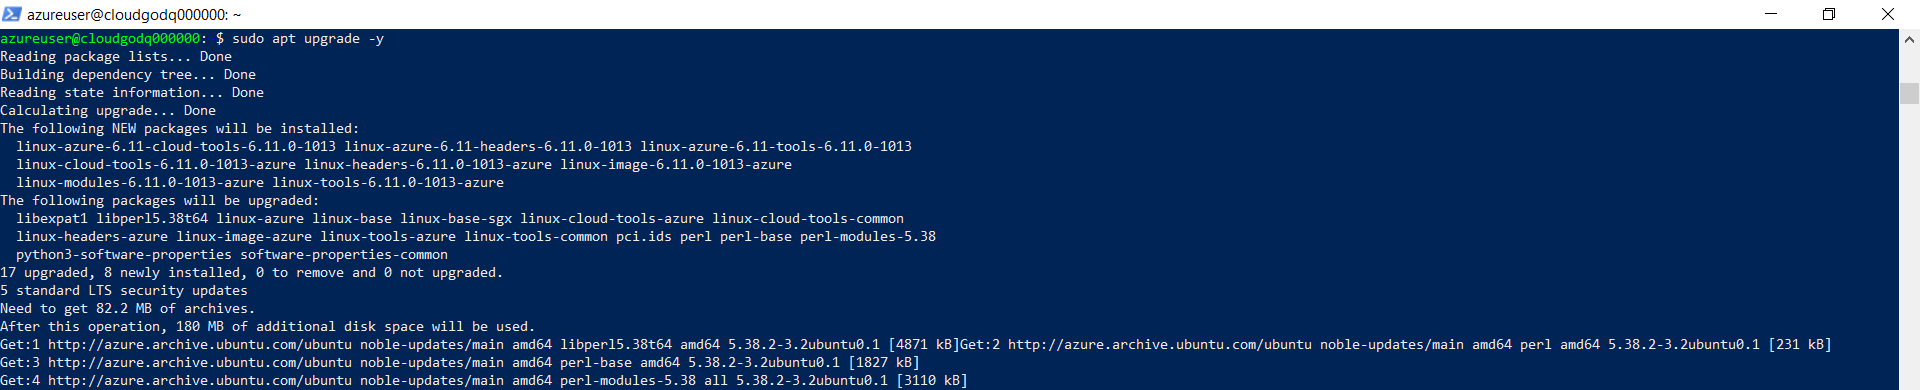
To upgrade the VMSS, type the following command:
sudo apt upgrade -y
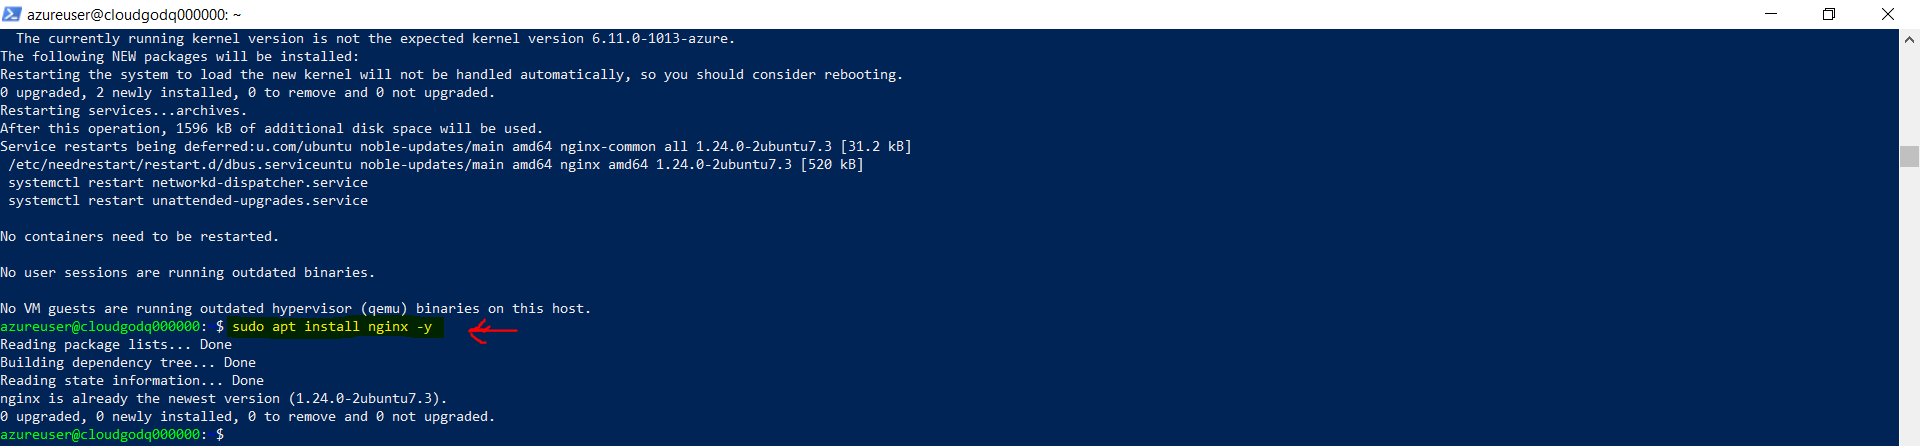
Proceed to Install Nginx
Once the VMSS is updated, you can proceed to install the Nginx web server by running the following command: sudo apt install nginx -y
Finally, copy the frontend IP (4.155.66.51) on your web browser and enter click on Enter.
OR
Open your preferred web browser and enter the frontend IP IP address in the address bar.
For example: http://4.155.66.51
Or simply type: 4.155.66.51
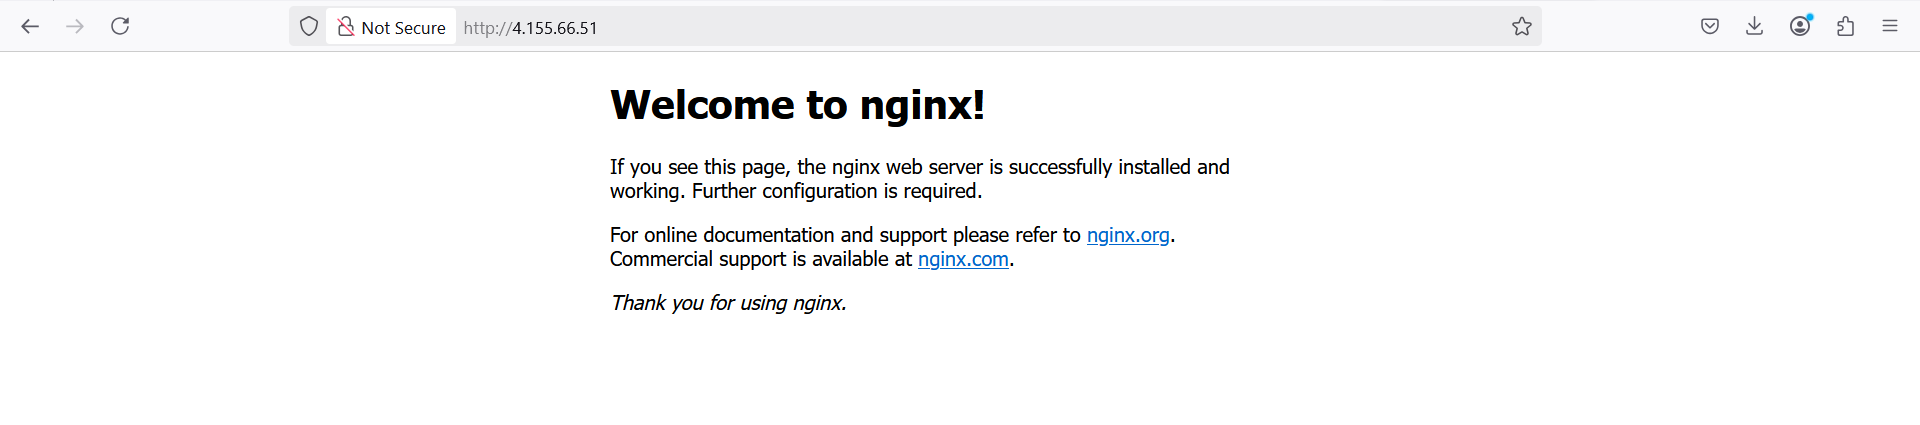
With Nginx successfully installed, the default Nginx welcome page will be displayed, confirming that the frontend IP is active and the server is running properly.
Congratulations!
You've successfully created and connected to a Linux Virtual Machine Scale Set (VMSS) in Microsoft Azure and configured secure SSH access using a public key. You're now ready to install your preferred web server and begin developing or deploying applications in a secure, scalable cloud environment.
Azure VMSS offers a streamlined and automated way to manage large groups of virtual machines, with built-in support for auto-scaling, load balancing, high availability, and simplified operations. It's an ideal solution for applications that require consistent, scalable infrastructure—ranging from web services to high-performance computing.
By leveraging VMSS, organizations can enhance application performance, maintain high availability, and optimize cloud costs, ensuring their workloads remain responsive and resilient.
