📝 Introduction
In AWS, IAM (Identity and Access Management) Roles are essential for securely managing access between services. Rather than embedding long-term credentials in your EC2 instances, IAM Roles allow you to delegate permissions dynamically and securely. In this guide, we demonstrate how to create an IAM Role named MyEC2S3AccessRole and attach a custom inline policy EC2MyPolicy that enables your EC2 instances to access Amazon S3 buckets.
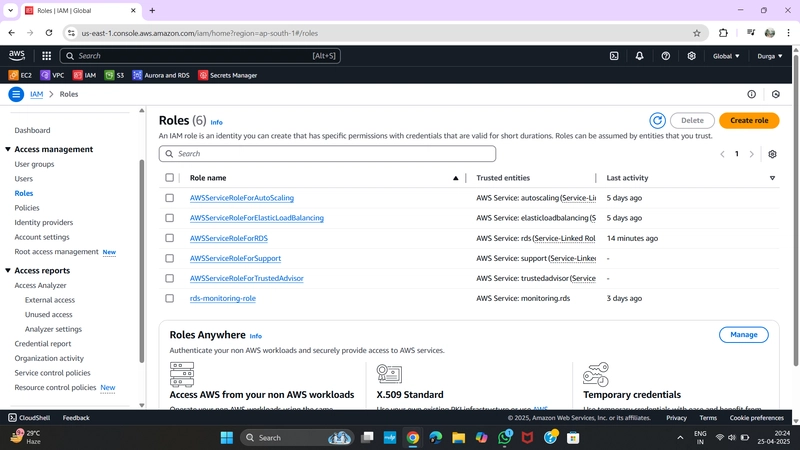
✅ Step 1: Go to the Create Role Page
Navigate to IAM > Roles and click "Create Role".
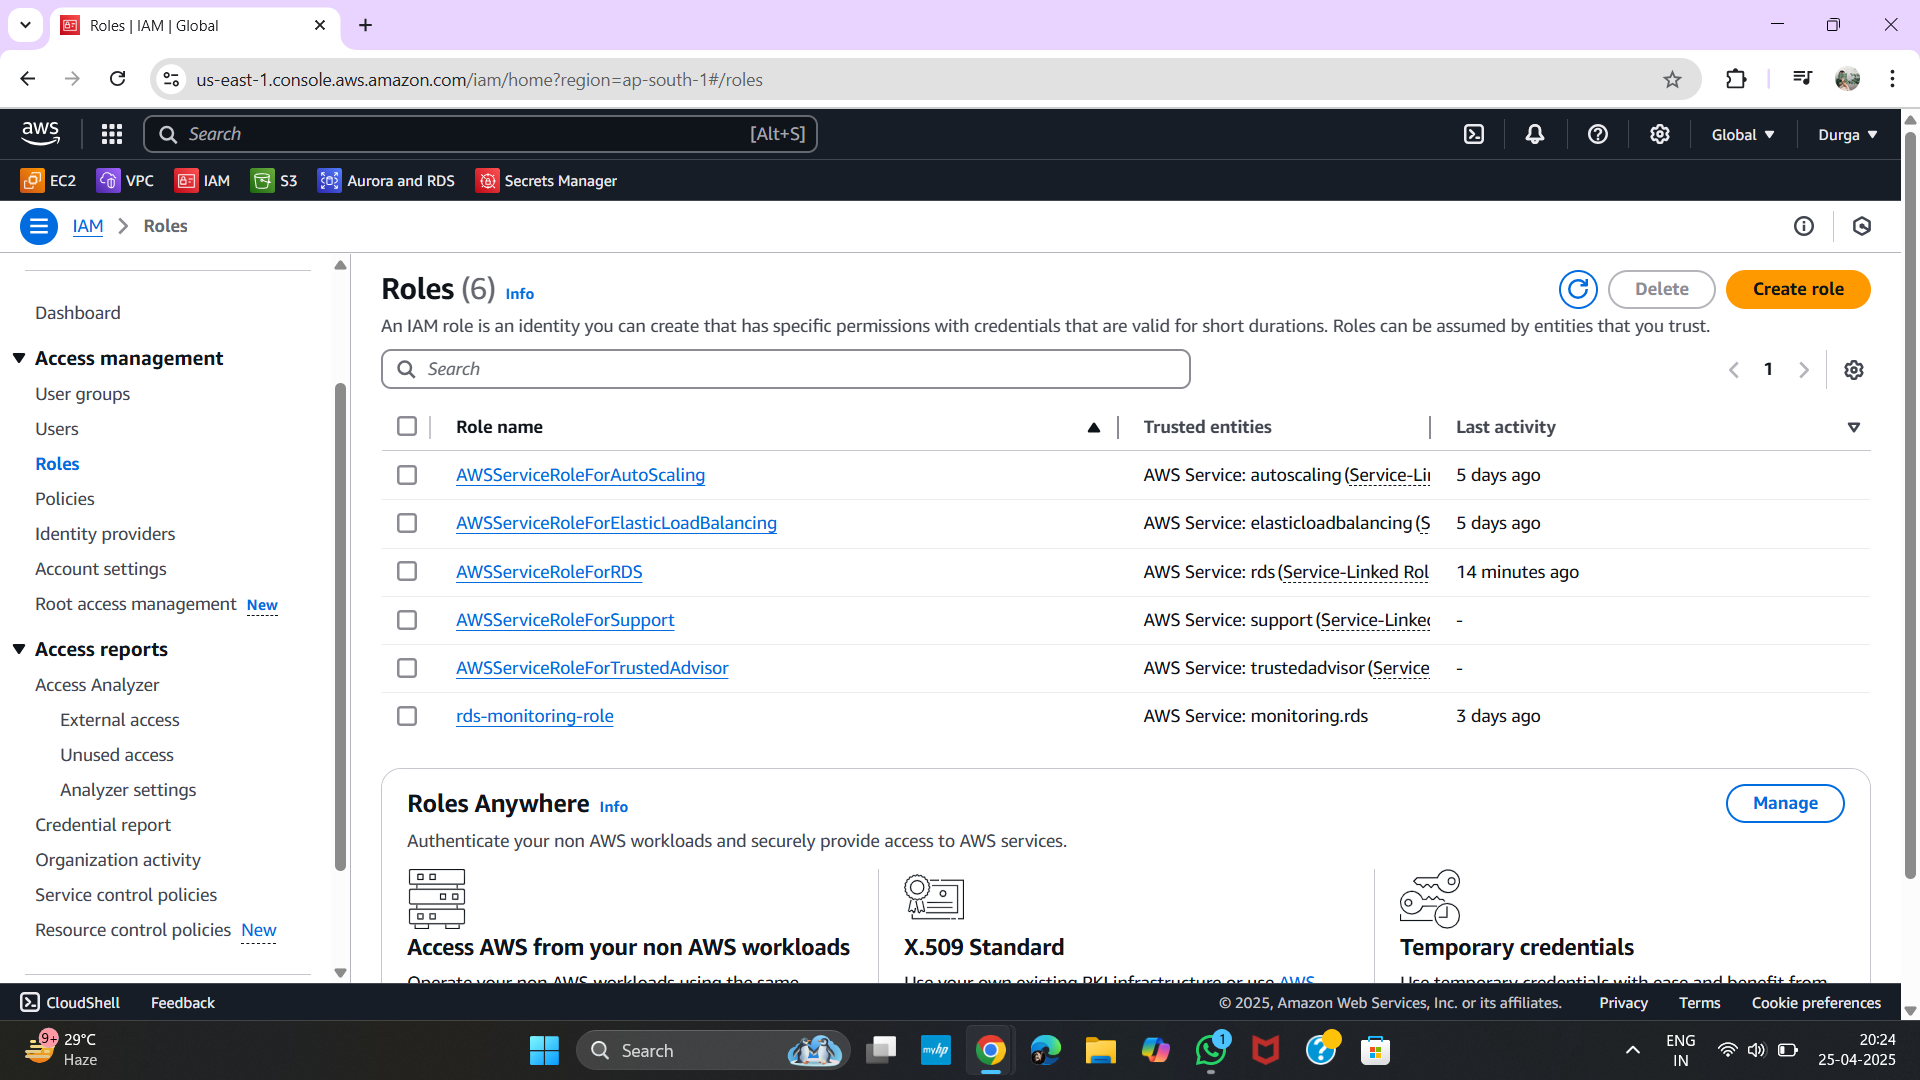
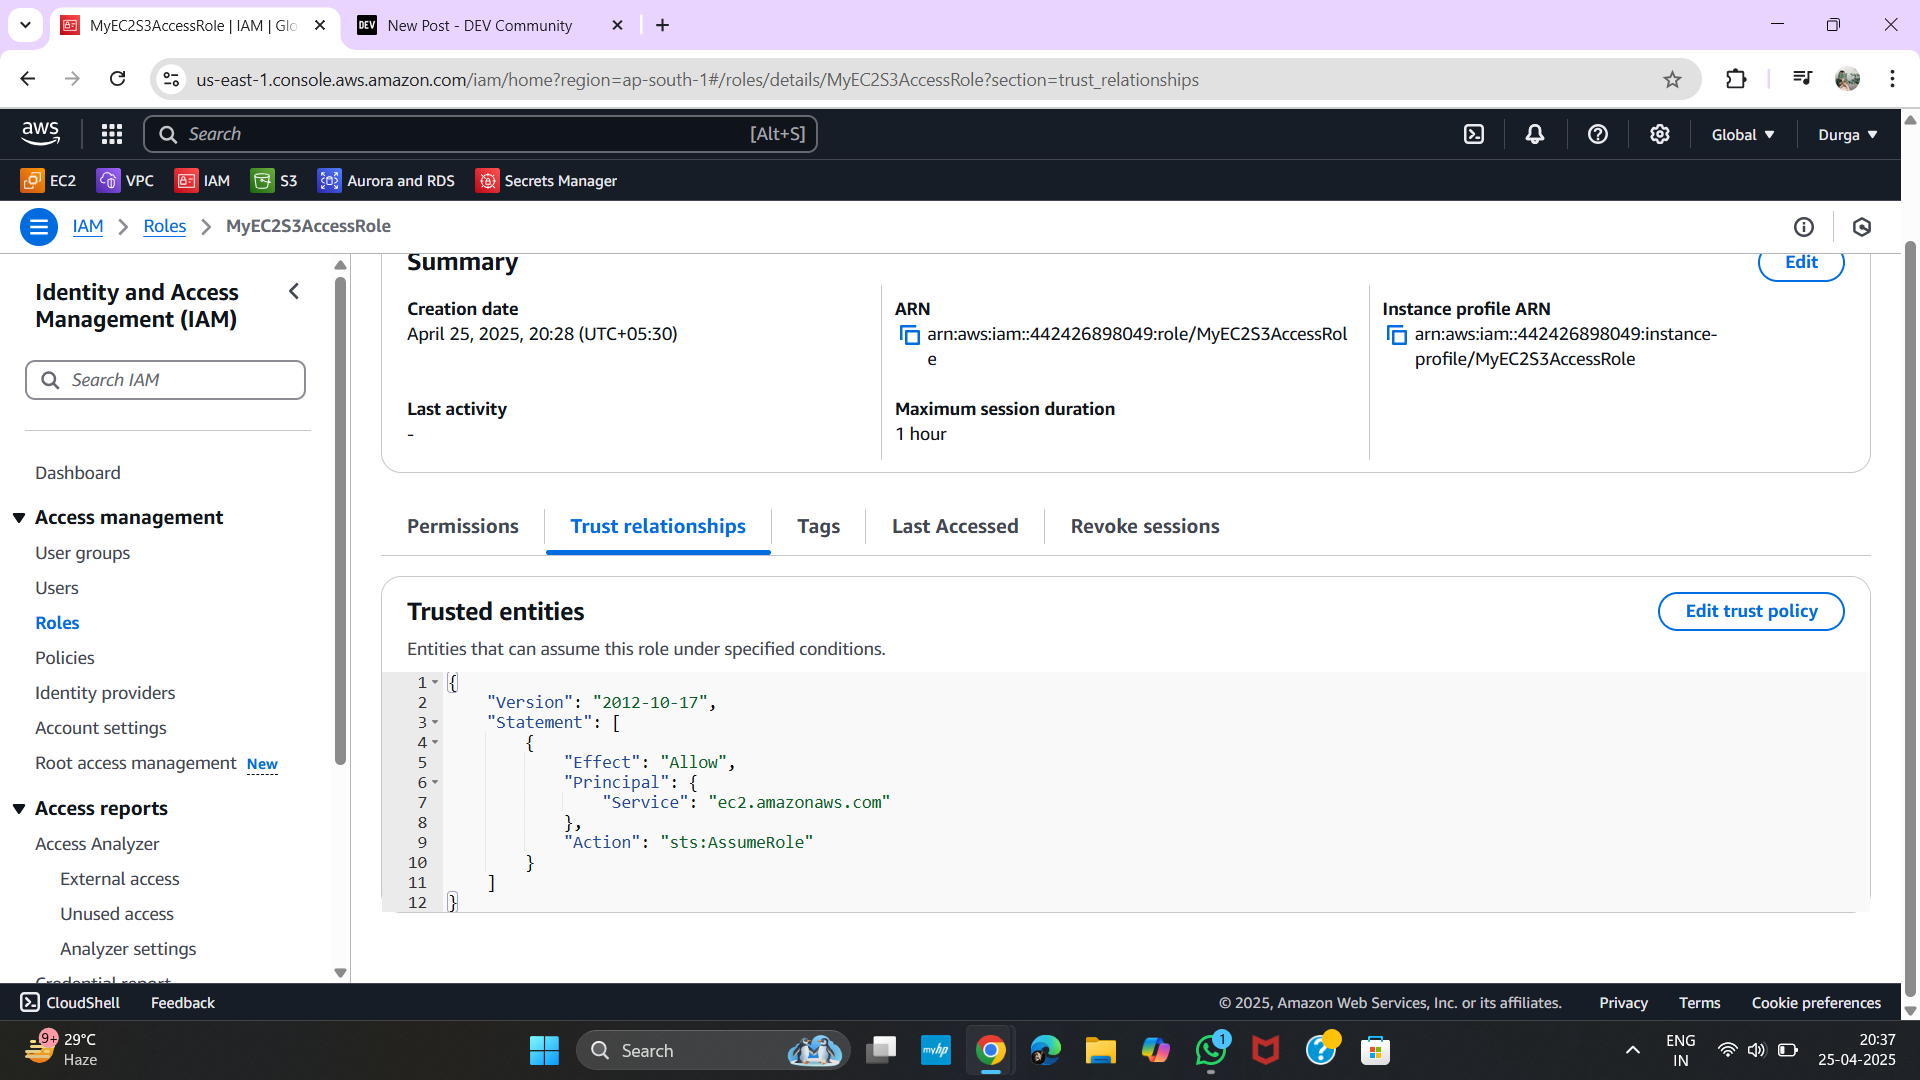
✅ Step 2: Select Trusted Entity
Choose "AWS service" as the type of trusted entity.
Then, select "EC2" as the use case — this means the role will be assumed by EC2 instances.
✅ Step 3: Skip Permissions for Now
We will attach a custom policy later, so simply click "Next" without attaching any existing policy.
✅ Step 4: Add Tags (Optional)
You can add tags to help identify or group your resources (optional step). Click "Next" to continue.
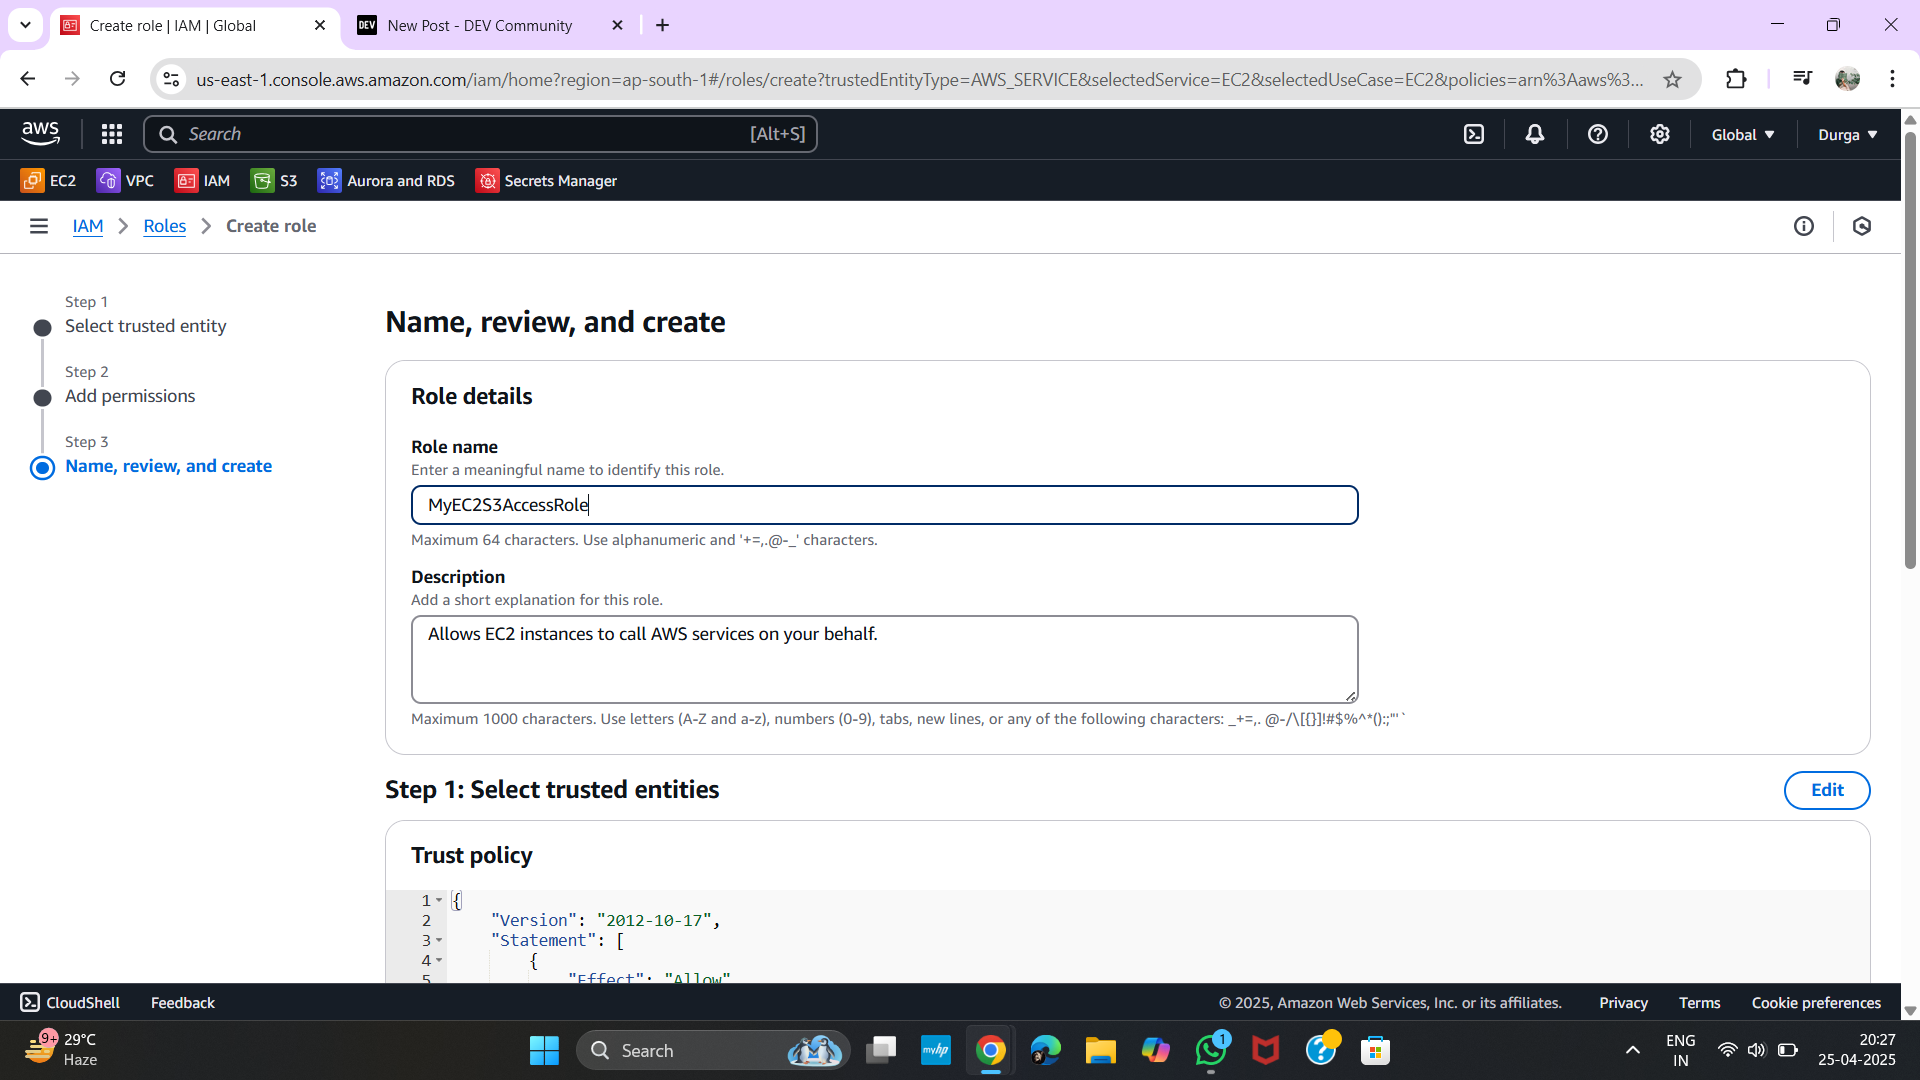
✅ Step 5: Name the Role
Give your role a meaningful name — here we use MyEC2S3AccessRole.
Add a description to document its purpose.
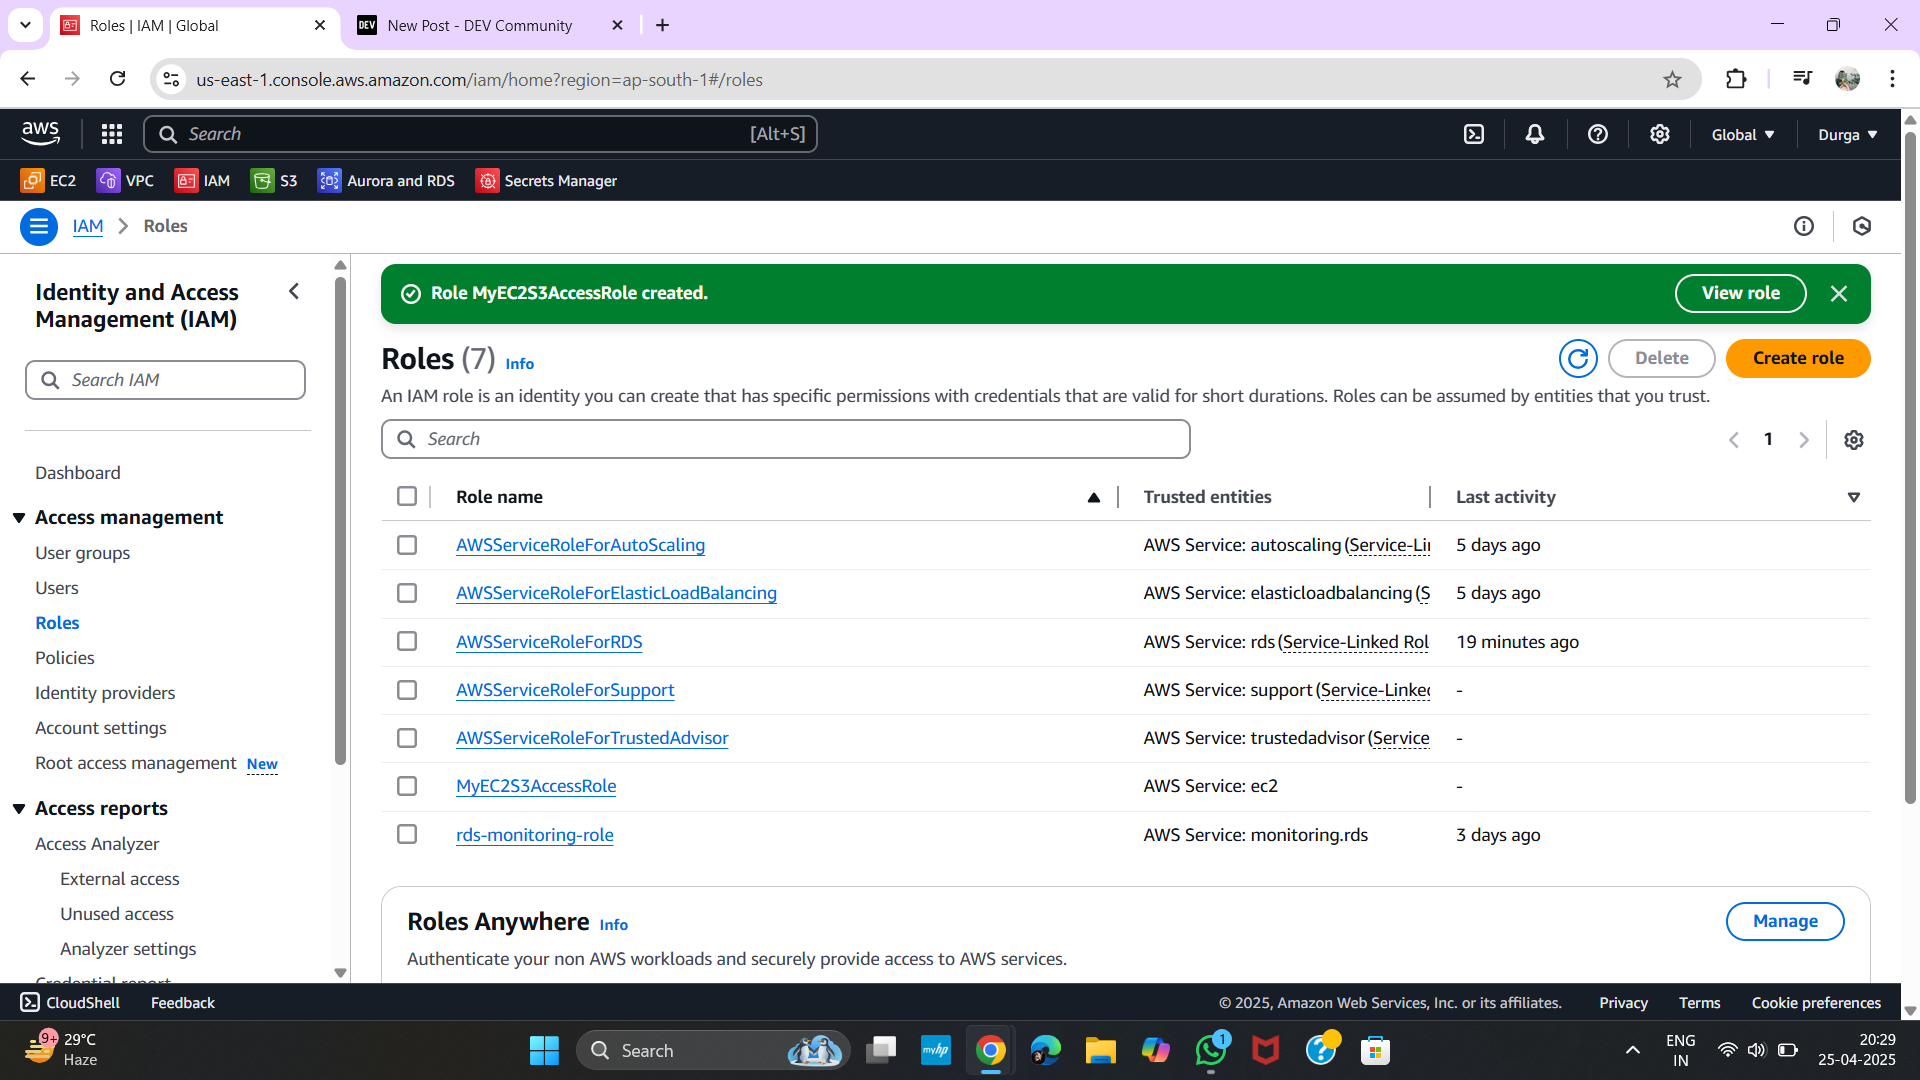
✅ Step 6: Create the Role
Review the details and click "Create Role".

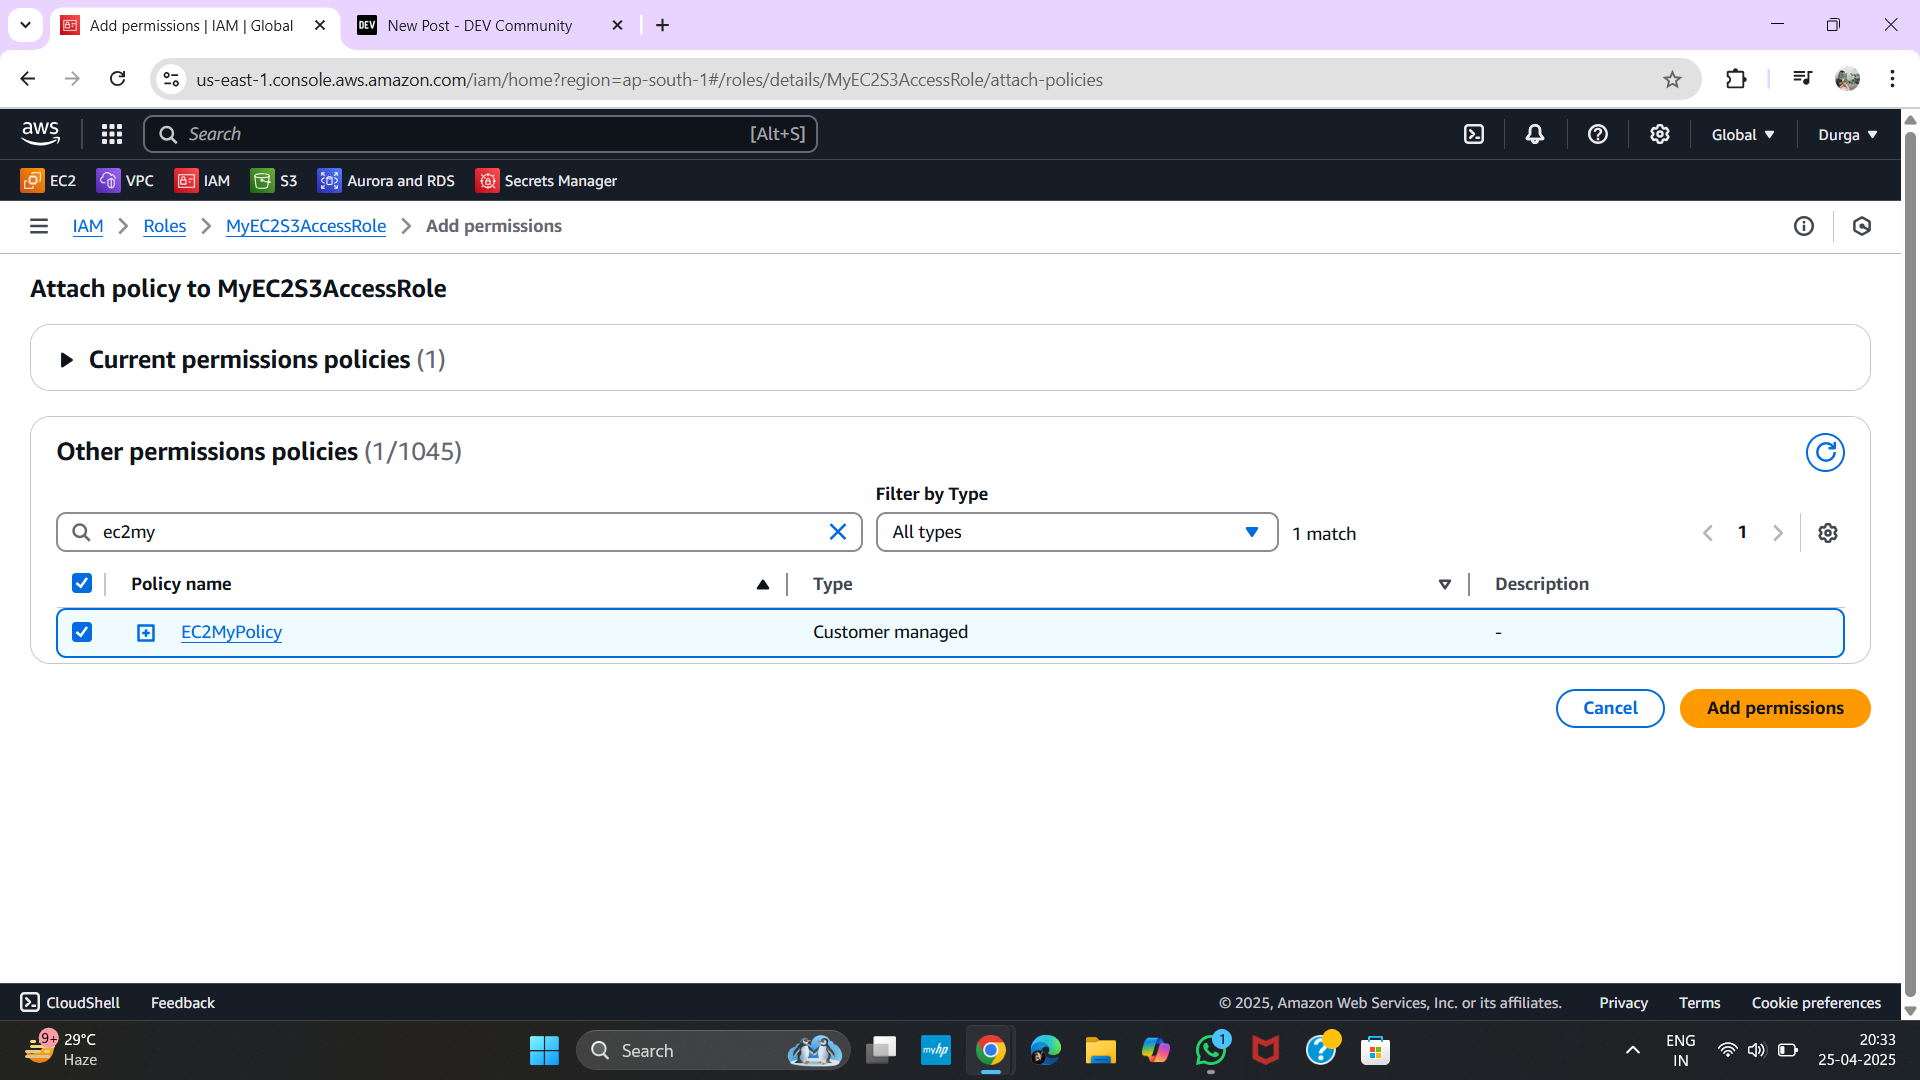
✅ Step 7: Attach Inline Policy
After creating the role, go to the role page → Permissions tab → click “Add inline policy.”
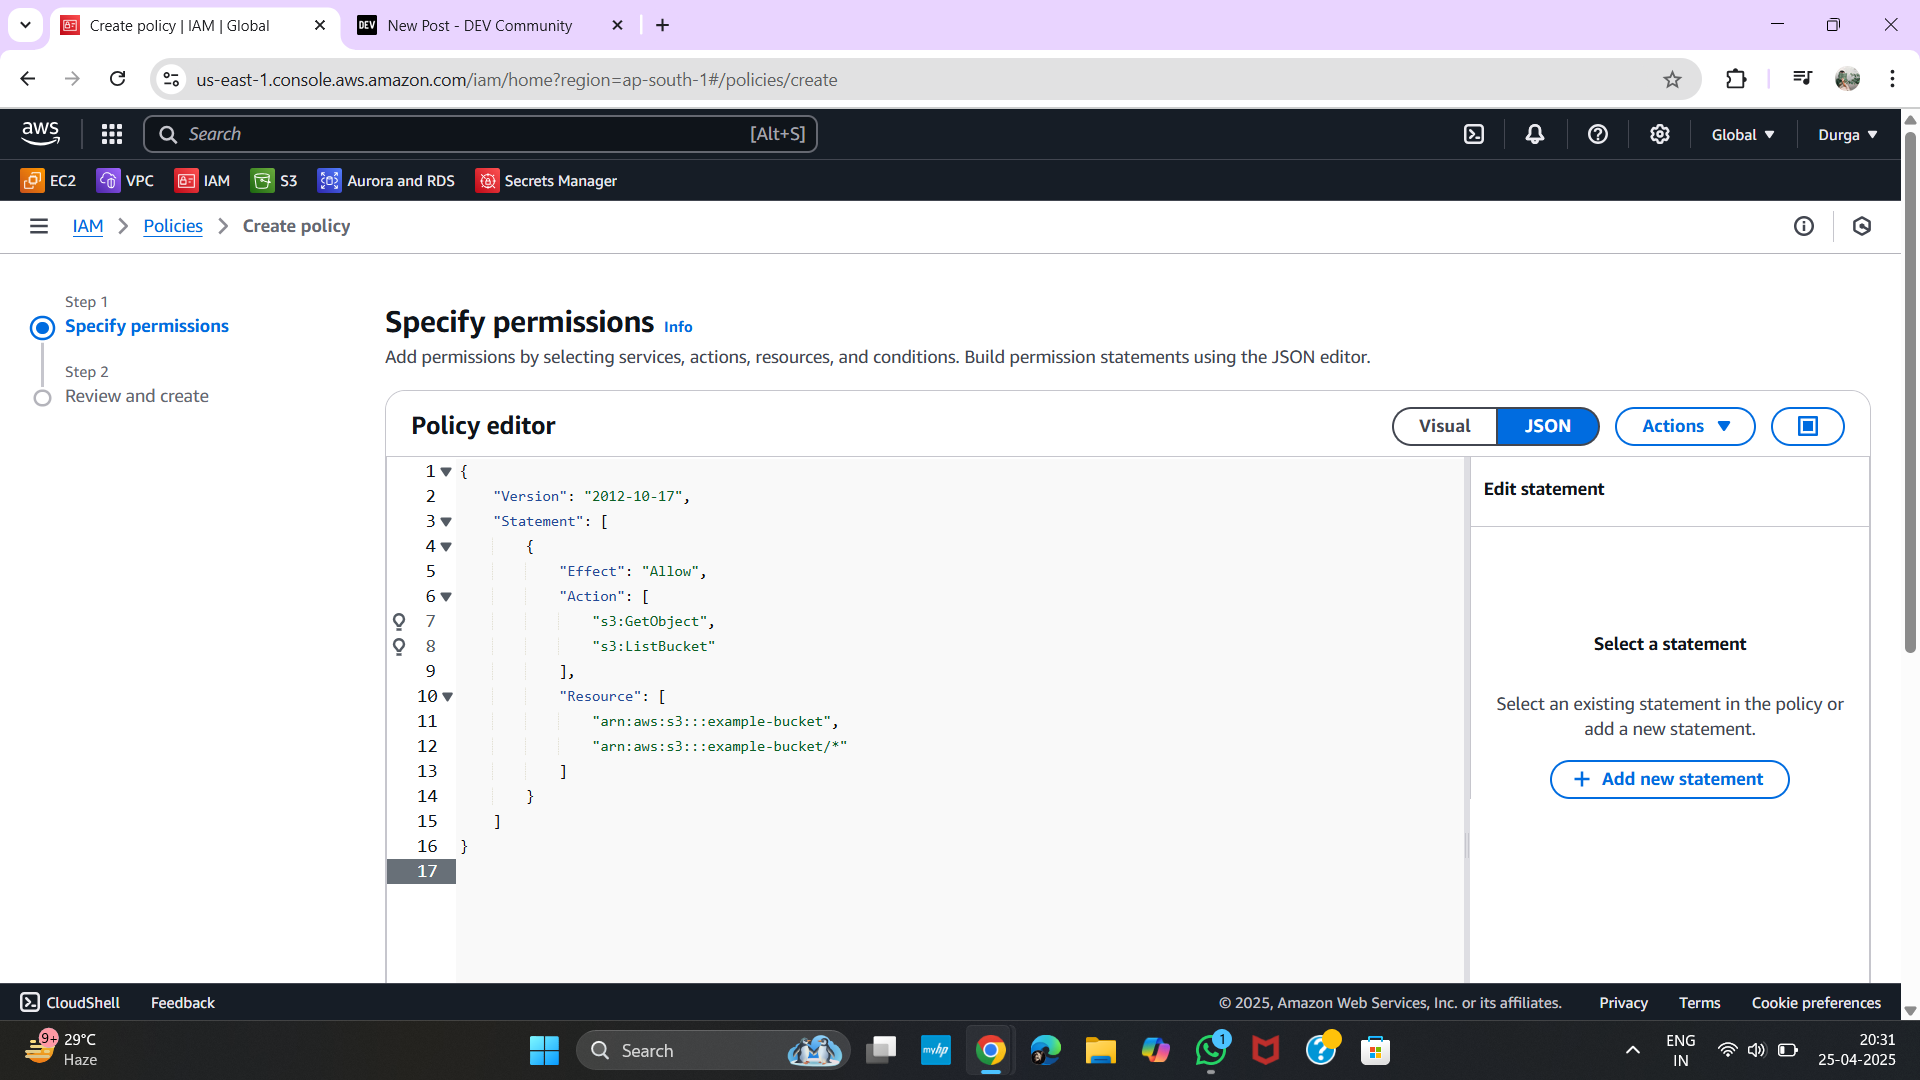
✅ Step 8: Create Custom Policy
In the policy editor:
- Choose JSON tab.
- Paste your custom policy that allows S3 access (example below):
{
  "Version": "2012-10-17",
  "Statement": [
    {
      "Effect": "Allow",
      "Action": "s3:*",
      "Resource": "*"
    }
  ]
}
This policy gives full access to all S3 buckets. You can restrict it further by replacing "*" with specific bucket ARNs.
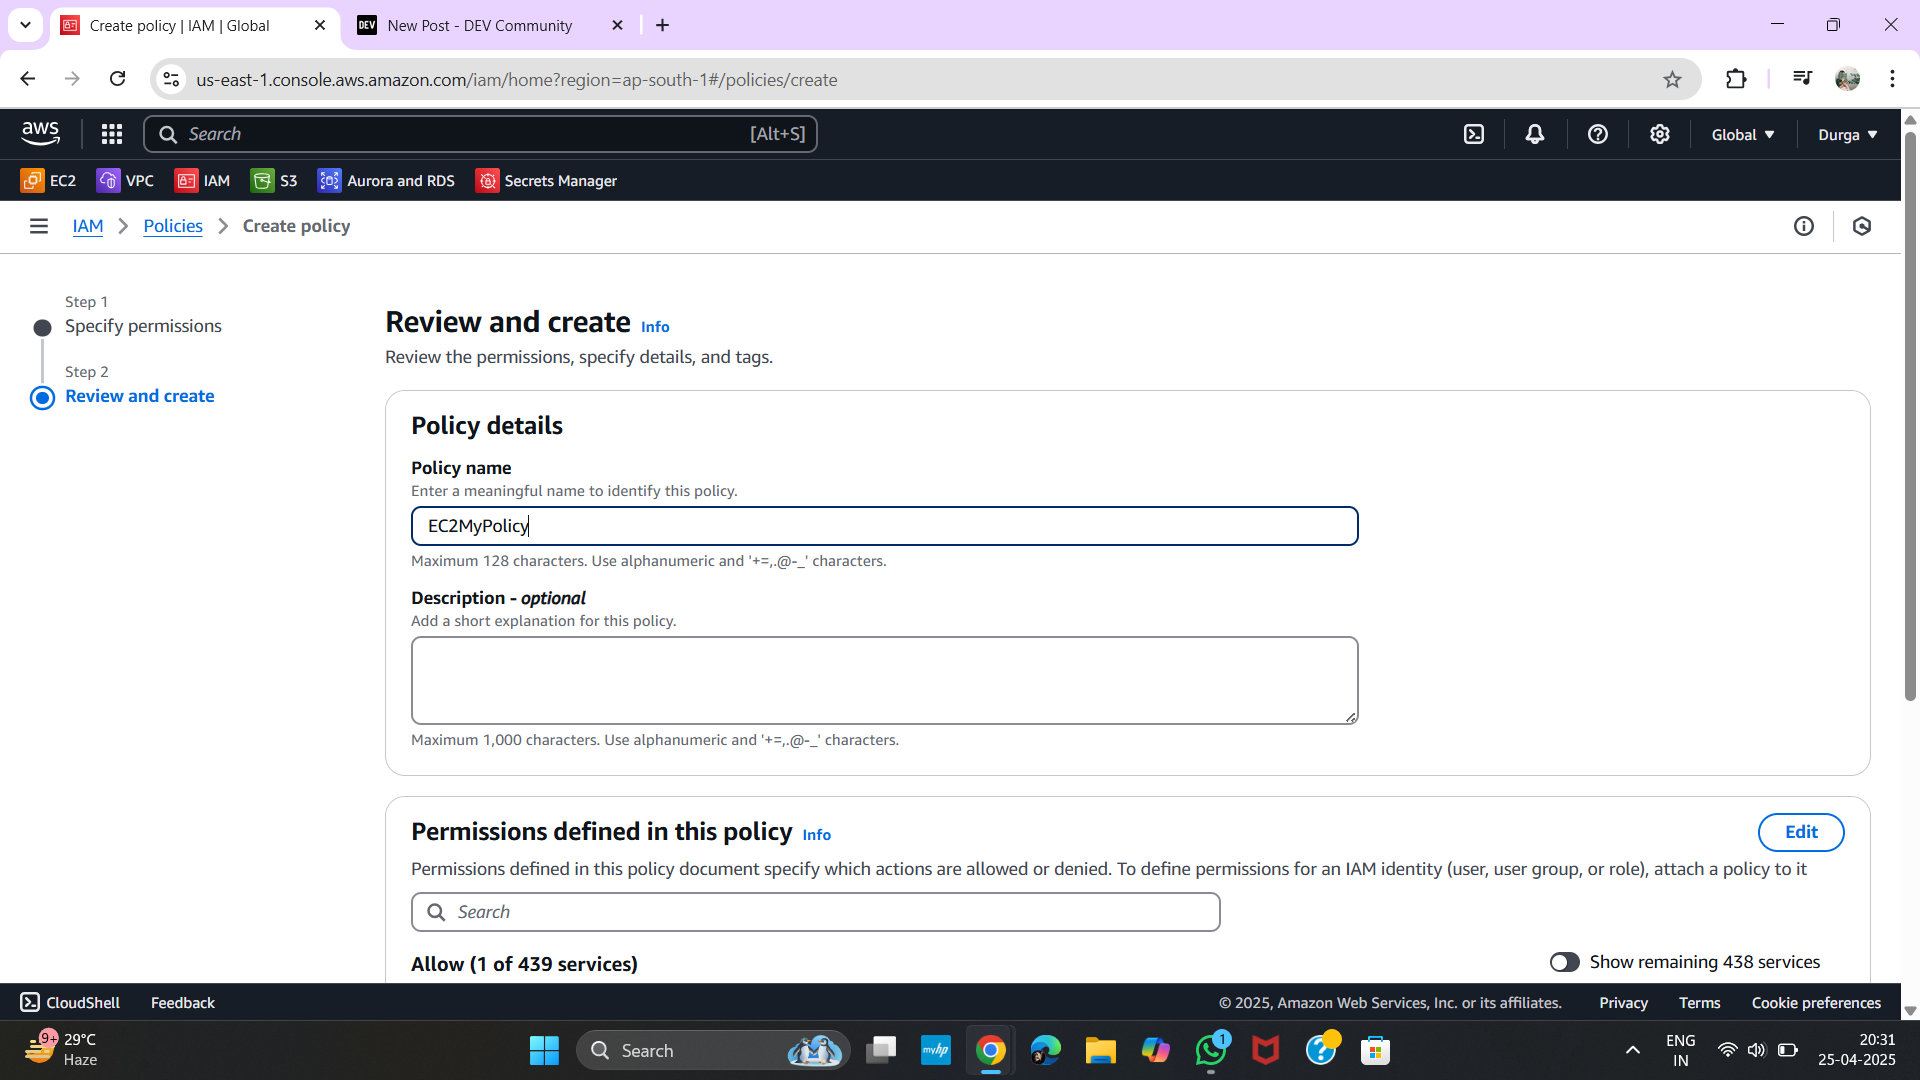
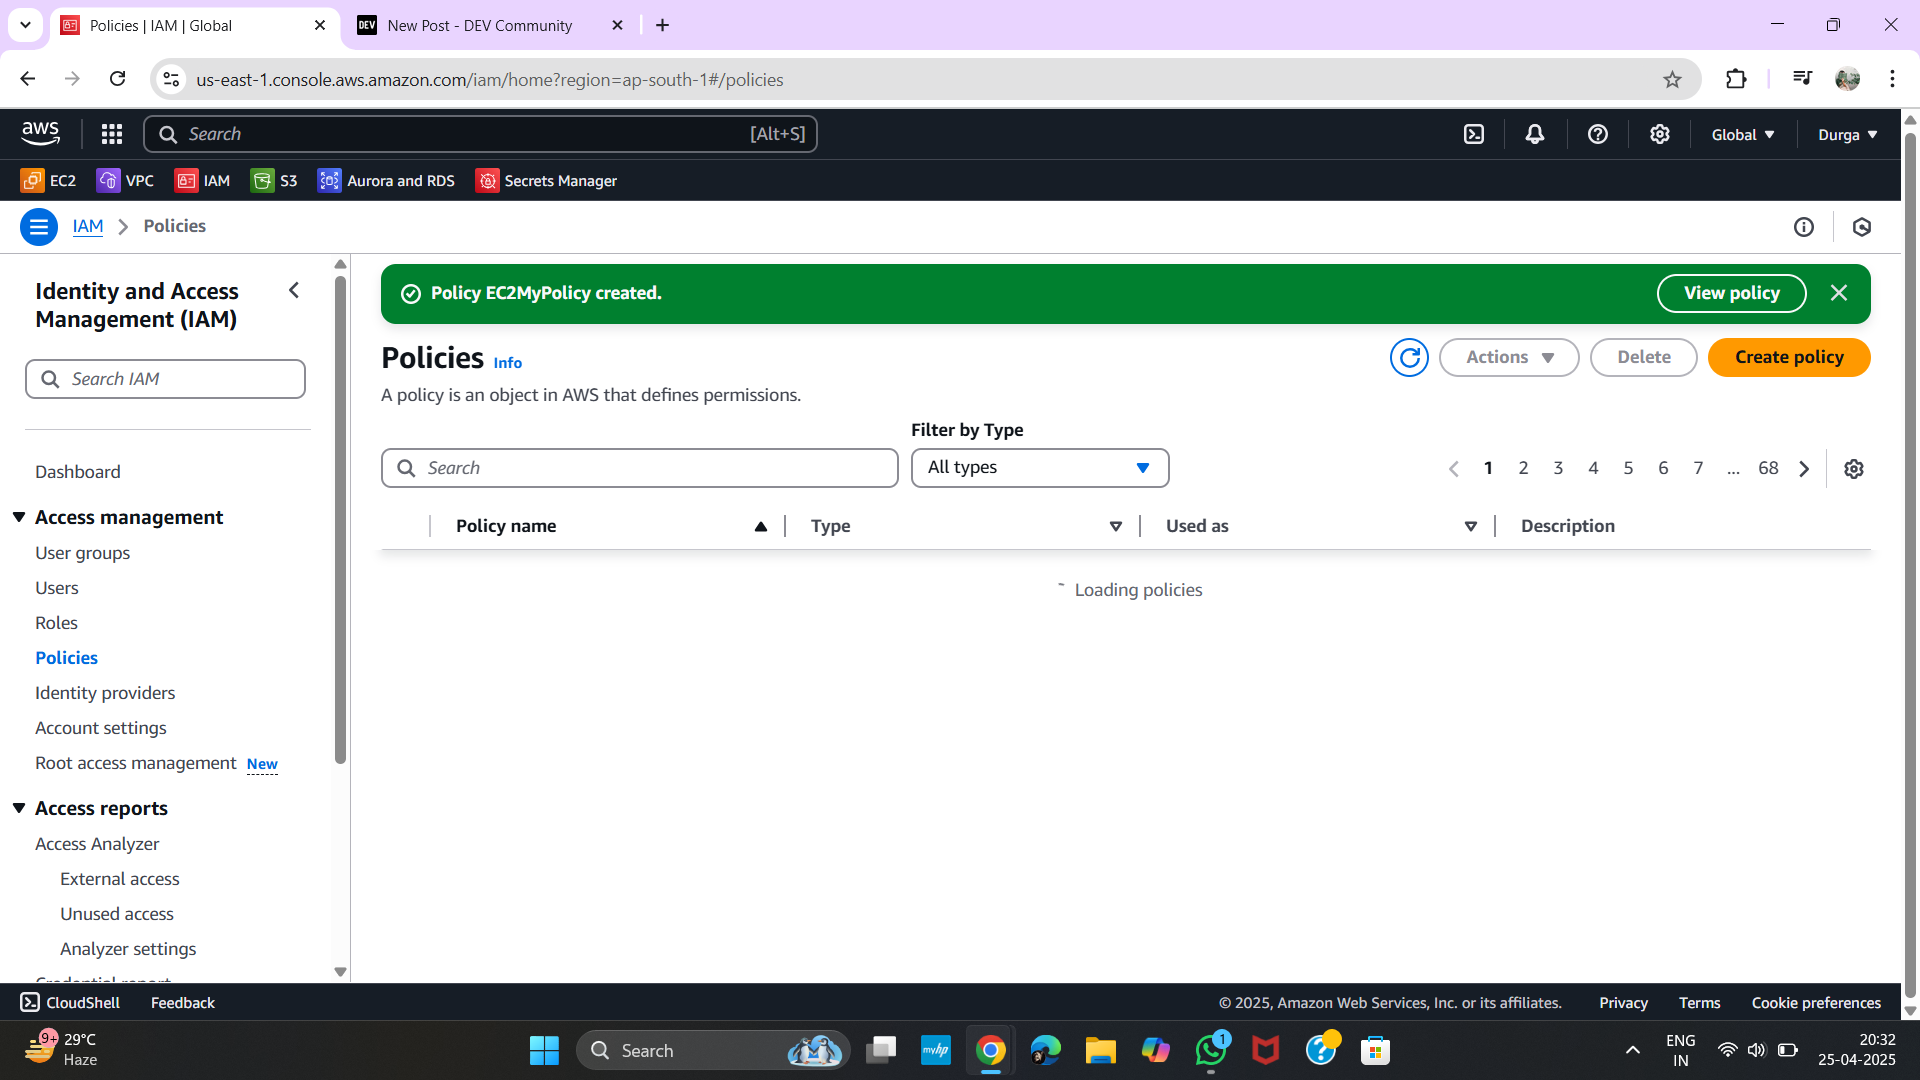
✅ Step 9: Review and Name Policy
Click Review policy, and give it a name — for example, EC2MyPolicy.
✅ Step 10: Verify Inline Policy Added
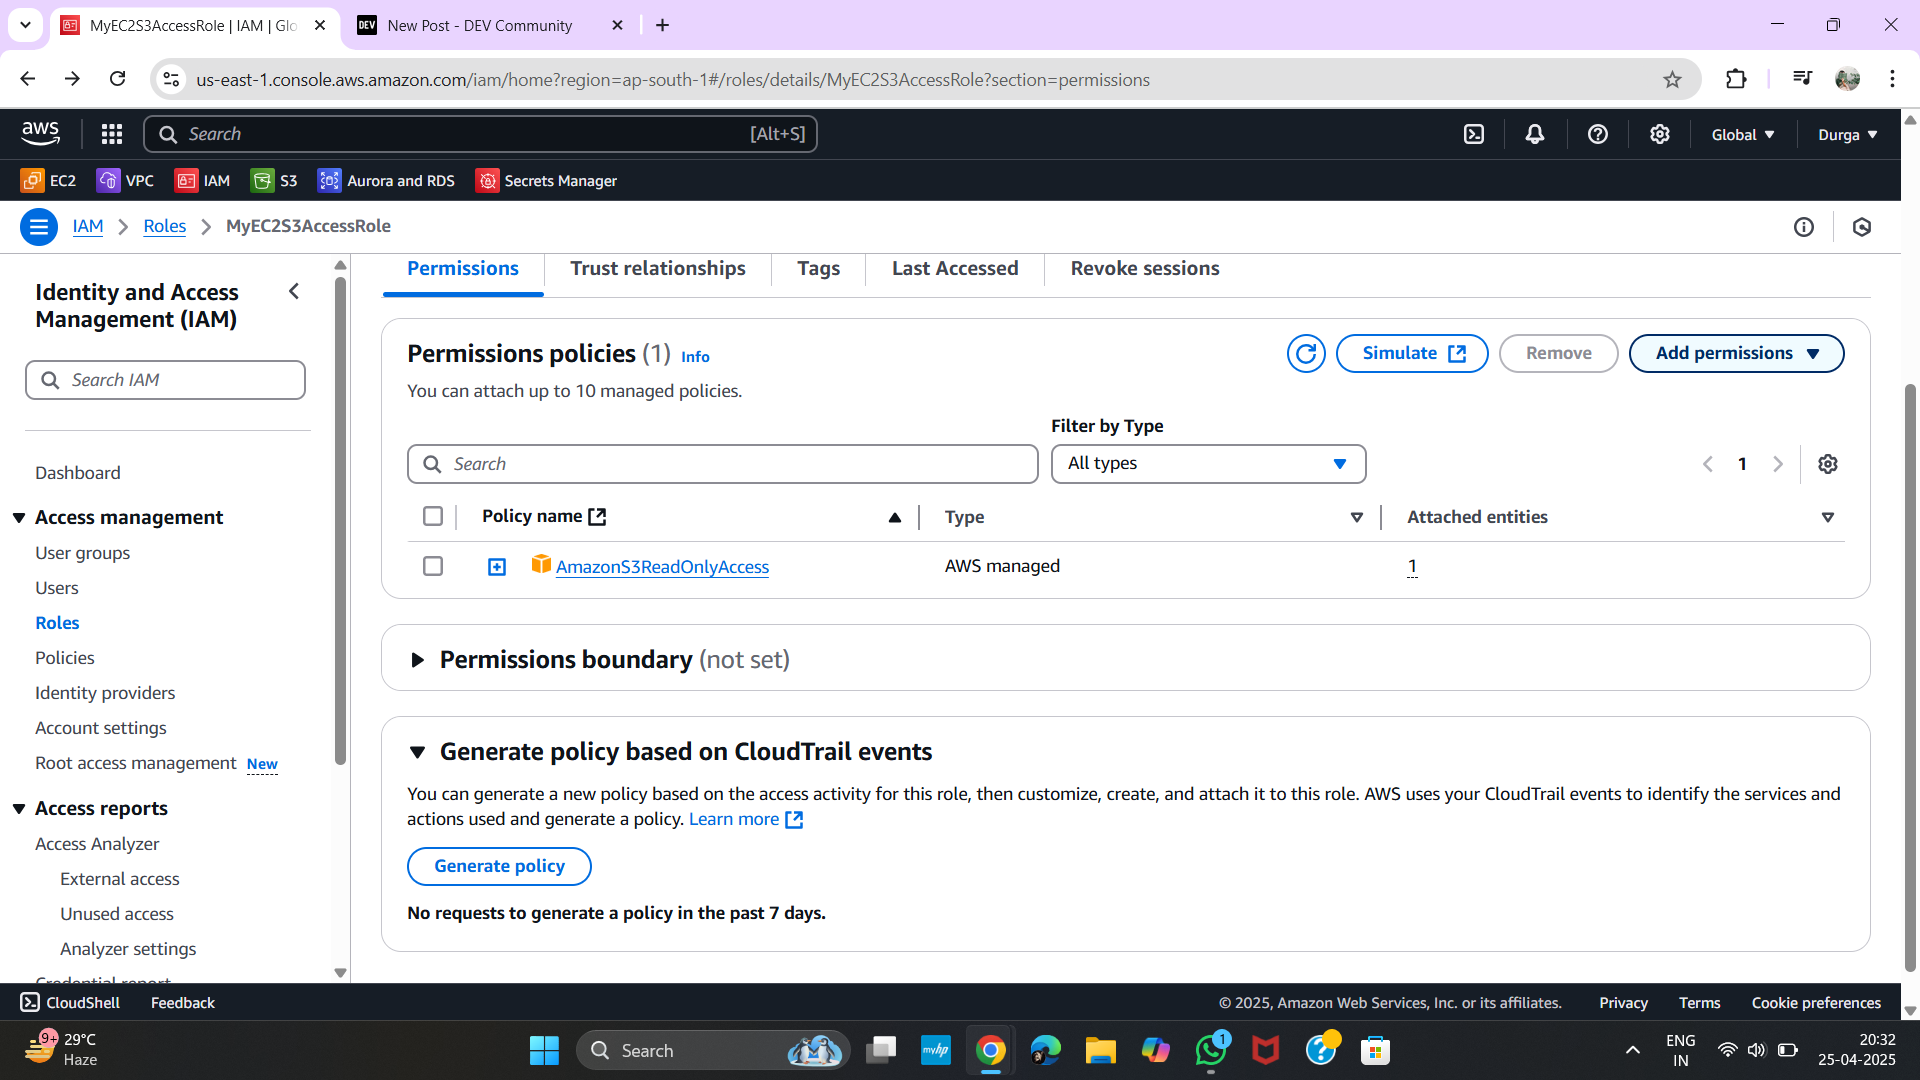
You’ll now see EC2MyPolicy listed as an inline policy under the role’s Permissions tab.

✅ Step 11: Launch an EC2 Instance
Go to the EC2 dashboard, launch a new instance, and under IAM Role, select MyEC2S3AccessRole.
✅ Step 12: Verify Access from EC2
Once logged into the EC2 instance, open a terminal and run:
aws s3 lsIf everything is set up correctly, it will list the S3 buckets your policy allows access to.
🎉 Done! You Have Created an IAM Role and Policy for EC2-S3 Access
This approach is scalable, secure, and follows AWS best practices by using IAM Roles instead of storing credentials directly on EC2.
🧠 Bonus: View Role with AWS CLI
To check the role later:
aws iam get-role --role-name MyEC2S3AccessRole
aws iam list-role-policies --role-name MyEC2S3AccessRole
aws iam get-role-policy --role-name MyEC2S3AccessRole --policy-name EC2MyPolicy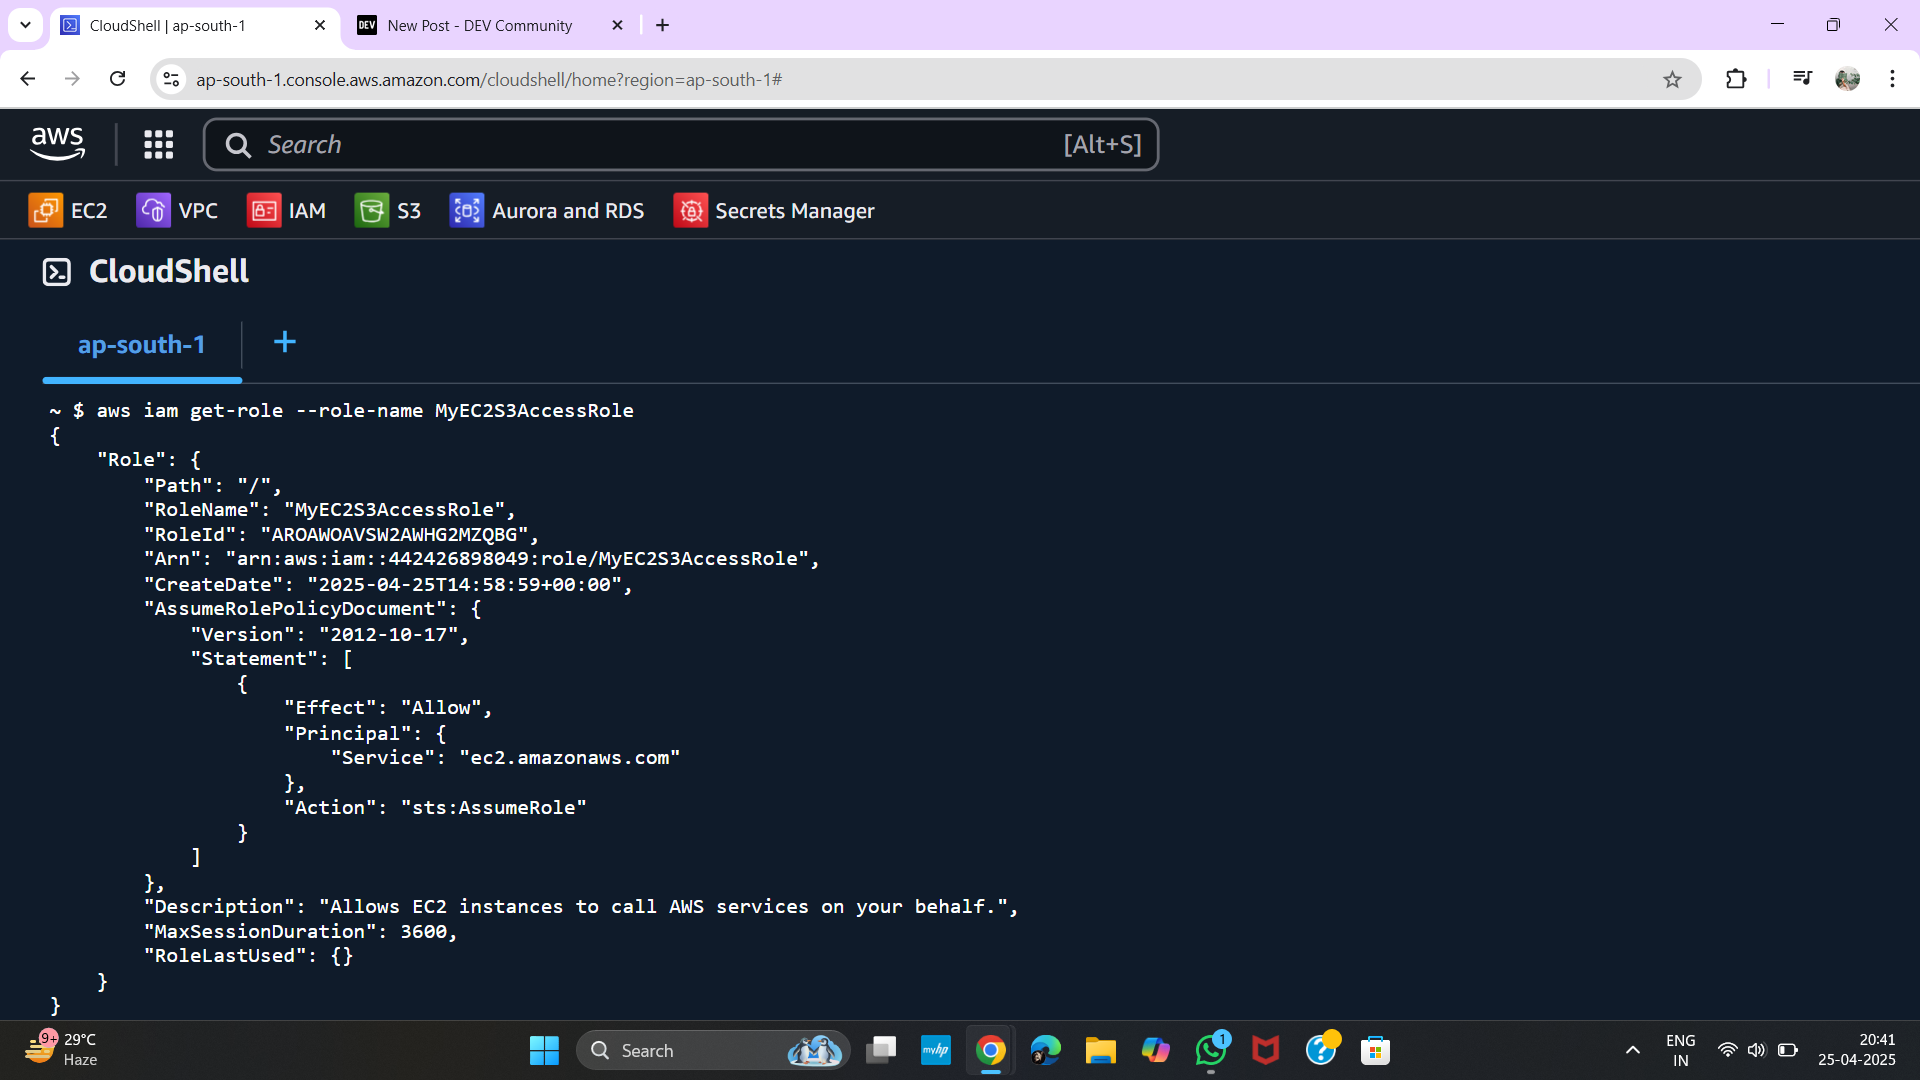
✅ Conclusion
By following this setup, you have securely enabled your EC2 instances to interact with S3 using IAM best practices — no hardcoded credentials, just temporary and managed access. This method enhances security, simplifies permission management, and aligns with the principle of least privilege. Whether you're building scalable cloud applications or just experimenting, this IAM Role and Policy pattern is a must-have in your AWS toolkit.
