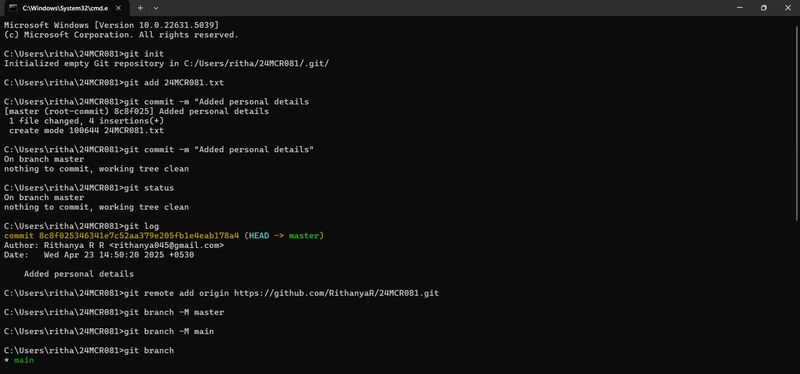
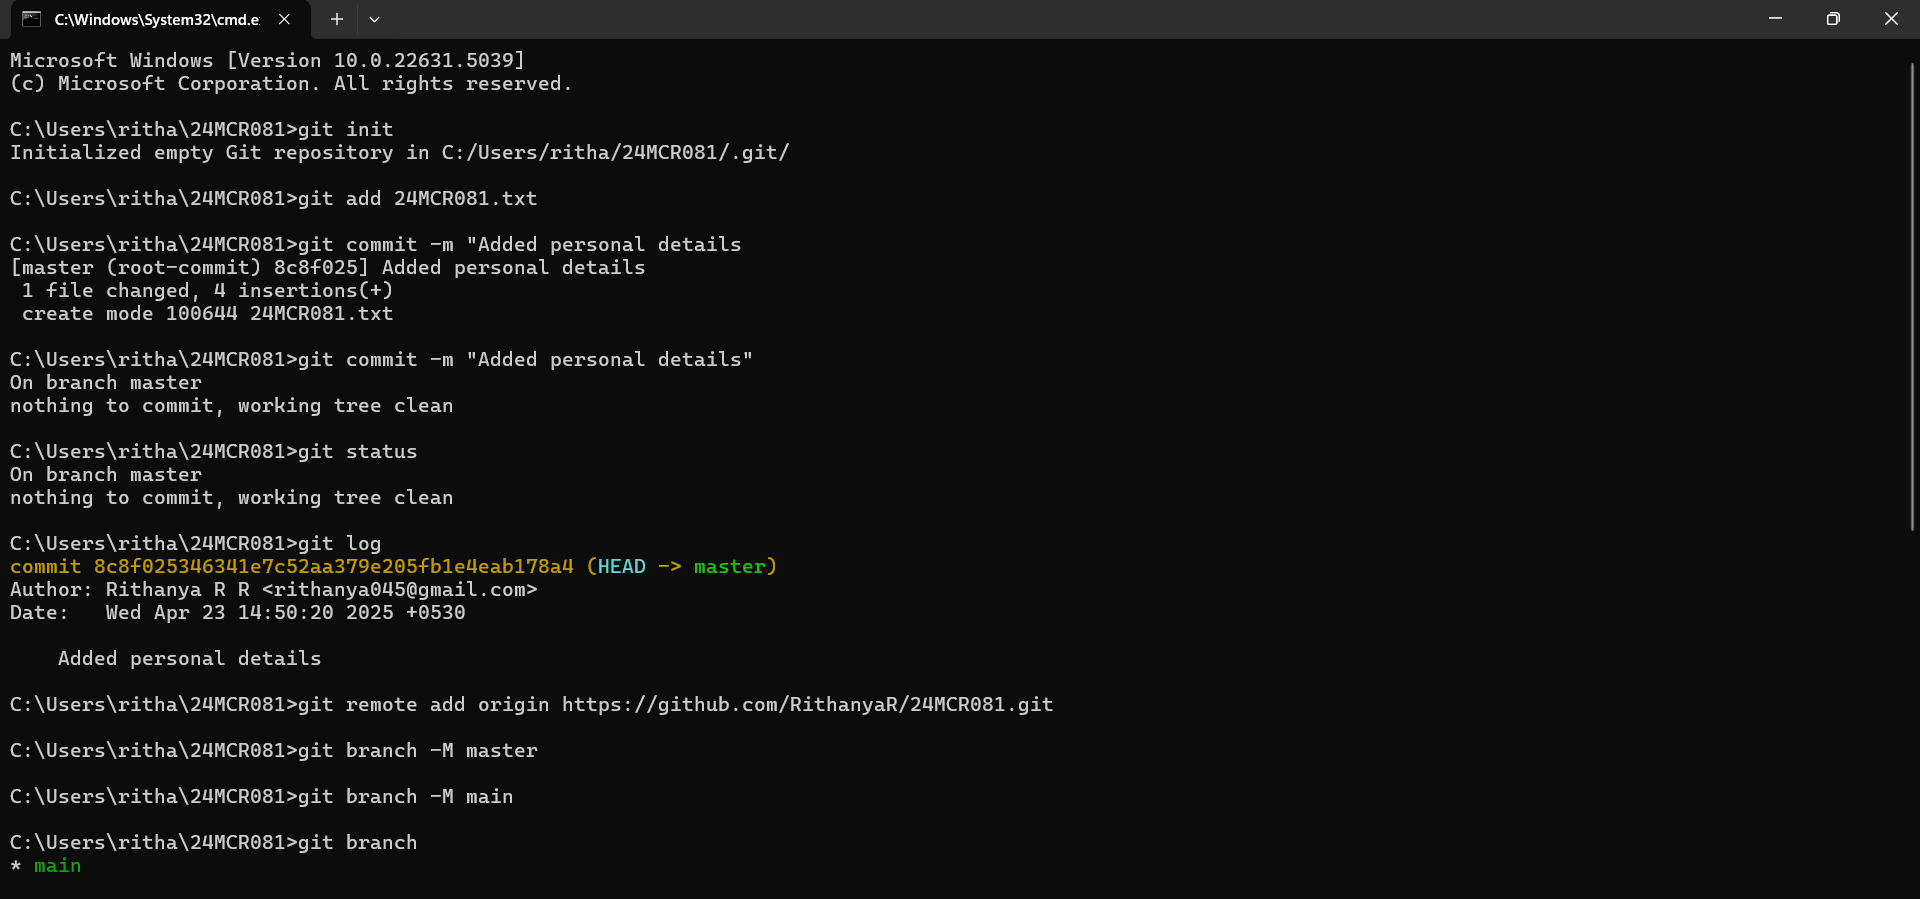
1. Initialize the Git Repository
To begin tracking a project with Git, open the terminal in the project directory and run:
git init
2. Add Files to the Staging Area
To track all current changes in the project, use:
git add .
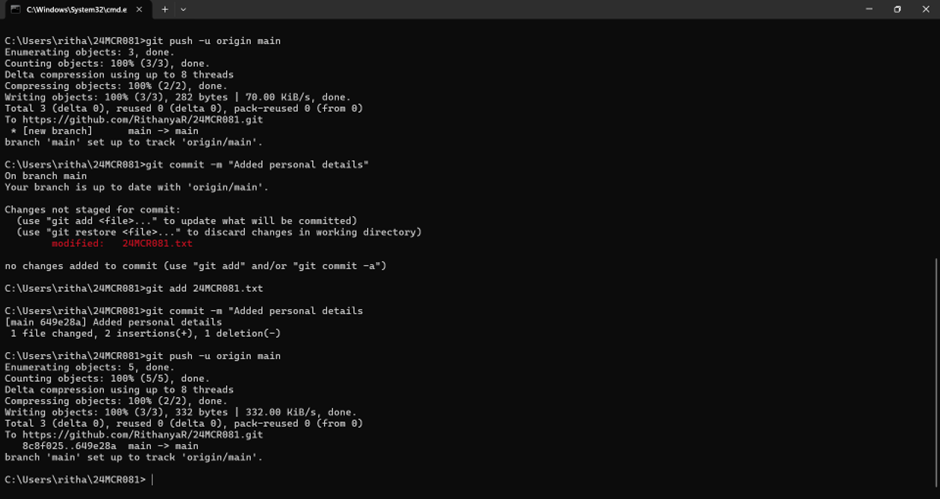
3. Commit the Changes
Once the files are staged, they can be committed to the repository with a message describing the changes:
git commit -m "Initial commit"
4. Configure Git Identity
To ensure commits are associated with the correct user, set the global username and email with:
git config --global user.name "Full Name"
git config --global user.email "[email protected]"
5. Add a Remote Repository
To push the local repository to a remote server (e.g., GitHub), link it with:
git remote add origin https://github.com/username/repository.git
6. Check File Status
To view the current state of the files in the repository (e.g., staged, modified, untracked), use:
git status
7. Work with Branches
To isolate development work, branches can be created and managed:
To list existing branches:
git branch
8. Push Changes to Remote Repository
To send committed changes to the remote repository:
git push origin main
9. View Commit History
To display a chronological list of all commits:
git log
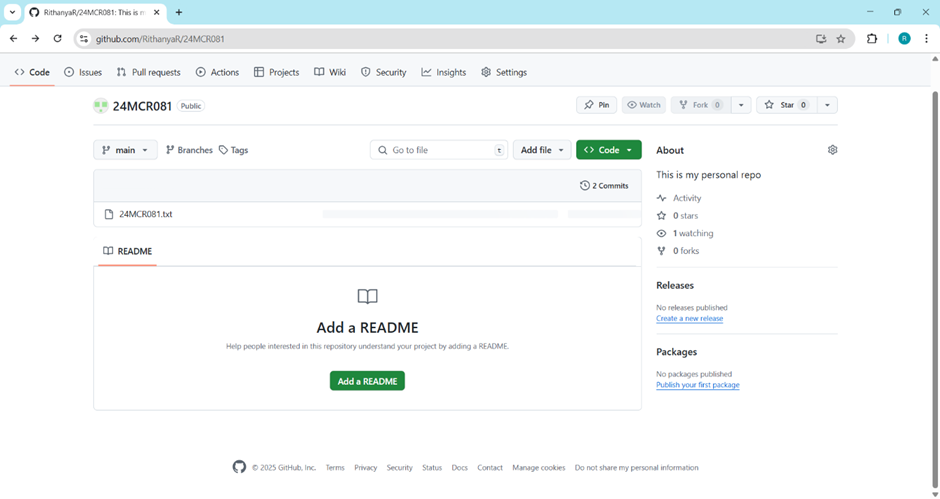
10. Confirm Remote Upload
After pushing changes, navigate to the remote repository’s URL to view uploaded files, commit history, and branch information.