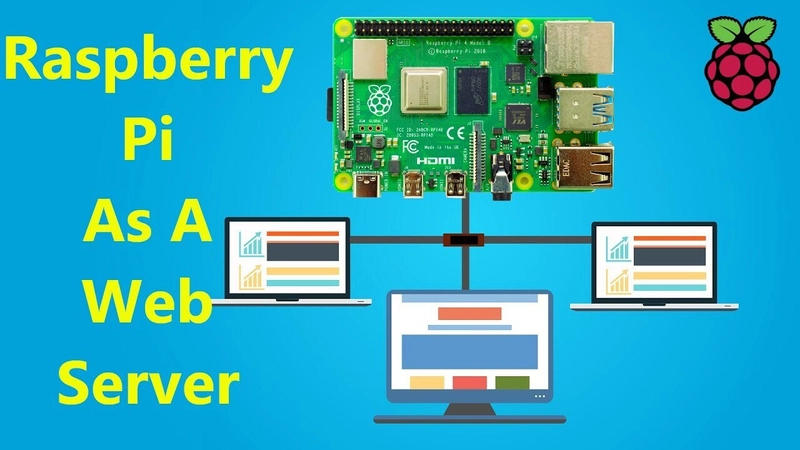
Whether you're hosting a personal website, a blog, or a home automation dashboard, here's how to turn your Raspberry Pi into a fully functional web server using Apache, Nginx, or Lighttpd.

1. Prerequisites
Hardware:
- Raspberry Pi (any model, but Pi 4/5 recommended for better performance)
- MicroSD card (16GB+ recommended)
- Power supply
- Ethernet cable (or Wi-Fi connection)
Software:
- Raspberry Pi OS (previously Raspbian) installed (Download Here)
- Basic Linux command-line knowledge
2. Initial Setup
Step 1: Install Raspberry Pi OS
- Flash Raspberry Pi OS Lite (headless) or Desktop to the SD card using Raspberry Pi Imager.
- Enable SSH (for remote access) by creating an empty ssh file in the boot partition.
Step 2: Connect & Update
- Power on the Pi and connect via Ethernet/Wi-Fi.
- SSH into it (default credentials: pi / raspberry):
bash

ssh [email protected]- Update the system:
bash

sudo apt update && sudo apt upgrade -y
3. Install a Web Server
Option A: Apache (Easiest for Beginners)
- Install Apache:
bash

sudo apt install apache2 -y- Test it:
- Open a browser and visit http://raspberrypi.local (or the Pi’s IP).
- You should see the Apache default page.
Option B: Nginx (Faster & More Efficient)
- Install Nginx:
bash

sudo apt install nginx -y- Test it:
Visit http://raspberrypi.local → You should see the Nginx welcome page.
Option C: Lighttpd (Lightweight Alternative)
- Install Lighttpd:
bash

sudo apt install lighttpd -y- Enable PHP (if needed):
bash

sudo apt install php-fpm php-mysql -y
sudo lighty-enable-mod fastcgi-php
sudo systemctl restart lighttpd
4. Host Your Website
Step 1: Upload Website Files
Default web root locations:
- Apache: /var/www/html/
- Nginx: /var/www/html/
- Lighttpd: /var/www/html/
Replace the default index.html with your own files:
bash

sudo rm /var/www/html/index.*
sudo cp ~/my-website/* /var/www/html/
sudo chown -R www-data:www-data /var/www/html/
Step 2: Enable PHP (Optional)
If your site uses PHP:
bash

sudo apt install php php-mysql -y  # For Apache
sudo systemctl restart apache2    # Or nginx/lighttpd
Test with:
bash

echo "" | sudo tee /var/www/html/info.php
Visit http://raspberrypi.local/info.php to verify.
5. Make It Accessible from the Internet
Step 1: Set a Static IP (Recommended)
Edit /etc/dhcpcd.conf:
bash

sudo nano /etc/dhcpcd.conf
Add:
ini

interface eth0
static ip_address=192.168.1.100/24
static routers=192.168.1.1
static domain_name_servers=8.8.8.8
Restart networking:
bash

sudo systemctl restart dhcpcd
Step 2: Port Forwarding (If Behind a Router)
- Log in to your router (usually 192.168.1.1).
- Forward port 80 (HTTP) and 443 (HTTPS) to your Pi’s local IP.
Step 3: Use a Dynamic DNS (If You Don’t Have a Static IP)
Free options: DuckDNS, No-IP.
Install DuckDNS:
bash

sudo apt install duckdns
sudo nano /etc/duckdns/duck.sh  # Add your token
sudo chmod +x /etc/duckdns/duck.sh
sudo crontab -e
Add:
cron

*/5 * * * * /etc/duckdns/duck.sh >/dev/null 2>&1
Step 4: Secure with HTTPS (Let’s Encrypt)
- Install Certbot:
bash

sudo apt install certbot python3-certbot-apache -y  # For Apache
# Or for Nginx: python3-certbot-nginx- Get a free SSL certificate:
bash

sudo certbot --apache -d yourdomain.duckdns.org- Auto-renewal:
bash

sudo crontab -e
Add:
cron

0 12 * * * /usr/bin/certbot renew --quiet
6. Optimize Performance
For Raspberry Pi 4/Pi 5
Enable PHP OPcache (if using PHP):
bash

sudo nano /etc/php/8.2/apache2/php.ini
Uncomment:
ini

opcache.enable=1
opcache.enable_cli=1
opcache.memory_consumption=128
Use a Lightweight Database (If Needed)
SQLite (for simple sites):
bash

sudo apt install sqlite3 php-sqlite3 -y
MariaDB (for WordPress, etc.):
bash

sudo apt install mariadb-server php-mysql -y
sudo mysql_secure_installation
7. Monitor Your Server
Check Apache/Nginx logs:
bash

sudo tail -f /var/log/apache2/access.log  # For Apache
sudo tail -f /var/log/nginx/access.log    # For Nginx
Monitor CPU/RAM usage:
bash

htop
8. Next Steps
Host a WordPress site:
bash

sudo apt install wordpress php-gd -y
Set up a VPN (for secure remote access):
bash

sudo apt install wireguard -y
Automate backups:
bash

sudo apt install rsync
rsync -avz /var/www/html/ backup-server:/path/to/backup/
Final Checklist
✅ Web server installed (Apache/Nginx/Lighttpd)
✅ Website files uploaded
✅ Static IP configured
✅ Port forwarding enabled (if needed)
✅ HTTPS secured (Certbot)
✅ Performance optimized
