
The AWS Command Line Interface (AWS CLI) is a unified tool to manage your AWS services. With just one tool to download and configure, you can control multiple AWS services from the command line and automate them through scripts.
Prerequisites Before We Begin
✅ Create an IAM user in your AWS account.
✅ Assign AdministratorAccess permissions to this user.
✅ Generate an Access Key and Secret Access Key for this IAM user.
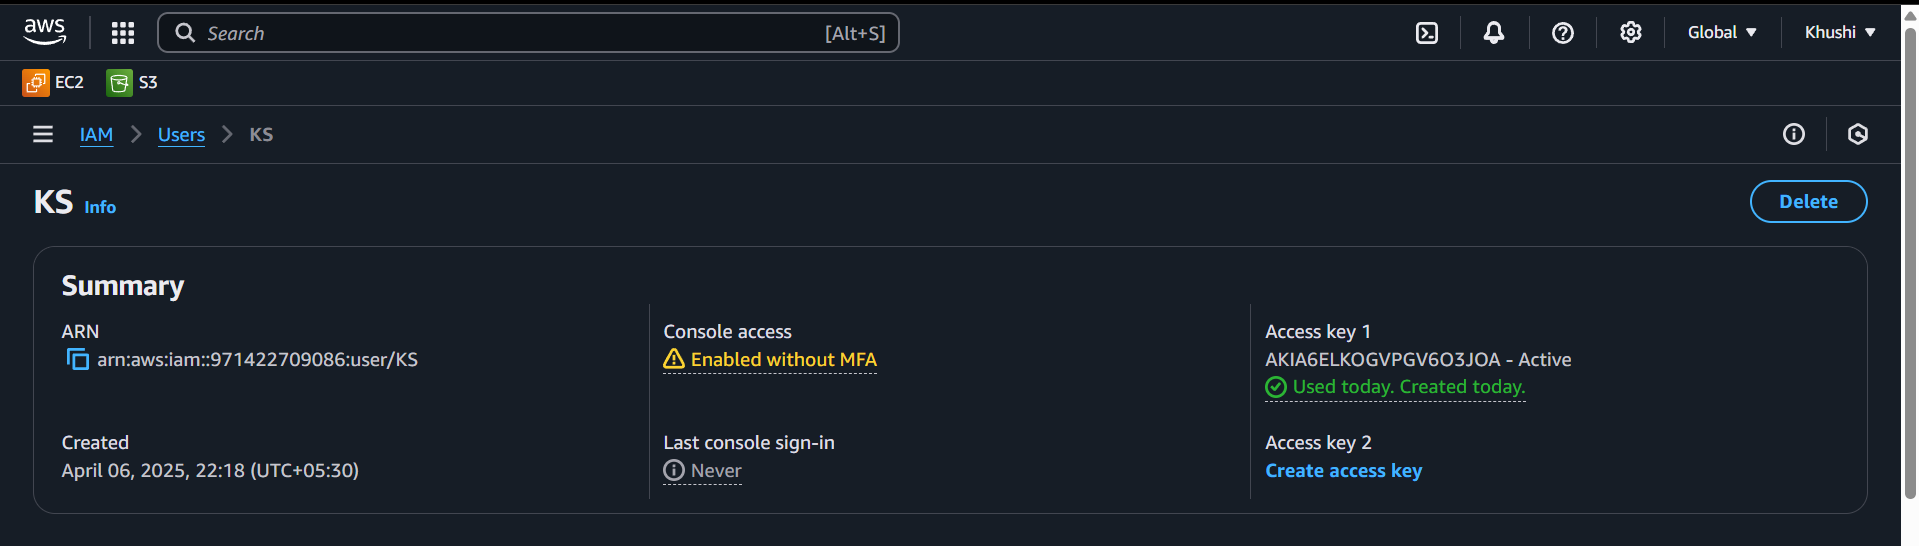
These credentials will come in handy once we complete the CLI setup. We'll use them to log in via the terminal and run our first command:
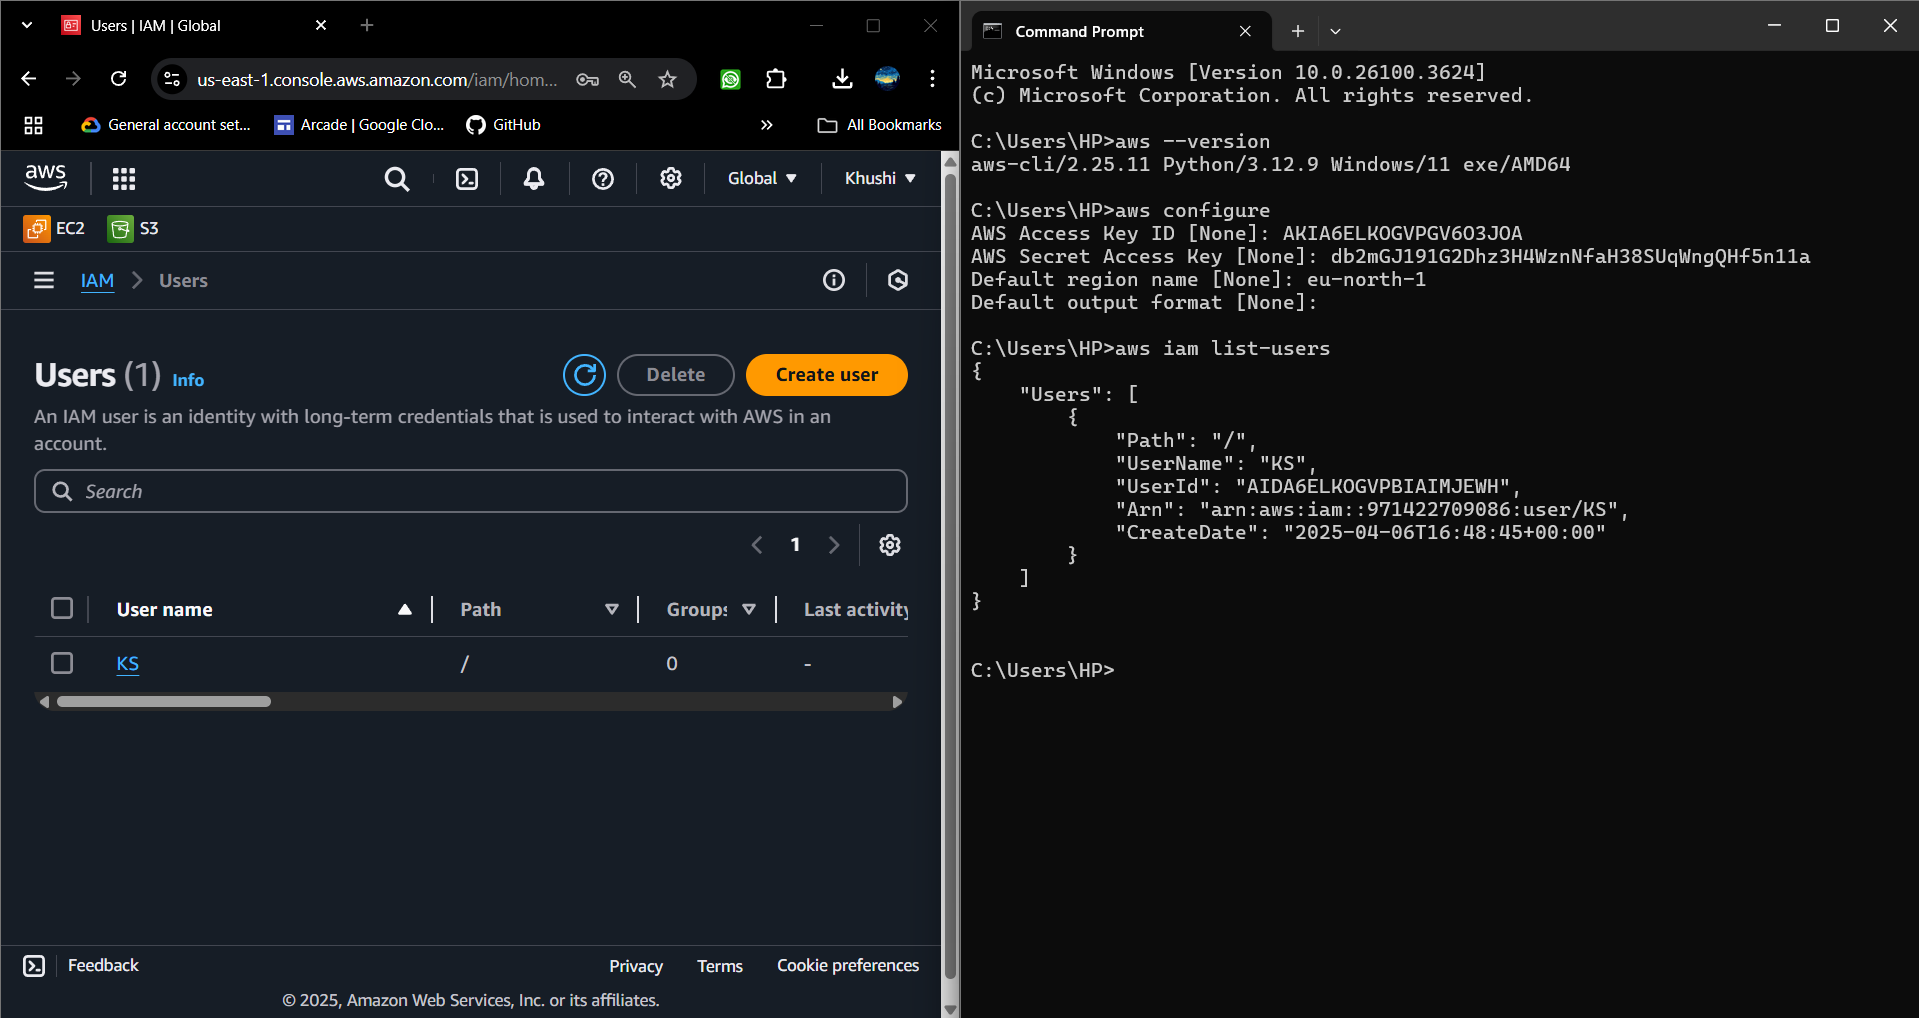
𝐚𝐰𝐬 𝐢𝐚𝐦 𝐥𝐢𝐬𝐭-𝐮𝐬𝐞𝐫𝐬
If everything's set up correctly, this command will return a list of users in your AWS account right in your CLI.
A Step-by-Step guide on installing AWS CLI on Windows:
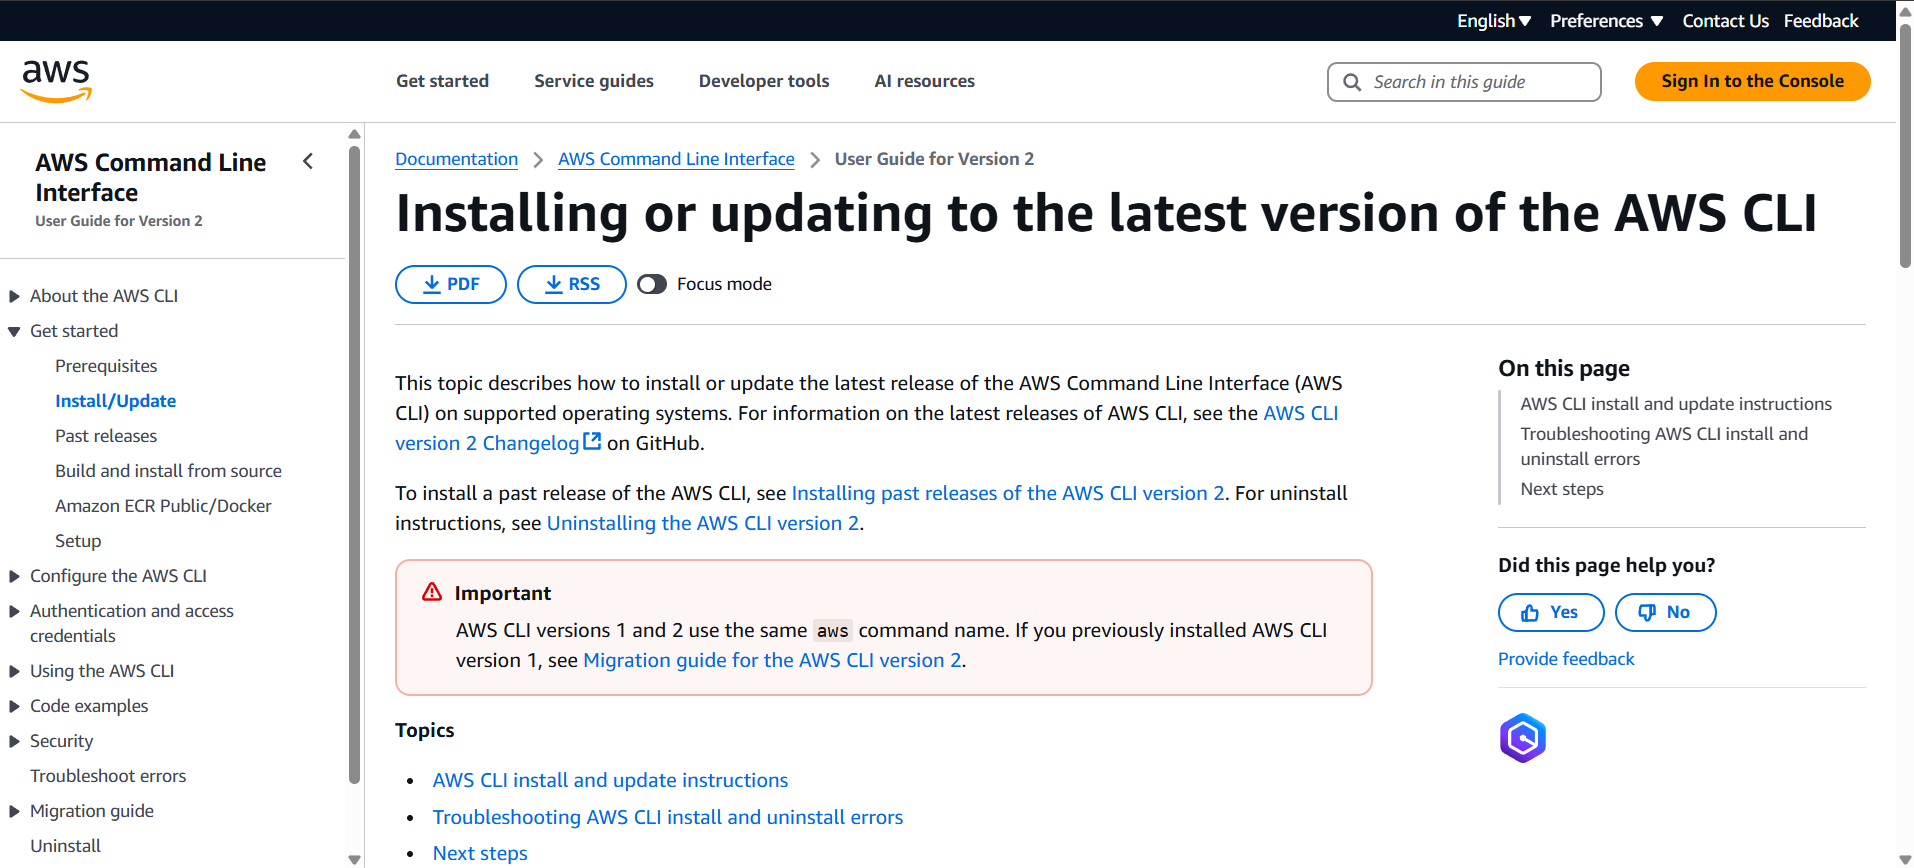
Step 1: Visit the AWS Documentation website to download the installer.
https://docs.aws.amazon.com/cli/latest/userguide/getting-started-install.html
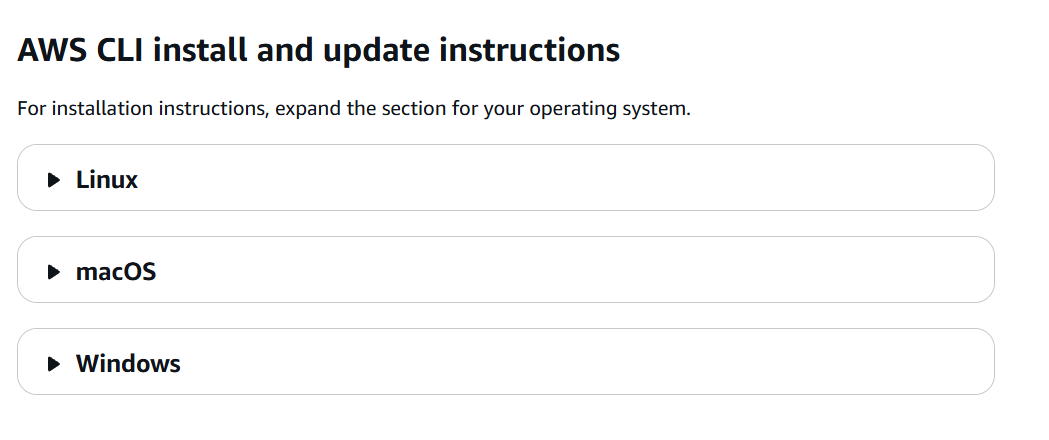
Step 2: Choose your operating system; in this case, I am selecting Windows.
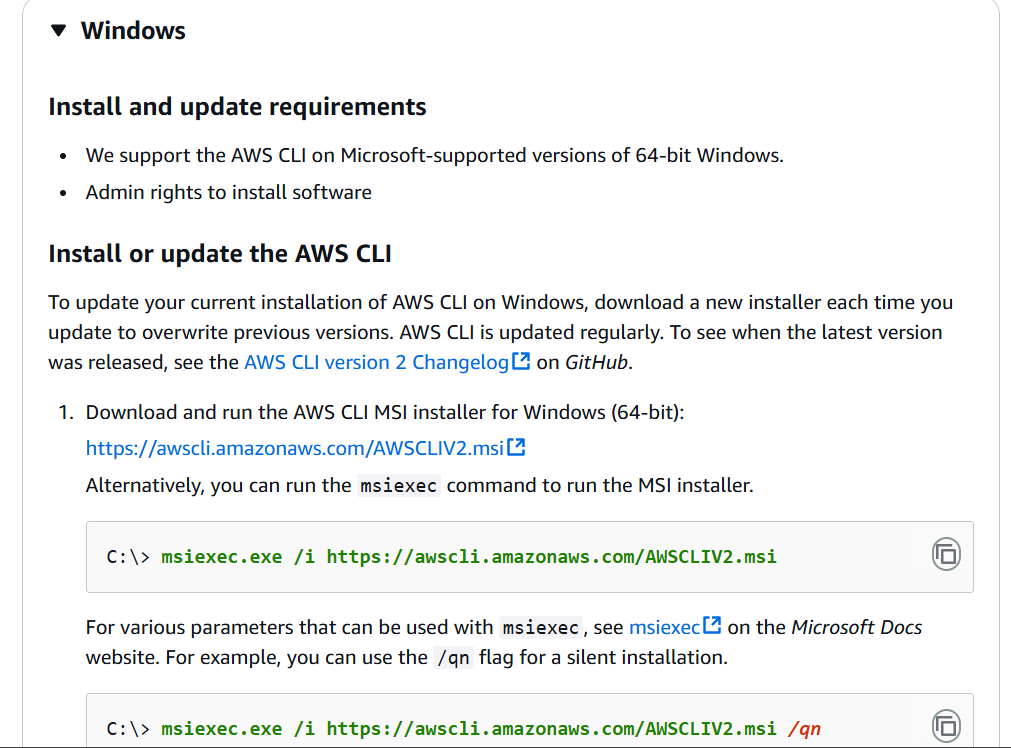
Step 3: Click to download the AWS CLI MSI installer for Windows (64-bit).
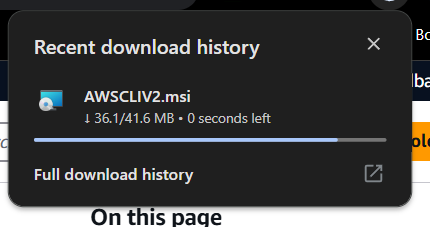
https://awscli.amazonaws.com/AWSCLIV2.msi
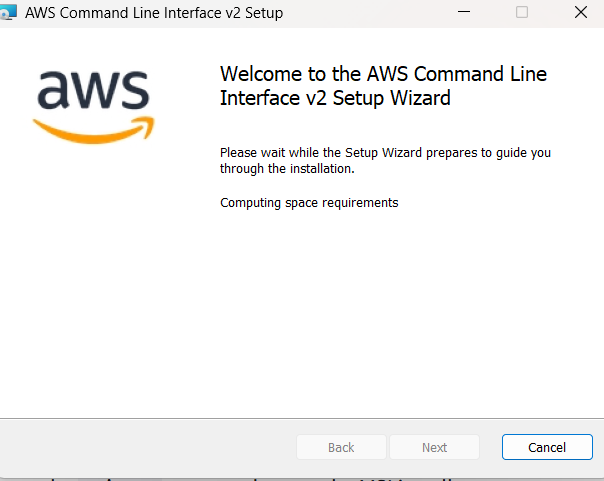
Step 4: The setup process will take a minute or two.
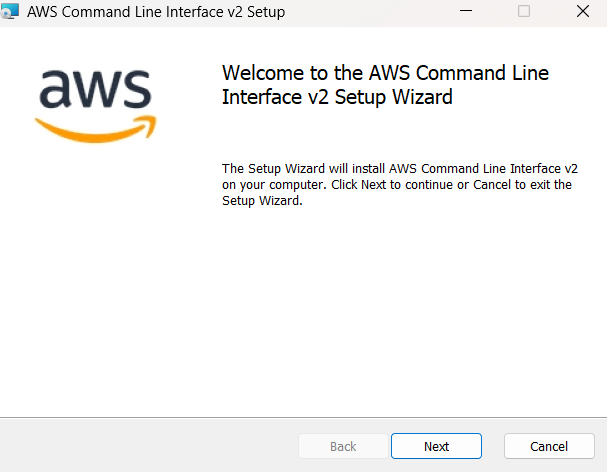
Step 5: Once the setup is complete, click "Next."
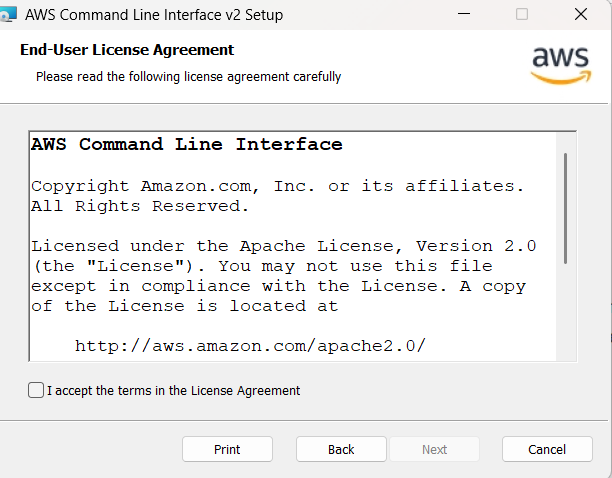
Step 6: Accept the license agreement and click "Next."
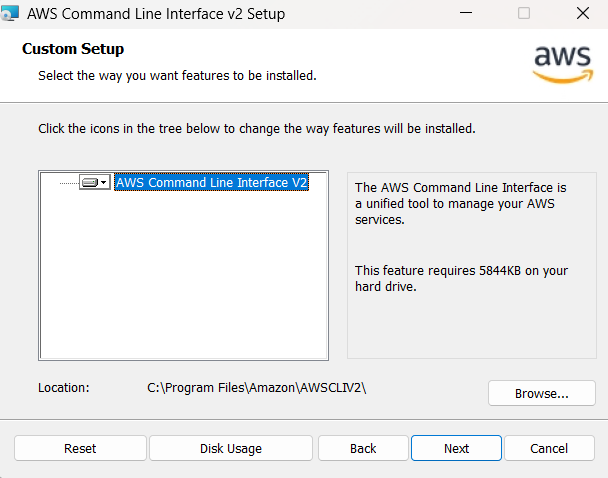
Step 7: Click "Next" on the Custom Setup screen.
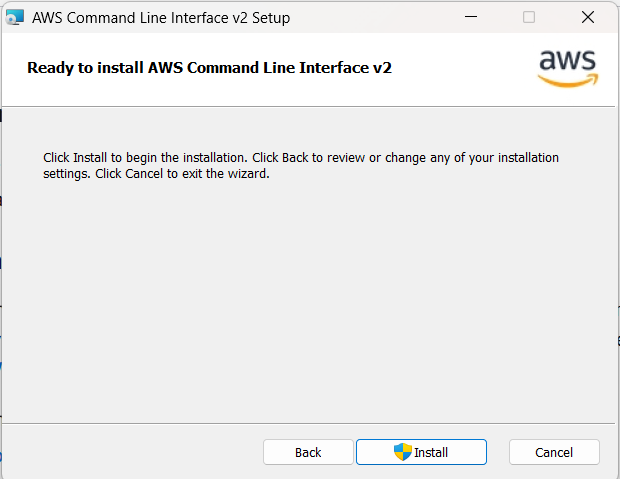
Step 8: Finally, click "Install."
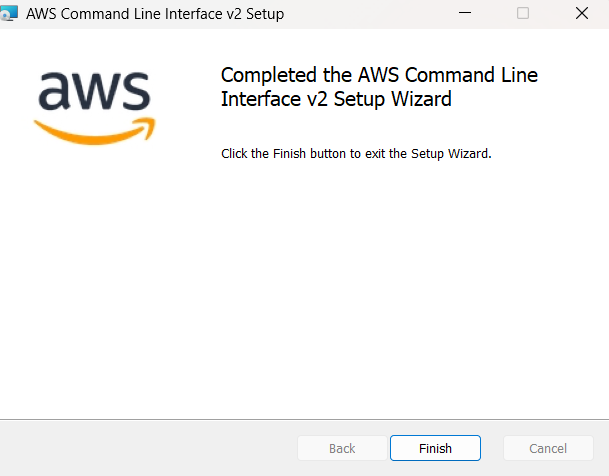
Step 9: After a few minutes, the installation will be complete.
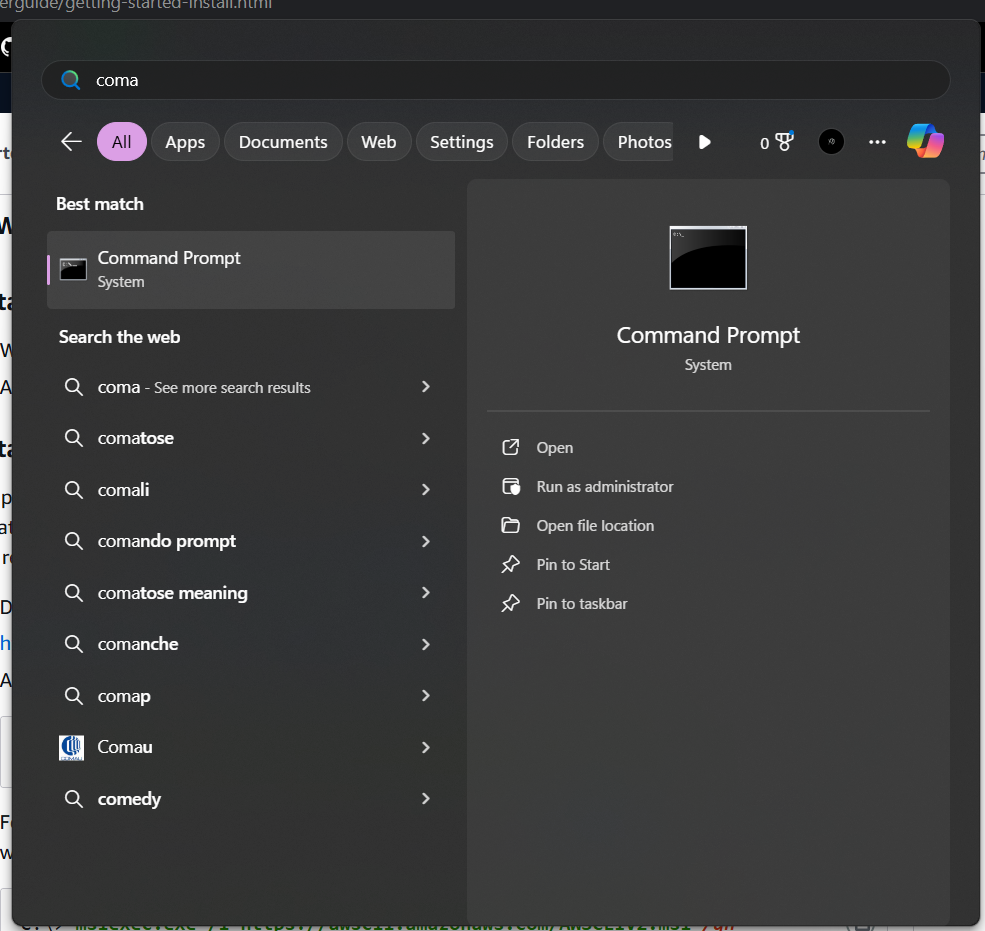
Step 10: Open the Search menu and type "Command" to find the Command Prompt or Terminal.
Step 11: Open the Command Prompt or Terminal.
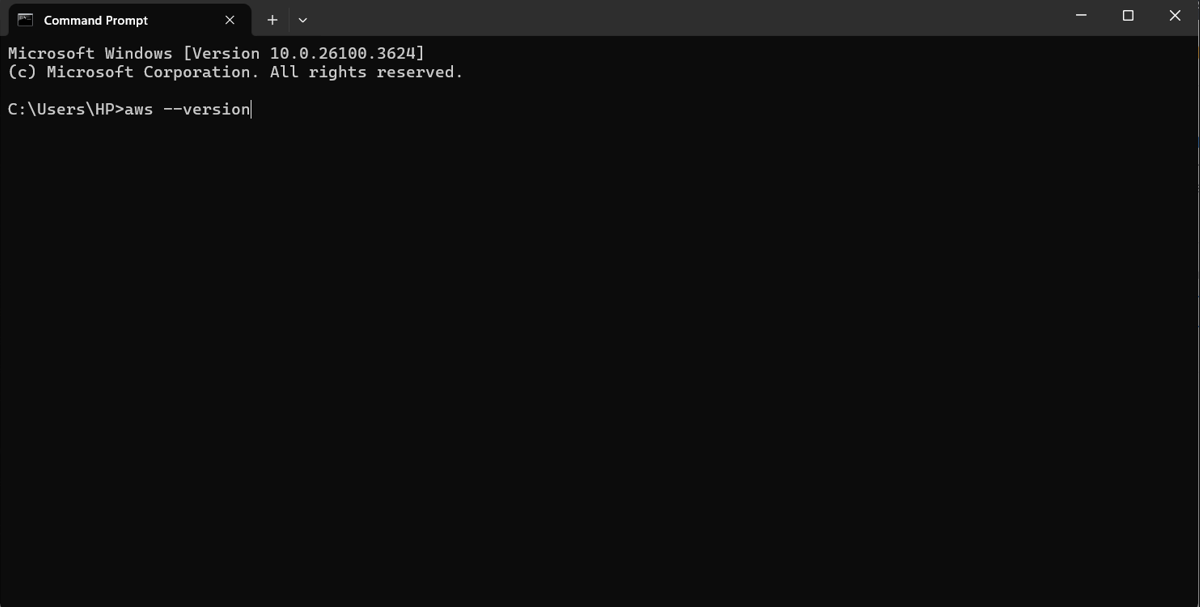
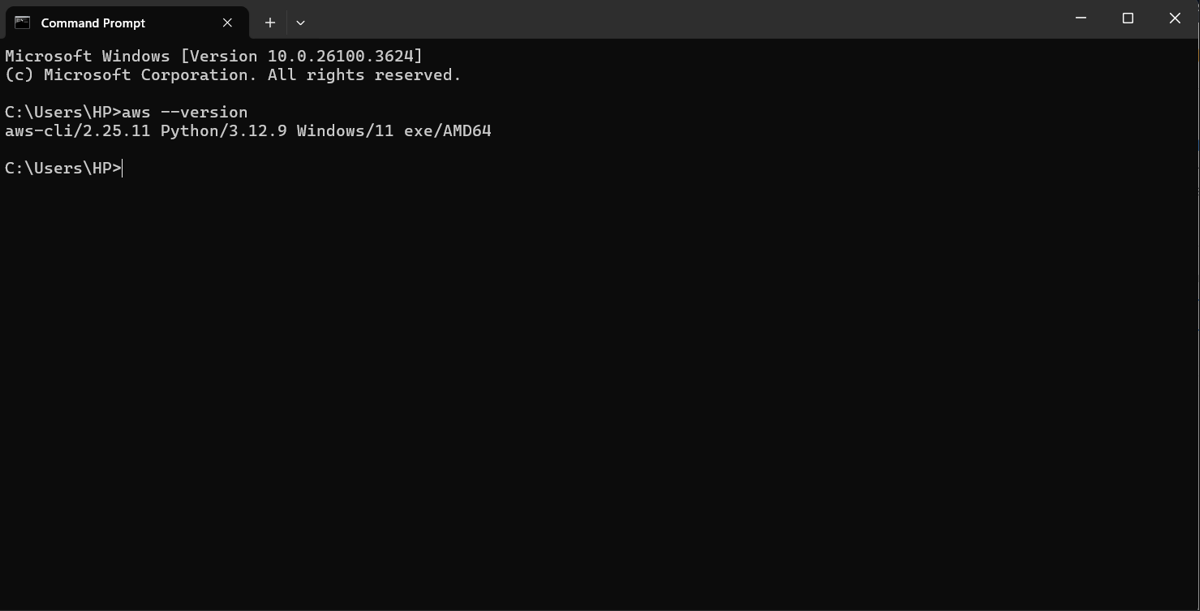
Step 12: Input 𝐚𝐰𝐬 --𝐯𝐞𝐫𝐬𝐢𝐨𝐧 to check the successful installation and to see the AWS version.
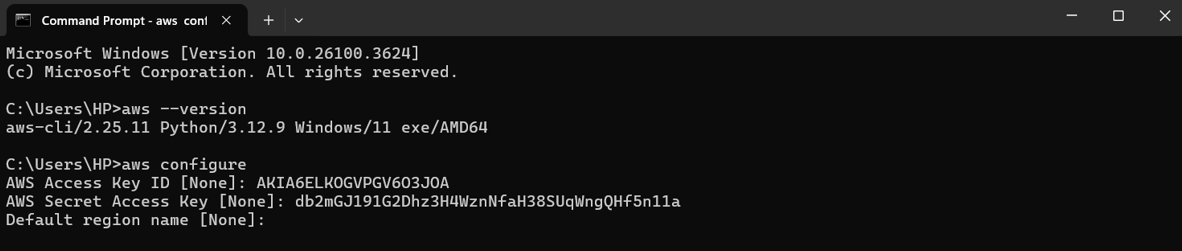
Step 13: Now, configure AWS in your Command Prompt.
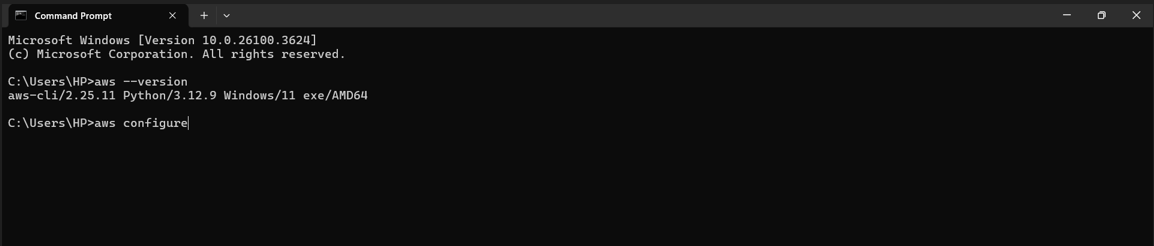
Step 14: Enter your access key and secret key.
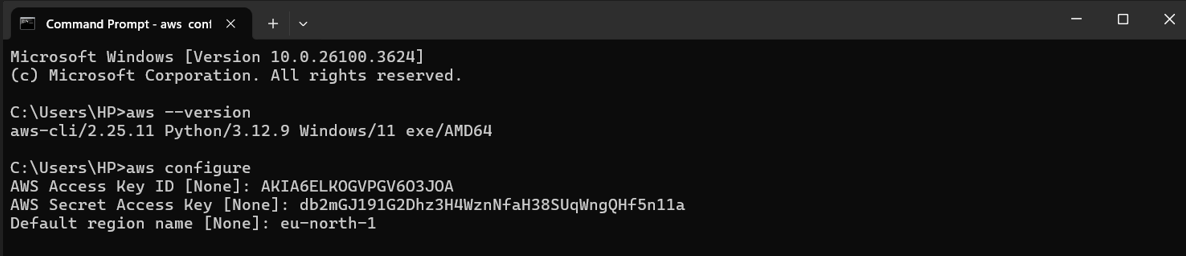
Step 15: Enter the region you want to use (I am entering Stockholm, which corresponds to eu-north-1).
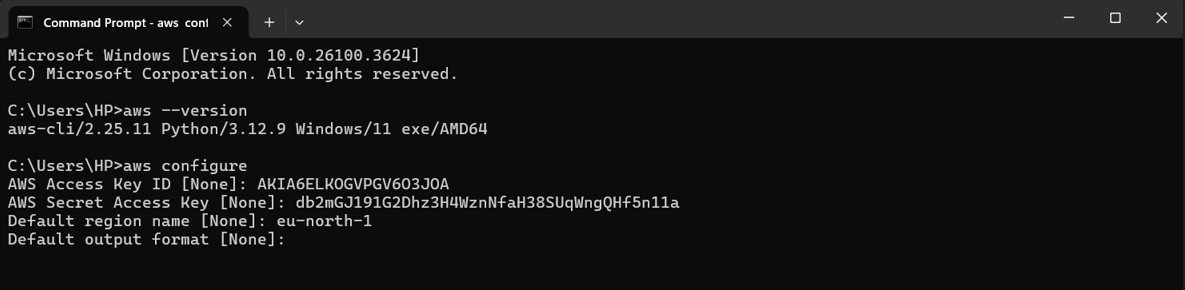
Step 16: For the default output format, just hit Enter.
Step 17: To test the CLI, input 𝐚𝐰𝐬 𝐢𝐚𝐦 𝐥𝐢𝐬𝐭-𝐮𝐬𝐞𝐫𝐬, and you will see the IAM users you created in the Management Console.
Conclusion
In this guide, we walked through the process of installing and configuring the AWS Command Line Interface (CLI) on a Windows system. With the setup complete and the CLI verified, you are now equipped to begin managing AWS services directly from your terminal.
Connect with me on Linkedin, let’s spark new ideas together!
