Dia 1.6B by Nari Labs is a cutting-edge text-to-speech model built to transform transcripts into highly realistic, emotionally rich audio dialogues. Unlike traditional models, Dia is designed with versatility in mind. It not only reads out text but brings it alive with expressions such as laughter, sighs, and other non-verbal cues. This makes it ideal for generating lifelike conversations, podcasts, or even adding voices to scripts.
Dia supports dynamic dialogue tags like [S1] and [S2] to alternate between speakers naturally. In addition, it allows users to clone voices, and even control tone and emotion using audio conditioning — making content creation more engaging than ever before. While currently optimized for English, Dia aims to push the limits of voice generation, ensuring each audio output feels natural and spontaneous.
Whether you’re working on media content, creating conversational interfaces, or experimenting with new ways of storytelling — Dia 1.6B offers a flexible and powerful solution right out of the box.
Resource
Hugging Face
Link:https://huggingface.co/nari-labs/Dia-1.6B
GitHub
Link:https://github.com/nari-labs/dia
Recommended GPU Configuration for Running Dia 1.6B
Running Dia 1.6B requires a capable GPU setup due to its model size and real-time processing needs. Based on official and tested benchmarks, here’s the recommended configuration:
Minimum Recommended GPU Setup:
- GPU: 1x RTX A6000 (or equivalent, with 48GB VRAM)
- CUDA Version: CUDA 12.6
- vCPUs: 40 vCPU (preferred for seamless loading and running)
- RAM: 48 GB (per GPU recommended)
- Disk: Minimum 100GB SSD (model files + environment setup)
- Network Speed: ~600MB/s (optional, for faster model downloading)
Key Notes:
- The full precision version of Dia requires ~10GB of VRAM during inference.
- For faster generation (40 tokens/s+), modern GPUs like A4000 or better are suggested.
- CUDA 12.6 is mandatory — lower versions may lead to compatibility issues.
- The initial run will be slower as the Descript Audio Codec and model files are downloaded and cached.
- CPU support is coming soon, but currently, GPUs are a must for real-time or near-real-time performance.
Step-by-Step Process to Install Nari Dia 1.6 B Locally
For the purpose of this tutorial, we will use a GPU-powered Virtual Machine offered by NodeShift; however, you can replicate the same steps with any other cloud provider of your choice. NodeShift provides the most affordable Virtual Machines at a scale that meets GDPR, SOC2, and ISO27001 requirements.
Step 1: Sign Up and Set Up a NodeShift Cloud Account
Visit the NodeShift Platform and create an account. Once you’ve signed up, log into your account.
Follow the account setup process and provide the necessary details and information.
Step 2: Create a GPU Node (Virtual Machine)
GPU Nodes are NodeShift’s GPU Virtual Machines, on-demand resources equipped with diverse GPUs ranging from H100s to A100s. These GPU-powered VMs provide enhanced environmental control, allowing configuration adjustments for GPUs, CPUs, RAM, and Storage based on specific requirements.
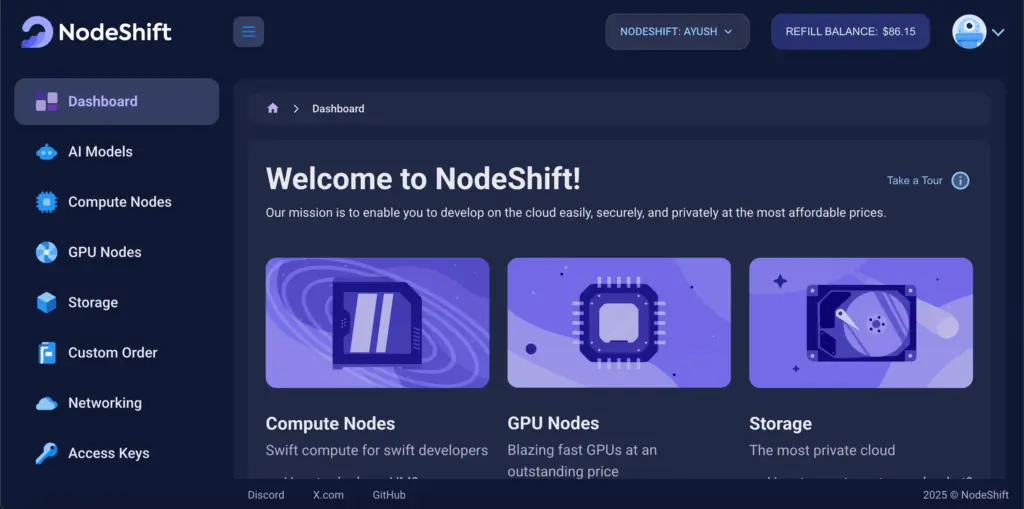
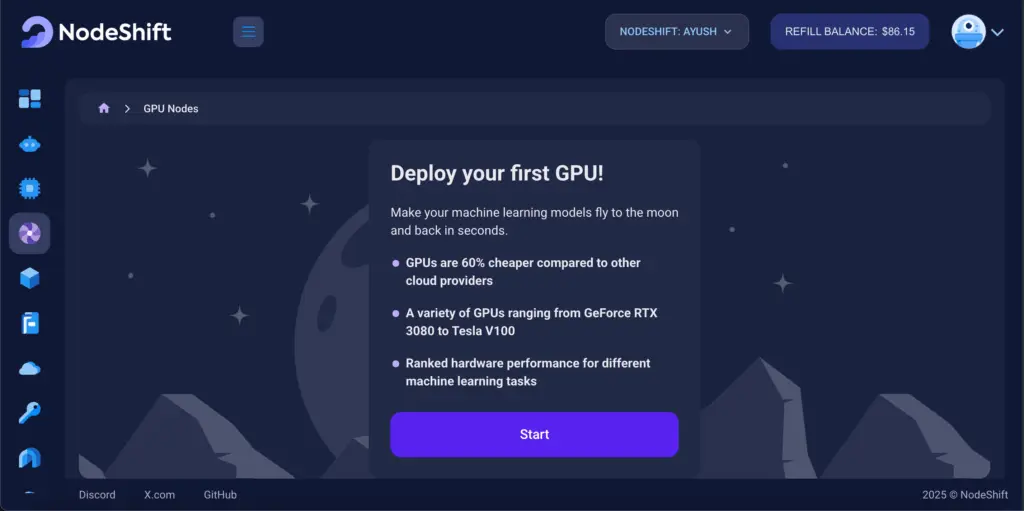
Navigate to the menu on the left side. Select the GPU Nodes option, create a GPU Node in the Dashboard, click the Create GPU Node button, and create your first Virtual Machine deploy
Step 3: Select a Model, Region, and Storage
In the “GPU Nodes” tab, select a GPU Model and Storage according to your needs and the geographical region where you want to launch your model.
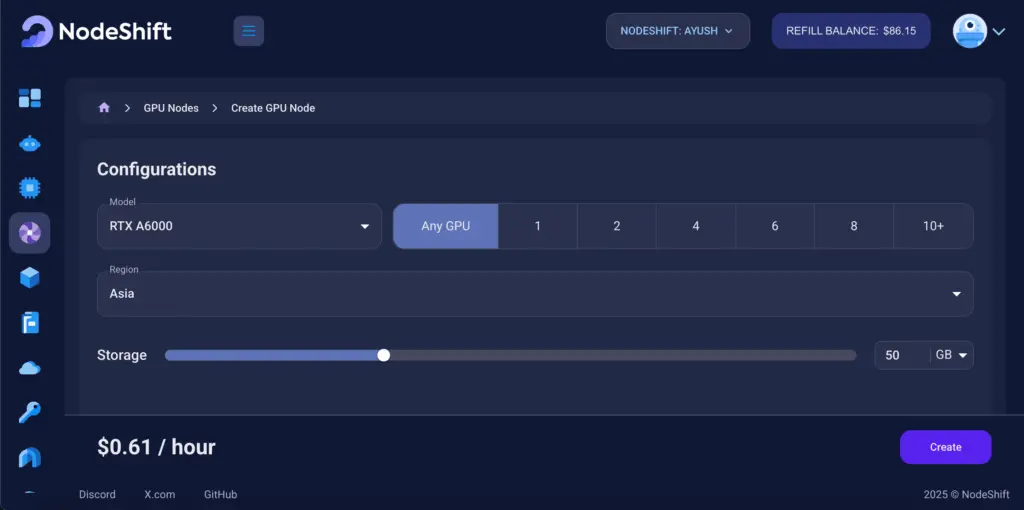
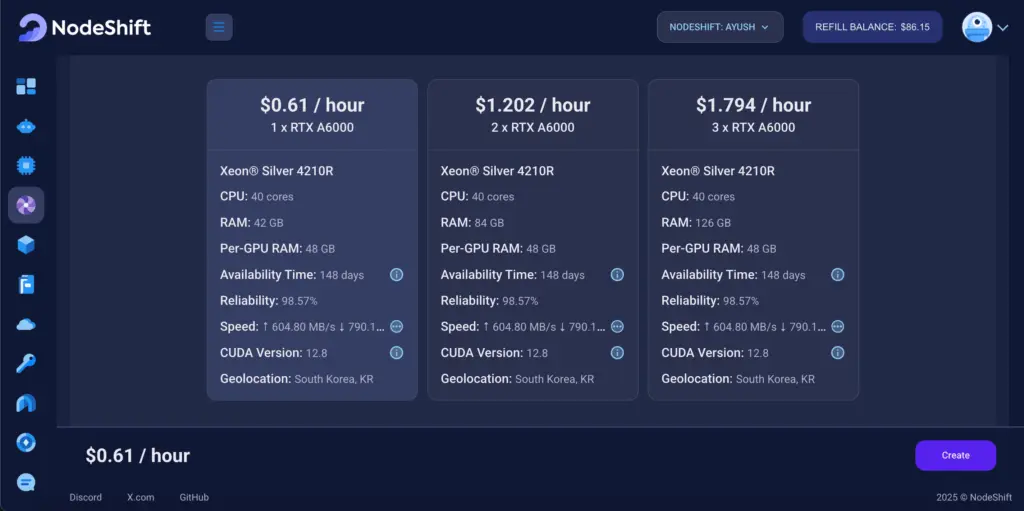
We will use 1 x RTX A6000 GPU for this tutorial to achieve the fastest performance. However, you can choose a more affordable GPU with less VRAM if that better suits your requirements.
Step 4: Select Authentication Method
There are two authentication methods available: Password and SSH Key. SSH keys are a more secure option. To create them, please refer to our official documentation.

Step 5: Choose an Image
Next, you will need to choose an image for your Virtual Machine. We will deploy Dia 1.6 B on an NVIDIA Cuda Virtual Machine. This proprietary, closed-source parallel computing platform will allow you to install Dia 1.6 B on your GPU Node.
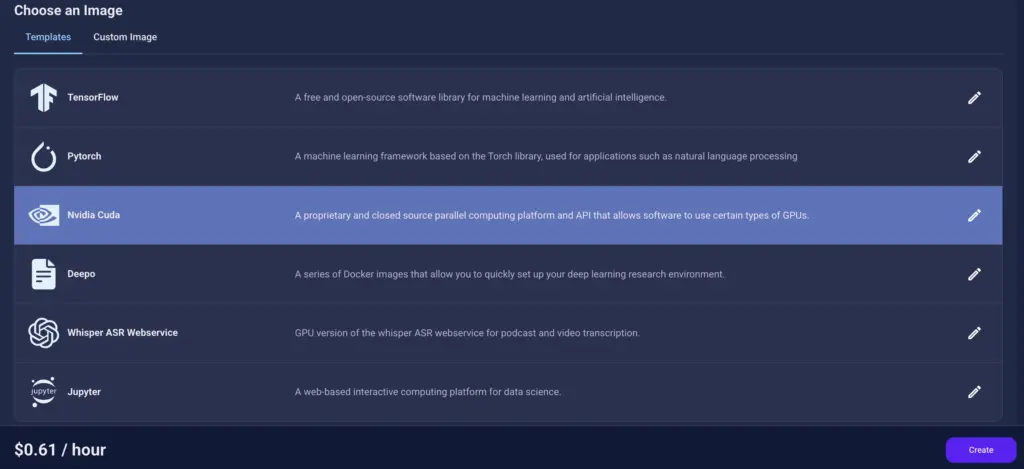
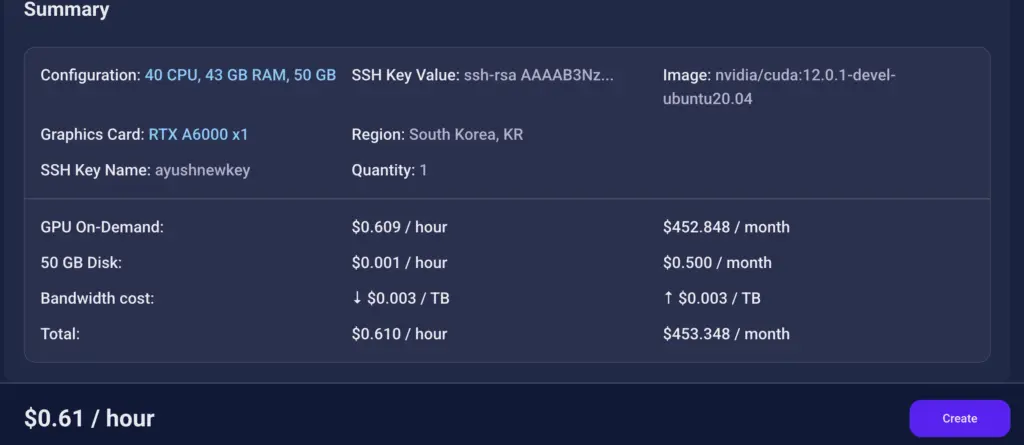
After choosing the image, click the ‘Create’ button, and your Virtual Machine will be deployed.
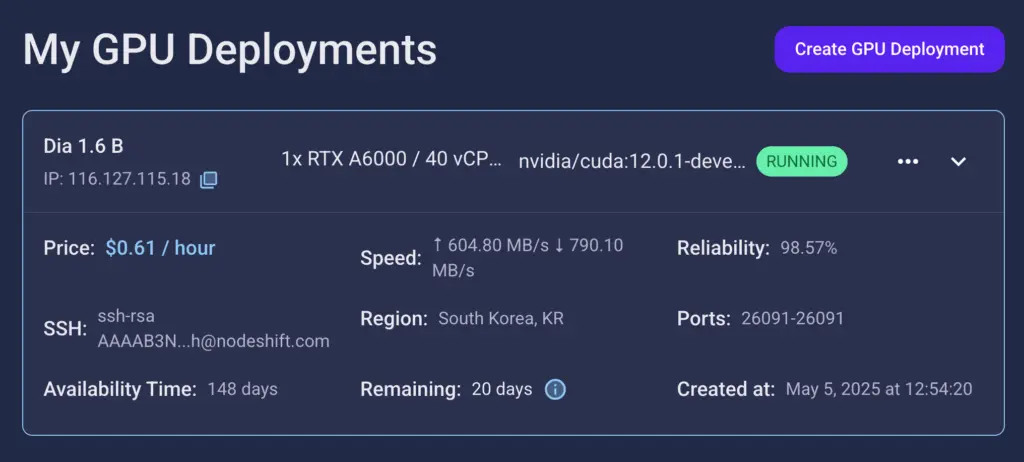
Step 6: Virtual Machine Successfully Deployed
You will get visual confirmation that your node is up and running.
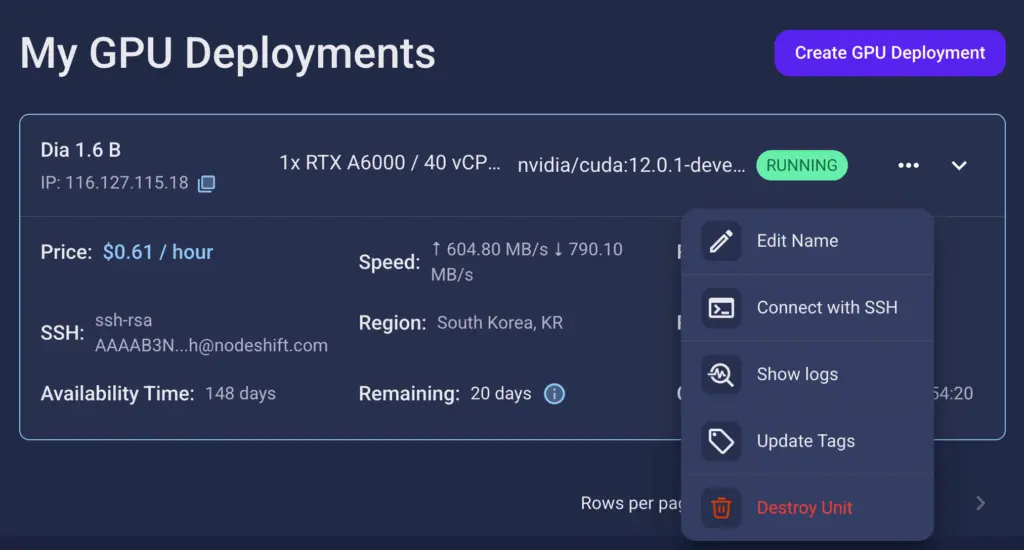
Step 7: Connect to GPUs using SSH
NodeShift GPUs can be connected to and controlled through a terminal using the SSH key provided during GPU creation.
Once your GPU Node deployment is successfully created and has reached the ‘RUNNING’ status, you can navigate to the page of your GPU Deployment Instance. Then, click the ‘Connect’ button in the top right corner.
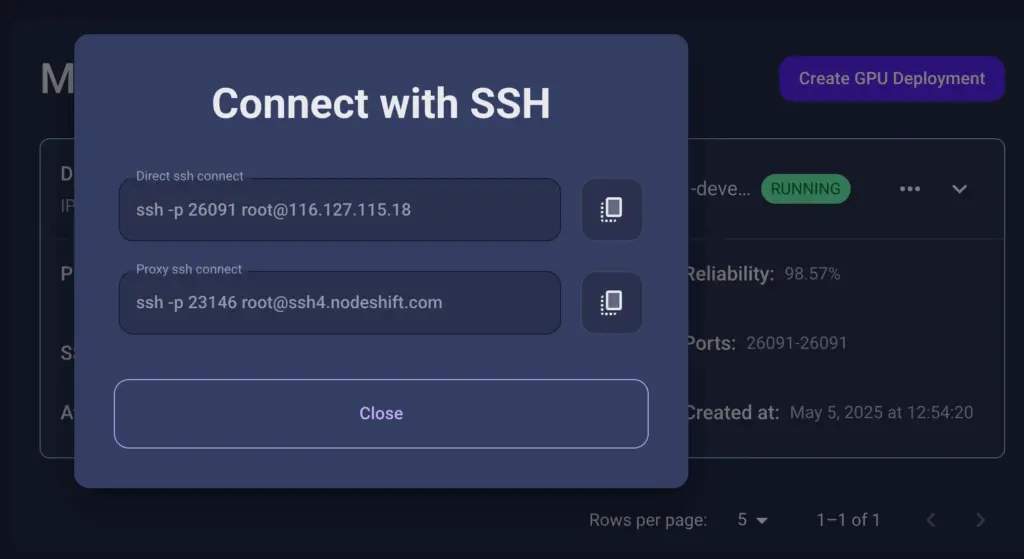
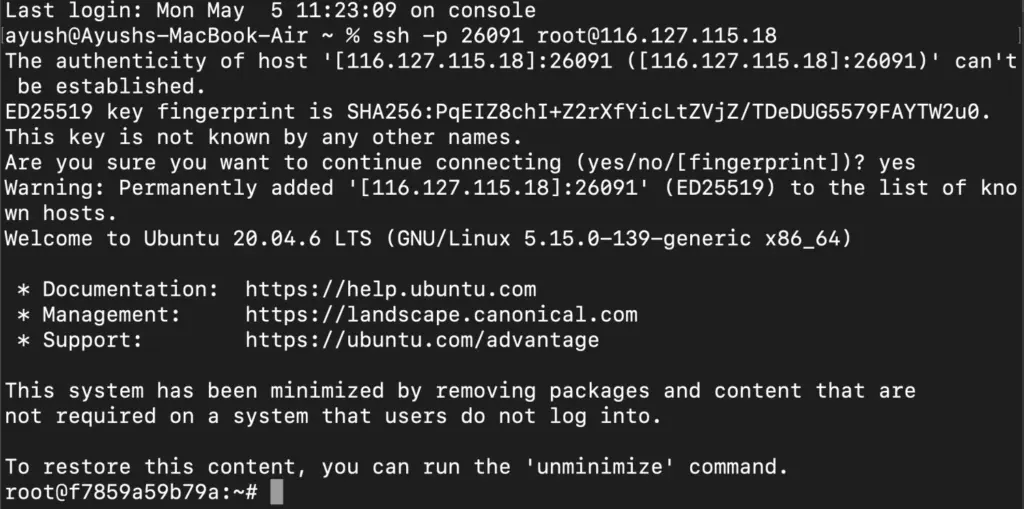
Now open your terminal and paste the proxy SSH IP or direct SSH IP.
Next, if you want to check the GPU details, run the command below:
nvidia-smi

Step 8: Check the Available Python version and Install the new version
Run the following commands to check the available Python version.
If you check the version of the python, system has Python 3.8.1 available by default. To install a higher version of Python, you’ll need to use the deadsnakes PPA.
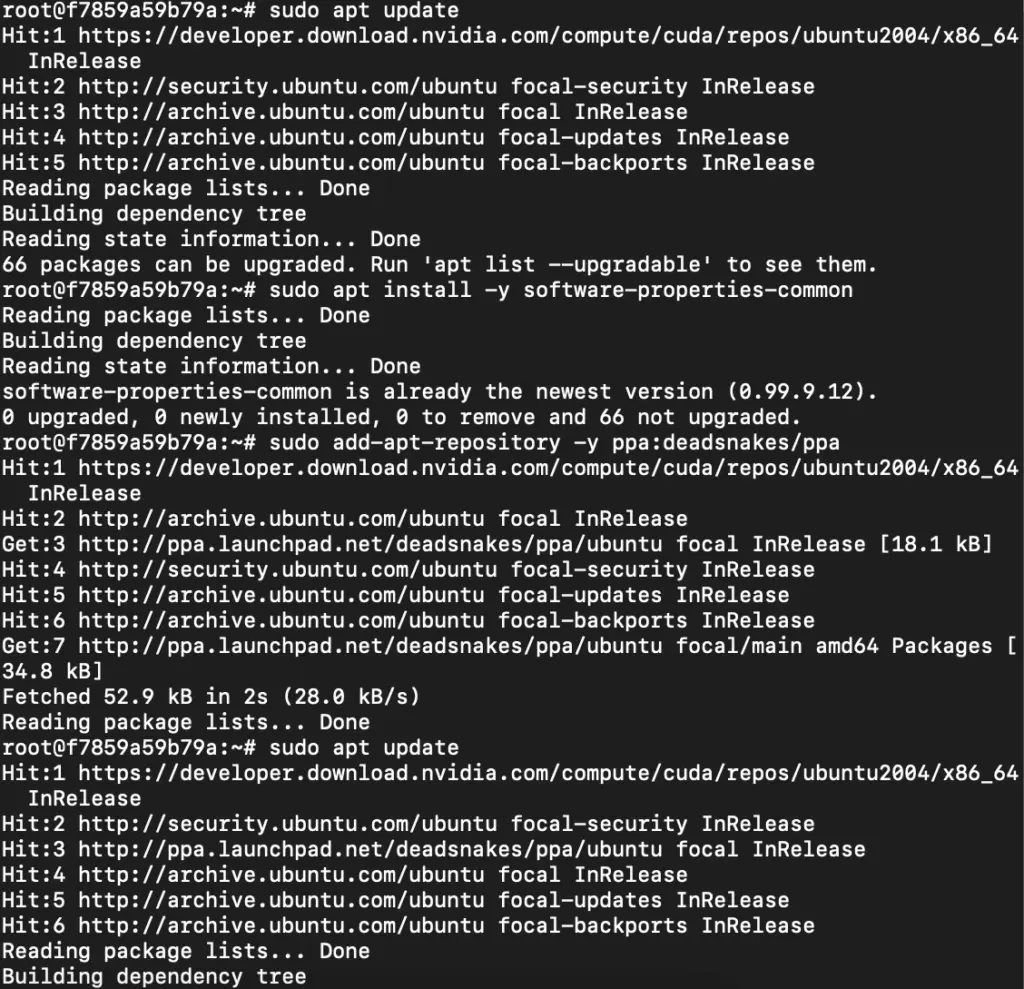
Run the following commands to add the deadsnakes PPA:
sudo apt update

sudo apt install -y software-properties-common

sudo add-apt-repository -y ppa:deadsnakes/ppa

sudo apt update
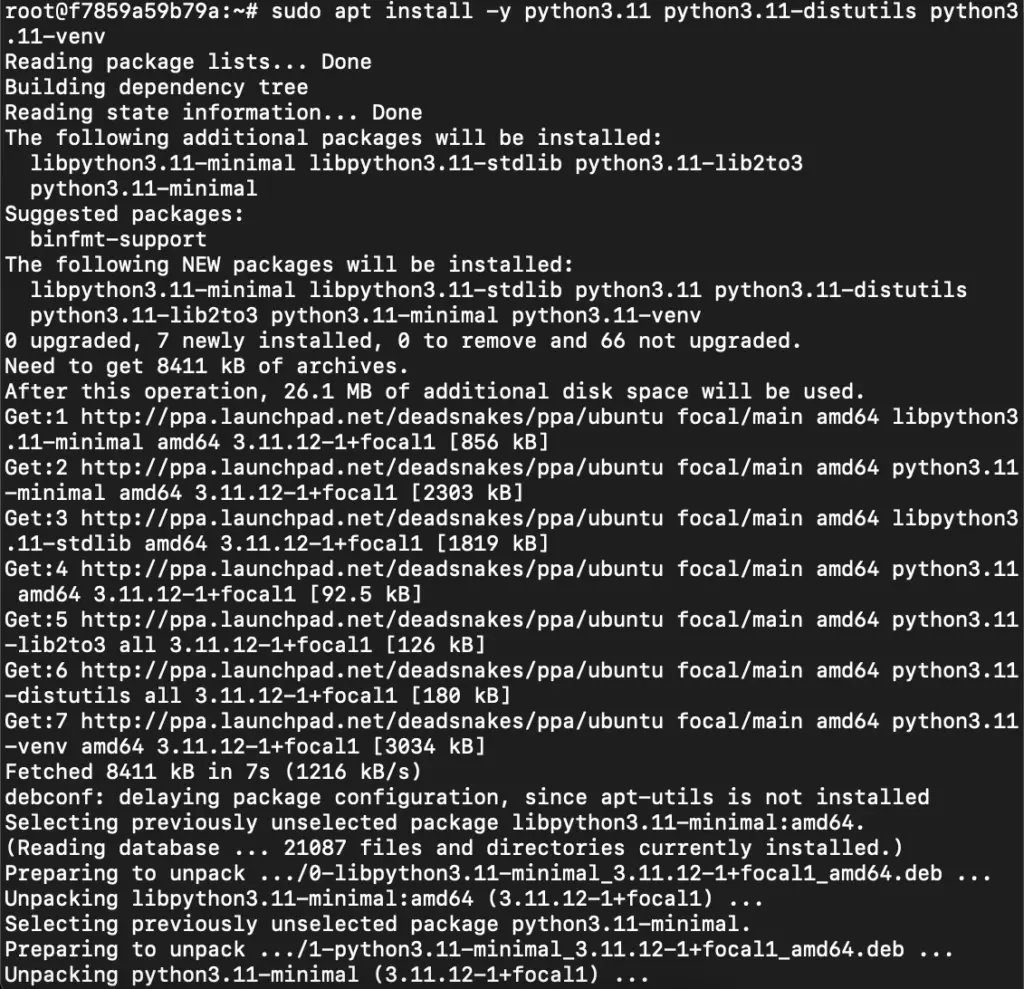
Step 9: Install Python 3.11
Now, run the following command to install Python 3.11 or another desired version:
sudo apt install -y python3.11 python3.11-distutils python3.11-venv
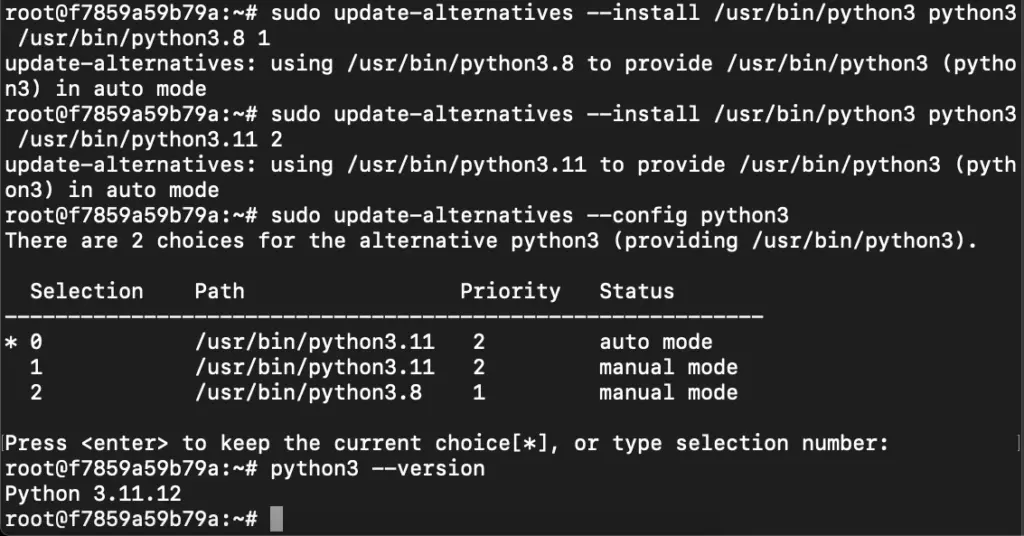
Step 10: Update the Default Python3 Version
Now, run the following command to link the new Python version as the default python3:
sudo update-alternatives --install /usr/bin/python3 python3 /usr/bin/python3.8 1

sudo update-alternatives --install /usr/bin/python3 python3 /usr/bin/python3.11 2

sudo update-alternatives --config python3
Then, run the following command to verify that the new Python version is active:
python3 --version
Step 11: Install and Update Pip
Run the following command to install and update the pip:
python3 -m ensurepip --upgrade

python3 -m pip install --upgrade pip
Then, run the following command to check the version of pip:
pip --version

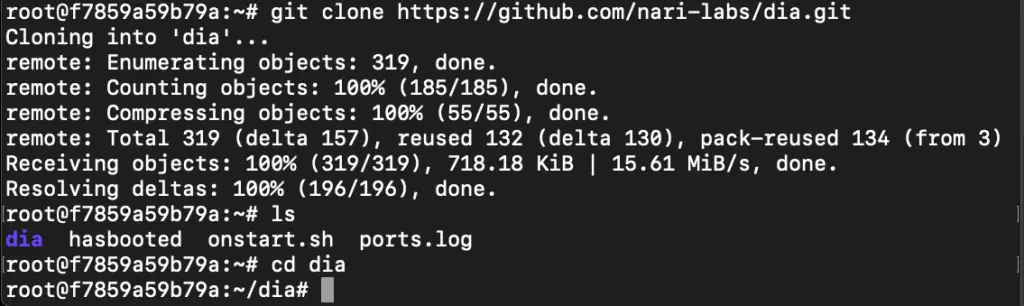
Step 12: Clone the Repository
Run the following command to clone the Dia 1.6 B repository:
git clone https://github.com/nari-labs/dia.git

cd dia
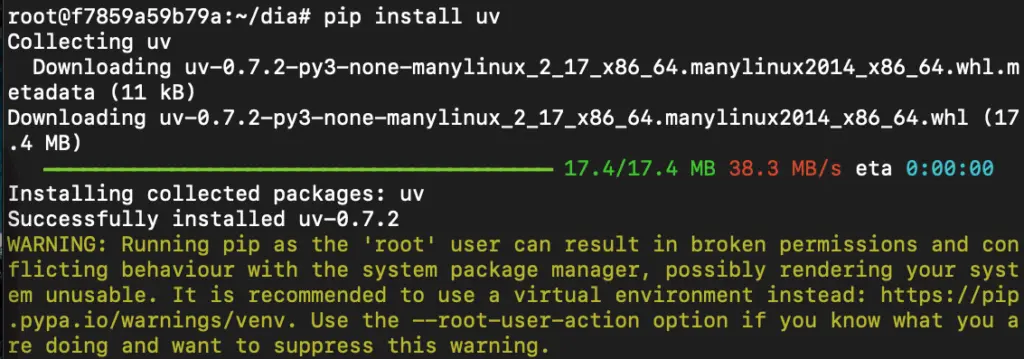
Step 13: Install UV
Run the following command to install the UV:
pip install uv
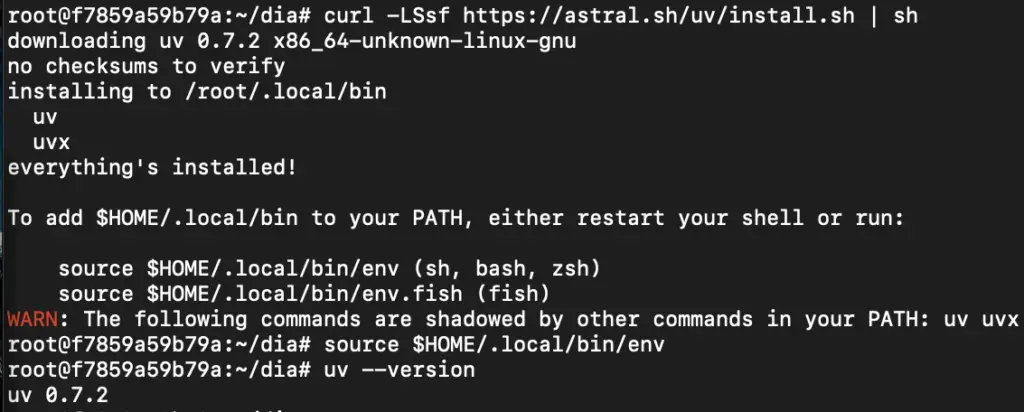
Step 14: Install uv (Universal Virtualenv) via Quick Install Script
Run the following command to install uv (Universal Virtualenv) via quick install script:
curl -LSsf https://astral.sh/uv/install.sh
Step 15: Download cuSPARSELt
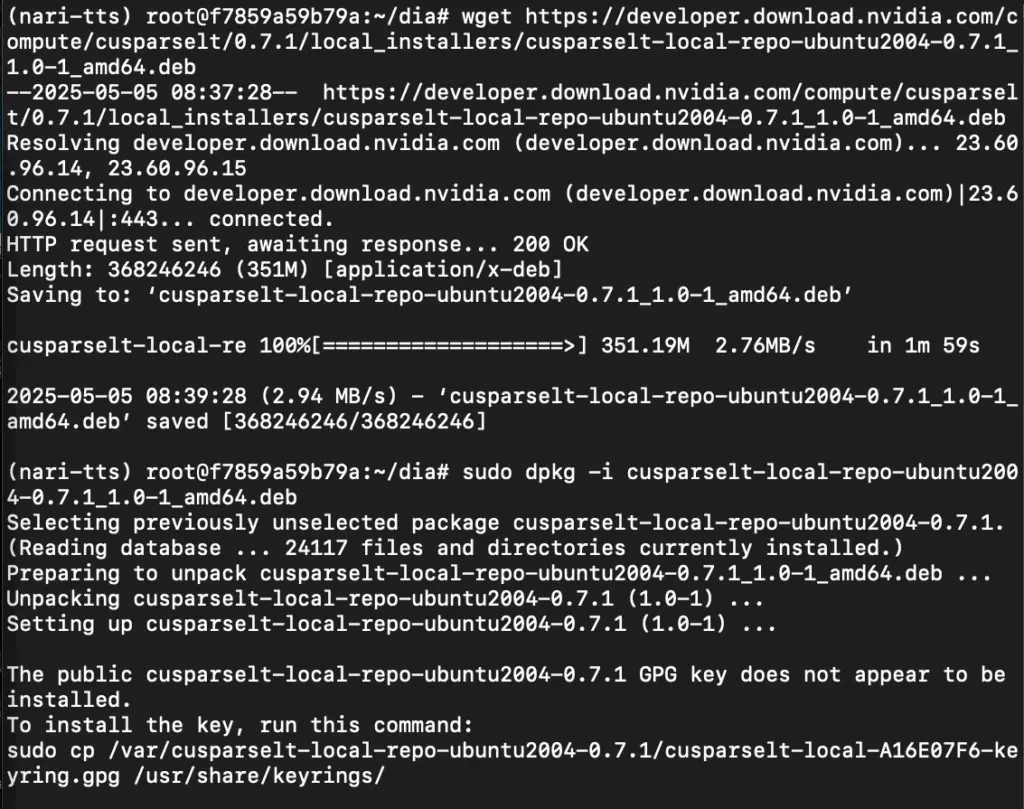
Run the following command to download cuSPARSELt:
wget https://developer.download.nvidia.com/compute/cusparselt/0.7.1/local_installers/cusparselt-local-repo-ubuntu2004-0.7.1_1.0-1_amd64.deb
Then, run the following command to install the local repo package:
sudo dpkg -i cusparselt-local-repo-ubuntu2004-0.7.1_1.0-1_amd64.deb
Step 16: Install cuSPARSELt
First, run the following command to install the GPG key:
sudo cp /var/cusparselt-local-repo-ubuntu2004-0.7.1/cusparselt-*-keyring.gpg /usr/share/keyrings/
Next, run the following command to update the system:
sudo apt-get update
Then, run the following command to install the cuSPARSELt:
sudo apt-get -y install libcusparselt0 libcusparselt-dev

Step 17: Run the App
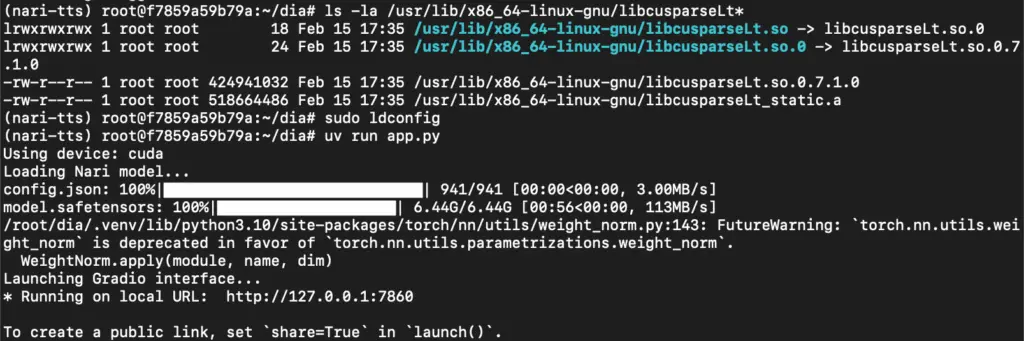
First, run the following command to verify that libcusparseLt is available:
ls -la /usr/lib/x86_64-linux-gnu/libcusparseLt*
Next, run the following command to reload shared libraries config:
sudo ldconfig
Then, run the following command to start the App:
uv run app.py
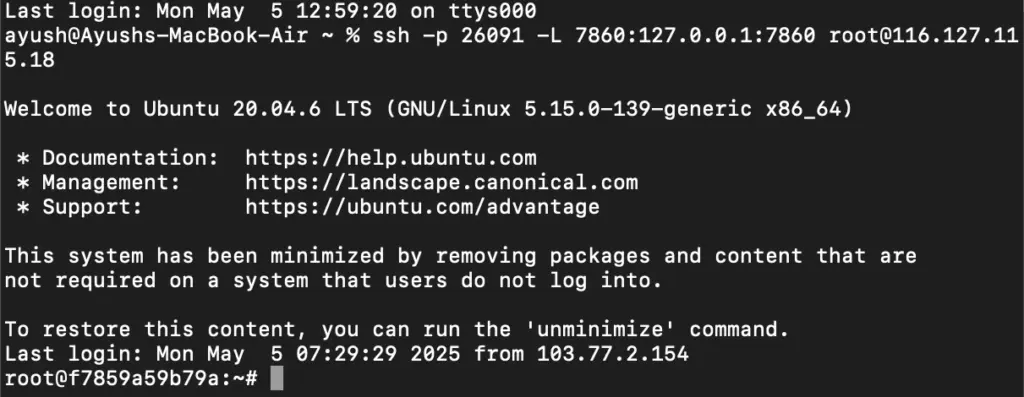
Step 18: Run SSH Port Forwarding Command to access the Gradio web UI
Run the following command to access the Gradio web UI (or any other port from your VM) on your local machine:
ssh -p 26091 -L 7860:127.0.0.1:7860 [email protected]
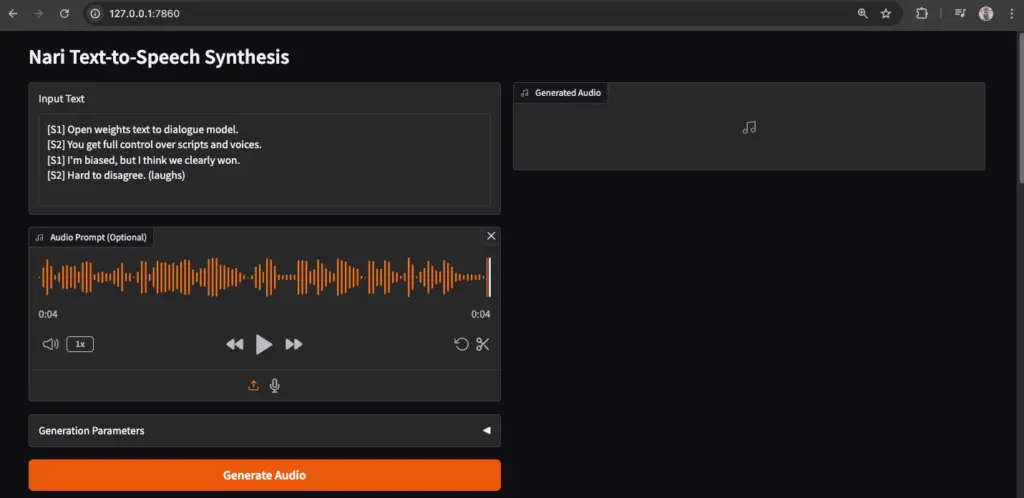
Step 19: Access the Gradio Web App
Access the Gradio Web App on:
Running on local URL: http://127.0.0.1:7860

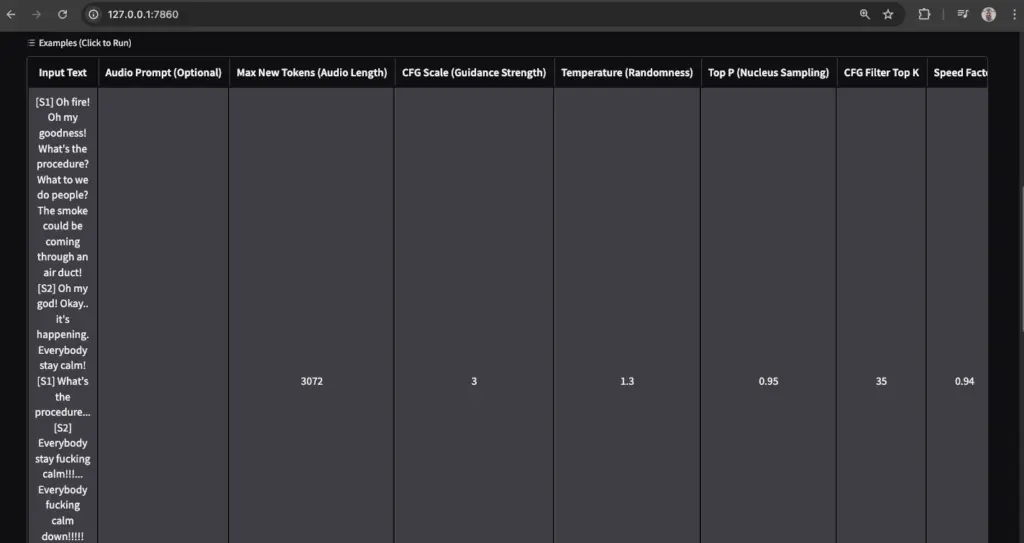

Play with model
Conclusion
With Dia 1.6B by Nari Labs now up and running, you’re ready to dive into the world of lifelike, expressive text-to-speech generation. Whether it’s for crafting realistic dialogues, powering creative projects, or building the next generation of audio-first applications, Dia opens the doors to endless possibilities.
In this guide, we covered everything — from deploying a GPU-powered Virtual Machine, installing all dependencies like CUDA and cuSPARSELt, to launching Dia locally using Gradio. While the process involves several steps, once done, the result is powerful and seamless.
As you experiment with Dia, you’ll quickly notice how effortlessly it handles dialogues, non-verbal cues, and different tones — bringing text to life like never before. And if you wish to take this further, Nari Labs also offers bigger models and features which you can explore to push the boundaries of voice generation.
So go ahead, create your scripts, try various speaker styles, and enjoy a whole new dimension of audio creativity — right from your own server or Virtual Machine.